There’s something undeniably nostalgic about the smell of apples baking with cinnamon wafting through the air, and for me, that scent triggers a cascade of cherished memories. As a kid, I would watch my grandmother whip up her version of Old Fashioned Apple Crisp in her cozy kitchen, where we spent countless afternoons assembling this delightful dessert. It was more than just baking; it was our time together, sharing laughs, stories, and the sweet anticipation of that golden, bubbling dish fresh from the oven.
What makes my Old Fashioned Apple Crisp even more special is the way it embraces simplicity without sacrificing flavor. While many modern recipes may complicate the classic elements, I believe in honoring tradition while introducing a few tweaks that elevate it beyond the ordinary. The combination of tender, sweet-tart Golden Delicious apples melded with a crunchy oat topping creates a beautiful contrast that brings comfort and warmth to any occasion.
In this post, you’ll learn how to make this incredible dish from scratch, enhancing your kitchen prowess and connecting with the heart of home-cooked goodness. Get ready to bring back those warm family memories or create new ones right at your own table!
What are Old Fashioned Apple Crisps?
Old Fashioned Apple Crisp is a timeless dessert that harks back to simpler times, where homemade treats were crafted with love and care. The origins of this dish are rooted in early American cooking and were often created as a frugal way to use up fresh apples harvested from family orchards. It showcases the beauty of seasonal produce and the art of combining flavors in a straightforward, yet effective way.
The delightful crunch of the oat topping contrasts perfectly with the soft, juicy apples underneath, creating a symphony of textures that dance on your palate. Each bite is a harmonious blend of sweet and tart flavors, punctuated by warm spices that provide a cozy, inviting aroma. This dish is truly unique, as it embodies the essence of comfort food—simple yet gratifying.
Whether you’re celebrating a special occasion or seeking solace after a long day, this hearty dessert is the perfect go-to. It’s an easy recipe that warms not just your belly but also your heart, making it an absolute must-try!
Why You’ll Love This Recipe
Family Heritage: This Old Fashioned Apple Crisp recipe embraces cherished family traditions, passed down through generations. There’s a comforting nostalgia associated with baking it, making it a wonderful way to connect with loved ones.
Unbeatable Flavor: Unlike many store-bought or restaurant versions that can often feel bland or overly sweet, this homemade version boasts a perfect balance of sweet, tart, and spicy flavors. The Golden Delicious apples give a delightful sweetness, while the cinnamon adds warmth that will leave your taste buds singing!
Customization Options: One of the beauties of this recipe is its adaptability. You can experiment with different apple varieties or add in unique spices like nutmeg or ginger. Plus, you might want to substitute brown sugar for coconut sugar for a slightly different flavor profile.
Cost-Effective: Making your own apple crisp at home is not only delicious but also budget-friendly! You’ll save money compared to dining out, and you can make a larger batch to share with family and friends.
Easy and Quick: This recipe can be prepared and in the oven in under an hour, making it perfect for busy weeknights or spontaneous gatherings. Even novice bakers will find it manageable, with minimal fuss and ingredients.
Let’s get baking; you’re about to create something truly special!
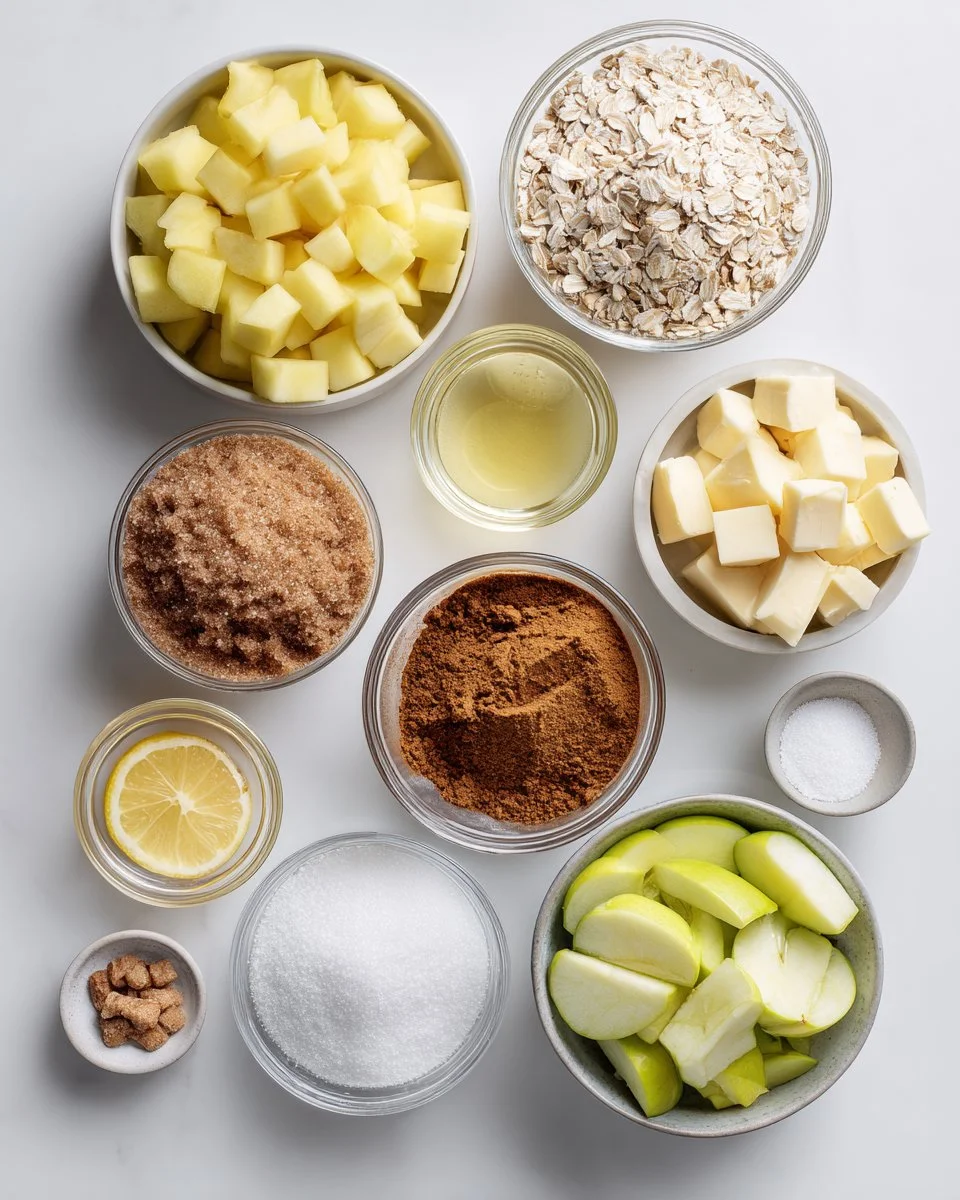
Ingredients
- Golden Delicious Apples: About 4 cups, peeled and chopped (these apples are sweet yet slightly tart, perfect for baking).
- Granulated Sugar: ½ cup (balances the tartness of the apples).
- Ground Cinnamon: 1 teaspoon (for that warm, inviting aroma).
- Lemon Juice: 1 tablespoon (keeps the apples from browning and adds a tangy zing).
- Brown Sugar: ½ cup packed (adds depth and moisture to the topping).
- Old Fashioned Oats: 1 cup (for a crunchy texture).
- All-Purpose Flour: ½ cup (helps bind the topping).
- Cold Butter: ½ cup, cut into small cubes (for a crumbly texture; ensure it’s cold to maintain the right consistency).
- Kosher Salt: ¼ teaspoon (enhances the flavors).
Notes on Ingredients:
- Opt for organic apples if possible for better flavor and quality.
- When substituting ingredients, brown sugar can be replaced with coconut sugar for a unique twist.
- Ensure your butter is cold—this makes the topping crispier!
Step-by-Step Instructions
Preheat your oven to 350°F (175°C). A well-preheated oven ensures even cooking.
Butter an 8×8 baking dish to prevent sticking.
Prepare the Apple Filling: In a mixing bowl, toss the chopped Golden Delicious apples with ½ cup of granulated sugar, ¾ teaspoon of ground cinnamon, and 1 tablespoon of lemon juice. You want to coat the apples evenly and let sit for about 5 minutes to draw out some juices.
Chef’s Tip: Use a mix of sweet apples like Honeycrisp or Granny Smith for an added flavor complexity!
Transfer the seasoned apples into the prepared baking dish, spreading them evenly.
Make the Crisp Topping: In another bowl, combine the ½ cup of brown sugar, 1 cup of old-fashioned oats, ½ cup of all-purpose flour, 1 teaspoon of cinnamon, and ¼ teaspoon of kosher salt.
Chef’s Tip: Stir the dry ingredients well before adding the cold butter to ensure even distribution of sweetness!
Cut in the cold butter using a pastry cutter or your fingers until the mixture resembles coarse crumbs (like small peas).
Evenly spread the topping over the apples, making sure to cover them completely.
Bake for about 40-50 minutes. You’re looking for that golden brown color and bubbling juices – this visual cue is what you want!
Common Mistake to Avoid: Don’t skip the cooling time; it allows the fruit juices to thicken!
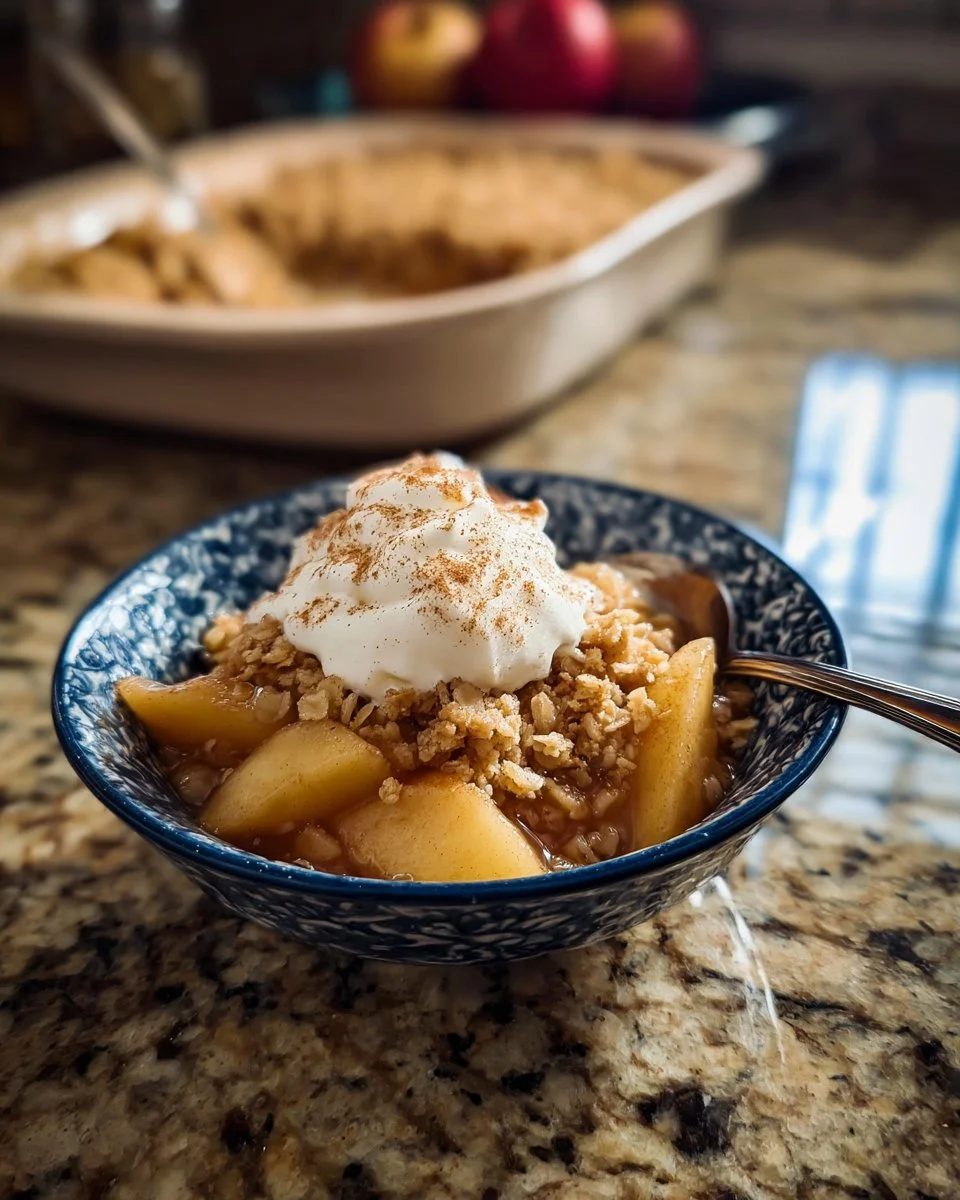
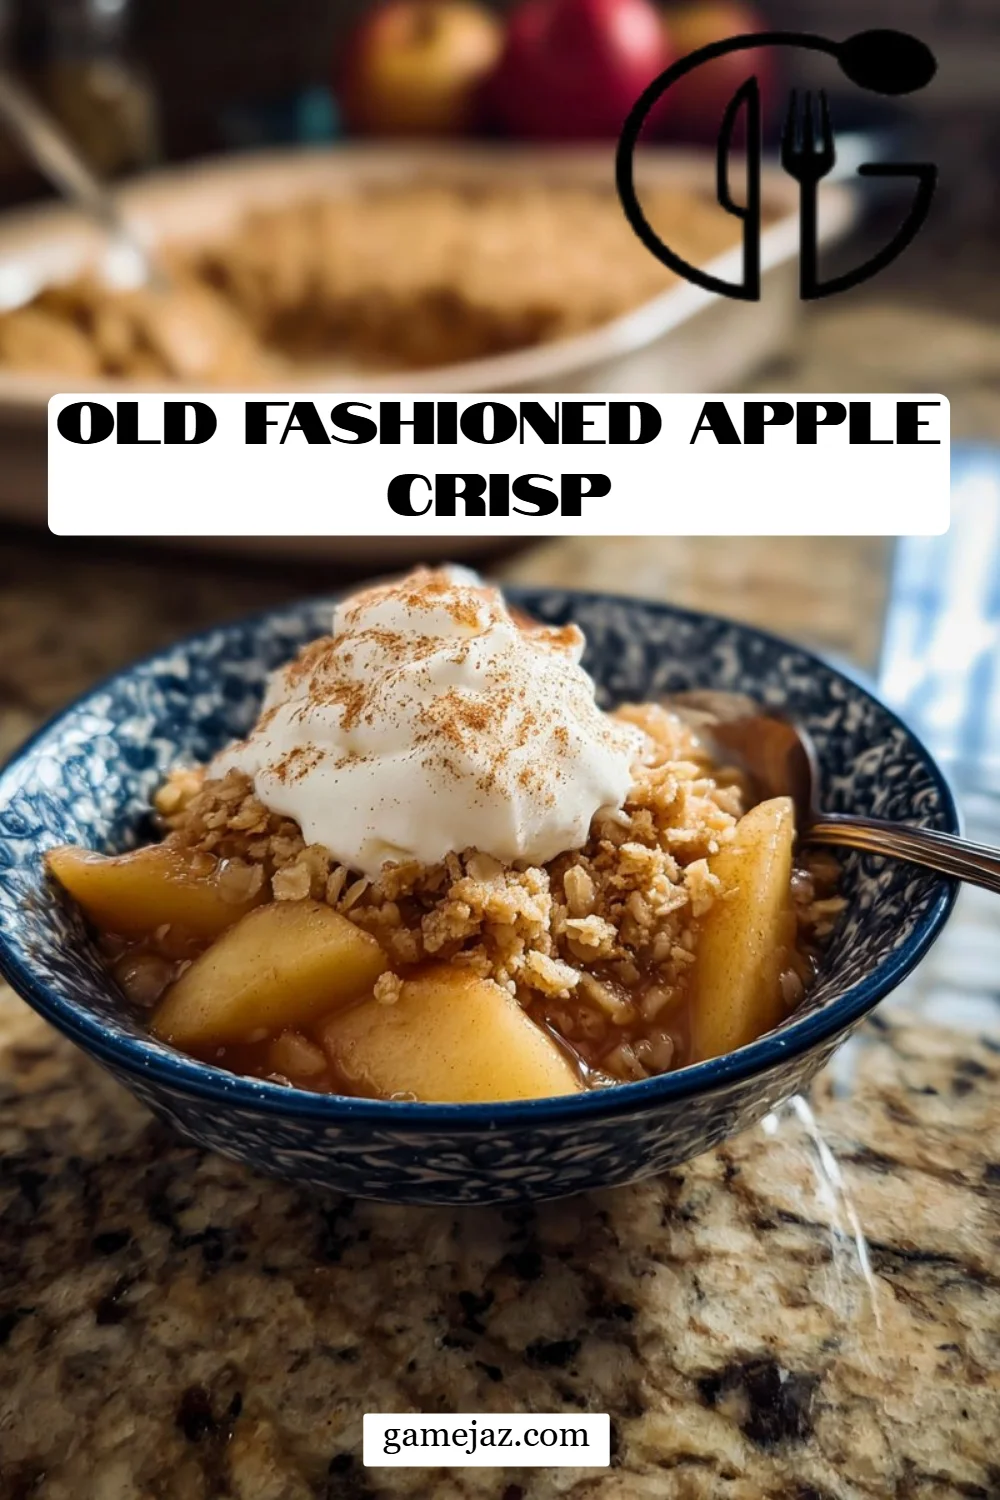
Serve warm with vanilla ice cream or whipped cream for the ultimate indulgence.

Expert Tips & Tricks
Quality Matters: Always use the best quality apples you can find. This elevates the flavors tremendously.
Fruit Variations: Feel free to mix in other fruits like blueberries or pears for a delightful twist on the classic apple crisp.
Make-Ahead: You can assemble the topping and apples separately a day ahead, then bake when ready to serve.
Storage: Store any leftovers covered in the refrigerator for up to 4 days, or freeze for up to 3 months. Just reheat in a warm oven.
Troubleshooting: If your topping is too doughy, make sure your butter is cold enough, and avoid overmixing the topping!
Serving Suggestions
This Old Fashioned Apple Crisp makes for an inviting centerpiece for any gathering. Pair it with a scoop of creamy vanilla ice cream to elevate the flavors and presentations. For a lovely touch, sprinkle some crushed nuts on top before serving or garnish with a drizzle of caramel sauce for that extra indulgence. It’s perfect for holidays, potlucks, or just cozy evenings at home.
Variations & Substitutions
- Flavor Combos: Try incorporating spices like nutmeg or allspice for an autumnal twist.
- Dietary Adaptations: For a gluten-free option, swap traditional flour for gluten-free all-purpose flour and ensure your oats are certified gluten-free.
- Seasonal Adaptations: In the fall, try adding in some dried cranberries or pumpkin purée for a different seasonal flair.
Nutrition & Storage Info
- Prep Time: 15 minutes
- Cook Time: 40-50 minutes
- Total Time: ~1 hour
- Yield: Approximately 6 servings
- Estimated Calories per Serving: 280 calories
Storage Instructions:
- Room Temperature: For up to 2 days.
- Fridge: Up to 4 days in an airtight container.
- Freezer: Up to 3 months, tightly wrapped.
FAQ Section
Can I use other types of apples?
Yes, other types such as Granny Smith or Honeycrisp can also work well, providing a nice balance of sweetness and tartness.What can I do if my topping is too crumbly?
If it feels too crumbly, you can try adding a teaspoon or two of water or melted butter to moisten it.Is it necessary to peel the apples?
It’s generally recommended to peel apples as the skin can lead to a tougher texture during baking. However, you can leave it on if preferred.How do I store leftovers?
Store leftovers in an airtight container in the fridge for up to 4 days or freeze for longer storage.Can I make this apple crisp vegan?
Yes! Substitute the butter with coconut oil or vegan butter, and the brown sugar with maple syrup or a granulated sugar alternative.Can I prepare it a day in advance?
Yes, you can assemble the apple mixture and topping separately a day before, then bake it just before serving.How can I enhance the flavor?
Consider adding some chopped nuts or dried cranberries to the apple filling for flavor and texture.What’s the best way to reheat it?
Warm it in the oven at 350°F until heated through, about 15-20 minutes, for the best results.Can I use frozen apples?
While fresh apples are preferred, thawed frozen apples can also work if they are well-drained before use.Is this gluten-free?
To make it gluten-free, swap the all-purpose flour with a gluten-free flour blend and ensure the oats you use are certified gluten-free.
Conclusion
This Old Fashioned Apple Crisp recipe isn’t just a dessert; it’s a meaningful way to connect with family traditions and create memories in your own kitchen. Every bite is a reminder of the warmth and love that baking brings into our lives. I encourage you to try this recipe; I promise it’ll become a beloved favorite in your home! I would love to hear how it turns out, so please feel free to leave a comment with your thoughts or questions.
Happy baking!

Old Fashioned Apple Crisp
Ingredients
Method
- Preheat your oven to 350°F (175°C).
- Butter an 8×8 baking dish to prevent sticking.
- In a mixing bowl, toss the chopped Golden Delicious apples with ½ cup of granulated sugar, ¾ teaspoon of ground cinnamon, and 1 tablespoon of lemon juice.
- Let the apple mixture sit for about 5 minutes to draw out some juices.
- Transfer the seasoned apples into the prepared baking dish, spreading them evenly.
- In another bowl, combine the ½ cup of brown sugar, 1 cup of old-fashioned oats, ½ cup of all-purpose flour, 1 teaspoon of cinnamon, and ¼ teaspoon of kosher salt.
- Cut in the cold butter using a pastry cutter or your fingers until the mixture resembles coarse crumbs.
- Evenly spread the topping over the apples.
- Bake for about 40-50 minutes, looking for a golden brown color and bubbling juices.
- Allow to cool before serving.
- Serve warm with vanilla ice cream or whipped cream.