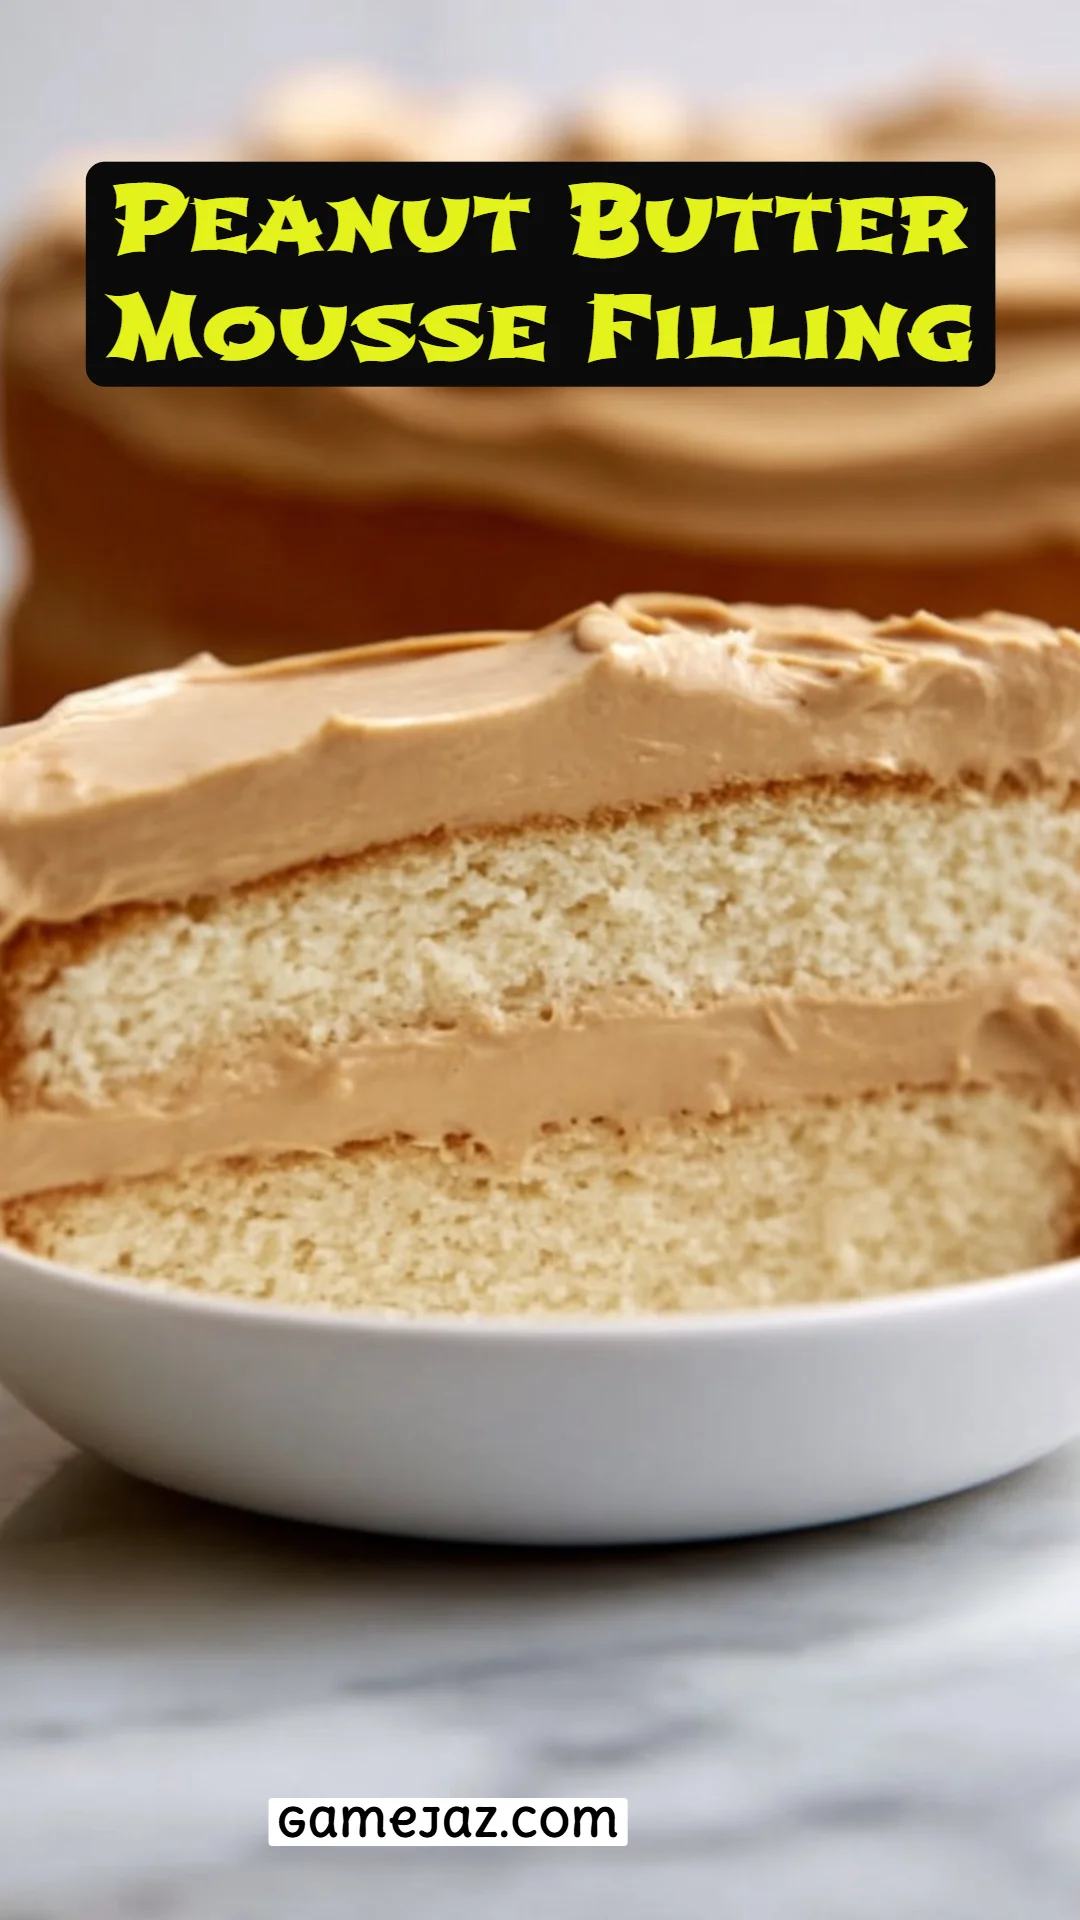
Irresistible Peanut Butter Mousse Filling: The Ultimate Sweet Cloud of Comfort
I still remember the first time I tasted a peanut butter mousse filling—it was a family gathering, and my Aunt Carol had whipped up her famous dessert as a treat for us kids. The moment the smooth, velvety filling touched my tongue, I felt like I was embracing a hug in dessert form. Fast forward to today, and I’ve become the self-proclaimed “Mousse Queen” in my family, getting requests for my delicious Peanut Butter Mousse Filling for every occasion. This recipe embraces all the nostalgia and comfort of that very first bite but elevates it to a whole new decadent level.
What makes this Peanut Butter Mousse Filling so special, you ask? It’s light, fluffy, and rich in flavor without the heaviness that can come with traditional mousses. Unlike store-bought versions that can often be overly sweet or artificial-tasting, my homemade creation strikes the perfect balance of sweet and nutty. Better yet, it’s a cinch to whip up, making it the perfect last-minute delight for any gathering or simply for your evening treat.
Join me as I share not just the recipe, but the love and joy that comes from creating this dreamy Peanut Butter Mousse Filling—your taste buds will thank you!
What Are Peanut Butter Mousse Fillings?
Peanut butter mousse fillings have a rich yet airy texture that sets them apart from conventional desserts. Originating from the classic mousse format, this delightful version incorporates creamy peanut butter that adds both flavor and nostalgia. The combination of whipped cream and cream cheese creates a cloud-like experience that melts in your mouth.
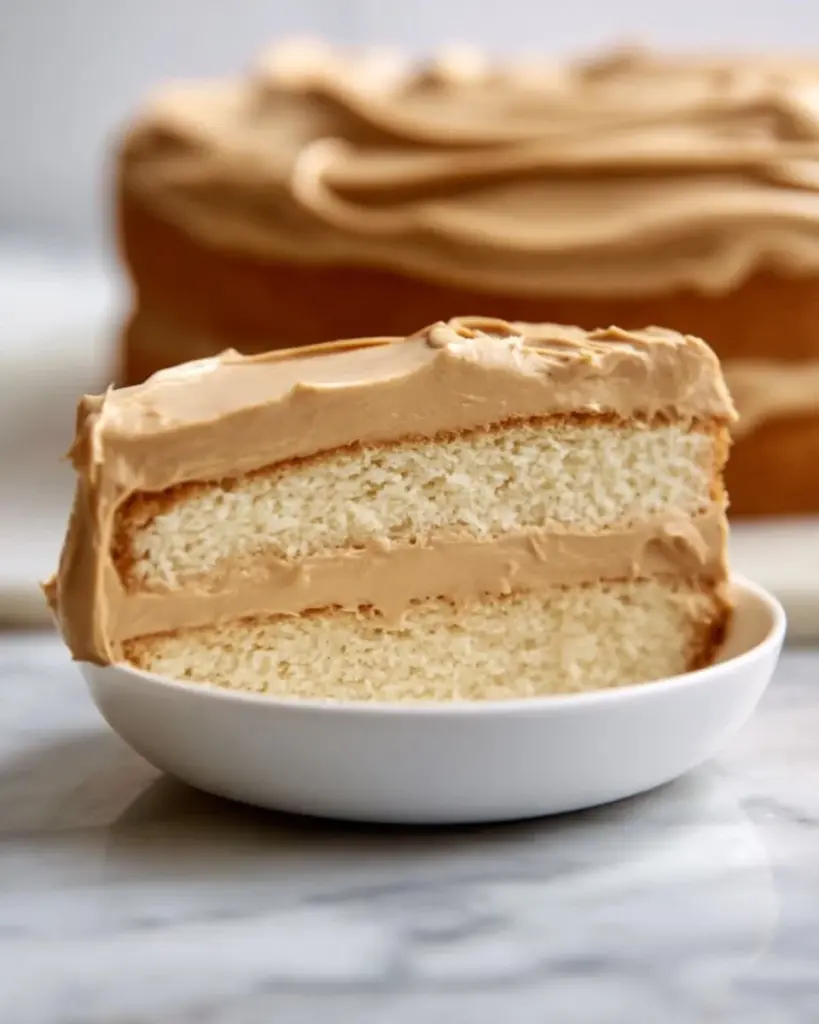
The unique taste lies in the balance between the rich, earthy flavor of peanut butter and the lightness of whipped cream—it’s sweet, nutty, and utterly satisfying. Peanut Butter Mousse Fillings can be the star of any dessert table or add a silky layer to cakes and pastries. Ideal for birthdays, potlucks, or simply as a delightful treat for yourself, this mousse is perfect for moments when you need a bit of comfort and indulgence.
Why You’ll Love This Recipe
Simplicity is Key: This Peanut Butter Mousse Filling is incredibly easy to whip up, requiring minimal effort for maximum taste. With just a few chosen ingredients, this recipe is approachable for novice bakers and seasoned pros alike.
Cost-Effective: While similar treats from bakeries can break the bank, especially when you factor in obscenely high prices for tiny portions, my version allows you to make a generous amount at home without straining your wallet.
Customization Galore: One of the great joys of this recipe is that you can customize it! Want to jazz it up with a swirl of chocolate? Go for it! Crushed cookies or fresh fruit? Absolutely! The possibilities are endless.
Crowd-Pleaser: This mousse is a guaranteed hit at any gathering. My family can never get enough, and I’ve had friends request it for their birthday cakes on multiple occasions. Just a little scoop can brighten up your dessert spread.
Make-Ahead Convenience: Preparing this Peanut Butter Mousse Filling doesn’t have to be a last-minute affair. You can easily make it the day before; it holds beautifully in the fridge while flavors deepen and meld together.
Ingredients
- 1 cup creamy peanut butter (not natural or oily; I recommend Jif for its consistent, smooth texture)
- 8 oz cream cheese, softened (Philadelphia is my go-to for cream cheese)
- 1 cup powdered sugar, sifted (sifting helps achieve that smooth consistency)
- 1 tsp vanilla extract (pure vanilla extract brings unparalleled flavor)
- 1 1/2 cups heavy whipping cream, cold (Domino’s heavy cream works wonders)
- Optional: Pinch of salt if using unsalted peanut butter (for a more balanced flavor)
Prep Notes: It’s vital to have your cream cheese at room temperature for easy blending. The heavy cream should be from refrigerated storage to whip up perfectly.
Step-by-Step Instructions
Whip the Cream: In a chilled mixing bowl, whip the heavy cream on medium-high speed until stiff peaks form—this usually takes about 3-5 minutes. Once achieved, place the whipped cream in the refrigerator while you prepare the peanut butter base.
Make the Peanut Butter Base: In a separate large bowl, beat the cream cheese and peanut butter together on medium speed until completely smooth and creamy, about 2 to 3 minutes. Add the vanilla extract and sifted powdered sugar, continuing to beat until light and fully incorporated.
Fold Gently: Add one-third of the whipped cream to the peanut butter mixture and fold gently with a spatula to loosen the texture. Then, gently fold in the remaining whipped cream in two additions—using slow figure-eight motions to maintain that airy texture. Stop folding once no streaks remain, being careful not to overmix.
Chill (Optional): For the best texture, refrigerate the mousse for 30 minutes before using. It will firm slightly while retaining its light, mousse-like aura.
Expert Tips & Tricks
Room Temperature Cream Cheese: Make sure to let your cream cheese soften before mixing; this will ensure the smoothest texture.
Quality Ingredients Matter: When it comes to flavor, using high-quality peanut butter and cream cheese makes a noticeable difference.
Storage Recommendation: Once prepared, store your mousse in an airtight container in the refrigerator. It’ll stay fresh for about 3-4 days.
Make Ahead: You can prepare this mousse a day in advance; it only gets better when allowed to chill and set.
Troubleshooting: If your heavy cream doesn’t whip, ensure it’s cold and the bowl is chilled. Room temperature whipping cream won’t reach the stiff peaks you want.
Serving Suggestions
This Peanut Butter Mousse Filling is incredibly versatile! Spread it on chocolate cake layers, use it as a filling for crepes, or just serve it on its own with a dusting of cocoa powder or sprinkles. Presentation can be as simple as a clear glass parfait showcasing the beautiful layers, or you can drizzle melted chocolate on top for a more indulgent look. It’s perfect for birthdays, movie nights, or an afternoon tea with friends.
Variations & Substitutions
- Chocolate Delight: Add cocoa powder to the peanut butter base for a luscious chocolate peanut butter mousse.
- Nut-Free Option: Use almond or cashew butter for a nut-free version; just check that the alternatives are creamy and fully blended.
- Seasonal Flavors: Think about adding pumpkin spice during the fall or cinnamon for a cozy twist in the winter months.
Nutrition & Storage Info
- Prep Time: 15 minutes
- Chill Time: 30 minutes (optional)
- Total Time: 45 minutes
- Yield: About 4 servings
- Estimated Calories: 350 per serving
- Storage Instructions: Refrigerate for up to 3-4 days. For longer storage, you can freeze in airtight containers for up to a month.
FAQ Section
Can I use natural peanut butter?
Natural peanut butter can work, but avoid using oily ones as it can affect the texture of the mousse.What can I use if I’m dairy-free?
Substitute the heavy cream with coconut cream and the cream cheese with a dairy-free alternative.How can I sweeten this without sugar?
You can use agave or maple syrup, but keep in mind it will alter the consistency slightly.Can I make this in advance?
Yes! This mousse can be made up to a day in advance and stored in the fridge.How can I prevent my mousse from deflating?
The key is to gently fold the whipped cream in without overmixing.Is this recipe gluten-free?
Yes, all the components are gluten-free!Can I incorporate other flavors?
Absolutely! Feel free to experiment with flavors like hazelnut extract or even a pinch of cayenne for a spicy kick.Do I need to sift the powdered sugar?
It’s a good practice to sift the powdered sugar to ensure a lump-free, smooth mixture.Can I add chocolate chips?
Yes, mini chocolate chips can be folded in for added texture and sweetness.How do I know when my heavy cream is whipped correctly?
When you can lift your whisk or mixer, and stiff peaks maintain their shape without drooping, you’re good to go!

Conclusion
This Peanut Butter Mousse Filling is a dream come true for any peanut butter lover. Its luxurious texture and rich flavor make it a standout treat that perfects any dessert. I can’t emphasize enough how much joy this recipe can bring, whether it’s at a family gathering or a cozy night in.
I encourage you to give this recipe a try and savor each bite. Don’t hesitate to comment with your feedback or any twists you’ve tried. And if you’re looking for more delightful peanut butter recipes, check out my blog for the ultimate comfort desserts that will warm your heart!
Peanut Butter Mousse Filling
Ingredients
Method
- In a chilled mixing bowl, whip the heavy cream on medium-high speed until stiff peaks form—this usually takes about 3-5 minutes. Once achieved, place the whipped cream in the refrigerator while you prepare the peanut butter base.
- In a separate large bowl, beat the cream cheese and peanut butter together on medium speed until completely smooth and creamy, about 2 to 3 minutes. Add the vanilla extract and sifted powdered sugar, continuing to beat until light and fully incorporated.
- Add one-third of the whipped cream to the peanut butter mixture and fold gently with a spatula to loosen the texture. Then, gently fold in the remaining whipped cream in two additions—using slow figure-eight motions to maintain that airy texture.
- For the best texture, refrigerate the mousse for 30 minutes before using. It will firm slightly while retaining its light, mousse-like aura.