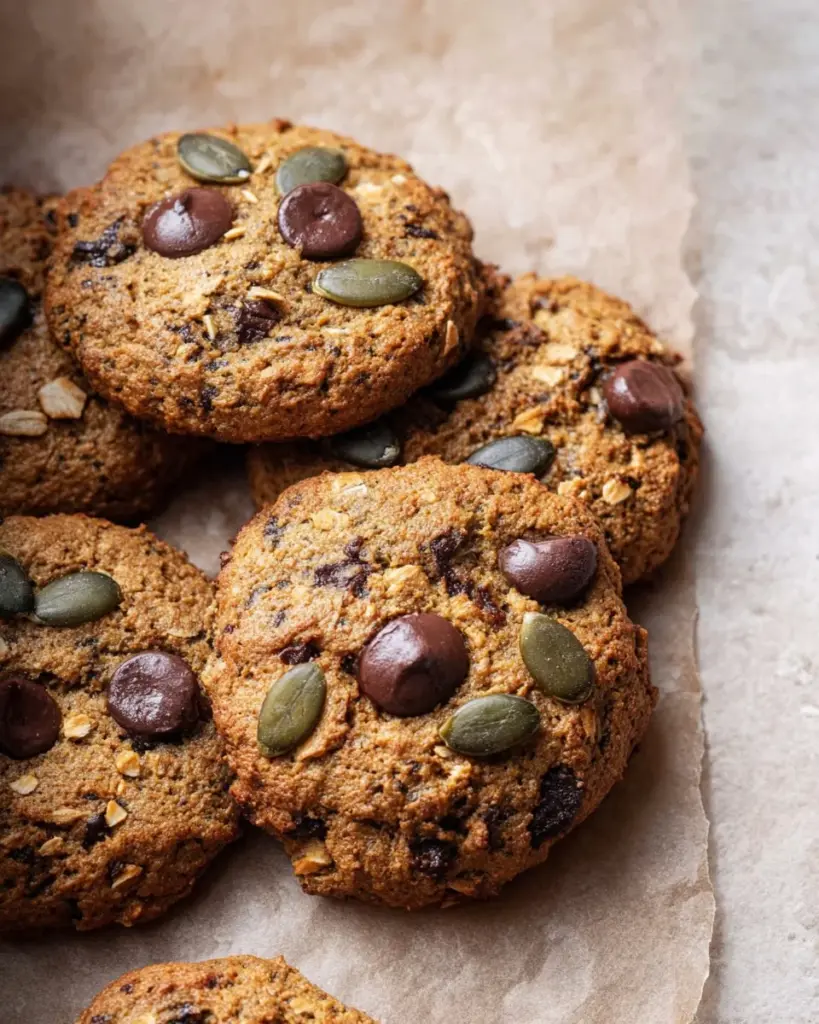
Trail Mix Cookies: A Deliciously Nutritious Adventure
Growing up, my kitchen was always filled with the aroma of freshly baked goodies, especially on weekends when my family would gather to create incredible memories intertwined with comforting food. One of our all-time favorites was a twist on classic cookies: Trail Mix Cookies. These delightful morsels captured the essence of adventure, boasting a blend of flavors reminiscent of our family hikes and camping trips. Imagine biting into a chewy cookie that marries the crunch of nuts, the sweetness of dried fruits, and the rich decadence of dark chocolate—each bite telling a story of shared laughter and camaraderie.
What sets my version of Trail Mix Cookies apart from the rest is the intentional combination of wholesome ingredients, ensuring that they are not just delicious but also packed with nutrition. With gluten-free flours and natural sweeteners, they provide the energy boost needed for any adventure, whether you’re scaling a mountain or simply enjoying them at home.
In this post, I’ll guide you through making these delightful cookies from start to finish. You’ll not only have a treat ready for your family and friends but also the satisfaction of creating something uniquely yours. So, buckle up and prepare to savor every moment in the kitchen!
What Are Trail Mix Cookies?
Originating from the idea of portable snacks favored by hikers, Trail Mix Cookies are a creative twist for enjoying all those wonderful trail mix flavors we love in the form of a cookie. Combining the dense, rich flavors of nut butter with the sweetness of dried fruits and the satisfying crunch of nuts and seeds, these cookies offer a delightful range of textures from chewy to crispy.
The unique aspect of my Trail Mix Cookies lies in their versatility. You control what goes into them! Whether you prefer almonds to peanuts or dark chocolate to white, it’s all customizable. They’re perfect for busy mornings on the go or as a wholesome snack after school, making them suitable for any occasion.
These cookies are not just for hikers; they’re a great way to bring a little adventure into everyday moments, and they remind me of camping trips under the starlit sky. Whenever I bake them, I can almost hear my son’s laughter mingling with the crackling fire, invoking those warm, nostalgic feelings.
Why You’ll Love This Recipe
Nutritious Energy Boost: Unlike store-bought cookies loaded with preservatives and refined sugars, these Trail Mix Cookies are made using wholesome ingredients like buckwheat flour and coconut sugar, giving you sustained energy without the crash.
Cost-Effective: Trust me; when you compare purchasing a bag of artisanal trail mix cookies at the store versus making a whole batch at home, the difference is huge! These cookies will save you money while keeping your pantry stocked with tasty, healthy snacks.
Customization Galore: The options are endless with these cookies! Want to swap out cranberries for dried cherries? Or skip the chocolate for a healthier version? Go for it! You can craft a signature cookie that matches your taste or dietary restrictions.
Quick to Make: Busy weekday evenings? You’ll be happy to know that these Trail Mix Cookies come together in just about 30 minutes! From preparation to the oven, they won’t take up your evening.
Foolproof and Fun: This recipe is easy enough for all skill levels—you can even involve the kids! There’s something wonderfully rewarding about scooping out the dough and watching them rise beautifully in the oven.
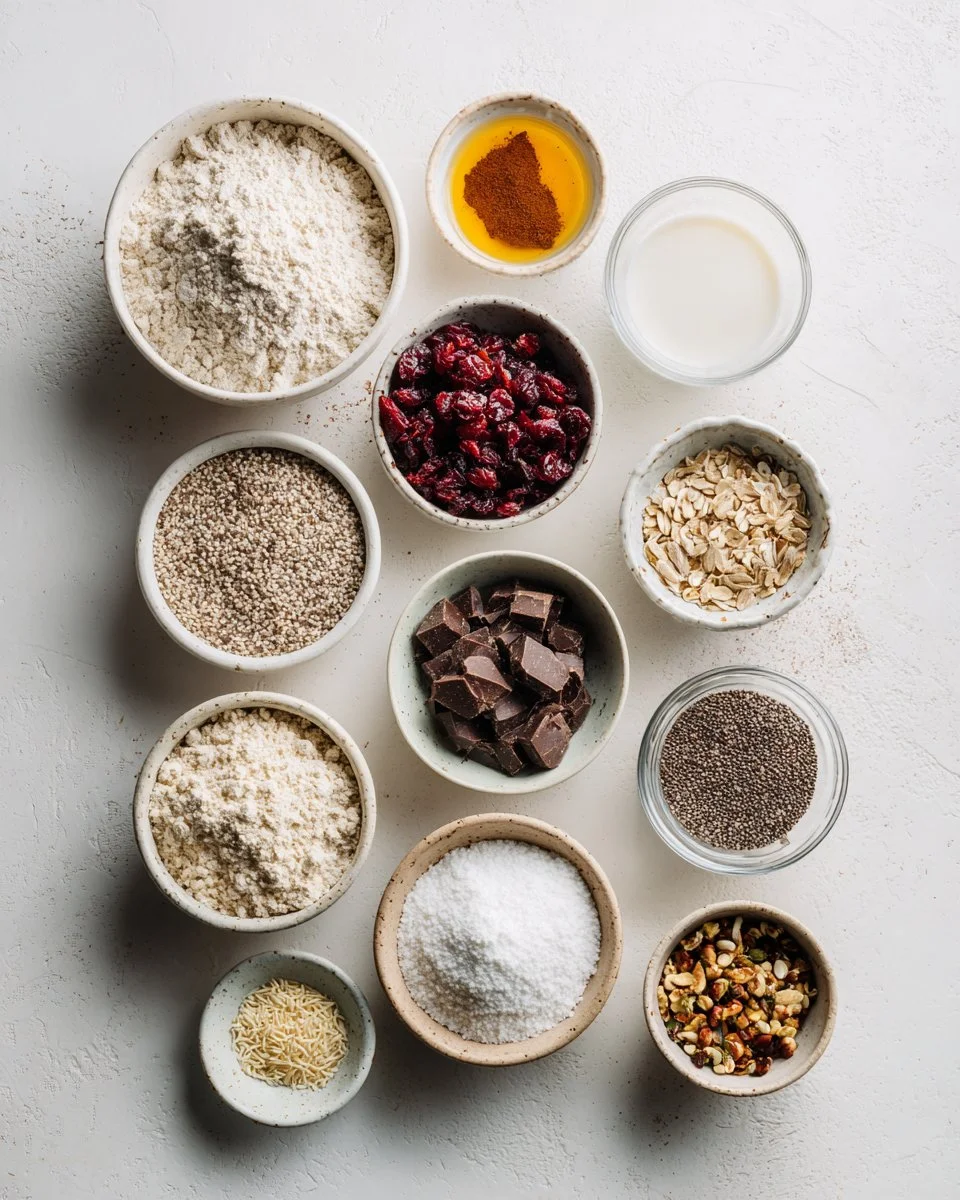
Now, let’s get to the most exciting part—the ingredients!
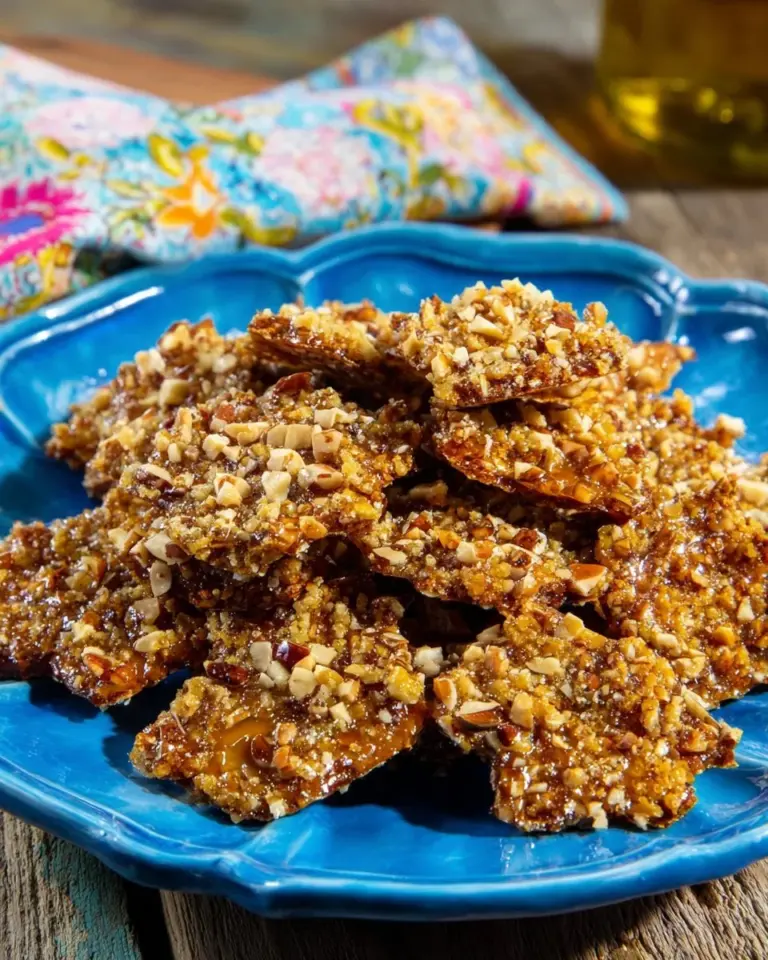
{image_template}
Ingredients
- 120 grams (1 cup) buckwheat flour: A great gluten-free option that’s high in protein. (Tip: Look for brands like Bob’s Red Mill for premium quality.)
- 110 grams (1 cup) oat flour: Another gluten-free favorite, which you can easily make at home by blitzing oats in a food processor.
- 80 grams (1/2 cup) coconut sugar: A healthier alternative to refined sugar with a caramel-like flavor.
- 1 tablespoon arrowroot flour or 2 teaspoons cornstarch: Helps in binding the cookies for a chewy texture.
- 1 teaspoon cinnamon: Adds warmth and depth of flavor.
- 1/2 teaspoon baking soda: Essential for the cookie to rise perfectly.
- 1/2 teaspoon sea salt: Balances the sweetness.
- 150 grams (1 cup) mixed seeds or nuts: I love using a mix of almonds, pumpkin seeds, and walnuts for added crunch!
- 60 grams (1/4 cup) dried cranberries or other dried fruit: A burst of sweetness; feel free to choose your favorite!
- 100 grams (1/2 cup) dark chocolate, chopped: Because cookies should always have chocolate, right? Choose 70% cacao or higher for more richness.
- 50 grams (1/4 cup) chia seeds: Great for fiber and added texture.
- 75 grams (1/4 cup) nut or seed butter, unsweetened: I use almond butter, but feel free to opt for peanut or sunflower seed butter depending on preference.
- 60 grams (1/4 cup) coconut oil, melted: This helps bind ingredients and adds a subtle coconut flavor.
- 80 ml (1/3 cup) non-dairy milk: Almond or oat milk work great to keep these cookies vegan.
- 2 tablespoons maple syrup: For a touch of natural sweetness—feel free to add more or adjust according to your taste!
Ingredient Notes:
- Quality: Always choose high-quality ingredients for the best flavor results.
- Substitutions: If nut allergies exist, replace nut butters with seed butter or apple sauce for moisture.
- Prep Tips: Ensure coconut oil is melted but not too hot to prevent cooking the other ingredients.
Step-by-Step Instructions
Whisk Together Dry Ingredients: In a large bowl, whisk together buckwheat flour, oat flour, coconut sugar, arrowroot, cinnamon, baking soda, and sea salt until well combined—about 1 minute should do.
Mix in Seeds and Fruits: Stir in the mixed seeds, dried cranberries, chopped chocolate, and chia seeds. This will create an enticing, colorful mixture that promises great textural variety.
Prepare Wet Ingredients: In another bowl, whisk together nut or seed butter, melted coconut oil, non-dairy milk, and maple syrup until smooth.
Combine Everything: Add the wet mixture to the dry ingredients. Mix until fully incorporated—don’t worry if it seems a bit crumbly at first; the moisture will help everything come together beautifully.
Let Rest: Allow this dough to rest for about 10 minutes while you preheat your oven to 180°C (350°F). This resting time is crucial for enhancing flavor and texture!
Prepare Baking Sheet: Line your baking sheets with parchment paper.
Shape Cookies: Use a scoop or your hands to form about two tablespoons of dough into balls, rolling them gently. Place them onto your prepared baking sheet about 5 cm (1.5 inches) apart and flatten them slightly.
Bake: Pop the cookies in the oven for 8-10 minutes or until they are lightly golden around the edges.
Cool Down: Allow the cookies to cool on the tray for about 5 minutes before carefully transferring them to a cooling rack.
Store: Once cooled, store your cookies in a sealed container at room temperature or refrigerate for freshness.
Chef’s Tips:
- Timing is Key: Keep a close eye on the cookies after the 8-minute mark—they can go from perfectly baked to overdone just that quickly!
- Common Mistakes: Over mixing the dough can result in denser cookies. Mix it just until combined.
- You Got This!: Don’t stress about the cookie shape. They’ll spread as they bake, so a rough shape just needs a little love in the oven!
Expert Tips & Tricks
Storage: These cookies can last up to a week at room temperature. For extended freshness, store them in the fridge (up to 2 weeks) or freeze up to 3 months! Just thaw at room temperature for easy snacking.
Make-Ahead Wonder: Prepare the cookie dough ahead of time and store it in the fridge, allowing you to bake fresh cookies on-demand whenever sweet tooth strikes.
Troubleshooting: If cookies are coming out too dry, consider adding an extra tablespoon of non-dairy milk next time or leaning slightly towards more nut butter in the mix.
Flavor Enhancements: Want extra zest? Add in a pinch of vanilla extract or a sprinkle of sea salt on top before baking.
Baking Sheets: Be sure to properly grease or use parchment paper to avoid any sticking problems during the baking process.
Serving Suggestions
These delicious Trail Mix Cookies are a delightful snack warm from the oven or served alongside a refreshing glass of almond milk. For an afternoon treat, try presenting them on a rustic wooden board with fresh fruit like apples and bananas for dipping. Perfectly suited for picnics, hiking trips, or cozy gatherings, they embody the spirit of nourishment and connection—much like the moments spent creating them!
Variations & Substitutions
- Flavor Combinations: Want to spice things up? Toss in cinnamon chips, or substitute chocolate with carob or white chocolate for a twist.
- Dietary Restrictions: Going vegan or nut-free? Swap out the nut butter for sunflower seed butter and use a flax egg instead of regular eggs, or simply stick with the provided vegan directions.
- Seasonal Delights: During the holidays, add in dried apple pieces or spice things up with nutmeg and ginger for a seasonal twist.
Nutrition & Storage Info
- Prep Time: 10 minutes
- Cook Time: 10 minutes
- Total Time: 20 minutes
- Yield: About 12 cookies
- Calories: Approximately 150 calories per cookie (may vary based on specific ingredients used).
Storage Instructions:
- Store at room temperature for 1 week, in the fridge for up to 2 weeks, or freeze for 3 months.
FAQ Section
Can I use gluten-free flour blends instead?
Yes! Just ensure that the blend contains a binding agent to maintain texture.How can I replace eggs in this recipe?
You could use applesauce or a flaxseed egg (1 tablespoon of ground flaxseed mixed with 2.5 tablespoons of water).Can I make this in larger batches?
Absolutely! Feel free to double or triple the ingredients. Just bake in batches to avoid overcrowding your oven.What should I do if the cookies are too dry?
They might have baked too long or need more moisture. Try adjusting the baking time and adding a little extra nut butter or milk next time!Do I need to chill the dough?
Chilling is not necessary, but can enhance the flavors if you have the time!Are these cookies kid-friendly?
Totally! They’re packed with nutrition, and kids love the chewy texture and chocolate pieces—perfect for growth!Can I add protein powder to this recipe?
Yes! Just reduce the oat flour slightly to make room for it, as protein powder can absorb moisture.What kind of nuts or seeds should I use?
It completely depends on your taste! Almonds, walnuts, and sunflower seeds all add fantastic crunch.What’s a good substitution for coconut oil?
You can use any neutral oil, or even a vegan butter alternative.Can I make them without chocolate?
Definitely! You can substitute with carob or completely omit chocolate for a lighter cookie.
Conclusion
Baking these Trail Mix Cookies is more than just about satisfying a sweet craving; it’s about creating treasured moments and delicious memories. They embody the flavors of adventure while being easy enough to whip up on a whim. I hope you give this recipe a chance to become a favorite in your household, just as they have in mine!
Do share your experiences and tweaks in the comments below—I love hearing from you! And while you’re here, check out my other scrumptious recipes for more kitchen adventures.
Happy baking!
Trail Mix Cookies
Ingredients
Method
- Whisk together the dry ingredients in a large bowl until well combined.
- Mix in the seeds, dried fruits, chocolate, and chia seeds.
- In another bowl, whisk together the nut or seed butter, melted coconut oil, non-dairy milk, and maple syrup until smooth.
- Combine the wet and dry mixtures until fully incorporated.
- Let the dough rest for about 10 minutes while you preheat your oven to 180°C (350°F).
- Line the baking sheets with parchment paper.
- Use a scoop or your hands to form balls of dough and place them on the baking sheet.
- Bake for 8-10 minutes or until lightly golden.
- Allow the cookies to cool before transferring them to a cooling rack.