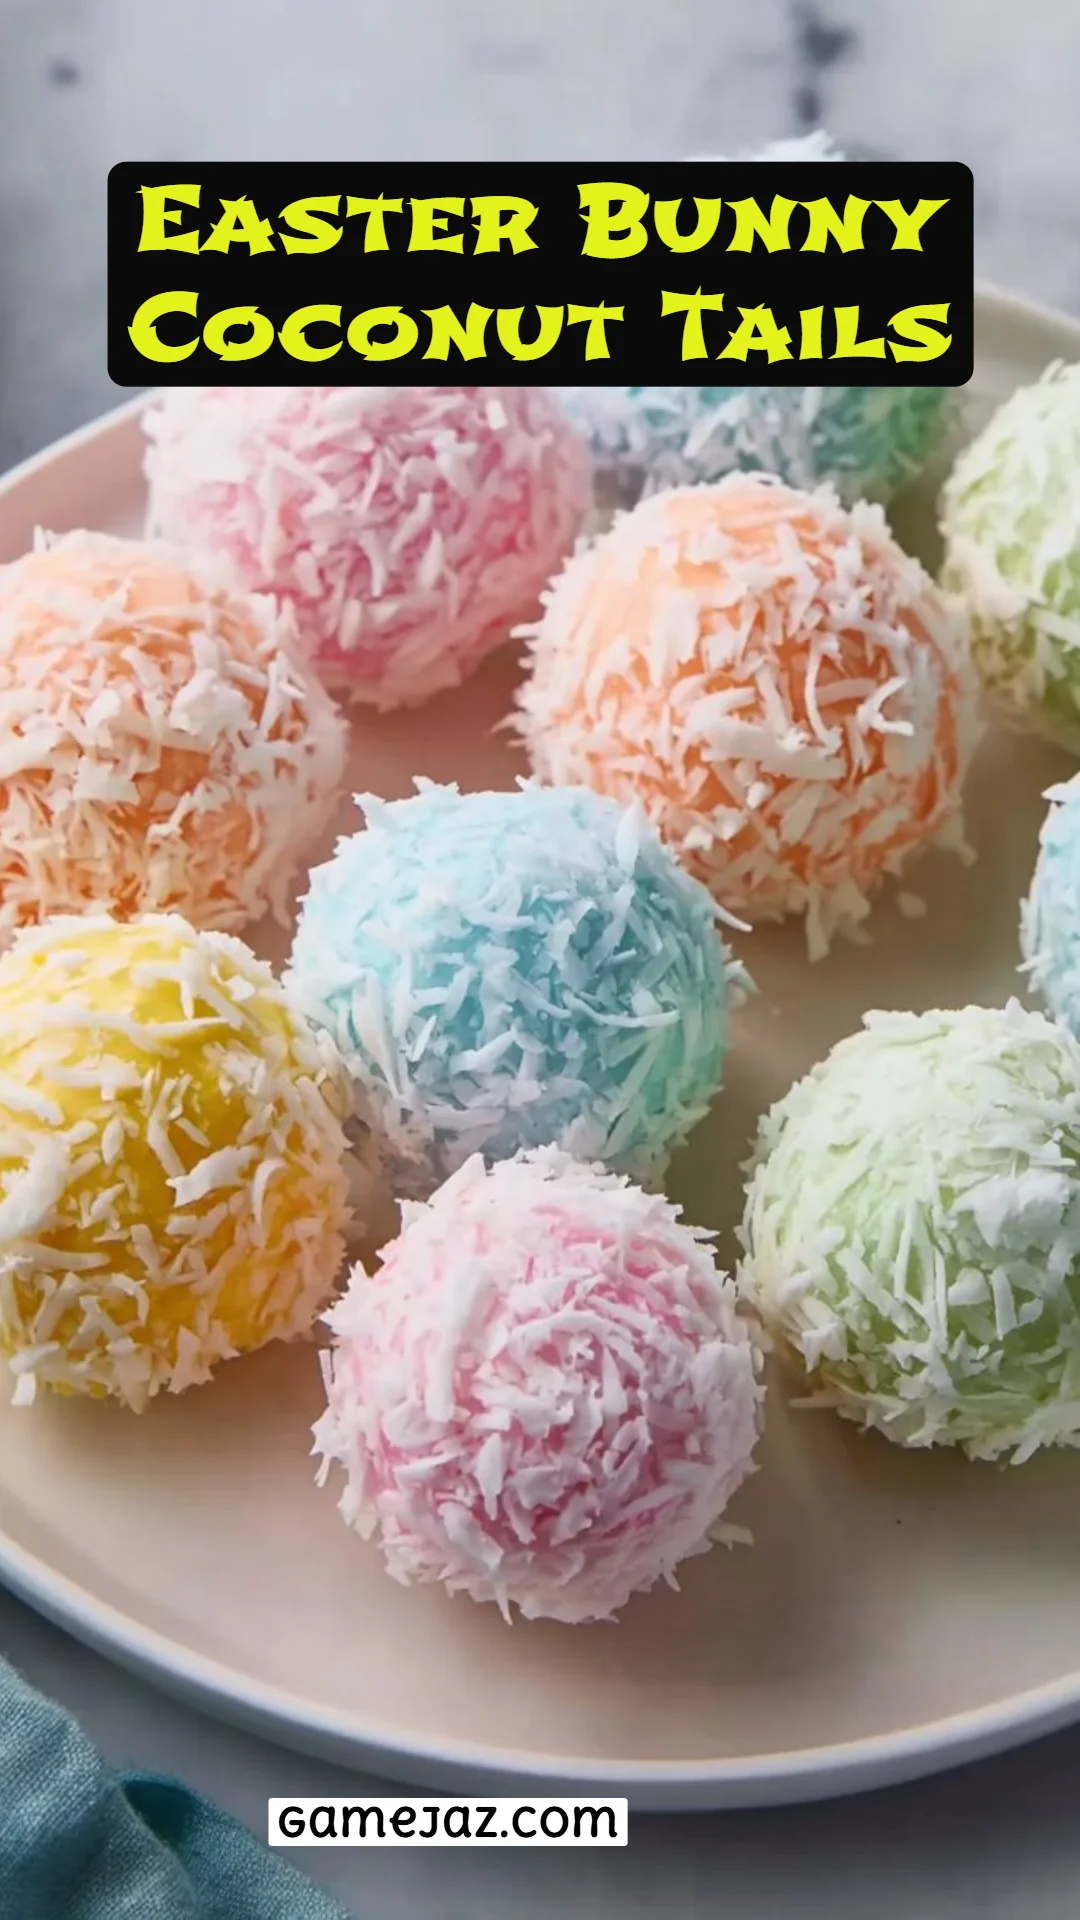
Delightful Easter Bunny Coconut Tails: A Sweet Treat for Spring Celebrations
As a child, Easter was always my favorite holiday, not just for the egg hunts but also for the sweet treats that filled our kitchen. Nothing was more exciting than watching my grandmother roll up her sleeves and whip up her famous Easter Bunny Coconut Tails. The memory of those delightful bites, bursting with flavor and coated in snowy coconut, fills my heart with nostalgia. If you’ve ever felt that blissful joy as you take your first bite into something truly special, then you know what I mean.
These Easter Bunny Coconut Tails are not just your average dessert; they are mini masterpieces of nostalgia, perfect for sharing with family and friends. Unlike many store-bought treats that can be too sweet or lacking in flavor, this recipe stands out with a rich texture and a homemade touch that warms your heart. What makes these truffles even better? They’re a breeze to make—trust me, you’ll learn how to whip them up in no time!
So join me as I take you through my personal recipes and tips on creating these delightful Easter Bunny Coconut Tails that will surely bring your family together and create new sweet memories.
What Are Easter Bunny Coconut Tails?
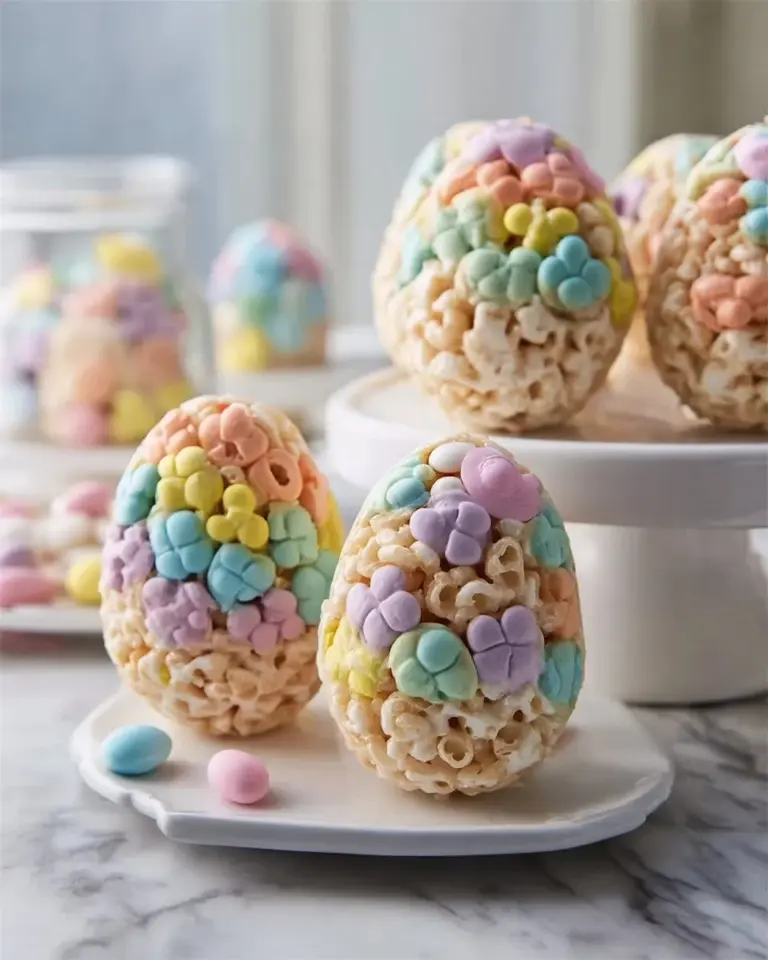
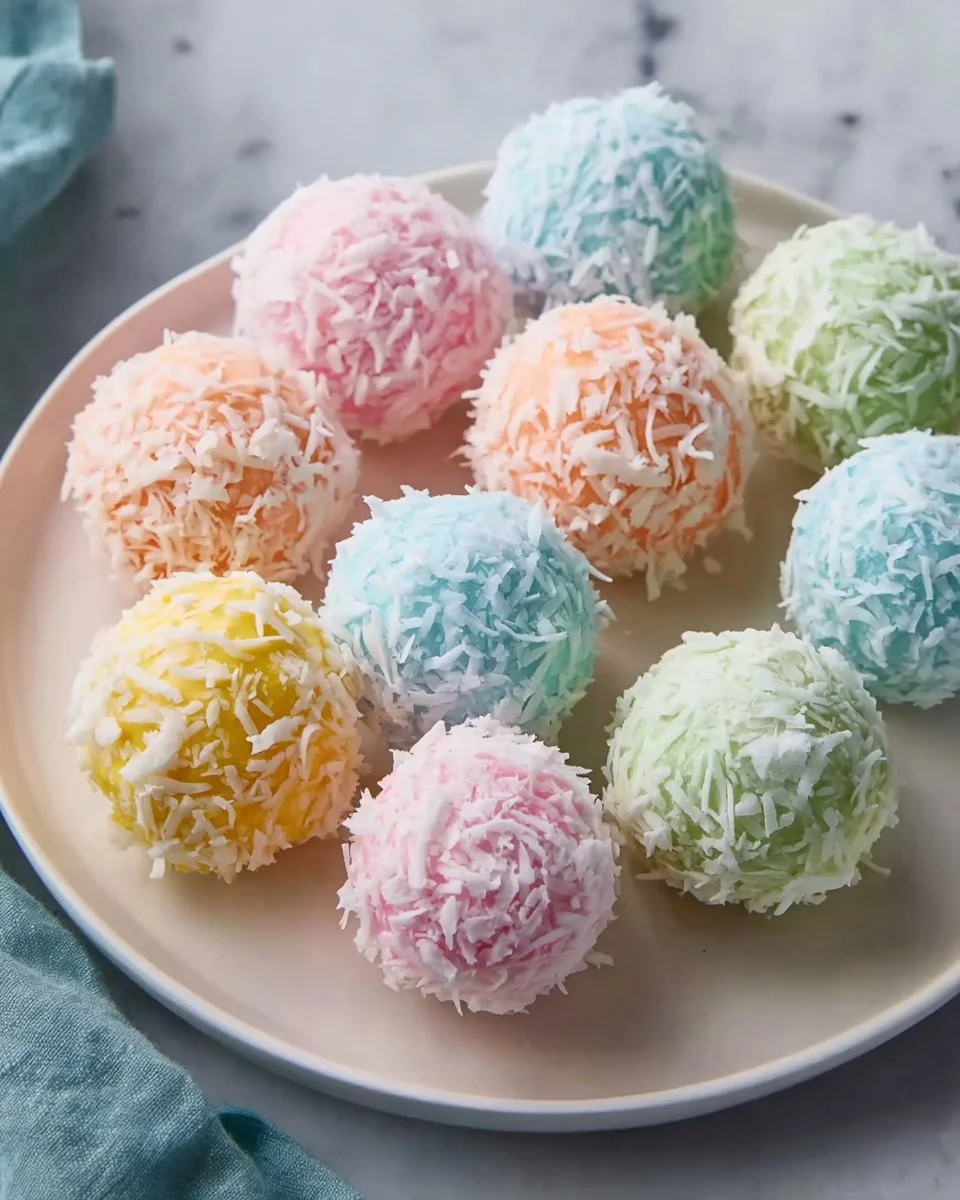
Easter Bunny Coconut Tails are whimsical and delightful treats that have become a beloved staple in Easter celebrations. Originating from the tradition of using coconut in spring desserts, these truffles are filled with sweetened shredded coconut and condensed milk, giving them a rich, decadent taste that evokes the joy of Easter.
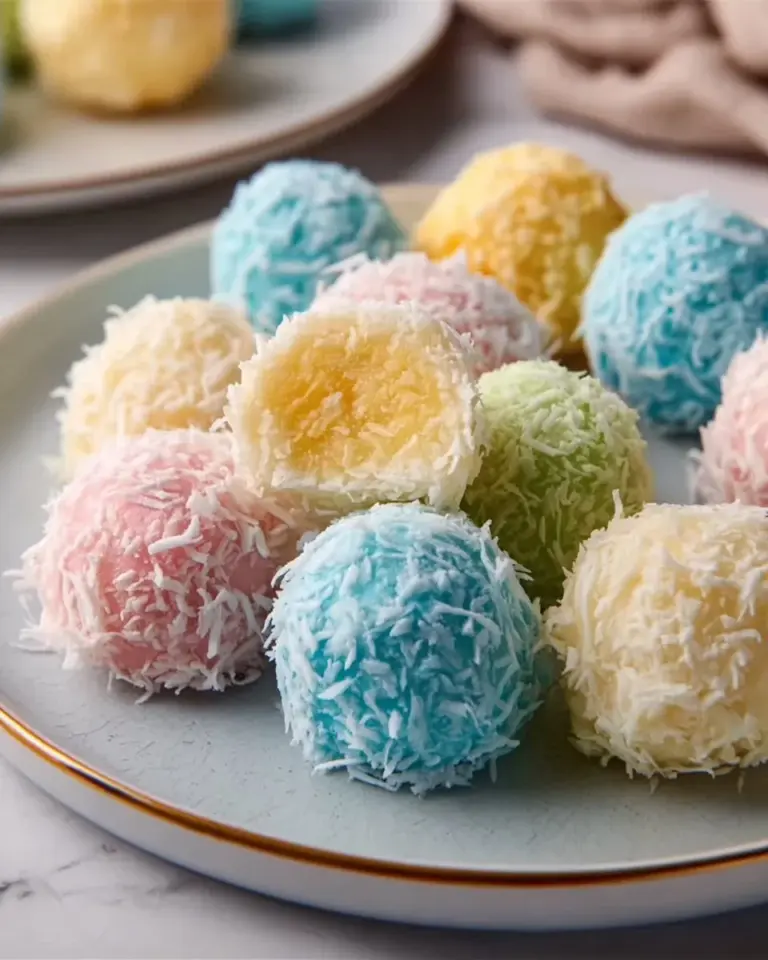
Each bite of these delicious tails reveals a soft and chewy interior, encased in a creamy white chocolate or candy coating. The addition of pastel gel food coloring provides a festive touch that brings a smile to everyone’s face. Perfect for Easter or any spring gathering, these treats are a hit at parties or as a sweet surprise in kids’ lunchboxes.
Easter Bunny Coconut Tails are more than just tasty; they are an invitation to celebrate the season with family and friends. Whether you’re bringing them to a potluck or simply enjoying them at home, these tails are sure to impress and please anyone who takes a bite.
Why You’ll Love This Recipe
Easy and Quick to Make: Unlike complicated desserts that leave you sweating in the kitchen, these Easter Bunny Coconut Tails come together in a flash, making them perfect for a last-minute treat or a planned festive delight.
Cost-Effective: Preparing these delightful tails at home will save you money compared to buying gourmet versions from the store, and you’ll know exactly what goes into each bite.
Creative Customization: You can easily personalize these tails by changing the colors of your candy melts to suit the occasion or even introducing new flavors like almond or lemon for a twist.
Tasty vs. Store-Bought: There’s truly no comparison when it comes to flavor. These homemade tails are softer, chewier, and infinitely more satisfying than many store-bought options which often rely on additives.
Family Greatness: This recipe encourages family involvement. Get your kids in the kitchen, and watch them roll, dip, and decorate. It’s a wonderful way to bond as you create delicious memories.
In less than an hour, you can impress everyone with these gems—let’s embrace the Easter spirit and get rolling!
Ingredients Section
For the Easter Bunny Coconut Tails, you will need:
- 3 cups sweetened shredded coconut (look for the highest quality; brands like Baker’s or Ghirardelli are great options)
- 1 can (14 ounces) sweetened condensed milk (this is the glue that holds everything together; I love Eagle Brand)
- 1 teaspoon pure vanilla extract (invest in good quality, as it enhances the flavor)
- 1/4 teaspoon salt (balances the sweetness)
- 12 to 16 ounces white candy melts or white chocolate (Merckens or Wilton work beautifully)
- Pastel gel food coloring – pink, blue, yellow, green (these give the tails their festive look)
- 1 cup sweetened shredded coconut (for rolling)
Preparation Notes:
- Ensure that your sweetened condensed milk is at room temperature for easier mixing.
- If using cold butter, let it sit out until it reaches room temperature, as it helps ensure a smooth texture.
Step-by-Step Instructions
Mix the Base: In a large mixing bowl, combine the sweetened shredded coconut, sweetened condensed milk, vanilla extract, and salt. Stir until everything is thick and sticky. If the mixture seems too soft, don’t panic! Just add a little more shredded coconut until you reach the right consistency.
Form the Tails: Scoop and roll the mixture into 1-inch balls, placing them on a lined baking sheet. Make sure they are evenly sized to ensure uniformity in cooking.
Chill: Pop the tray into the refrigerator and chill for 1 to 2 hours until the balls are firm. They should be easy to handle and dip when you take them out.
Melt & Tint Chocolate: In the meantime, melt your white candy melts or white chocolate in a microwave-safe bowl. Heat in 30-second intervals, stirring until smooth and creamy. Once melted, divide the chocolate into separate bowls for your pastel colors, adding a tiny amount of gel food coloring to achieve your desired shades.
Coat the Tails: Take each chilled ball and dip it in the melted coating. When pulling it out, gently tap off any excess coating to avoid clumping.
Add Coconut: Before the coating hardens, roll each truffle in the extra sweetened shredded coconut to create a fluffy exterior.
Set and Store: Allow the tails to sit and completely harden. Once set, store them in an airtight container in the refrigerator for up to 5 days. (Trust me, they won’t last that long!)
Expert Tips & Tricks
Quality Matters: Always choose high-quality ingredients for the best flavor and texture. Cheap chocolate or coconut can lead to disappointing results.
Make-Ahead Option: You can prepare the base and freeze the balls for up to a month. Just thaw them before coating.
Storage Secrets: Store the coated coconut tails in a single layer in an airtight container; they’ll keep well in the refrigerator for about five days.
Troubleshooting: If your coating is too thick, add a teaspoon of vegetable oil or shortening to thin it. If it’s too soft, chill it for a bit longer before dipping.
Don’t Rush the Chocolate: Use patience when melting chocolate, as overheating can cause it to seize.
Serving Suggestions
Easter Bunny Coconut Tails are versatile and can be served in various ways! Pair them with a cup of coffee or hot chocolate for a sweet afternoon treat. Present them on a festive platter at an Easter brunch, or place them in cute little bags with pastel ribbons as charming party favors. They also make excellent additions to gift baskets during the spring season or for special occasions.
Variations & Substitutions
- Flavor Variations: Try adding a teaspoon of lemon or almond extract to the mixture for different flavor profiles.
- Dietary Adaptations: If someone has a gluten sensitivity, rest assured that this recipe is naturally gluten-free. You can use dairy-free chocolate and coconut milk to cater to vegan diets.
- Seasonal Twist: During summer, switch to tropical flavors by adding crushed pineapple or mango into the coconut mix!
Nutrition & Storage Info
- Prep Time: 20 minutes
- Chill Time: 1-2 hours
- Total Time: Under 3 hours
- Yield: About 18 coconut tails
- Estimated Calories: Approximately 120 calories per tail
Storage: Keep these beauties in an airtight container in the fridge for up to five days. They can also be frozen for up to a month—though I doubt they’ll last that long!
FAQ Section
Can I make these ahead of time?
Absolutely! You can prepare the mixture and roll them into balls a week in advance!What other colors can I use?
Feel free to get creative with colors! Red for Valentine’s or orange for Halloween is perfect!Can I use regular chocolate instead of white?
Yes! Dark or milk chocolate can be a delicious twist.Are these gluten-free?
Yes! All ingredients used are gluten-free.How can I make these more festive?
Try shaping them into bunny tails or using sprinkles on top for added texture!How do I get the chocolate smooth for dipping?
Make sure not to overheat it, and add a bit of oil if it thickens too much.What’s the best way to store leftovers?
Use an airtight container in the fridge—layer them with parchment paper to avoid sticking.Can I freeze these?
Yes! They freeze well; just thaw before serving.What’s the texture like?
Expect a chewy, soft center with a delightful crunchy exterior thanks to the coconut.Can I use unsweetened coconut?
You can, but then you may need to adjust the sweetness by adding more condensed milk.

Conclusion
These delightful Easter Bunny Coconut Tails are so much more than just a sweet treat; they are a bridge to memories and a way to create new delicious ones with loved ones. Easy to make and joyfully customizable, these coconut tails will surely become a cherished tradition in your home!
I invite you to give this recipe a try! Share your creations and thoughts in the comments below, and if you’re looking for more sweet inspiration, check out my blog’s other Easter recipes. Together, let’s make this season sweet and memorable!