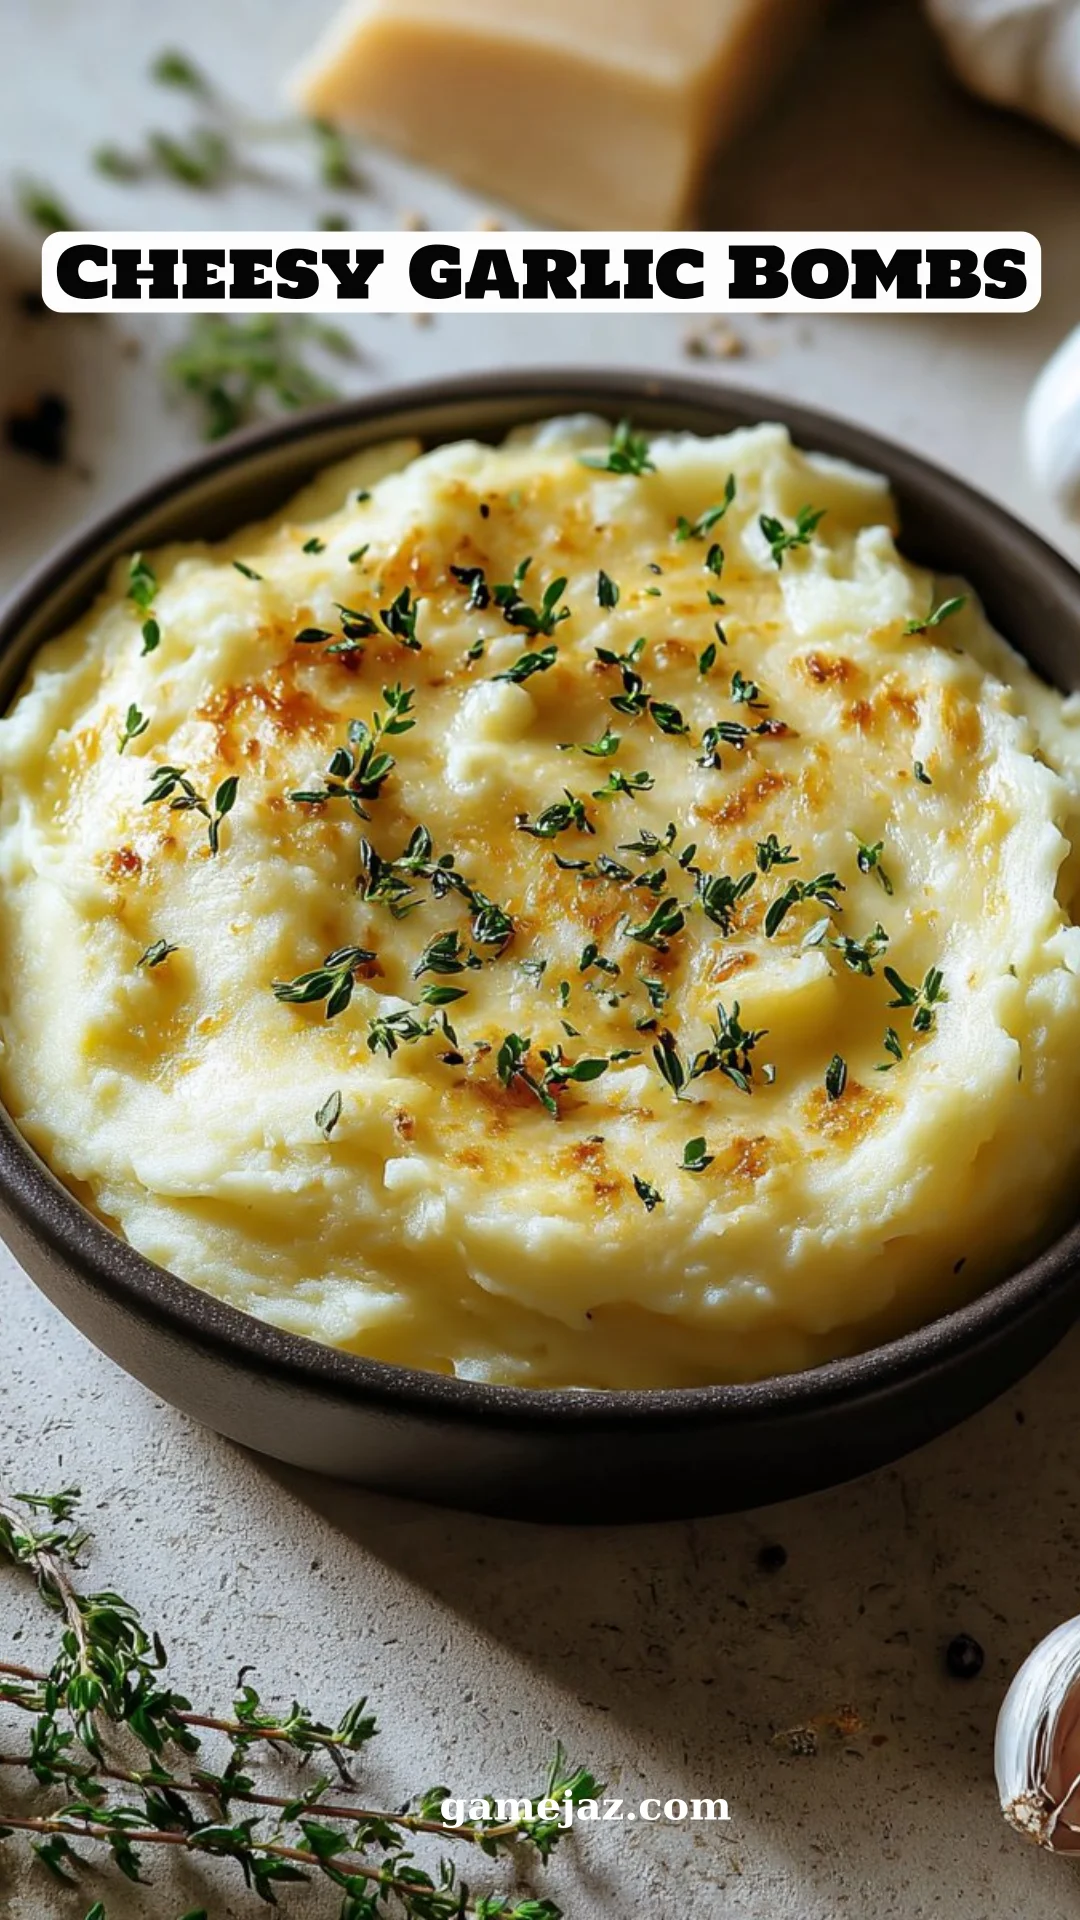
Irresistible Cheesy Garlic Bombs – A Must-Try Recipe for Comfort Food Lovers
Have you ever found yourself stumbling across a snack that makes your heart skip a beat? For me, that delightful moment was when I first bit into Cheesy Garlic Bombs. Imagine a warm, golden-brown dough bursting with melty cheese and fragrant garlic, enveloped in a buttery embrace. The moment that gooey goodness hit my palate, I was transported back to cozy family dinners where comfort food ruled the table.
What makes my version of Cheesy Garlic Bombs special is not just the divine combination of flavors but also the memories they evoke. I remember making them with my mom during the holidays, laughter filling the kitchen as we rolled and filled the biscuit dough, eagerly anticipating the moment when those heavenly bites emerged from the oven. Unlike the store-bought versions that often lack that homemade touch, my recipe leverages fresh ingredients, allowing you to customize and relish the perfect balance of cheese and garlic.
Join me on this culinary adventure where I’ll guide you step-by-step through creating these cheesy delights, and I promise they’ll become a household favorite, just as they are in mine!
What Are Cheesy Garlic Bombs?
Cheesy Garlic Bombs are a delightful fusion of comfort and indulgence, stemming from the classic American biscuit culture mixed with Italian flavors. Originating from the trend of stuffed breads, these charming little bites are made using simple refrigerated biscuit dough and packed with cheesy goodness.
The taste is a harmonious blend of savory and creamy flavors, while the texture is a delightful contrast: tender and pillowy on the outside with a gooey, cheesy surprise hidden within. What truly sets them apart from other cheesy snacks is the easy preparation and mouthwatering finish. Perfect for game days, cozy family nights, or even a casual gathering, they deliver warmth and nostalgia in each bite.
Why make them? Because everyone deserves a bit of gooey, cheesy magic in their lives!
Why You’ll Love This Recipe
Simple Ingredients, Big Flavor: With just a handful of ingredients, you can whip up these Cheesy Garlic Bombs in no time. Forget complicated recipes; this one keeps it straightforward yet incredibly tasty!
More Than Store-Bought: Unlike those disappointing frozen versions, my Cheesy Garlic Bombs are made from fresh ingredients, meaning every bite is filled with rich, gooey cheese and aromatic garlic, far surpassing any commercial alternatives.
Customizable to Your Taste: Want to spice things up? Try adding jalapeños, or switch out the cheeses for a sharper cheddar or a brie. The possibilities are endless!
Cost-Effective Delight: Making these bombshells at home saves you money and ensures you know exactly what’s going into your food. Plus, you’ll have plenty to share (or not)!
Perfect for Any Occasion: Whether it’s game day, a cozy movie night, or a potluck, these cheesy bites are guaranteed to impress. And they’re easy to prepare, giving you more time to enjoy!
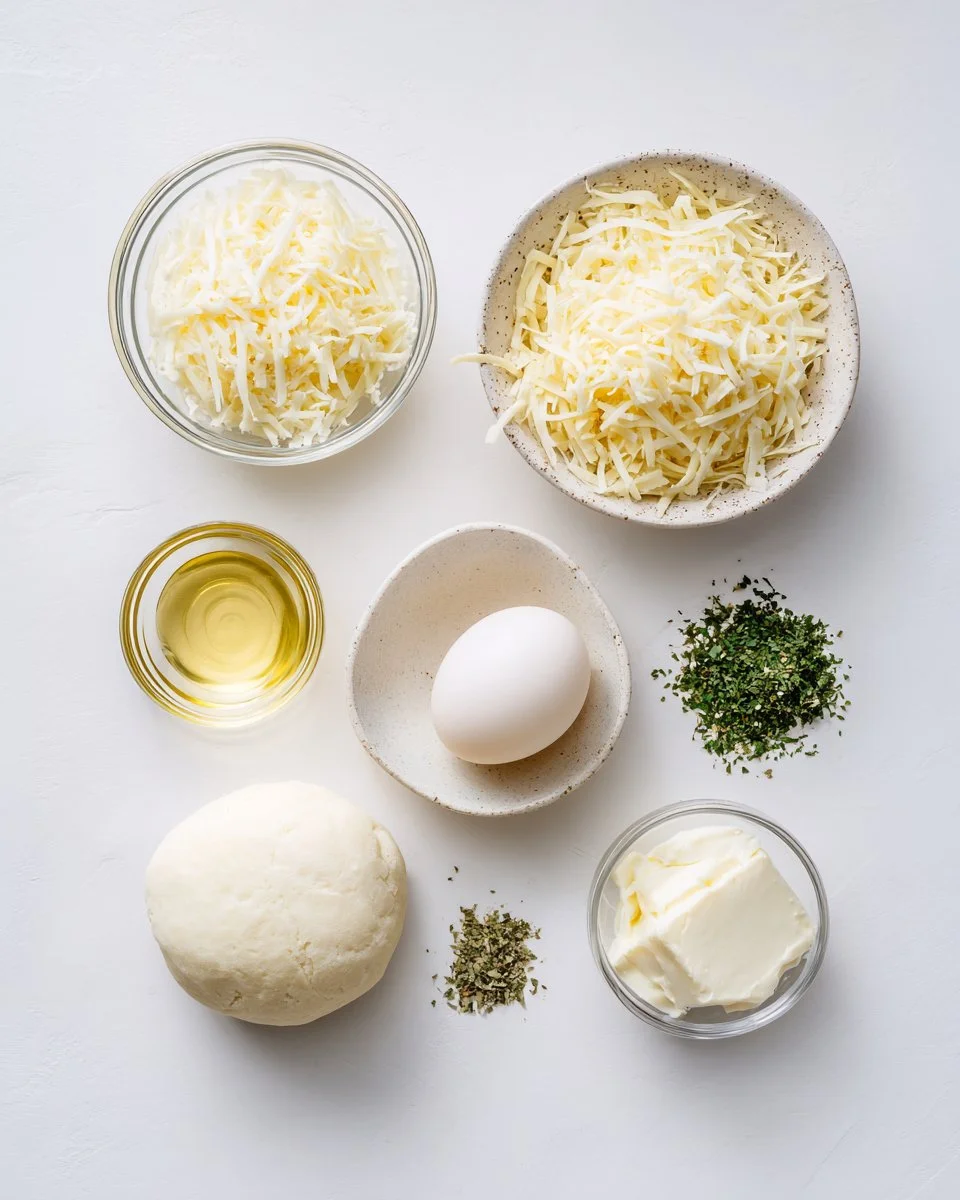
Ingredients Section
Before we dive into making these Cheesy Garlic Bombs, let’s gather our ingredients:
1 cup shredded mozzarella cheese: Using part-skim mozzarella yields gooeyness without overpowering the flavor. For a creamier texture, opt for fresh mozzarella if you can find it!
1/2 cup grated Parmesan cheese: Always choose a high-quality Parmesan for that unmistakable umami flavor. Aged varieties really elevate the taste.
1/3 cup melted butter: Make sure your butter is unsalted and melted—this adds to the richness without over-salting the snacks.
1 tablespoon garlic powder: Fresh garlic is great, but garlic powder offers a more uniform flavor throughout each bite.
1 tablespoon dried parsley: Adds a touch of color and freshness. If you have fresh parsley, feel free to substitute—just chop finely!
1 can (16.3 oz) refrigerated biscuit dough: I recommend using a classic buttermilk biscuit dough for a fluffier result. Check the label for an “unbleached” option if you prefer.
Prep Notes: Make sure your butter is at room temperature. This helps with easy mixing and brushing later on.
Step-by-Step Instructions
Ready to make your Cheesy Garlic Bombs? Let’s get started!
Preheat the oven: Set yours to 375°F (190°C) and line a baking sheet with parchment paper for easy cleanup.
Cheese Mixture: In a small bowl, mix together 1 cup shredded mozzarella cheese, 1/2 cup grated Parmesan cheese, 1 tablespoon garlic powder, and 1 tablespoon dried parsley until well combined.
Prepare the Biscuit Dough: Open your can of refrigerated biscuit dough and separate each biscuit. Flatten each one using your hands or a rolling pin to about a 4-inch circle.
Fill the Biscuits: Place a generous spoonful of the cheese mixture in the center of each flattened biscuit.
Seal the Bombs: Carefully fold and pinch the edges of the dough together to seal the cheese inside, creating a ball shape. Make sure they’re tightly sealed to prevent leakage while baking!
Arrange on Baking Sheet: Place the filled dough balls seam-side down on your prepared baking sheet, giving them a little space to expand.
Butter Brush: Brush each dough ball with 1/3 cup melted butter, ensuring they are well-coated for that golden finish.
Bake: Pop them in the preheated oven and bake for 15-20 minutes, or until golden brown and fully cooked. You’ll know they are ready when your kitchen fills with that irresistible garlic aroma!
Cool and Serve: Remove from the oven and let them cool slightly before serving. Trust me, the wait will make every bite feel like a warm hug!
Enjoy your warm and gooey Cheesy Garlic Bombs!
Expert Tips & Tricks
Storage: These Cheesy Garlic Bombs can be stored in an airtight container for up to 3 days in the fridge. For longer storage, freeze them in a single layer and then transfer to a freezer bag for up to 2 months.
Make-Ahead: Want to prep ahead? You can assemble the cheesy bombs a day in advance. Just cover and refrigerate until you’re ready to bake.
Don’t Overfill: Filling them too much will make sealing them tricky and may cause them to burst. A spoonful is just about right!
Perfect Puffs: For extra puffiness, make sure your biscuits are cold before baking. Chilling helps create steam and enhances their flakiness.
Common Mistakes to Avoid: If you find your garlic flavor isn’t strong enough, consider adding fresh minced garlic to your butter before brushing for a bolder taste.
Serving Suggestions
These Cheesy Garlic Bombs are fantastic on their own, but why not elevate the experience? Serve them hot with marinara sauce for dipping, or pair with a light salad for a delightful contrast. Presentation is key, so consider serving them on a rustic wooden platter with fresh herbs sprinkled around for a pop of color.
Perfect for game nights or as a side at dinner, these cheesy wonders will steal the show on any table!
Variations & Substitutions
Feel free to experiment with your Cheesy Garlic Bombs! Here are some fun twists:
- Spicy Twist: Add diced jalapeños or a sprinkle of crushed red pepper flakes to the cheese mixture for a kick.
- Herb Infusion: Try adding different herbs like thyme or oregano for a fragrant twist.
- Cheesy Additions: Throw in some crumbled feta or blue cheese for a tangy surprise.
- Veggie Lovers: Add cooked spinach or artichoke hearts for a delicious veggie option.
- Dietary Variations: Use gluten-free biscuit dough for a gluten-free version, or substitute dairy cheese with plant-based cheese alternatives.
Nutrition & Storage Info
- Prep Time: 15 minutes
- Cook Time: 20 minutes
- Total Time: 35 minutes
- Yield: Approximately 12 servings (about 2 bombs each)
- Estimated Calories: 150 calories per serving (2 bombs)
- Storage Instructions: Keep in an airtight container at room temperature for up to 2 days, or refrigerate for up to 3 days. For longer preservation, freeze for up to 2 months.
FAQ Section
Can I make Cheesy Garlic Bombs gluten-free?
Yes! Substitute regular biscuit dough with gluten-free options available at most grocery stores.Can I prepare dough ahead of time?
Absolutely! Assemble them ahead of time and store in the fridge until ready to bake.How long do leftovers last?
Store leftovers in an airtight container for 3 days in the fridge.What’s the best way to reheat them?
For optimal texture, reheat in the oven at 350°F (175°C) for about 10 minutes!Can cheese be substituted?
You can use any meltable cheese you love—try cheddar, Monterey Jack, or even cream cheese!Are these suitable for freezing?
Yes! They freeze beautifully. Just bake, let cool, and then freeze in an airtight container.I don’t like garlic. Can I skip it?
While garlic is a key ingredient, feel free to omit it for a different flavor profile.How can I make them healthier?
Consider reducing the butter or cheese, or swapping in whole wheat biscuit dough for a healthier option.Can I use fresh herbs instead of dried?
Yes, fresh herbs can enhance flavor! Use about three times the amount of fresh compared to dried.What’s the best dip for these Bombs?
A classic marinara sauce pairs perfectly, but garlic butter or ranch dressing works great too!
Conclusion
These Cheesy Garlic Bombs are not just a snack; they carry with them the essence of comfort food and warm memories. Try making them today and bring a little bit of that homey magic to your table. I’d love to hear how they turn out for you, along with any creative twists you add! Don’t forget to check out other delightful recipes on the blog for more fun in the kitchen!

Cheesy Garlic Bombs
Ingredients
Method
- Preheat the oven to 375°F (190°C) and line a baking sheet with parchment paper.
- In a small bowl, mix shredded mozzarella, grated Parmesan, garlic powder, and dried parsley until combined.
- Open the biscuit dough and flatten each biscuit into a 4-inch circle.
- Place a spoonful of the cheese mixture in the center of each biscuit.
- Fold and pinch the edges of the dough together to seal the cheese inside.
- Arrange the filled dough balls seam-side down on the baking sheet.
- Brush each dough ball with melted butter.
- Bake for 15-20 minutes or until golden brown and cooked through.
- Let them cool slightly before serving.