Indulge in the Creamy Delight of Viral Snow Ice Cream: A Fun and Easy Recipe
I remember the first time I made ice cream from snow—everyone’s eyes lit up with the delight of tasting something so unique and fun! On a chilly winter day, armed with a big bowl of freshly fallen snow and a handful of simple ingredients, my family gathered outside, ready for a delightful culinary adventure. As we mixed our ingredients—a small container of whipping cream, vanilla, and powdered sugar—laughter filled the air, and the transformation of ordinary snow into a creamy indulgence left us all in awe. And this is the beauty of Viral Snow Ice Cream!
What sets this recipe apart from other homemade ice creams is its whimsical charm and the joy it brings to the table. There’s something truly special about making a dessert from nature itself—I mean, who wouldn’t want to whip up a treat right from the snowflakes that fall from the sky? This Viral Snow Ice Cream is not just a dessert; it’s a splendid way to create memories on a cold day.
In this post, I’ll share my favorite way to make this snowy dessert, including tips and variations to tailor it to your taste. Let’s bring back that exciting childhood wonderment together and create a treat perfect for both kids and adults alike!
What Are Viral Snow Ice Cream?
Viral Snow Ice Cream originated as a creative and fun way to utilize fresh snow. It’s a delightful mix of whipped cream, sugar, and other flavors, transforming cold, fluffy snow into a sweet, creamy treat. The texture is mesmerizing—it’s airy yet dense, reminiscent of soft serve that melts blissfully in your mouth. The taste? Silky, sweet, and immensely satisfying—this dessert is a true masterpiece of simplicity and joy.
You might wonder when to make this creamy delight. The answer is simple: anytime the snow falls! It’s a great way to gather family and friends, turning an ordinary snowy day into an extraordinary experience. Plus, it’s an excellent alternative for those who might not have an ice cream maker but want to indulge in a homemade frozen dessert.
Why You’ll Love This Recipe
There’s a plethora of reasons this Viral Snow Ice Cream recipe will win your heart:
Insta-worthy Fun: Watching the transformation of snow into scoops of creamy goodness is entertainment for the whole family. Don’t be surprised if you find yourself reaching for your phone to capture the moment!
Cost-Effective Delight: Why spend money on expensive store-bought ice cream when you can create your own for a fraction of the cost? All you need is a small container of heavy whipping cream, some sugar, and, of course, the star ingredient: snow.
Customization Galore: You control the flavors! From vanilla to chocolate to fruit infusions, the options are endless. Simply adjust the ingredients to suit your favorite flavors.
Easy as Pie: With minimal preparation and no cooking required—just mix and enjoy—this ice cream is accessible for bakers of all levels. If you can scoop snow into a bowl, you can make this recipe!
Perfect for Kids: Involving kids in this fun cooking activity not only teaches them about nature, but it also creates magical memories. Plus, they can personalize their own flavor concoctions!
With these compelling features and the sheer joy of making something so unique from snow, you’ll soon be on your way to creating a dessert that brings smiles and satisfaction to everyone.
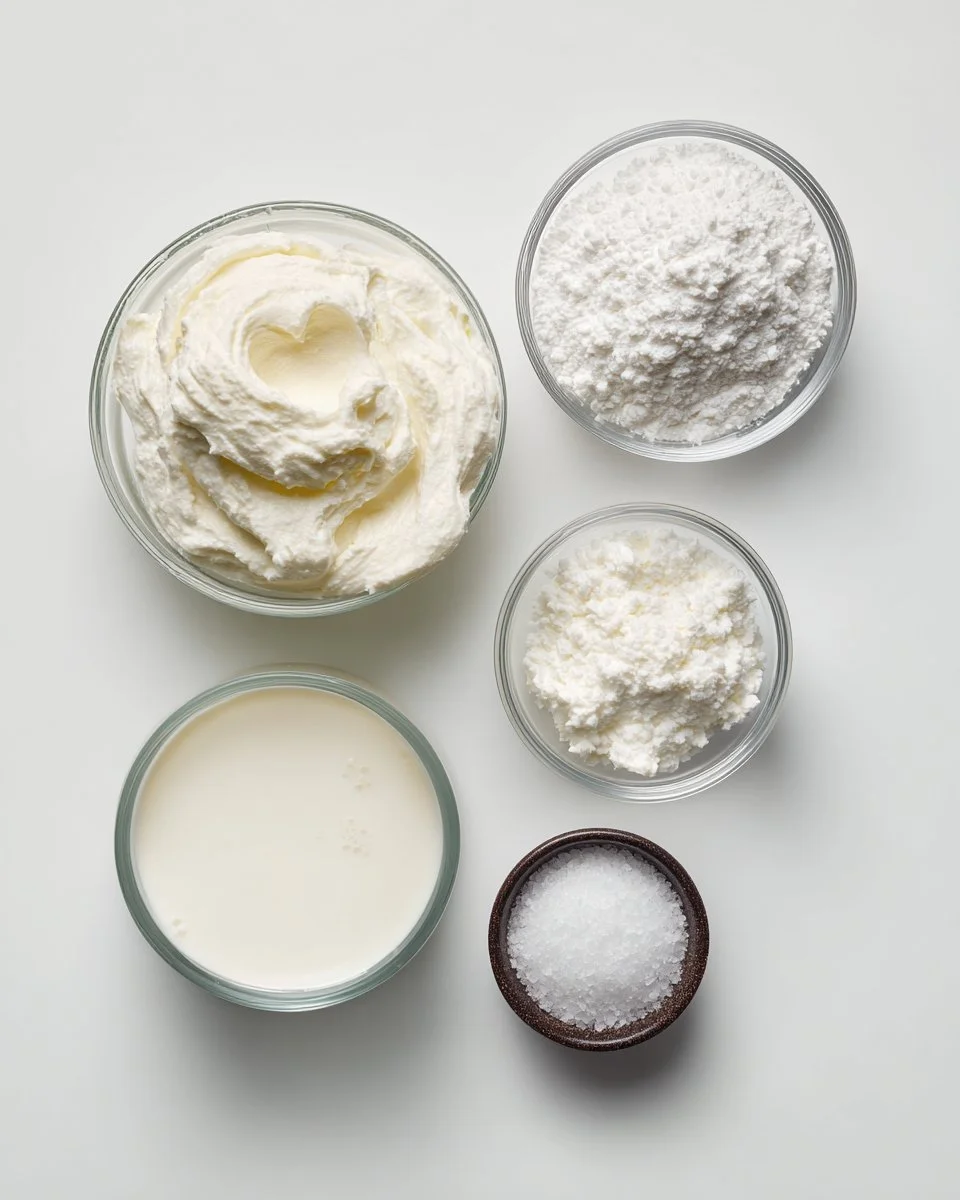
Ingredients
Here’s what you’ll need to whip up this delicious snow ice cream:
- 1 small container heavy whipping cream (35%): The richer, the better! If you’re looking for a lighter alternative, you can use coconut cream, but it’ll alter the taste.
- 1 teaspoon vanilla extract (adjust to taste): Use quality pure vanilla extract for the best flavor, or experiment with almond or mint extracts for a twist.
- 1/2 cup powdered sugar (adjust to taste): This gives it the sweetness you love; feel free to add more or less depending on your preference.
- Salt (for the bottom of the well): Essential for keeping the ice cream cold and enhancing all the flavors.
Prep Notes
- Make sure your whipping cream is chilled for optimal results. If you use room temperature cream, you might find it harder to whip.
Step-by-Step Instructions
Gather Your Ingredients: Start by assembling all your ingredients—this helps streamline the process and makes it more enjoyable.
Make an Indent in the Snow: Find a large enough bowl or container to hold your mixing ingredients. Gently pack it into the snow, creating a well or indent. The snow should be clean and fresh—the fluffier, the better!
Add Salt: Sprinkle a generous layer of salt at the bottom of the well. This trick keeps the ice cream cold and helps maintain its creamy texture.
Combine Ingredients: Next, carefully add your heavy whipping cream and powdered sugar into the well. Pour in the vanilla extract, adjusting to your taste preference.
Mix Until Solidified: Using a spoon or spatula, gently mix everything together within the snow. Once well combined, it should start to thicken and solidify. This process takes about 3-5 minutes, depending on your snow’s consistency. The end result should be a creamy, fluffy texture.
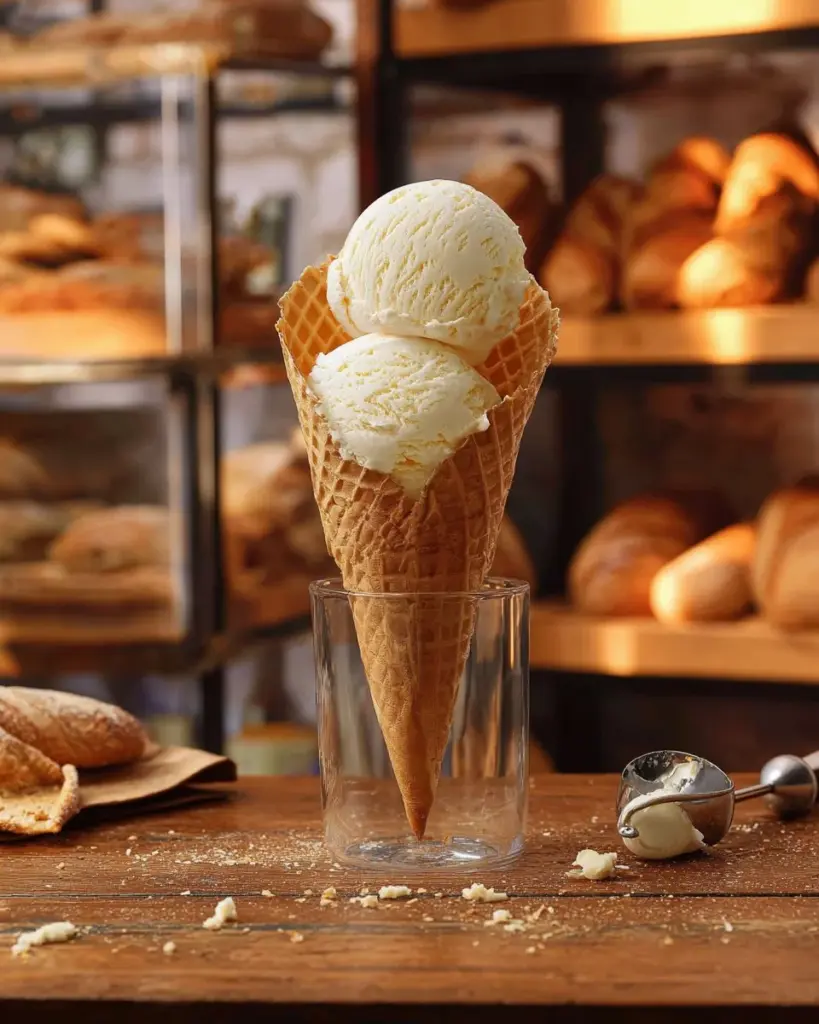
Enjoy: Once it has solidified to your liking, spoon the ice cream into bowls or cones, and dig in immediately for the best experience!
Chef’s Tips
- Visual Cues: The consistency should be similar to soft-serve ice cream. If it’s too runny, you might need a bit more snow or cream!
- Common Mistakes: Avoid using snow that looks dirty or has objects in it—always opt for freshly fallen, pristine snow.

Expert Tips & Tricks
Quality Ingredients Matter: The flavor of your ice cream comes directly from the ingredients you choose. Always opt for fresh, high-quality whipping cream.
Store Leftovers Properly: If any snow ice cream is left after your frosty gathering, store it in an airtight container in the freezer for no more than 24 hours. Beyond that, its texture may degrade.
Make-ahead Fun: If you’re expecting company, have your bowls ready to go in advance. Just prepare the ingredients, but wait to mix until everyone is gathered to maintain that fresh-from-the-snow experience!
Troubleshoot: If your ice cream seems too gritty, you’ve likely used too much sugar or not enough snow. Adjust as you go for optimal taste!
Presentation Tips: Serve in colorful bowls and garnish with fresh fruits or sprinkles for a delightful presentation that will wow your guests.
Serving Suggestions
While this creamy treat stands out on its own, pairing it with other winter delights makes for a cozy dessert experience. Consider serving Viral Snow Ice Cream alongside warm chocolate brownies, homemade cookies, or spiced apple cider.
For presentation, pile it high in your favorite bowls, and don’t forget to top it with chocolate drizzle, colorful sprinkles, or fresh berries for that extra magic. It’s perfect for winter parties, holiday gatherings, or just a fun surprise treat for your family.
Variations & Substitutions
Get creative with your snow ice cream! Here are some delicious variations to try:
Flavor Combinations: Mix in cocoa powder for a chocolatey twist, or fold in pureed fruit for a refreshing berry flavor.
Dietary Adjustments: For vegan alternatives, use coconut cream and almond milk instead of heavy cream and adjust the sweetness with maple syrup or agave.
Seasonal Fun: During the holidays, add peppermint extract for a festive touch or use seasonal spices like cinnamon and nutmeg for a holiday-inspired delight.
Nutrition & Storage Info
- Prep Time: 10 minutes
- Cook Time: None
- Total Time: 10 minutes
- Yield: Serves 4
- Estimated Calories per Serving: 150 calories
- Storage Instructions: Best enjoyed fresh, but any leftovers can be stored in an airtight container in the freezer for up to 24 hours.
FAQ SECTION
Can I use old or melting snow?
- No, always use fresh, clean snow to ensure the best flavor and safety.
Can I make this recipe with a snow cone machine?
- You can use a snow cone machine to create fine snow, but the traditional method offers a special twist that makes it even more fun!
How can I make it healthier?
- Substitute the powdered sugar with a natural sweetener and use less cream or replace it with a dairy-free alternative.
What if I can’t find heavy whipping cream?
- You can substitute it with coconut cream for a delicious, creamy texture, just ensure it’s chilled.
Will this work in warm weather?
- This recipe is designed for snowy days. In warm weather, the snow won’t hold up to freezing temperatures, so it’s best to enjoy on cold winter days.
Can I double the recipe?
- Absolutely! Just ensure you have enough snow to accommodate the extra ingredients.
How do I know when it’s done mixing?
- Once it has a soft-serve consistency and is well combined—typically 3-5 minutes—it’s ready to enjoy!
What type of snow is best for this recipe?
- Look for light and fluffy snow; avoid heavy, wet snow as it won’t create the right texture.
Can I add mix-ins like chocolate chips?
- Yes! You can fold in chocolate chips or nuts after mixing for an extra layer of flavor.
Is it safe to eat snow?
- As long as it’s clean and from a safe area (not near roads or industrial zones), it’s perfectly safe to enjoy!
Conclusion
This Viral Snow Ice Cream recipe is not just another dessert; it’s a chance to reconnect with the joy of winter and create unforgettable memories. The simple magic of turning fresh snow into a creamy delight is an experience everyone should try at least once—trust me, your taste buds will thank you!
So gather your ingredients, grab your bowl, and give this recipe a whirl. I’d love to know how yours turns out, so feel free to leave your feedback or any tweaks you enjoyed in the comments. And while you’re here, check out my other frosty recipes for even more home-baked goodness!
Viral Snow Ice Cream
Ingredients
Method
- Gather all your ingredients—this helps streamline the process and makes it more enjoyable.
- Make a well in the snow using a large bowl or container filled with clean snow.
- Sprinkle a generous layer of salt at the bottom of the well.
- Add heavy whipping cream and powdered sugar into the well, then pour in the vanilla extract.
- Mix everything together using a spoon or spatula within the snow until it thickens and solidifies (about 3-5 minutes).
- Once thickened, spoon the ice cream into bowls or cones and serve immediately.