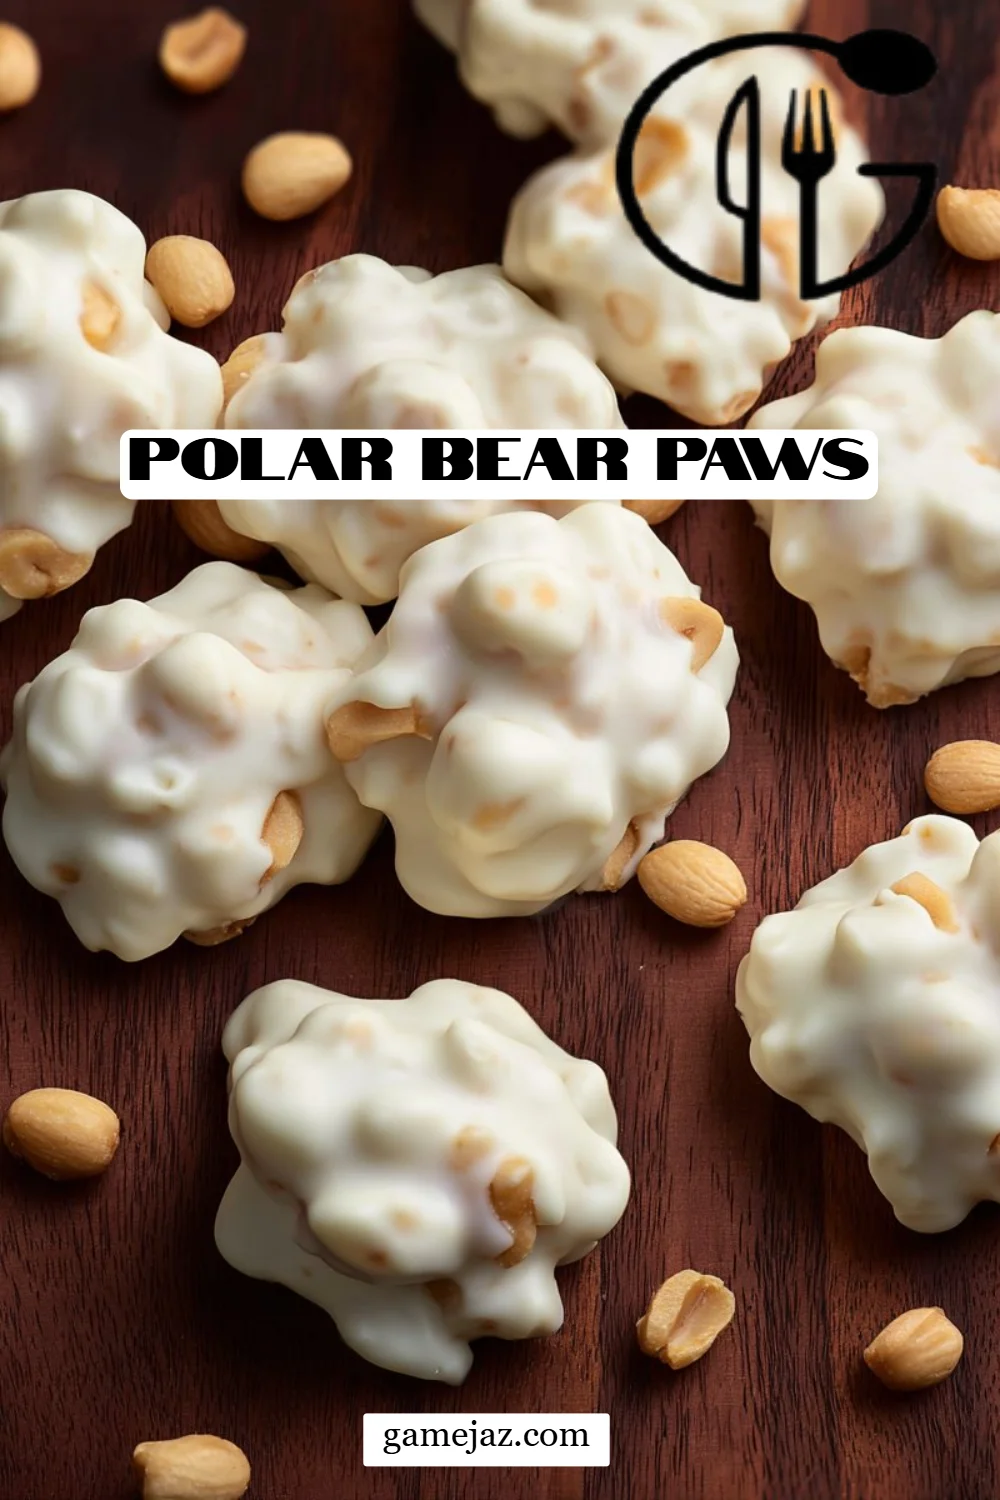
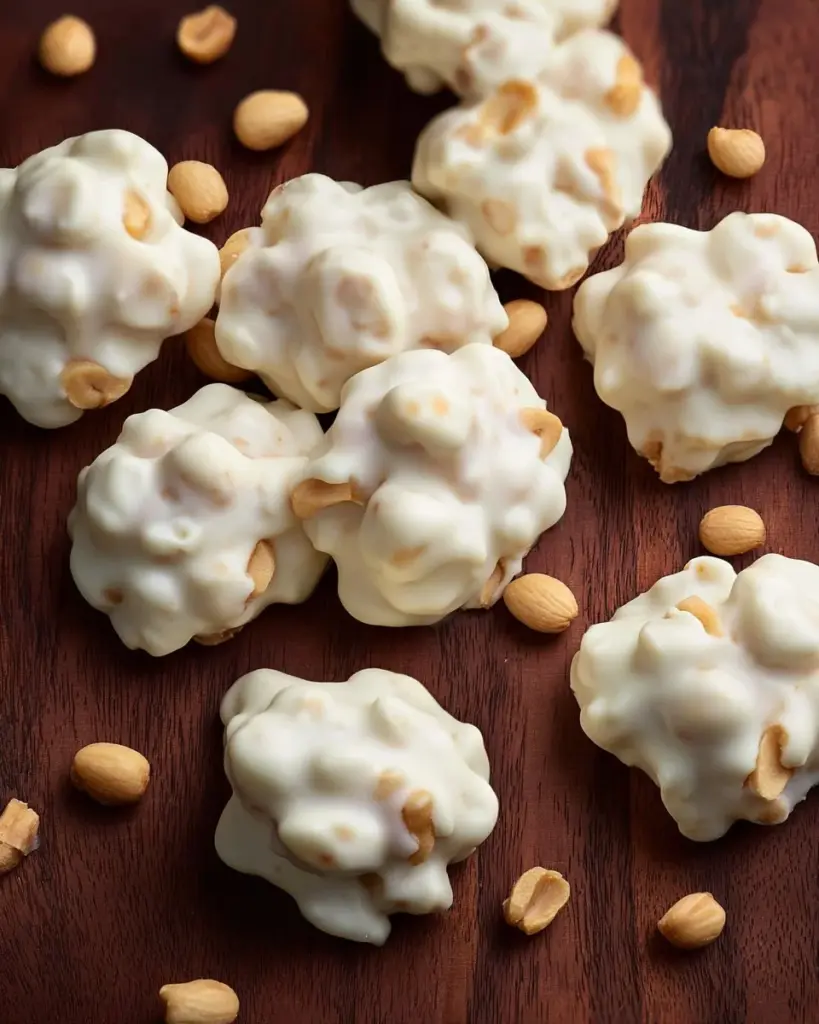
Growing up, some of my fondest memories revolve around the kitchen, where the scents of melting chocolate and caramel filled the air, wrapping my family in a warm embrace. One of the treats that always made an appearance during holidays and family gatherings were these delightful “Polar Bear Paws.” And let me tell you—they’re anything but your average dessert; they’re like a big hug in sweet snack form! Imagine clusters of crunchy peanuts enveloped in a rich, creamy caramel and finally dipped in velvety vanilla almond bark.
What sets my version apart from others? Well, it’s not just the unique combination of textures and flavors that give these Polar Bear Paws their charm. No, it’s the little touches that turn a simple treat into a heartwarming piece of nostalgia. I’ve crafted this recipe to be incredibly easy and fun—perfect for baking days with the kids or cozy evenings at home. You’ll see how customizable these paws are, whether you want to toss in some chocolate chips or a sprinkle of sea salt!
As you read along, I promise you’ll not only learn how to make your very own batch of Polar Bear Paws but also discover ways to make them your own and perhaps create sweet memories of your own in the process.
What Are Polar Bear Paws?
The legend behind Polar Bear Paws is as charming as their taste. These whimsical treats originated in the northern regions, often filled with the spirit of warmth and sharing—typical for gatherings in colder climates. With their crunchy peanuts and luscious caramel enveloped in white chocolate, they’re reminiscent of polar bears plodding through the snow, making their signature paw prints on a winter’s day.
You can expect a delightful crunch from the peanuts, a smooth, sweet base from the caramel, and the rich creaminess of the vanilla almond bark. Together, they create an indulgent treat that strikes the perfect balance between sweet and salty. It’s a texture lover’s paradise!
So, when should you whip up these scrumptiously heartwarming Polar Bear Paws? During the holidays, for game nights, or simply as an afternoon pick-me-up—these treats fit the occasion perfectly.
Why You’ll Love This Recipe
Ease of Preparation: This recipe is incredibly straightforward, taking just around 30 minutes of hands-on time. You don’t need any specialized skills—just a love for sweet treats!
Cost-Effective: You’d be surprised at how much you save by making these at home compared to buying pre-packaged treats. You can whip up a generous batch without breaking the bank!
Customization Options: Want to add a little chocolate? How about some sprinkles or a dash of sea salt? The variations are endless! You can make every batch a little different based on what your taste buds are craving.
Homemade Goodness: There’s something special about hand-making treats. You can control the quality of ingredients, making sure only the best enters your sweet paws!
Kid-Friendly Fun: This is an excellent opportunity for a baking adventure with your kids. They can help stir, drop the clusters, and even get creative with toppings!
If you’ve ever wondered how Polar Bear Paws measure up to store-bought versions, the homemade taste far surpasses anything that comes wrapped in plastic. Plus, you’ll be left with a kitchen that smells like a sweet dream!
Ingredients Section
Before we dive into the making process, let’s gather everything you need to create these delicious Polar Bear Paws:
Ingredients:
- 1 bag (11 ounces) caramel bits: I recommend using Kraft Caramel Bits for melting efficiency.
- 1 tablespoon unsalted butter (room temperature): Aids in achieving that silky caramel texture.
- 3 tablespoons heavy cream: For extra creaminess; I prefer using organic brands for a rich flavor.
- 1 1/2 cups (219 g) dry roasted peanuts, salted: Feel free to use unsalted if you want more control over the sweetness.
- 16 ounces vanilla almond bark: I usually opt for Merckens for its great melting quality and flavor.
Prep Notes:
- Make sure your butter is at room temperature for easy mixing.
- If needed, a microwave-safe bowl should be easily accessible.
Step-by-Step Instructions
Now that we have our ingredients ready, let’s get to the fun part—making these delightful Polar Bear Paws!
Line a Baking Sheet: Start by lining a baking sheet with parchment paper. This will ensure your Polar Bear Paws don’t stick, making for smooth removal.
Melt Caramel Mixture: In a microwave-safe bowl, combine the caramel bits, unsalted butter, and heavy cream. Microwave in 30-second intervals, stirring in between, until melted and smooth—this usually takes about 1 to 2 minutes.
Chef’s Tip: Keep a close eye on the mixture. If you overheat it, the caramel can become too thick.
Coat the Peanuts: Once your caramel is silky and smooth, stir in the dry roasted peanuts. Mix until every peanut is generously coated in caramel.
Shape the Clusters: Use a spoon or cookie scoop to drop clusters of the caramel-coated peanuts onto your prepared baking sheet. Aim for about 2 inches apart as they will spread slightly.
Chill Them Out: Pop the baking sheet in the fridge and let them chill for about 30 minutes until set.
Melt the Almond Bark: While the clusters are chilling, melt your vanilla almond bark in a microwave-safe bowl using the same method as with the caramel—30-second intervals, stirring until silky.
Dip the Clusters: Once the clusters have chilled, dip each one into the melted almond bark, allowing excess to drip off before placing them back on the baking sheet.
Let Them Set: Allow the dipped clusters to set at room temperature or pop them back in the fridge for quicker results. They’ll be ready in about 15-20 minutes.
Storage: Store your Polar Bear Paws in an airtight container at room temperature or in the fridge.
And there you have it—your very own Polar Bear Paws!

Expert Tips & Tricks
Ingredient Quality: Always use high-quality ingredients. This really makes a difference! Brands like Ghirardelli for chocolate or Land O’Lakes for butter will enhance your treat.
Make-Ahead Instructions: These Polar Bear Paws can be made a week in advance, perfect for holiday gatherings or gifts.
Troubleshooting: If your caramel is too thick, just add a little more cream to loosen it up. If the chocolate is clumping, it might be slightly overheated—try adding a bit of coconut oil for a smoother texture.
Storage: Keep them in an airtight container; they’ll last about a week at room temperature or up to two weeks in the fridge. For longer storage, you can freeze them for up to three months!
Use Fresh Nuts: Ensure your peanuts are fresh to avoid any rancid flavors sneaking in.
Experiment with Flavors: Try different nut varieties or add a sprinkle of cinnamon for a twist!
Serving Suggestions
These delicious Polar Bear Paws can be served in multiple ways. For a family movie night, lay out a baking tray filled with these treats alongside fresh popcorn for the perfect sweet-salty contrast. If you’re hosting a party, why not present them on a decorative platter, perhaps with a cup of warm apple cider? They’re also fabulous on their own—great for snacking or bringing as a treat to share with friends!
Variations & Substitutions
- Different Peanuts: Switch out the roasted peanuts for candied pecans or almonds for a unique flavor twist!
- Dietary Adjustments: For a dairy-free option, substitute the heavy cream with coconut cream and use dairy-free chocolate.
- Chocolate Lovers: Drizzled dark chocolate over the top is a decadent way to impress guests.
Nutrition & Storage Info
- Prep Time: 10 minutes
- Cook Time: 10 minutes
- Total Time: 50 minutes (includes chilling)
- Yield: About 24 clusters
- Estimated Calories per Serving: About 120 calories
- Storage Instructions: Keep in an airtight container at room temperature for up to a week, refrigerated for 2 weeks, or freeze for 3 months.
FAQ Section
Can I use different nuts?
- Absolutely! You can swap the peanuts for any nut you love—almonds or cashews are great options!
How can I make them gluten-free?
- These are naturally gluten-free, just ensure your ingredients are certified gluten-free.
What’s the best way to melt almond bark?
- Keep your temperature low and stir often! Microwaving in 30-second bursts works best.
Can I add flavoring to the caramel?
- Definitely! A splash of vanilla extract or a pinch of sea salt can elevate the flavor.
Why are my chocolate dips clumpy?
- This usually happens if it’s overheated. Next time, go slower, and consider adding a bit of coconut oil for smoothness.
Can I use chocolate chips instead of almond bark?
- Yes! Just remember to temper the chocolate for a shiny finish.
What’s the best way to store leftovers?
- An airtight container is perfect. They’ll stay fresh for up to a week!
What can I serve these with?
- Pair them with milk, coffee, or a warm beverage for a cozy treat combination.
Are these suitable for kids?
- Yes! They make for a fun and safe treat for children.
Can I make these in advance for a party?
- Of course! They stay fresh for days, so they’re a great make-ahead treat.
Conclusion
In conclusion, these Polar Bear Paws are more than just a treat; they’re a treasure trove of comfort and nostalgia. I hope you’ve found not only a recipe, but a way to create sweet memories with loved ones. Don’t forget to share your experiences and any unique twists you come up with in the comments! And if you enjoyed this recipe, be sure to check out some of my other delightful creations on the blog.
Tzatziki Greek Ground Turkey Meatball Bowls
Happy baking!
Polar Bear Paws
Ingredients
Method
- Line a baking sheet with parchment paper.
- In a microwave-safe bowl, combine caramel bits, unsalted butter, and heavy cream. Microwave in 30-second intervals, stirring in between, until melted and smooth—usually about 1 to 2 minutes.
- Stir in the dry roasted peanuts until all are coated with caramel.
- Drop clusters onto the prepared baking sheet, spacing them about 2 inches apart.
- Chill the baking sheet in the fridge for about 30 minutes until set.
- Melt the vanilla almond bark in a microwave-safe bowl using the same method as the caramel—30-second intervals, stirring until silky.
- Dip each caramel-coated cluster into the melted almond bark, allowing excess to drip off before placing them back on the baking sheet.
- Let the dipped clusters set at room temperature or refrigerate for quicker results, about 15-20 minutes.
- Store Polar Bear Paws in an airtight container at room temperature or in the fridge.