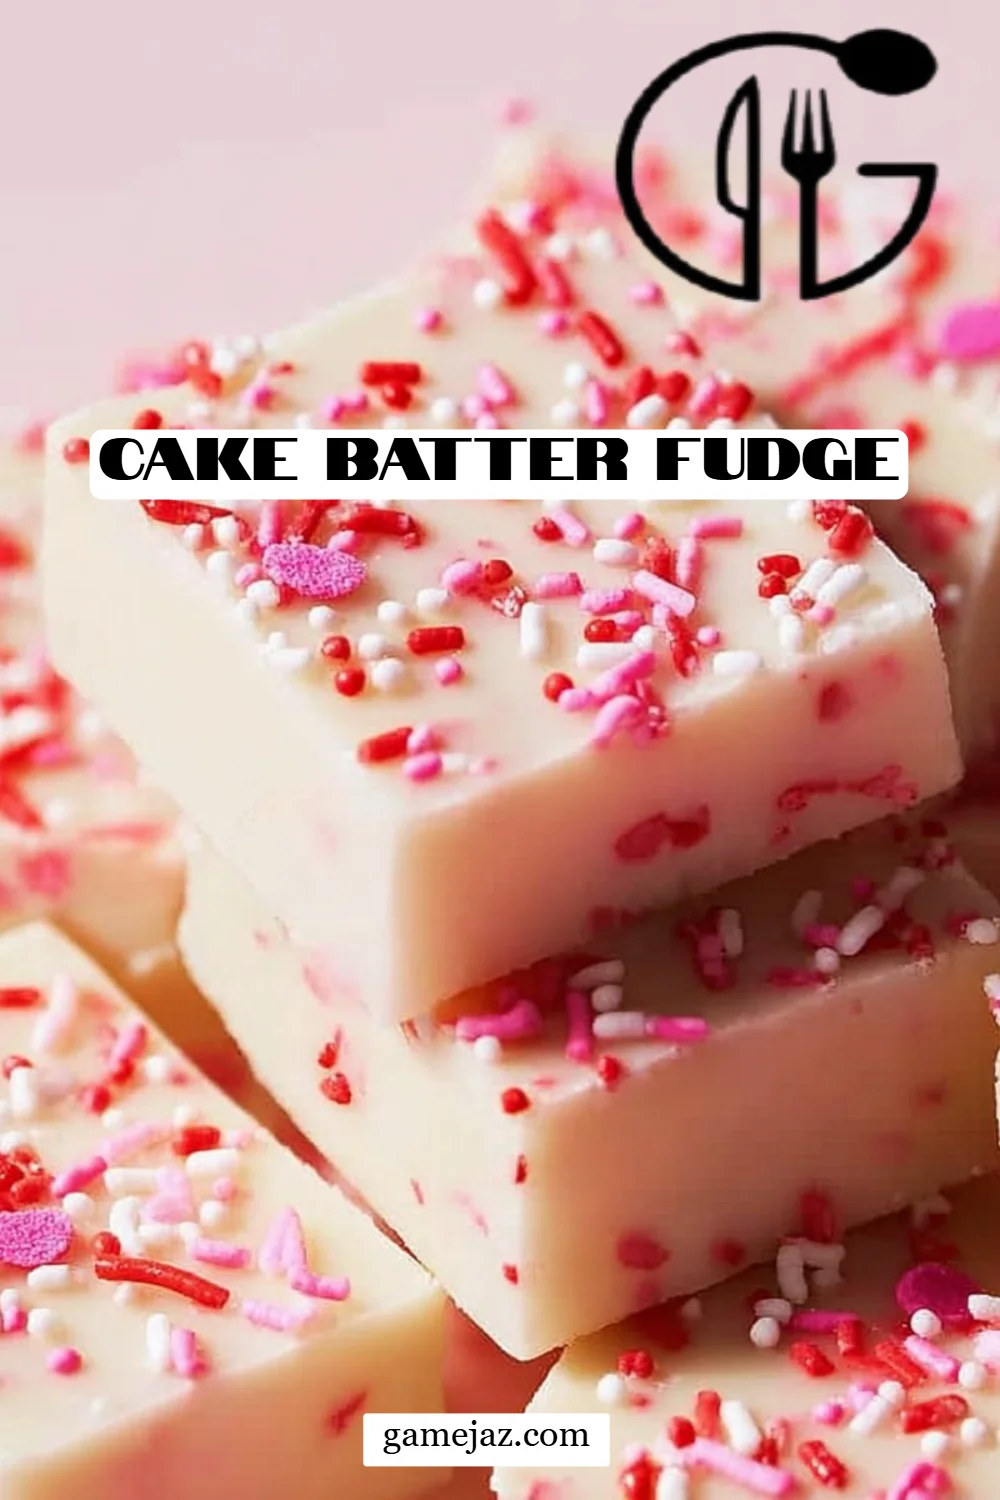
Irresistible Cake Batter Fudge: The Sweetest Treat You’ll Ever Make!
Ah, the sweet aroma of cake batter wafting through my kitchen instantly transports me back to my childhood. I remember those blissful days spent licking the spoon after Mom finished mixing a cake. The best part? It wasn’t just about the cake; it was about that tantalizing raw batter that tasted like pure happiness. Now, captured in a melt-in-your-mouth treat, let me introduce you to my favorite indulgence: Cake Batter Fudge.
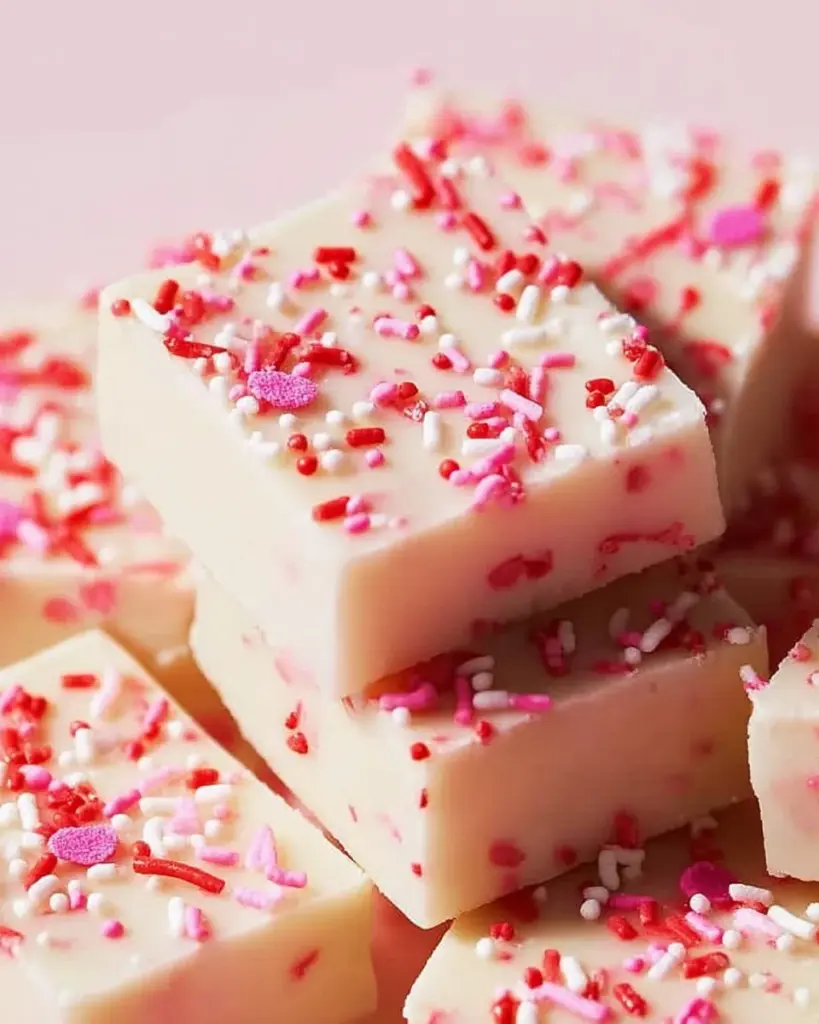
What makes this fudge so special? Unlike traditional fudge, which can sometimes be dense or overly rich, this Cake Batter Fudge is light, fluffy, and bursting with flavors that evoke warm childhood memories. Each bite brings a balanced sweetness enlivened by the whimsical touch of colorful sprinkles, making it not just a dessert, but a delightful experience.
This recipe stands out from others because it’s so incredibly easy! With just a few simple ingredients, you can create something truly magical. Plus, I promise this fudge will become your go-to treat for celebrations or as an everyday pick-me-up. Get ready to dive in as I take you step-by-step through this indulgent delight!
What Are Cake Batter Fudge?
Cake Batter Fudge is a whimsical, no-bake treat that combines the flavors of birthday cake with the creamy consistency of fudge. Originating from the love of cake batter itself, it has quickly become a favorite in many homes.
The fudge boasts a creamy, luscious texture enriched by white chocolate and sweetened condensed milk, which melds beautifully with the velvety hints of yellow cake mix. Each mouthful is a nostalgic journey, reminiscent of birthday parties filled with laughter and joy.
This treat is perfect for any occasion—is there ever a wrong time for fudge? Whether you’re celebrating a birthday, hosting a casual get-together, or simply want a sweet fix, Cake Batter Fudge shines. Plus, it’s an excellent choice for those last-minute dessert needs because it requires no baking!
Why You’ll Love This Recipe
Easy Prep: This recipe is as simple as mixing a few ingredients together! With no baking involved, you can satisfy your sweet tooth in minimal time.
Cost-Effective: Making your own fudge at home is not only fun but also saves you money compared to store-bought options. For the price of just a few pantry staples, you can whip up a generous batch.
Customization Galore: Want to make it extra special? Try different flavors of cake mix or mix in some of your favorite candies or nuts. The possibilities are endless!
Perfect for Gift-Giving: Wrap this fudge up in cute packaging, and you have a thoughtful homemade gift for birthdays, holidays, or just to say “I’m thinking of you”.
Crowd-Pleaser: Even the pickiest of eaters can’t resist this charming treat. I’ve served it at gatherings and the bowl disappears in no time!
Not only does this fudge beat any store-bought version in quality and flavor, but the love and personal touch you add make it even more worthwhile. With just a little time investment, you’ll create something truly fabulous!
Ingredients Section
For this delightful Cake Batter Fudge, you will need:
- 1 (14 oz.) can sweetened condensed milk
- Use a good-quality brand (like Eagle Brand) for the creamiest texture.
- 1/2 cup yellow cake mix
- For the best flavor, go for a trusted brand like Betty Crocker or Duncan Hines.
- 2 cups white chocolate chips
- I recommend using Ghirardelli or Nestlé Toll House for rich, creamy results.
- 1/2 cup sprinkles (optional)
- Feel free to use themed sprinkles for special occasions, or go classic with rainbow sprinkles.
Prep Notes:
- Ensure your butter and other ingredients are at room temperature for a smooth mix!
Step-By-Step Instructions
Combine Ingredients: Pour the sweetened condensed milk and yellow cake mix into a large mixing bowl. Stir them together until they are well combined—this will create a thick pastel batter.
Add White Chocolate Chips: Fold in the white chocolate chips until nicely distributed. This step adds that creamy, indulgent flavor that makes this fudge so special.
Microwave Magic:
- Microwave the mixture on high for 1 minute.
- Stir thoroughly and return to the microwave for an additional 30 seconds.
- Stir again, then heat for another 30 seconds. The chocolate chips should be perfectly melted and the mixture glossy.
Incorporate Sprinkles: Gently fold in the sprinkles, making sure not to over-mix. You want those pops of color to stay intact and not melt into the batter.
Set in Dish: Scoop the fudge mixture into an aluminum foil-lined 8"x8" baking dish. Press it down gently to create an even surface.
Finish with Sprinkles: Top the fudge with additional sprinkles. After all, who doesn’t love an extra sprinkle of joy?
Refrigerate: Place your baking dish in the refrigerator to chill for at least 2 hours or until set. You want the fudge to be firm but still soft enough to cut easily.
Serve: Once set, remove the fudge from the dish using the foil and cut it into 1” bars. Enjoy each creamy, rich bite!
Chef’s Tips:
- Visual Cue: When stirring, watch for that shine—it’s a sign the chips are perfectly melted.
- Avoiding Mistakes: If the mixture seems overly thick when mixing, give it a quick microwave burst to help it come together.
Expert Tips & Tricks
Storage Recommendations: Store leftover fudge in an airtight container at room temperature for up to 3 days, or refrigerate for up to a week.
Make-ahead: This fudge can be made up to one week in advance. It’s perfect for planning ahead for parties!
Troubleshooting: If your fudge doesn’t set, try placing it in the fridge for a bit longer. If it’s too soft, consider adding more cake mix next time.
Different Sizes: For a quicker snack, try making smaller squares. Adjust chilling time down slightly for bite-sized pieces.
Flavor Swaps: Experiment with different flavors by using chocolate cake mix or different types of chocolate chips!
Serving Suggestions
Serve your delightful Cake Batter Fudge alongside a glass of cold milk, a scoop of vanilla ice cream, or even atop a slice of chocolate cake for an extra treat! For a festive look, cut the fudge into cute shapes for birthday parties or holiday celebrations.
Variations & Substitutions
Different Flavors: Swap out the yellow cake mix for chocolate or red velvet for a seasonal twist!
Dietary Adaptations: For a gluten-free version, use a gluten-free cake mix and ensure your chocolate chips are gluten-free.
Add-Ins: Consider adding crushed cookies, nuts, or summer fruits like freeze-dried strawberries for added texture and flavor.
Nutrition & Storage Info
- Prep Time: 15 minutes
- Cook Time: 15 minutes (plus chilling time)
- Total Time: 2 hours and 30 minutes
- Yield: Approximately 16 pieces (1 inch each)
- Estimated Calories: About 130 calories per piece.
Storage Instructions:
- Room Temperature: Up to 3 days in an air-tight container.
- Refrigerator: Up to 1 week.
- Freezer: Up to 3 months. Just thaw in the fridge before serving.
FAQ Section
Can I use other types of chocolate?
- Absolutely! You can use semi-sweet or dark chocolate chips for a richer flavor.
How do I know when the fudge is set?
- It should feel firm to the touch and keep its shape after you cut it.
How can I make this dairy-free?
- Use coconut sweetened condensed milk and dairy-free white chocolate chips.
What’s the best way to cut fudge?
- To achieve clean edges, use a sharp knife warmed under hot water, then dried.
Can I add nuts or candies?
- Yes! Feel free to fold in your favorite snacks for added crunch and flavor.
Why does my fudge taste too sweet?
- The sweetened condensed milk adds a lot of sweetness. If that’s not to your liking, try reducing the amount of white chocolate slightly.
Can I freeze the fudge?
- Yes, just store it in an airtight container. Thaw it in the fridge before serving for the best texture.
Any tips to make it less sticky?
- Make sure it’s completely chilled before cutting and use a non-stick cooking spray on your knife for cutting.
What can I use instead of sprinkles?
- Chopped dried fruit, mini chocolate chips, or even crushed candy bars work wonderfully.
How long will this last?
- At room temperature, it should last about 3 days; in the fridge, it’s good for about a week.

Conclusion
This Cake Batter Fudge represents everything beautiful about baking: nostalgia, sweetness, and shared experiences over delicious treats. It’s incredibly easy to prepare, and I’m confident it’ll bring smiles to your loved ones’ faces, just like it has done in mine.
I would love to hear how your fudge turns out! Feel free to leave comments or feedback below. And if you’re looking for more delectable treats, don’t miss checking out my other delightful recipes on the blog. Happy baking!
Cake Batter Fudge
Ingredients
Method
- Combine sweetened condensed milk and yellow cake mix in a large mixing bowl until well combined, creating a thick pastel batter.
- Fold in the white chocolate chips until nicely distributed.
- Microwave the mixture on high for 1 minute. Stir thoroughly and return to the microwave for an additional 30 seconds.
- Stir again and heat for another 30 seconds until glossy.
- Gently fold in the sprinkles, ensuring they remain intact.
- Scoop the fudge mixture into a foil-lined 8"x8" baking dish and press down gently for an even surface.
- Top with additional sprinkles and refrigerate for at least 2 hours or until set.
- Once set, remove the fudge using the foil and cut into 1" bars.