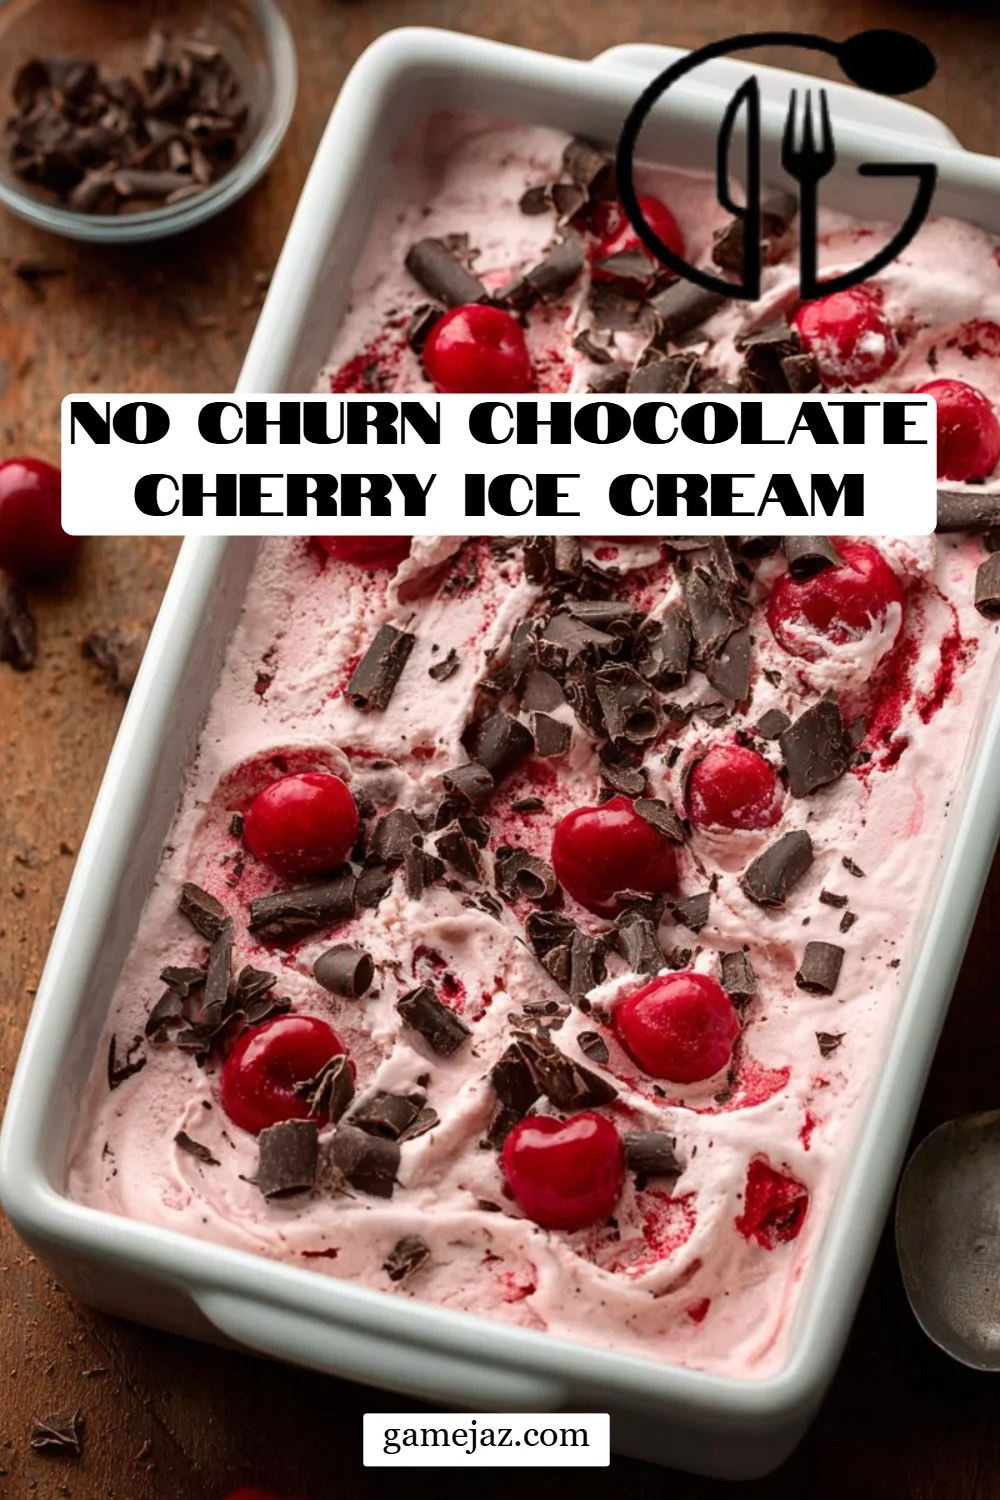
As the sun blazes through the window and the temperature soars, nothing feels quite as blissful as indulging in a creamy, rich dessert to cool down. This is exactly the moment that lured me to create my indulgent No Churn Chocolate Cherry Ice Cream for my family—a recipe born out of spontaneous creativity during one particularly sweltering summer afternoon. Picture this: crunchy chocolate flecks dancing with juicy cherries, all enveloped in a silky smooth ice cream. This isn’t just dessert; it’s a scoop of love served from my kitchen to yours.
What sets this No Churn Chocolate Cherry Ice Cream apart from store-bought options is how accessible yet decadent it is, letting you enjoy gourmet flavors without the fuss of an ice cream maker. The combination of luscious whipped cream and sweetened condensed milk creates a creamy base that’s simply irresistible. Plus, it brings back cherished memories of family gatherings where laughter and sweetness intertwined with each scoop.
In this post, I’ll walk you through every step of crafting your own blissful cherry-chocolate treat, complete with expert tips and personal tricks I’ve learned along the way. So get ready to elevate your summer dessert game!
What Are No Churn Chocolate Cherry Ice Cream?
No churn ice cream is a delightful creation that emerged as a lifesaver for home bakers and dessert lovers alike! As the name implies, you can whip up these treats without the need for an ice cream maker, making it an incredibly accessible option for the dessert-savvy home entertainer. The beauty of this No Churn Chocolate Cherry Ice Cream lies in its simplicity and versatility.
Taste and Texture: Imagine sinking your spoon into a scoop of velvety cream, chunks of smooth semi-sweet chocolate, and bursts of juicy maraschino cherries. It’s a texture fiesta! Each bite delivers a symphony of creamy sweetness and a touch of tartness, balanced perfectly by chocolate’s rich embrace.
When/Why to Make Them: Whether it’s a sunny afternoon or a cozy family gathering, this dessert is perfect for any occasion. It’s a fantastic alternative to traditional ice cream recipes, bringing rich flavors and a refreshing experience in each spoonful.
If you’re looking for an exciting and entertaining dessert that will impress friends and family, this No Churn Chocolate Cherry Ice Cream is your new best friend!
Why You’ll Love This Recipe
No Ice Cream Maker Required: Unlike classic recipes that require specialized equipment, this one allows you to achieve that creamy texture effortlessly. Just grab a bowl and a mixer!
Budget-Friendly Indulgence: You can create a deliciously decadent treat at home for a fraction of the cost of gourmet ice creams at your local store. Treat yourself without breaking the bank!
Customizable Flavors: Want to mix it up? You can easily substitute different fruits, nuts, or flavor extracts to tailor the ice cream to your liking. Consider trying strawberries or even hazelnuts for a delectable twist!
Quality Ingredients Matter: With this recipe, you control the ingredients. Opt for high-quality chocolate and fresh cherries to create your dream treat!
Easy to Make: This isn’t just easy—it’s foolproof! The process takes minimal time and effort, so you can spend more time enjoying it with loved ones rather than fretting over kitchen mishaps.
A Store-bought version can’t compete with the taste and flavor of homemade No Churn Chocolate Cherry Ice Cream. Plus, no complicated steps mean you’ll have extra time to devote to your friends and family!
Ingredients
- 2 cups heavy whipping cream: Ensure it’s nice and cold to help it whip up beautifully.
- 1 jar maraschino cherries (16 ounces), chopped, divided, juice reserved: Opt for good-quality maraschinos for a sweeter flavor!
- 1 can sweetened condensed milk (14 ounces): This is your secret to creamy, dreamy ice cream.
- 1 teaspoon vanilla extract: Pure vanilla extract is worth it for the amazing flavor boost!
- 1 bar semi-sweet chocolate (8 ounces), chopped, divided: You can use chocolate chips or bars—both work great!
- ⅔ cup hot fudge topping, store-bought or homemade, divided: Make it at home, or save time and grab a jar at the store!
Prep Notes: Make sure your heavy cream is cold and use room temperature for other ingredients, where relevant.
Step-by-Step Instructions
Chill Your Pan: Place a 10×7 inch pan in the freezer to chill while you prepare the ice cream. This will help it freeze evenly.
Whip the Cream: In the bowl of a stand mixer, add the heavy cream and start mixing on low speed, gradually increasing to medium. Whip until soft peaks form—this usually takes about 2-3 minutes. Set aside.
Combine Cherry Mixture: In a medium mixing bowl, combine the reserved cherry juice, sweetened condensed milk, and vanilla. Mix well until combined.
Fold in Whipped Cream: Gently fold the whipped cream into the cherry mixture until no streaks remain. This should take care to maintain the lightness of the whipped cream.
Add Chocolate and Cherries: Fold in chopped cherries and chocolate, keeping about 2 tablespoons of each aside for topping.
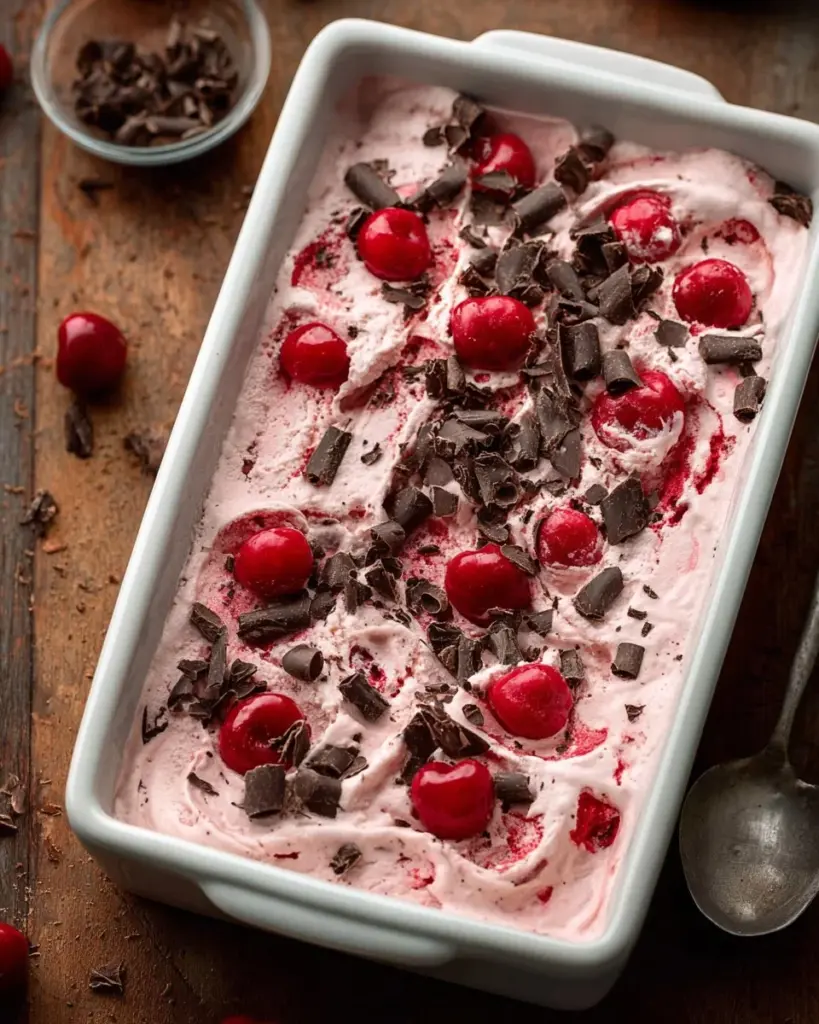
Layer the Ice Cream: Pour half of your ice cream mixture into the chilled pan, then drizzle with ⅓ cup of hot fudge topping. Top with the remaining ice cream mix.
Swirl and Final Touches: Drizzle with the rest of the hot fudge and gently swirl it through with a knife or skewer. Don’t forget to sprinkle the reserved chocolate and cherries on top!
Freeze: Cover the pan with plastic wrap and freeze for at least 6 hours, or until it’s firm.
Chef’s Tips: Make sure your mixing bowl and beaters are clean and cold for the best whipping results.
Expert Tips & Tricks
Work with Cold Ingredients: Only use cold heavy cream for the best results when whipping.
Chill Your Tools: Using a chilled bowl will help the cream whip up better.
Freeze for Longer: For optimum texture, I love to let mine freeze overnight before serving.
Wrap Properly: When storing leftovers, ensure the pan is tightly wrapped to prevent ice crystals from forming.
Make-ahead Potential: You can prepare this ice cream ahead of time—it’s perfect for parties or family gatherings.
Troubleshooting: If your ice cream doesn’t set, it might be due to insufficient whipping of the cream. Make sure it forms soft peaks before proceeding!
Serving Suggestions
This No Churn Chocolate Cherry Ice Cream shines all on its own, but can be paired elegantly with rich chocolate brownies or a warm chocolate cake. For a stunning presentation, serve scoops in waffle cones or elegant bowls with a drizzle of homemade fudge and a sprinkle of chopped nuts. Perfect for summer BBQs, birthdays, or simply a family night at home, this dessert is always a hit!
Variations & Substitutions
- Fruit Flavors: Instead of cherries, mix in your favorites! Try strawberries, blueberries, or peaches for a fruity twist! Seasonal fruit also makes an excellent choice.
- Nutty Additions: Consider adding crushed almonds or hazelnuts for a delicious crunch.
- Dairy-Free Version: Use coconut cream and a non-dairy condensed milk for a delightful dairy-free alternative.
- Chocolate Variants: Play around with white chocolate or dark chocolate for a different take on flavors.
Nutrition & Storage Info
- Prep Time: 15 minutes
- Total Time: 6 hours (including freeze time)
- Yield: About 8-10 servings
- Estimated Calories: Approximately 320 calories per serving (depending on serving size)
- Storage Instructions: Store any leftovers in the freezer. Properly wrapped, it will last up to 2 weeks.
FAQ Section
How do I store leftover ice cream?
- Leftovers can be stored in the freezer in an airtight container. Ensure it’s wrapped well to minimize ice crystals.
Can I use fresh cherries instead of maraschino cherries?
- Absolutely! Just ensure they’re pitted and chopped for best results.
What can I serve with No Churn Chocolate Cherry Ice Cream?
- This ice cream pairs well with warm desserts, brownies, or simply enjoyed in a cone!
Can I make this recipe ahead of time?
- Yes! This recipe is excellent for making ahead.
How long does it take to freeze?
- It typically takes about 6 hours for the ice cream to freeze but overnight is even better.
Can I use heavy cream alternatives?
- For dairy-free alternatives, coconut cream would work well!
What if it’s not creamy enough?
- Ensure that your whipped cream is in perfect peak form before folding it into the mixture.
Can I add other flavorings?
- You can absolutely experiment! Mint extract or almond extract can create delightful nuances.
What is the best way to scoop the ice cream?
- Run a warm ice cream scooper under hot water before using—it helps carve through the frozen treat!
Is there an egg-free version?
- Yes! This No Churn recipe is naturally egg-free, making it perfect for those with egg allergies.
Conclusion
This No Churn Chocolate Cherry Ice Cream recipe is a hidden gem in my dessert repertoire and I’m thrilled to share it with you. The irresistible blend of chocolate and cherries creates a nostalgic treat that’s bound to become a family favorite. I encourage you to try it out—trust me, friends and family will be begging for seconds!
I’d love to hear your thoughts or any feedback after you make it, and if you’re looking for more delicious summer recipes, check out my other blogs for delightful treats.
Happy scooping!

No Churn Chocolate Cherry Ice Cream
Ingredients
Method
- Place a 10 x 7 inch pan in the freezer to chill while you prepare the ice cream.
- In the bowl of a stand mixer, add the heavy cream and start mixing on low speed, gradually increasing to medium. Whip until soft peaks form—this usually takes about 2-3 minutes.
- In a medium mixing bowl, combine the reserved cherry juice, sweetened condensed milk, and vanilla. Mix well until combined.
- Gently fold the whipped cream into the cherry mixture until no streaks remain.
- Fold in chopped cherries and chocolate, keeping about 2 tablespoons of each aside for topping.
- Pour half of your ice cream mixture into the chilled pan, then drizzle with ⅓ cup of hot fudge topping. Top with the remaining ice cream mix.
- Drizzle with the rest of the hot fudge and gently swirl it through with a knife or skewer. Sprinkle the reserved chocolate and cherries on top.
- Cover the pan with plastic wrap and freeze for at least 6 hours, or until it’s firm.