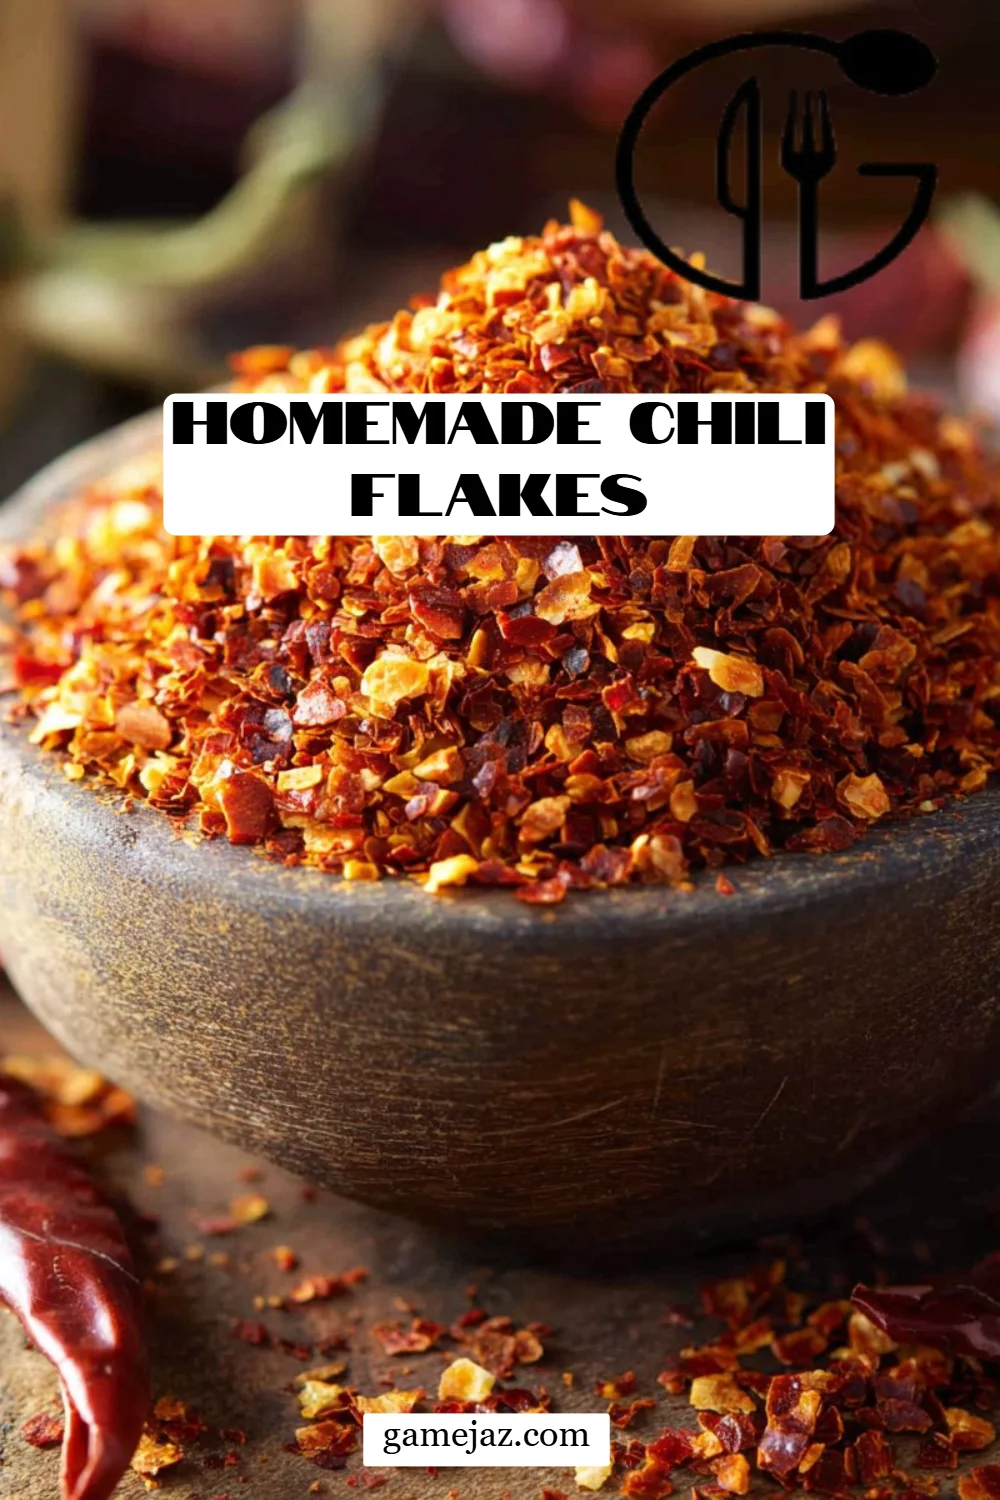
Ah, the unmistakable aroma of chili flakes! I remember walking into my grandmother’s kitchen on chilly afternoons, where she would greet me with a warm smile and the heady scent of aromatic spices wafting through the air. More often than not, it was her homemade chili flakes that set my taste buds tingling in anticipation. Each jar carried a piece of family history, a blend that transformed even the simplest dishes into unforgettable meals.
In a world overflowing with store-bought options, I fervently believe that Homemade Chili Flakes are in a league of their own. What makes them special? It’s the personal touch, the nostalgia, and the freedom to create a blend that resonates with your palate. You can control the heat, infuse it with other flavors, and personalize it to suit any dish or occasion. Today, I’m excited to share my favorite recipe with you, promising you’ll learn how to craft these exquisite, aromatic flakes right in your kitchen!
What Are Homemade Chili Flakes?
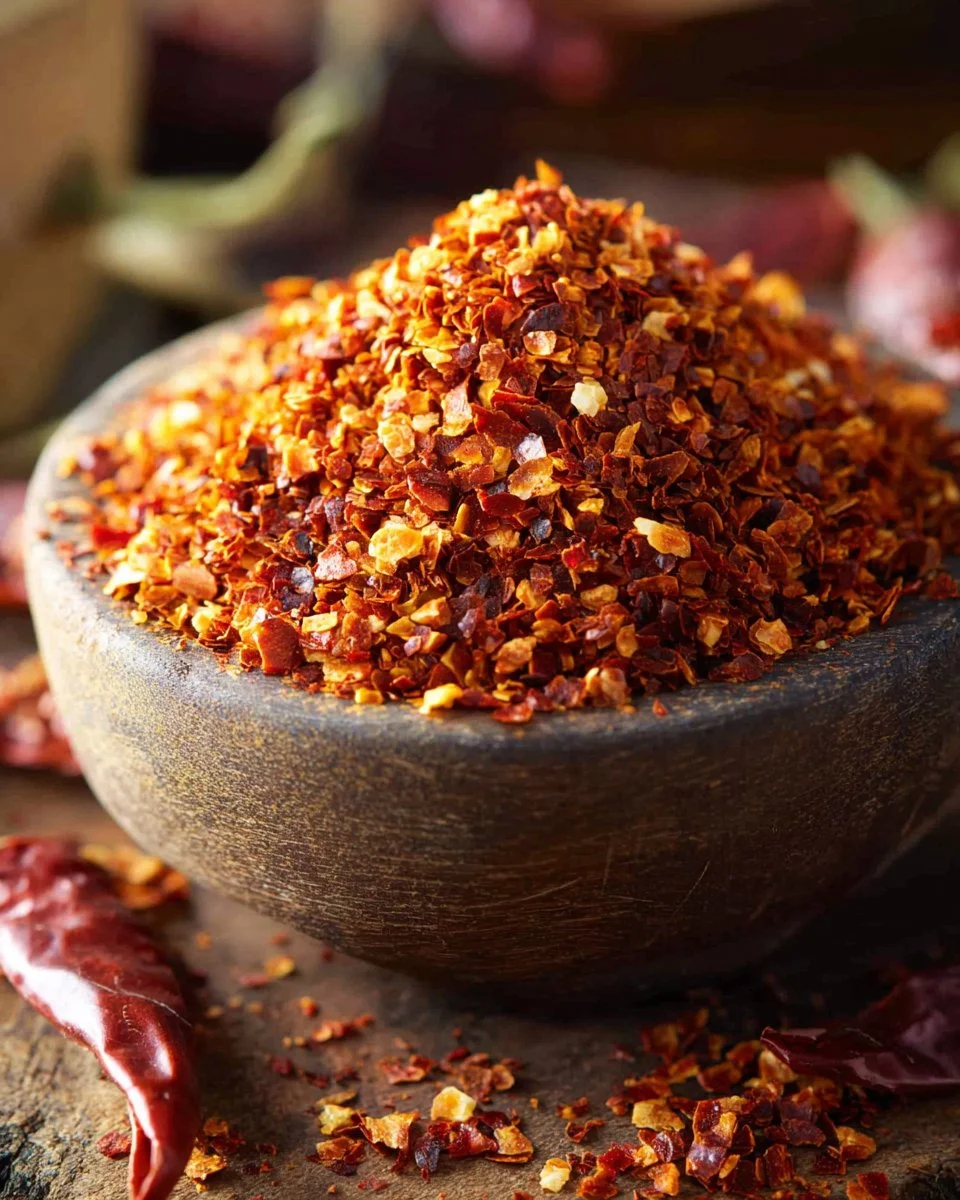
Homemade Chili Flakes are simply dried and crushed spicy chilies, often accompanied by fragrant herbs like Makrut lime leaves or lemongrass for that extra zing. They’ve been a staple in kitchens around the world, from the fiery hot streets of Thailand to the bustling marketplaces of Mexico. The origins of chili flakes trace back to culinary traditions that prioritize bold flavors, making them a delightful addition to your spice rack.
When you take a bite of a dish seasoned with homemade chili flakes, you’ll experience a harmonious blend of heat and earthy warmth, with a texture that adds just the right crunch. These flakes are unique in their freshness; they don’t have that stale, brief store-bought taste. Instead, they’ve got your personal touch—so perfect for lifting up a simple pasta dish or adding a kick to your favorite homemade pizza. So whenever you crave a burst of flavor, the beauty of Homemade Chili Flakes is that you can whip up a batch whenever the mood strikes!
Why You’ll Love This Recipe
Freshness at Your Fingertips: The beauty of Homemade Chili Flakes lies in their freshness. Unlike store-bought options, which can often sit on shelves for months, your chili flakes will carry the vibrant taste of freshly dried chilies straight from your kitchen.
Total Control Over Heat: When you craft your own chili flakes, you control the heat. Want a milder blend for kids? Just deseed those chilies! Want to crank up the spice for that daring friend? Go wild!
Cost-Effective Flavor: Store-bought chili flakes can be surprisingly expensive, especially for premium brands. Making your own not only tastes better, but it’s also budget-friendly—what’s not to love about that?
Endless Customization Options: This recipe lays the foundation, but feel free to customize! Add dried garlic, onion flakes, or herbs like oregano for a unique twist that suits your culinary adventures.
Simplicity You Can Handle: Don’t worry! This recipe is simple and requires minimal time and effort—perfect for beginners. You will feel like a pro in the kitchen without needing any fancy equipment.
Overall, you’re not just making a spice; you’re crafting a culinary experience that can turn mundane meals into vibrant feasts!
Ingredients
To create your own Homemade Chili Flakes, gather the following ingredients:
Spicy Dried Chilies: Use Thai birds eye or arbol for great heat and flavor. Look for vibrant red chilies that feel firm to the touch—the fresher, the better! Substitution Tip: If you can’t find either, try cayenne or red pepper flakes in a pinch.
Makrut Lime Leaves (Optional): These fragrant leaves can add a unique depth to your chili flakes. They are often available in Asian grocery stores or online. Note: A little goes a long way; use sparingly.
Lemongrass (Optional for Aroma): If you appreciate citrus notes, dried lemongrass could be a delightful addition. Chop and dry it with your chilies for an aromatic lift. Quality Tip: Fresh lemongrass is preferable, so dry it at home if possible.
Preparation Notes: It’s best to have your ingredients at room temperature to ensure even drying.
Step-By-Step Instructions
Wash the Chilies: Rinse the chilies thoroughly under cold water. Pat them dry using a clean kitchen towel or let them dry completely overnight or with a fan. Drying Note: Make sure they’re fully dry to avoid any moisture during the drying process.
Deseed the Chilies (Optional): If you want to dial down the heat, carefully cut open each chili and remove the seeds.
Stovetop Method:
- Heat a dry pot, wok, or skillet over medium heat.
- Add the chilies and chopped lime leaves.
- Stir frequently until you see a few charred spots forming on the chilies, about 5-7 minutes. Chef’s Tip: Don’t walk away—keep an eye on them to prevent burning!
Oven Method:
- Preheat the oven to 300°F (150°C).
- Arrange the chilies on a baking sheet and bake for 5 to 7 minutes, or until they darken slightly.
Grind: Transfer the dried chilies (and lime leaves, if using) to a grinder. Grind until you achieve small flakes or a coarse powder, depending on your preference.
Dust Settling: Allow the chili dust to settle for a minute or two before opening the grinder—trust me, you don’t want that pungent cloud of chili dust to surprise you!
Storage: Store your homemade chili flakes in an airtight container in the fridge or freezer to preserve their vibrancy and flavor.
Common Mistakes to Avoid: Don’t over-dry the chilies in the oven; they should be pliable but dry enough to crush easily. Also, be careful not to inhale the dust when grinding!
Expert Tips & Tricks
Storage Recommendations: Always store your chili flakes in a cool, dark place. If possible, use airtight glass jars to keep them fresh for months!
Make-Ahead: Feel free to double or triple the recipe. Homemade chili flakes make great gifts or can be a handy staple in your kitchen for spicy creations!
Troubleshooting: If your chili flakes clump together, ensure they’re completely dry before grinding. You can re-dry them briefly if necessary.
Flavor Experimentation: Try experimenting with different peppers or even incorporating some smoked paprika for a smoky flavor!
Waste Not: Don’t toss out leftover seeds! Dry them out to use as a separate spicy condiment.
Serving Suggestions
Elevate your meals with these homemade chili flakes! Sprinkle them over pizza, toss them into soups and stews, or use them as a zesty topping for avocado toast. Their unique crunch also makes them perfect for garnishing grilled meats and roasted vegetables.
For an eye-catching presentation, consider serving home-cooked dishes with a small bowl of chili flakes on the side, encouraging your guests to spice things up to their own liking. Whether it’s a casual family dinner or a cozy gathering with friends, these chili flakes can be your culinary conversation starter!
Variations & Substitutions
Herb Infusions: Consider adding other herbs such as oregano or thyme to the mix for a unique flavor profile.
Dietary Adaptations: These chili flakes are naturally gluten-free and can easily be made vegan.
Seasonal Variants: In fall, try adding dried pumpkin seeds for a nutty crunch or infuse your chili flakes with seasonal herbs like sage.
Nutrition & Storage Info
- Prep Time: 10 minutes
- Cook Time: 15 minutes (varying on method)
- Total Time: 25 minutes
- Yield: Approximately 1 cup
- Estimated Calories: About 6 calories per teaspoon
- Storage Instructions: Store in an airtight container at room temperature for up to 6 months, or in the fridge for up to 1 year.
FAQ Section
How spicy will these chili flakes be?
The heat level can vary depending on the type of chili used and whether you’ve chosen to deseed them. Experiment with different varieties to find your sweet spot!Can I use fresh chilies instead of dried?
Fresh chilies contain moisture, which will not yield the desired flavor and texture for flakes. It’s best to use dried chilies for this recipe.What should I do if the flakes are too hot?
If they’re too spicy, mix them with a neutral spice like dried basil or oregano to mellow out the heat.How can I gift Homemade Chili Flakes?
Package them in small jars with a cute label, and don’t forget to include some recipe suggestions for your friends to try!Can I make a larger batch?
Absolutely! Homemade chili flakes can be scaled up easily, perfect for sharing or long-term use.How can I make them even more flavorful?
Consider toasting some garlic or onion flakes along with the chilies, or blending in some dried herbs for a flavored chili salt.Do homemade chili flakes last as long as store-bought?
Homemade versions can last a while, but tend to lose potency faster than store-bought; keeping them in the fridge helps maintain freshness.What’s the best way to grind chilies?
A spice grinder or a good quality blender works best to achieve a fine or coarse consistency, depending on your preference.Can I use other types of chilies?
Definitely! Feel free to experiment with different chili varieties like Serrano, Habanero, or even smoked chilies for unique flavors.How often can I use chili flakes?
You can use these flakes as much or as little as you like! They’re versatile enough to be added to almost any savory dish.

Conclusion
Homemade Chili Flakes are not just a spice; they’re a flavorful embrace that can transform your cooking. Each little flake carries with it a story of flavor and nostalgia, making your meals not only tastier but more meaningful. I urge you to give this recipe a try—you’ll be amazed at how easy it is to create something so vibrant and flavorful!
Remember to share your experience in the comments; I can’t wait to hear about your chili adventures! And don’t forget to check out my other spice recipes on the blog for more delicious inspiration.

Homemade Chili Flakes
Ingredients
Method
- Wash the chilies thoroughly under cold water.
- Pat them dry or let them dry completely overnight.
- Deseed the chilies if you want to reduce the heat.
- Heat a dry pot, wok, or skillet over medium heat.
- Add the chilies and chopped lime leaves.
- Stir frequently for about 5-7 minutes until charred spots form.
- Preheat the oven to 300°F (150°C).
- Arrange the chilies on a baking sheet and bake for 5-7 minutes.
- Transfer the dried chilies to a grinder and grind until you achieve desired flake size.
- Allow the chili dust to settle before opening the grinder.
- Store in an airtight container in the fridge or freezer.