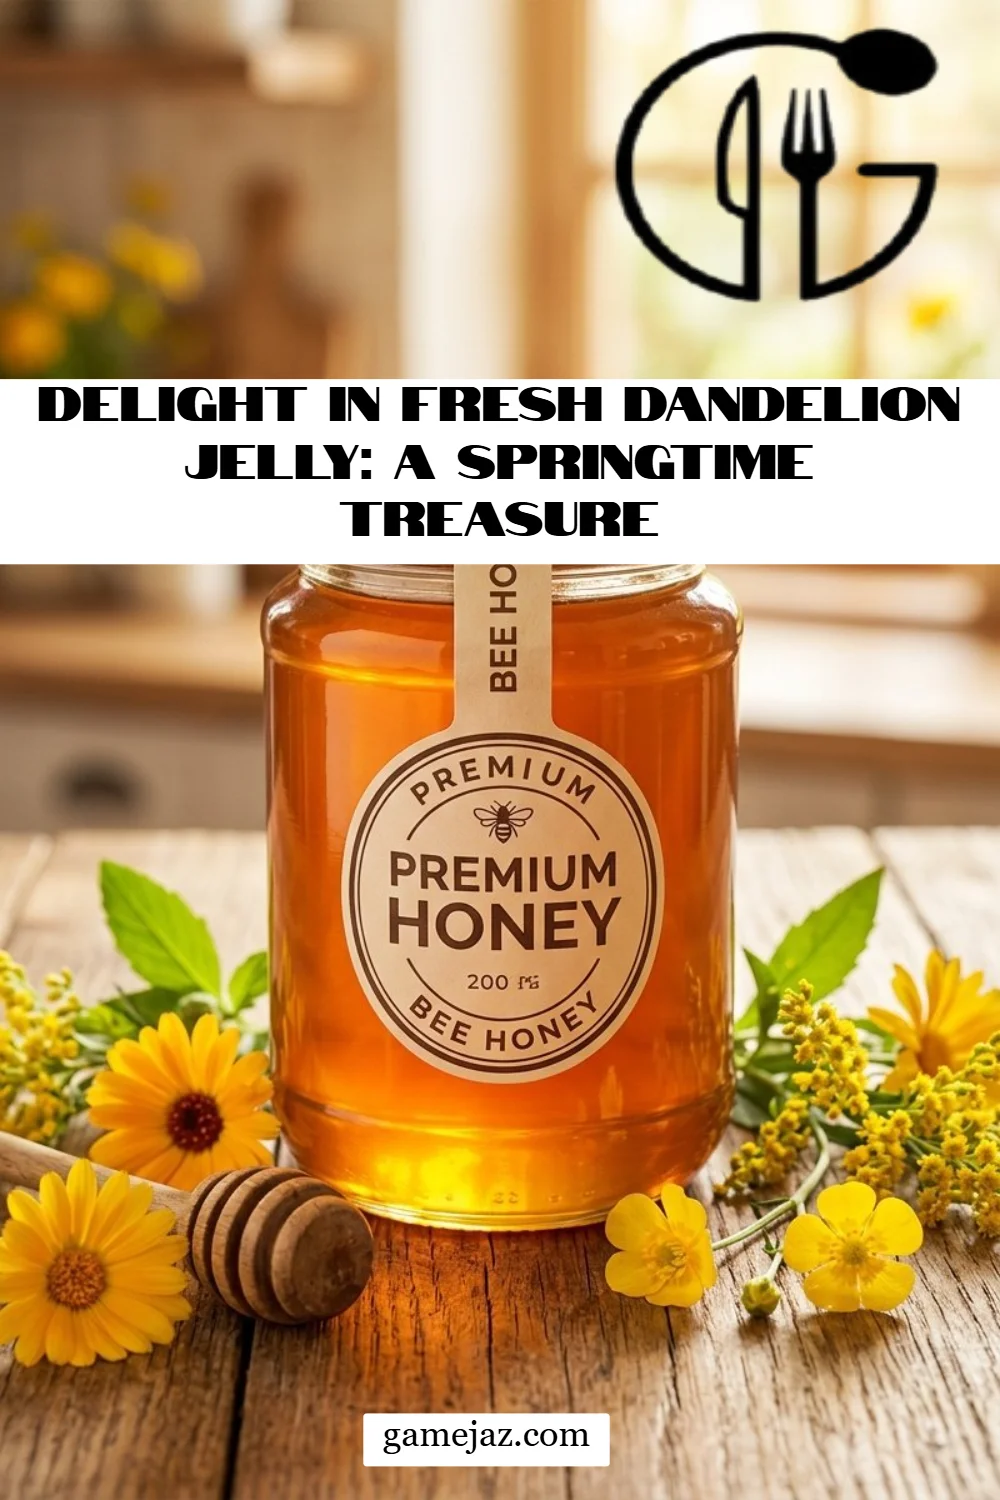
Delight in Fresh Dandelion Jelly: A Springtime Treasure
Introduction
It was a sunny spring morning, and the air was fragrant with the sweet scent of blooming flowers. I wandered into my grandmother’s garden, where vibrant dandelions danced in the breeze. She often spoke of a delightful concoction she’d make from the golden petals, calling it her “springtime treasure.” This delight in fresh dandelion jelly, a cherished family recipe, brought back memories of laughter-filled afternoons, where we’d spread this vibrant jelly on freshly baked bread.
What makes this dandelion jelly special isn’t just the unique floral taste or the beautiful golden hue; it’s the nostalgia attached to each spoonful. Unlike most store-bought alternatives, this jelly captures the essence of spring, bursting with freshness and sweetness that only nature can provide. Plus, it’s incredibly simple to make and reminds me of home, evoking a sense of comfort and warmth.
I’m thrilled to share with you everything I’ve learned about making this delightful jelly. From the gentle method of steeping the petals to tips for achieving the perfect consistency, you’ll find that this recipe is not only easy to follow, but it also connects you to nature. Let’s dive into the world of dandelion jelly and bring spring into your kitchen!
What are Delight in Fresh Dandelion Jelly: A Springtime Treasure?
Dandelion jelly has deep roots in tradition, dating back to when people discovered that these common weeds could be transformed into something exquisite. The vibrant yellow petals are plucked from pesticide-free areas, making them safe for our kitchens. As they steep, they release their floral notes, creating a lightly sweet, light, and slightly herbal profile. The texture is reminiscent of a classic fruit jelly, both smooth and luscious, making it perfect for spreading or drizzling.
What sets this jelly apart is not just its taste but the depth it adds to any dish. Perfect for breakfast on toast, paired with cheese, or as a unique gift, it embodies the spirit of spring. Making dandelion jelly is a wonderful way to celebrate the season and utilize something often overlooked in nature’s bounty. It’s best made in spring when dandelions are in full bloom, inviting you to enjoy the vibrant flavors of the season.
Why You’ll Love This Recipe
Unique Flavor: Unlike any store-bought jelly, the blend of dandelion petals with hints of lemon and honey creates a distinct taste that captivates the palate. You won’t find flavors like this in your grocery aisle!
Cost-Effective: Gathering dandelion petals is practically free and often abundant in backyards or local parks. You’ll be amazed at how this homemade treasure costs just a fraction of the price of artisanal jelly.
Customizable: Feel free to add your twist! You can infuse the jelly with mint, basil, or even a hint of ginger for an exciting flavor profile. Experimentation is part of the fun!
Easy to Make: Trust me, if I can do it, so can you! With just a few straightforward steps and minimal kitchen skills, you can whip up a batch of this delightful jelly in no time.
Perfect for Gifting: Packaged in cute jars, this jelly makes a heartfelt gift for friends and family, especially during spring celebrations or holidays. It’s a rustic treasure that’s bound to impress!
So, roll up your sleeves and prepare for a delightful adventure in your kitchen!
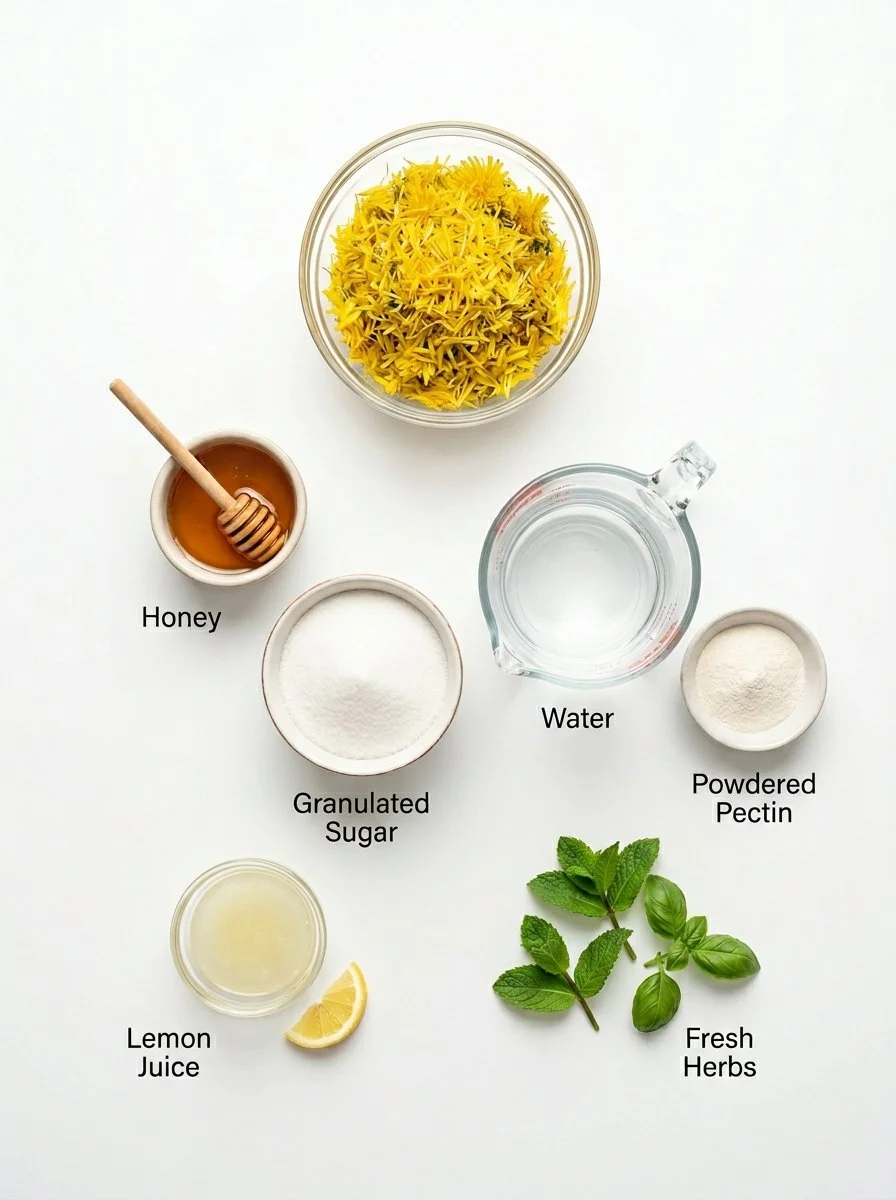
Ingredients
- 2-4 cups Dandelion Petals (gathered from pesticide-free areas, ensuring you remove any green stems)
- 4 cups Water (boiling water for steeping)
- ¼ cup Lemon Juice (freshly squeezed for a zesty kick)
- 1 package Powdered Pectin (high-methoxyl pectin preferred for optimal jelling)
- 3-4 cups Sugar (adjusted according to your sweetness preference)
- 1 cup Honey (a lovely natural sweetener alternative)
- Fresh Herbs (like mint or basil) to taste (for additional flavor)
Ingredient Notes:
- Make sure your dandelion petals are bright yellow and clean. Any brown tips or green stems can alter the flavor.
- Use fresh lemon juice for the best results, as bottled versions may contain preservatives.
- A high-methoxyl pectin is crucial for a good set, so stick with a reputable brand like Ball or Sure-Jell.
Prep Notes:
- Allow your butter to be at room temperature if you’re planning to make bread alongside your jelly; it spreads beautifully on warm loaves!
Step-by-Step Instructions
Gather Dandelion Petals: Start by collecting 2-4 cups of freshly picked dandelion petals. Be sure to remove any green stems – they can introduce bitterness to your jelly.
Steep the Petals: In a large pot, bring 4 cups of water to a boil. Once boiling, turn off the heat and add your dandelion petals. Let them steep for 24 hours to extract all their vibrant flavor.
Strain the Tea: Using a fine mesh sieve, strain the liquid, reserving about 4 cups of the concentrated dandelion tea. Make sure to press gently on the petals to extract all the liquid.
Prepare the Jelly Base: Add the dandelion tea back into the pot, stir in ¼ cup of fresh lemon juice, and bring this mixture to a boil. The aroma will be delightful!
Add Pectin: Once boiling, stir in 1 package of powdered pectin. Continue boiling for 5-7 minutes, stirring occasionally, until it’s well mixed and slightly thickened.
Sweeten the Mix: Gradually stir in 3-4 cups of sugar and 1 cup of honey, returning to a full boil for another 1-2 minutes, or until the mixture reaches 220°F (use a food thermometer for accuracy).
Test for Jelling: Perform the gel test by placing a small spoonful on a cold plate from your freezer. If it firms up after a few minutes, you’re ready to jar it up!
Pour into Jars: Carefully pour the hot jelly mixture into sterilized jars, leaving a little headspace. Allow them to cool completely before sealing.
Chef’s Tips:
- To achieve a deeper flavor, consider adding herbs like fresh mint or basil during the steeping process.
- Remember to sterilize your jars before pouring in the jelly to ensure a long shelf life.
Expert Tips & Troubleshooting
Storage Recommendations: Store your dandelion jelly in a cool, dark place. If processed correctly, it can last for up to a year. Once opened, keep it refrigerated and consume within a month.
Make-Ahead Instructions: This jelly can easily be made ahead of time, and the flavor only improves with age. Make a batch in early spring and enjoy it throughout the year!
Common Issues:
- If your jelly doesn’t set properly, it may be due to insufficient boiling time after adding sugar. Remember, it needs to hit that magic temperature for perfect jelling!
- Should your jelly appear too runny, you can reheat it with more pectin to rectify it.
Serving Suggestions
Dandelion jelly pairs smoothly with many culinary delights. Spread it on toasted sourdough for breakfast, or use it as a glaze for roasted meats, adding a delightful sweetness. For special occasions, serve it alongside a cheese platter: the floral notes complement tangy cheeses beautifully.
For a lovely presentation, consider making a gift basket that includes homemade bread, cheese, and a jar of your dandelion jelly—it’s a thoughtful touch for springtime gift-giving.
Variations & Substitutions
Different Flavor Combinations: Try adding orange zest for a citrusy twist or infuse with ginger for a spicy kick.
Dietary Adaptations: If sugar isn’t your preference, substitute with agave syrup or a sugar-free sweetener to suit your dietary needs.
Seasonal Variations: In the fall, consider incorporating cinnamon or apple flavors—perfect for autumn gatherings!
Nutrition & Storage Info
- Prep Time: 20 minutes (excluding steeping time)
- Cook Time: 20 minutes
- Total Time: Approximately 24 hours (including steeping)
- Yield: About 6 half-pint jars
- Estimated Calories: Approximately 90 calories per tablespoon
- Storage Instructions: Store in a cool place (room temperature is fine for sealed jars); refrigerate after opening. It can last up to a year if sealed properly, and a month once opened.
FAQ Section
Can I use store-bought dandelion petals?
- It’s best to use fresh petals gathered from pesticide-free areas for optimal flavor and safety.
How do I know when my jelly is ready?
- Use a thermometer to check; it should reach 220°F. Alternatively, perform the spoon test to check the gel consistency.
Can I freeze dandelion jelly?
- Yes, you can freeze jelly! Just ensure you leave some headspace in the jars for expansion.
What if my jelly didn’t set?
- You can reheat the jelly with more pectin or sugar to attempt setting again.
How do I sterilize my jars?
- Wash the jars in hot soapy water, then place them in a boiling water bath for 10 minutes to sterilize.
Are there any other uses for dandelion petals?
- Absolutely! You can use dandelion petals in salads, teas, or even as colorful garnish in desserts.
What other herbs can I add to my jelly?
- Feel free to experiment with lavender, rosemary, or even thyme, depending on your taste preferences!
Can I use bottled lemon juice?
- While fresh is best, bottled lemon juice can be used in a pinch. Just be aware it may alter the taste slightly.
Is it safe to eat dandelions from my lawn?
- Only if you are sure they have not been treated with pesticides or chemicals. Always gather from safe areas.
What’s the best way to present my dandelion jelly as a gift?
- Use small glass jars with decorative lids, and include a hand-written label and a small wooden spoon for a personal touch.

Conclusion
The joy of making and tasting your own dandelion jelly is not just about the delicious flavor—it’s about creating memories and traditions, just like my grandmother did. I encourage you to roll up your sleeves and explore this delightful springtime treasure. Share your experiences with me in the comments, and don’t forget to check out my related recipes for more spring inspirations. Your kitchen is about to blossom with flavors and creativity—happy jelly-making!
Dandelion Jelly
Ingredients
Method
- Gather Dandelion Petals: Start by collecting 2-4 cups of freshly picked dandelion petals. Be sure to remove any green stems – they can introduce bitterness to your jelly.
- Steep the Petals: In a large pot, bring 4 cups of water to a boil. Once boiling, turn off the heat and add your dandelion petals. Let them steep for 24 hours to extract all their vibrant flavor.
- Strain the Tea: Using a fine mesh sieve, strain the liquid, reserving about 4 cups of the concentrated dandelion tea. Make sure to press gently on the petals to extract all the liquid.
- Prepare the Jelly Base: Add the dandelion tea back into the pot, stir in ¼ cup of fresh lemon juice, and bring this mixture to a boil. The aroma will be delightful!
- Add Pectin: Once boiling, stir in 1 package of powdered pectin. Continue boiling for 5-7 minutes, stirring occasionally, until it’s well mixed and slightly thickened.
- Sweeten the Mix: Gradually stir in 3-4 cups of sugar and 1 cup of honey, returning to a full boil for another 1-2 minutes, or until the mixture reaches 220°F (use a food thermometer for accuracy).
- Test for Jelling: Perform the gel test by placing a small spoonful on a cold plate from your freezer. If it firms up after a few minutes, you’re ready to jar it up!
- Pour into Jars: Carefully pour the hot jelly mixture into sterilized jars, leaving a little headspace. Allow them to cool completely before sealing.