Have you ever experienced the magical transformation of plain butter into a luscious, nutty delight? I remember the first time I stumbled upon browned butter while experimenting in my tiny kitchen. I was trying to elevate a simple batch of cookies, and what started as a common recipe turned into a family dinner showstopper. The rich, toasty flavor of browned butter elevated everything it touched, wrapping my family in a warm, comforting embrace of nostalgia and love. From that day forward, I’ve made it my mission to share the wonders of browned butter—a kitchen secret that truly makes all the difference.
Why does this recipe stand out from the rest? It goes beyond the traditional methods by unlocking depth and complexity that most bakers overlook. Not only does browned butter have a delightful nutty aroma, but it also adds a rich umami flavor that makes your dishes sing. In this post, you’ll learn how to master the art of making browned butter and discover thoughtful tips to prevent common pitfalls. I promise that, by the end, you’ll feel like a pro in the kitchen, ready to impress your friends and family with your new skills!
What Are Browned Butter?
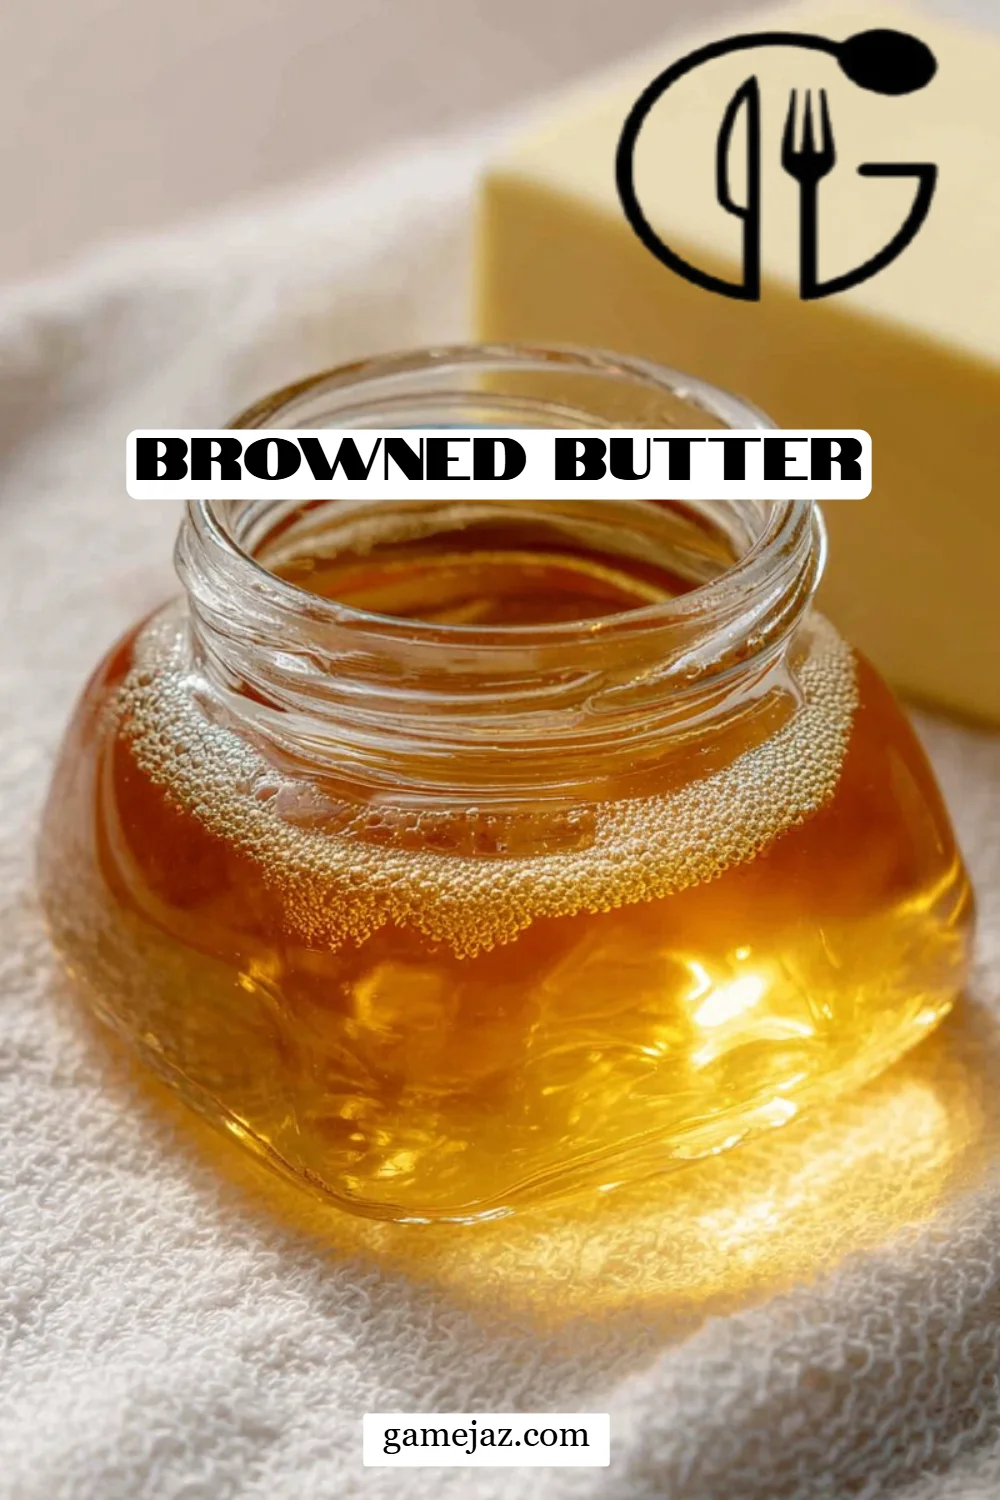
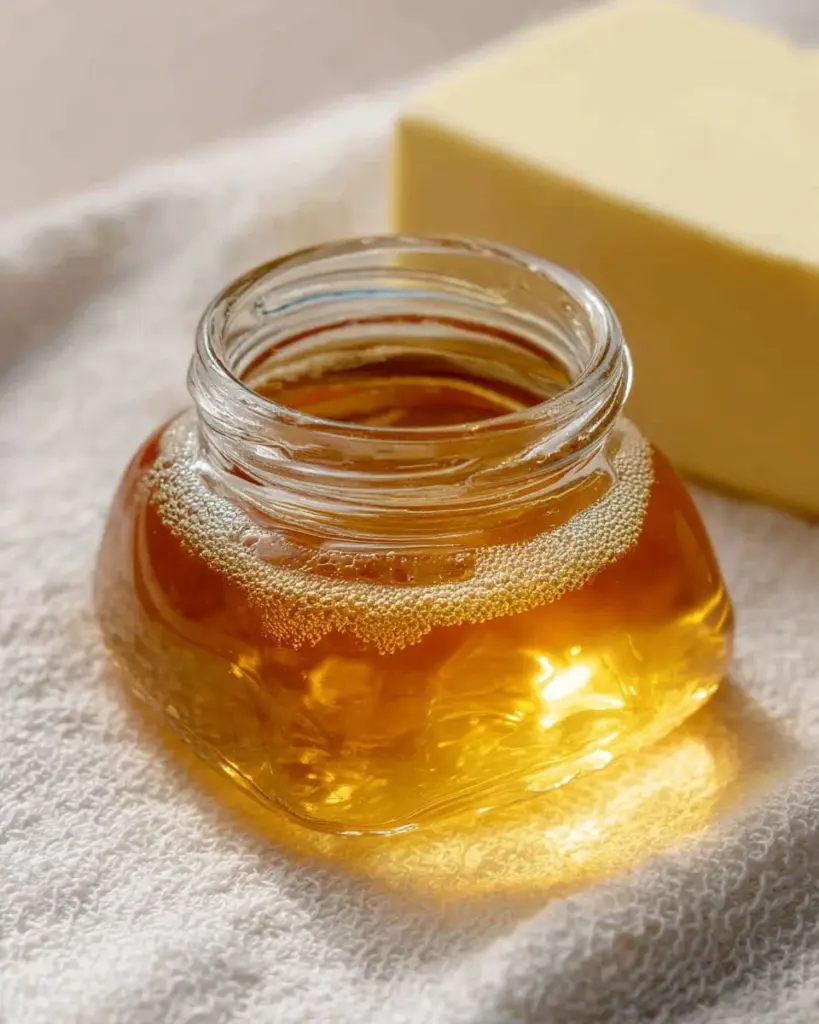
Browned butter, or beurre noisette as our French friends call it, is simply butter that has been heated until the milk solids turn a heavenly shade of golden brown. This cooking process gives the butter its characteristic nutty flavor and rich, complex aroma. Unlike regular melted butter, which can be rather one-dimensional, browned butter provides layers of flavor, with an addictive richness that instantly elevates dishes like cookies, pasta, or even simply spread across a warm slice of bread.
So, when should you dive into making this glorious concoction? Any time you want to imbue your dishes with warmth and nostalgia! Browned butter is not just for baking. It’s perfect for drizzling on vegetables, enhancing savory sauces, or even blending into your morning oatmeal for that extra touch of coziness.
Why You’ll Love This Recipe
Flavor Enhancer: If you thought regular butter was good, just wait until you try your recipes with browned butter! It brings an incredible, nutty, and caramel-esque flavor profile that store-bought butter simply cannot replicate.
Cost-Effective: Making browned butter is an easy, budget-friendly way to upgrade your baking without spending extra on specialty ingredients. Just look at it this way: you’re transforming basic ingredients into culinary magic!
Versatile Applications: You can use browned butter in a wide variety of dishes—from cookies and cakes to savory pasta and even veggies. The options are endless, which means you can use your newfound skills to impress family and friends at every meal.
Customization: Once you master the process, feel free to customize your browned butter! Add herbs for savory dishes or even a touch of vanilla for a sweeter touch. Don’t hesitate to get creative!
Easy & Quick: This creamy delight can be made in just a few minutes! With minimal ingredients and tools, you can whip it up without breaking a sweat.
Ingredients Section
- 1/2 cup (1 stick / 113 g) unsalted butter: The star of the show! I recommend using high-quality European butter, like Kerrygold, which has a higher fat content for an even richer flavor.
Prep Notes:
- Make sure your butter is at room temperature to ensure even melting.
- If you’re feeling adventurous, consider using flavored butters, like herbed or spiced varieties, to give your browned butter an exciting twist.
Step-by-Step Instructions
In a stainless steel skillet (or another light-bottomed pan) over medium-high heat, follow these steps to make brown butter:
Melt the Butter (0-2 Minutes): Place your room-temperature butter in the pan and let it melt completely. Be sure to swirl the pan occasionally to ensure even melting.
Watch for Foaming (2-4 Minutes): As the butter melts, it will begin to foam, indicating that the water is boiling off. This is an essential step, so keep an eye on it!
Stir Constantly (4-7 Minutes): Once the foaming subsides, you’ll see tiny brown specs of milk solids accumulate at the bottom. Constantly stir and scrape these off with a spatula to avoid burning. This is where the magic happens!
Visual Cues (7-10 Minutes): When the butter turns a rich chestnut brown and exudes a nutty aroma, it’s time to remove it from the heat. Don’t walk away! Browned butter can turn to burnt butter in a matter of seconds!
Cool Down (10-12 Minutes): Pour the browned butter into a large heat-safe bowl and stir for 1-2 minutes as it cools. This helps aerate the mixture, adding to its rich texture.
Storage: To store, let it cool completely. Place it in a sealed container in the refrigerator for up to 5 days, or freeze it in an ice cube tray for up to 3 months. Perfect for future baking adventures!
Chef’s Tips:
- Consistency is Key: Stir frequently and don’t leave the butter unattended.
- Nutty Aroma: The smell is your best indicator—when it smells nutty and heavenly, it’s ready!
- Use Stainless Steel: A light-colored pan is best to help you monitor the color change as it cooks.
Expert Tips & Tricks
Quality Matters: Opt for high-fat butter for better flavor and browning. European butters typically yield the best results.
Watch Temperature: Ensure the heat is medium-high; too hot will burn the butter too quickly.
Make-Ahead: You can prepare browned butter in advance and refrigerate or freeze for future use. It’s a great time-saver!
Common Pitfalls: The biggest mistake is leaving the pan unattended or cooking it on too high of heat. Keep stirring and keep an eye on it!
Batch Cooking: Double or triple the recipe and freeze portions in an ice cube tray for instant addition to future recipes.
Custom Flavors: Add herbs, spices, or aromatics like garlic or sage while cooking the butter for an enticing flavor twist.
Serving Suggestions
The beauty of browned butter is its versatility. You can serve this deliciousness alongside freshly baked bread, over roasted vegetables, or even drizzled atop pasta. For an elegant touch, consider serving it with nutty dishes like brown butter sage pasta or a sweet corn soufflé. Presentation matters, so why not make it visually appealing? A sprinkle of fresh herbs or a twist of citrus zest can make all the difference.
Variations & Substitutions
Flavored Browned Butter: Experiment with your favorite herbs and spices! Sage, rosemary, or even a hint of cinnamon can add exciting depth.
Dietary Adaptations: For those sensitive to dairy, you can use ghee as a substitute, which has a similar flavor profile without the milk solids.
Seasonal Variations: In the fall, try adding a touch of pumpkin spice or vanilla for festive flavored dishes, or lemon zest in the summer for a refreshing twist.
Nutrition & Storage Info
- Prep Time: 5 minutes
- Cook Time: 10 minutes
- Total Time: 15 minutes
- Yield: About 1/2 cup
- Estimated Calories: Approximately 100 calories per tablespoon
Storage Instructions:
- Room Temperature: Up to 2 hours
- Fridge: Up to 5 days
- Freezer: Up to 3 months
FAQ Section
What’s the difference between regular melted butter and browned butter?
- Regular melted butter has a simple, milky flavor, while browned butter has a complex, nutty essence that takes your dishes to another level.
Can I use salted butter for this recipe?
- Yes, but it will affect the flavor balance. If using salted butter, be cautious with additional salt in your recipes.
What types of dishes can I use browned butter in?
- Foods like cookies, cakes, pastas, and even as a drizzle over veggies or popcorn can be elevated with browned butter.
Can I reheat browned butter?
- Yes! Just warm it gently on the stove or microwave for a few seconds.
What if I burn my butter?
- If it turns too dark and smells acrid, it’s best to start over, as burnt butter won’t provide the desired flavors.
How can I tell when it’s perfectly browned?
- When it turns a deep chestnut color and smells nutty, it’s ready!
Can I add herbs while browning?
- Absolutely! Adding herbs like sage or thyme can add wonderful flavors to your browned butter.
Is there a difference in taste when using different butters?
- Yes, different types of butters can impart varied flavors, with European butters generally offering a richer taste due to higher fat content.
Can I use browned butter in savory dishes?
- Yes! Browned butter works wonders in savory dishes and can enhance flavors in pastas and roasted vegetables.
Can I make this with other fats, like olive oil?
- While you can brown oils like olive or coconut, they will have different flavor profiles compared to butter.

Conclusion
In a world of regular butter, browned butter is truly a gem that brings warmth and nostalgia to your kitchen. This simple recipe is more than just a technique; it’s a way to create cherished family memories and delightful flavors that will delight your taste buds. I encourage you to give this a shot and watch how it transforms your baking (and cooking!) with its rich, nutty flavor. I’d love to hear how your adventures with browned butter turn out—please share your thoughts and feedback in the comments! And don’t forget to check out my related recipes on the blog for more delicious ideas!
Gluten Free Red Velvet Brownies with Almond Flour
Browned Butter
Ingredients
Method
- Melt the butter in a stainless steel skillet over medium-high heat. Swirl occasionally for even melting (0-2 minutes).
- Watch for foaming as the water boils off (2-4 minutes).
- Once foaming subsides, constantly stir and scrape the bottom to avoid burning as tiny brown specs appear (4-7 minutes).
- When the butter turns a rich chestnut brown and exudes a nutty aroma, remove from heat (7-10 minutes).
- Pour the browned butter into a heat-safe bowl and stir for 1-2 minutes as it cools (10-12 minutes).