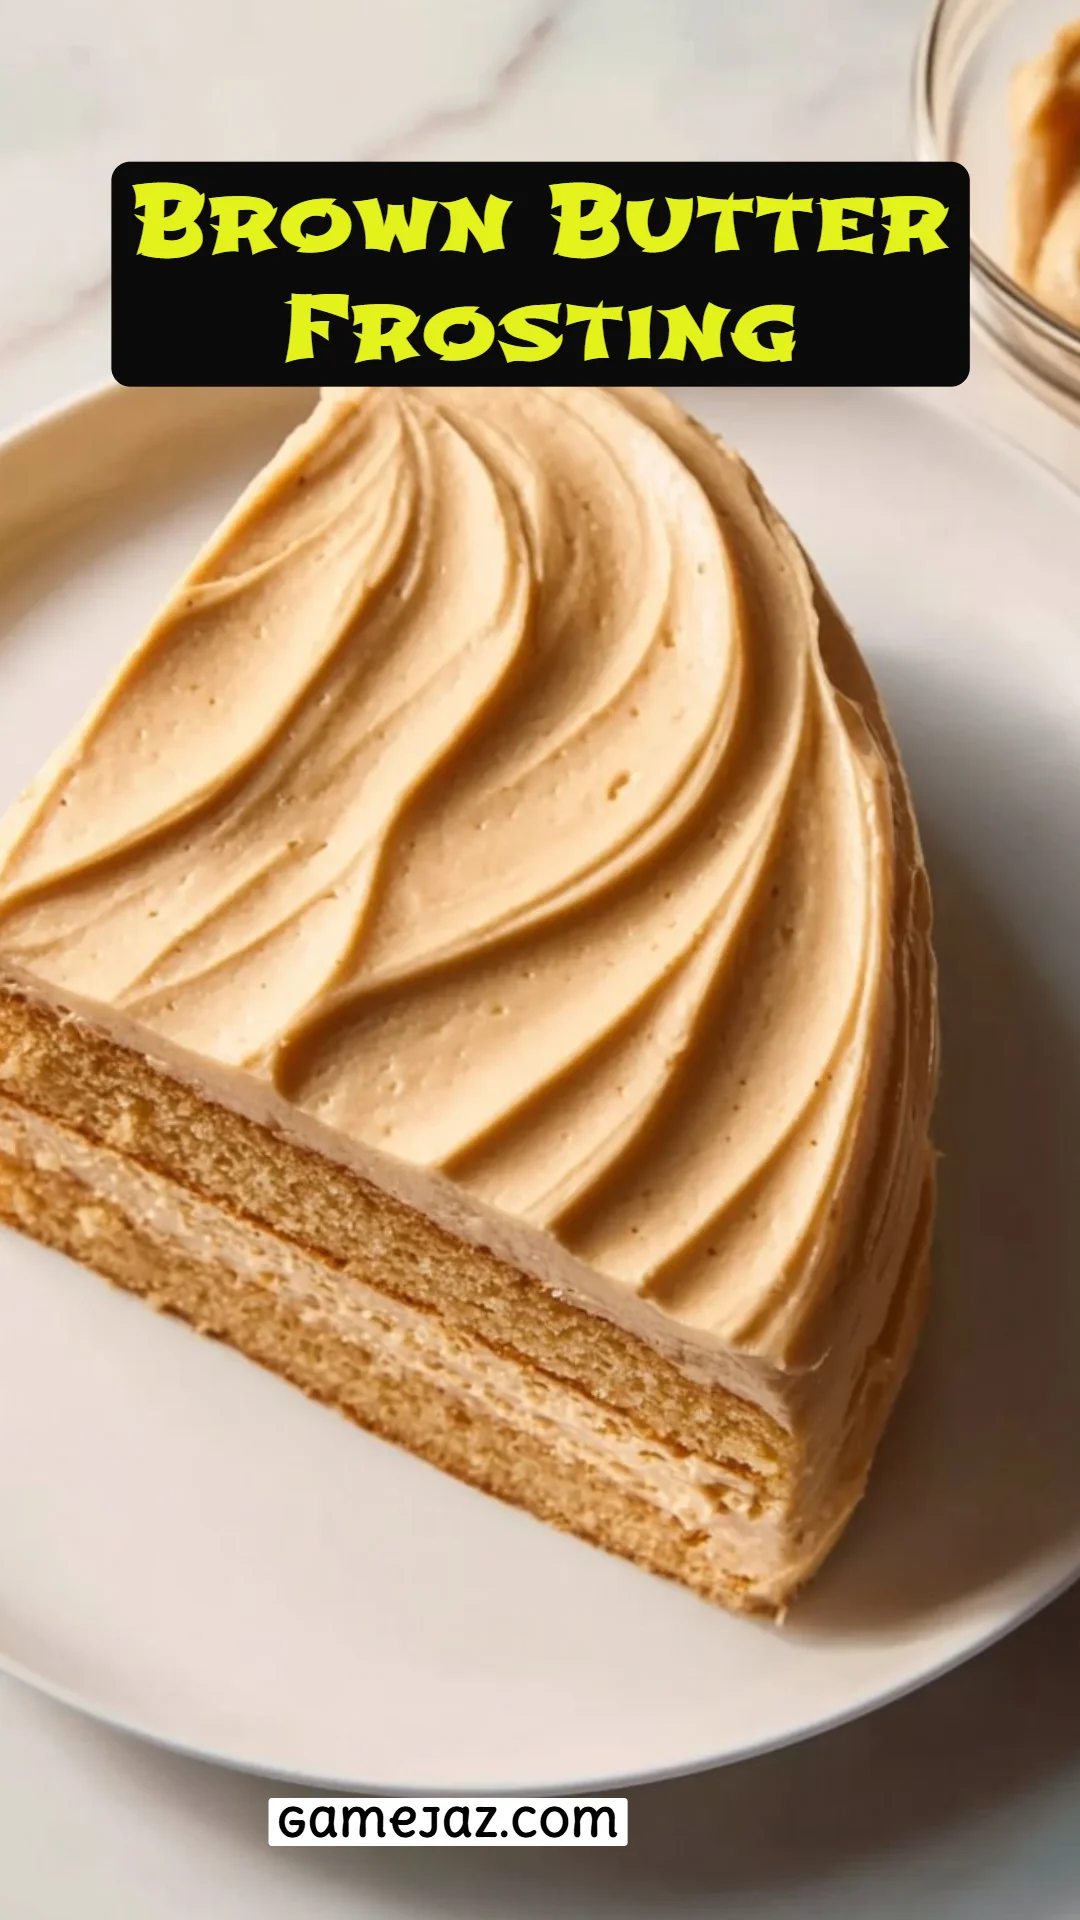
Irresistibly Delicious Brown Butter Frosting: A Sweet Secret You Need to Know
There’s something undeniably special about a cloud of frosting perched atop a cupcake or a slice of cake. For me, that frosting is brown butter frosting—a treasure I discovered one rainy afternoon when I was craving something sweet but special. As I simmered the butter on the stove, the heavenly aroma filled my kitchen, immediately bringing back memories of family gatherings where laughter mingled with the scent of freshly baked confections.
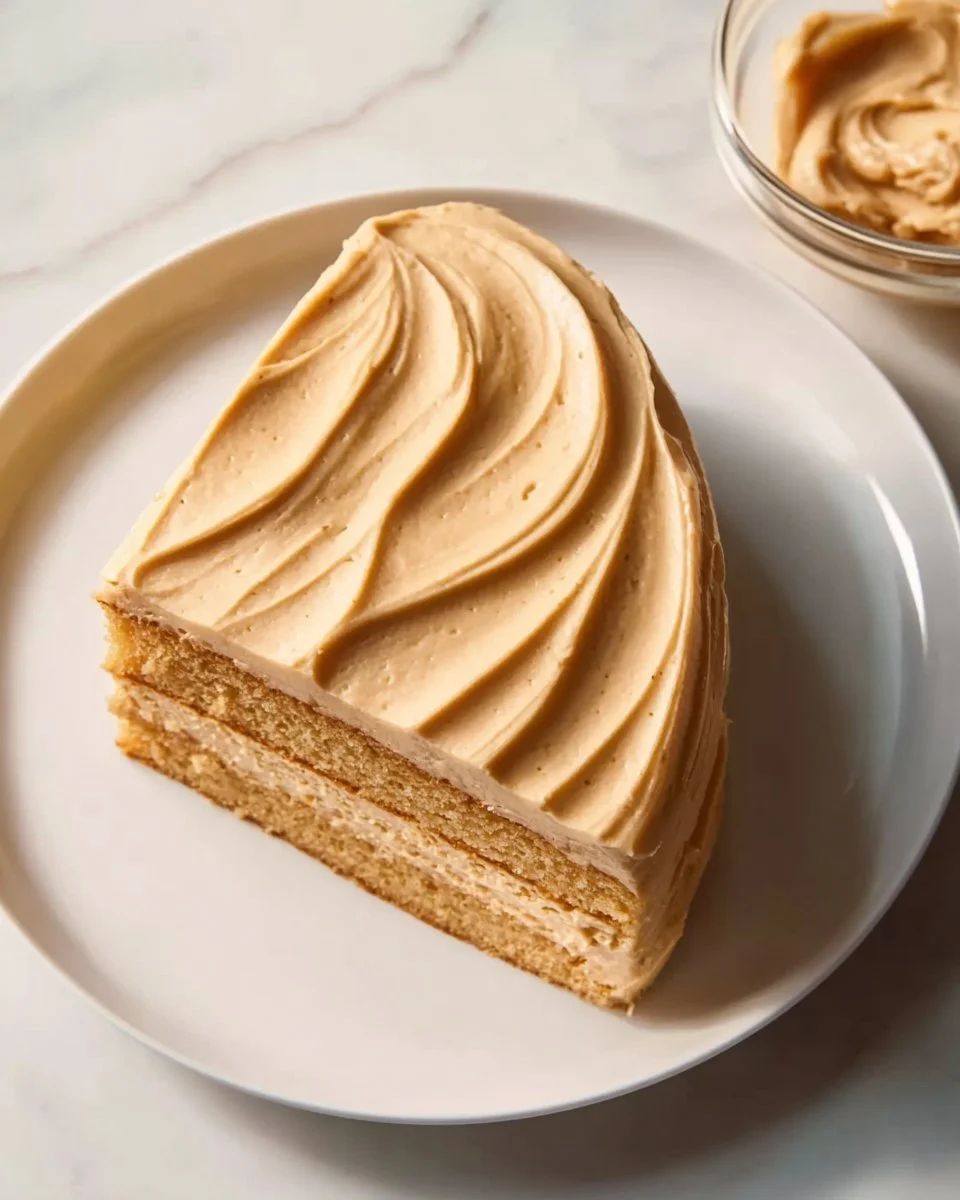
Brown butter frosting is not just your standard frosting; it’s a creamy, nutty masterpiece that elevates any dessert. The way the robust, caramelized flavor enhances simple sweet treats like vanilla cupcakes or chocolate brownies makes it stand out in a sea of frosting options. Unlike conventional frostings that often lack depth, brown butter frosting offers a unique twist with its rich, toasty notes—a game-changer for your baking endeavors.
In this post, I’ll share my cherished brown butter frosting recipe, tell you why this version trumps the rest, and offer insight into making it just right. Join me on this delicious journey, and let’s unlock the secrets of making the best brown butter frosting ever!
What is Brown Butter Frosting?
Brown butter frosting is the culinary love child of simple buttercream and the complex, toasty flavor of brown butter. The process begins by gently cooking unsalted butter until it transforms into a gorgeous golden-brown color. This magic happens as the milk solids in the butter caramelize, creating those delightful golden-brown bits that contribute to its distinctive flavor.
When you whip up this frosting, the result is a velvety smooth texture with a taste that dances between nutty and sweet. Unlike regular frosting, which can sometimes feel one-dimensional, brown butter frosting layers rich flavors that play perfectly together. This makes it an excellent choice for special occasions, weekend baking projects, or simply when you’re in need of a little comfort food.
Folks often turn to brown butter frosting as the star of birthday celebrations or holiday treats—it’s a frosting that can easily make an everyday cake feel extra special. Whether it’s slathered on your favorite chocolate cupcakes or swirled atop a spice cake, this frosting brings a touch of warmth and nostalgia to any occasion.
Why You’ll Love This Recipe
Unbeatable Flavor: The unmistakable nuttiness of brown butter adds a depth of flavor that you won’t find in store-bought frostings. You’ll be hard-pressed to go back once you’ve tried it!
Cost-Effective: Made with just a few simple ingredients—most of which you likely already have on hand—this recipe is budget-friendly. You’ll impress your friends without breaking the bank.
Customizable: Love a little extra spice? Toss in some cinnamon or a hint of espresso. Want something sweeter? Add a touch more powdered sugar. This frosting can adapt to any palate!
Easy to Make: While it sounds fancy, this frosting recipe is straightforward enough for beginners. I’m all about baking that feels approachable—hence, the step-by-step instructions I’ll provide.
Perfect for Any Occasion: Whether you’re celebrating a birthday, an anniversary, or simply the joy of Tuesday, this frosting works for every situation. It brings a warm, inviting feel to any cake or dessert!
Ingredients
1 cup (226g) unsalted butter: Make sure your butter is room temperature for easy browning. Look for high-quality European-style butter for richer flavors.
3 1/2 to 4 cups (420-480g) powdered sugar, sifted: Sifting helps achieve that smooth frosting texture we all adore!
2-4 tablespoons milk or heavy cream: Depending on how thick or creamy you want the frosting, adjust the milk or cream accordingly.
1 tablespoon vanilla extract: Use a pure extract for authentic flavor—your guests will notice!
1/4 teaspoon fine sea salt, or to taste: A pinch of salt enhances sweetness and balances flavors.
Prep Notes: Ensure your butter is at room temperature to allow it to whip up beautifully. If you’re using store-bought frosting, remember that quality matters—always go for unsalted butter.
Step-by-Step Instructions
1. Brown the Butter
Start by melting the butter in a light-colored saucepan over medium heat. It’s important to keep an eye on it! After about 5 to 8 minutes, you’ll notice the butter beginning to foam and, soon after, lovely golden brown bits will form at the bottom. When it starts to smell nutty and turns a rich caramel color—immediately remove it from heat. Pour the butter into a heatproof bowl, making sure to include all those flavorful bits, and let it cool to room temperature. Then, chill in the refrigerator until solid but still soft, about 45 to 60 minutes.
2. Whip the Brown Butter
Once your browned butter is chilled, transfer it to a mixing bowl. Using a hand mixer or stand mixer, beat it on medium-high speed for about 2 to 3 minutes until creamy and pale.
3. Add Sugar and Cream
Gradually incorporate the sifted powdered sugar, one cup at a time, mixing on low speed to avoid a snowy kitchen disaster. Depending on how thick you want the frosting, add in 2 tablespoons of milk or heavy cream. Once everything is mixed in, turn the mixer up to high speed and whip for another 2 to 3 minutes until it’s fluffy and decadent.
4. Add Vanilla and Salt
Now, stir in the vanilla extract and salt. Taste your frosting and make adjustments as necessary. Want it a bit softer? More cream. Like it thicker? Add more sugar. Easy peasy!
Chef’s Tips: Make sure to watch closely when you’re browning the butter; it can quickly go from "nutty" to "burnt." And if your frosting is too runny, add a bit more powdered sugar to thicken it up.
Expert Tips & Tricks
Storage: Store leftover frosting in an airtight container in the fridge for up to a week. Let it come to room temperature before spreading again.
Make-Ahead: You can prepare the brown butter and store it in the fridge for a few days before whipping it with sugar. It can also be frozen for a month—just thaw it and re-whip!
Troubleshooting Common Problems: If your frosting is too thick, add more cream gradually until you reach your desired consistency. If it’s too thin, sift in additional powdered sugar.
Electric Mixer: Use a stand mixer with a paddle attachment for maximum aeration and fluffiness. If you’re using a hand mixer, you might need a bit more muscle!
Experiment with Flavorings: Try adding almond extract, or zest from citrus fruits like lemon for a refreshing twist.
Serving Suggestions
There’s no wrong way to serve brown butter frosting! Here are some favorites:
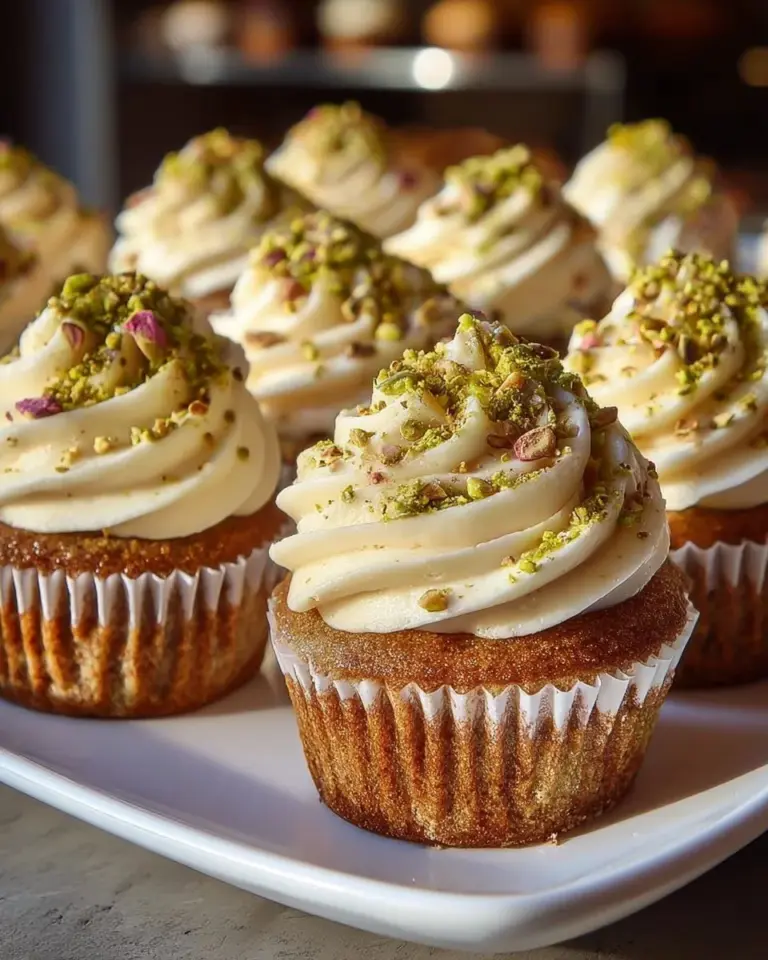
- With Cupcakes: Swirl generously atop vanilla or chocolate cupcakes for a show-stopping dessert.
- Layered Cakes: Use as a filling between cake layers or spread generously over a beautiful layered cake.
- Brownies: A dollop of this frosting on fudgy brownies is a match made in dessert heaven!
For a beautiful presentation, sprinkle with toasted nuts or drizzle with chocolate ganache. The opportunities for delightful serving are endless!
Variations & Substitutions
Feeling creative? Here are a few variations you can try:
- Flavor Infusions: Add different extracts like almond or maple for an exciting flavor twist.
- Cocoa Brown Butter Frosting: Just mix in a few tablespoons of cocoa powder with the powdered sugar for a chocolate version.
- Nut-Based: Fold in crushed nuts or nut flour for added texture.
For dietary restrictions, consider using vegan butter for a dairy-free version. Trust me, you won’t be disappointed!
Nutrition & Storage Info
- Prep Time: 15 minutes
- Resting Time: 1 hour
- Total Time: 1 hour 15 minutes
- Yield: Approximately 2 cups (enough for a two-layer cake)
- Estimated calories per serving: About 160 calories per tablespoon
- Storage instructions: Store in an airtight container. It lasts for about a week in the fridge and up to a month in the freezer!
FAQ Section
Can I use salted butter instead of unsalted?
Absolutely, but you may want to reduce the amount of added salt in the recipe.Can this frosting be colored with food dye?
Yes! Gel food coloring works best to achieve vibrant colors without altering the consistency.How can I make the frosting vegan?
Substitute the unsalted butter for a high-quality vegan butter, and you’re good to go!Is it necessary to chill the browned butter before whipping?
Yes! Chilling allows it to firm up, making whipping easier and giving a better texture.Can I use this frosting for filling?
Yes, it’s fantastic as a filling between cake layers. Just manage thickness based on how you want it to layer.How do I know when the butter is browned perfectly?
Look for a rich golden color and a nutty aroma. Don’t forget to scrape those brown bits at the bottom—they add fantastic flavor!What desserts pair well with brown butter frosting?
It works wonderfully with vanilla, chocolate, or spice cakes, brownies, and even cookies.Can I use brown sugar in this recipe?
While not traditional, you could substitute some powdered sugar with brown sugar for a deeper flavor profile.What if my frosting is too soft?
Add more powdered sugar, gradually, until it reaches your desired consistency.What’s the best way to serve this frosting?
A spatula or piping bag both work wonders. Feel free to get creative!
Conclusion
Brown butter frosting is a delightful secret that adds depth and warmth to any dessert. I truly hope you give this recipe a try and discover just how irresistible it is! Whether you’re celebrating a momentous occasion or simply treating yourself, this frosting will elevate your baking game.
Share your experience in the comments; I love hearing your feedback! And don’t forget to check out my other blog recipes for more delicious creations that will surely impress. Happy baking!