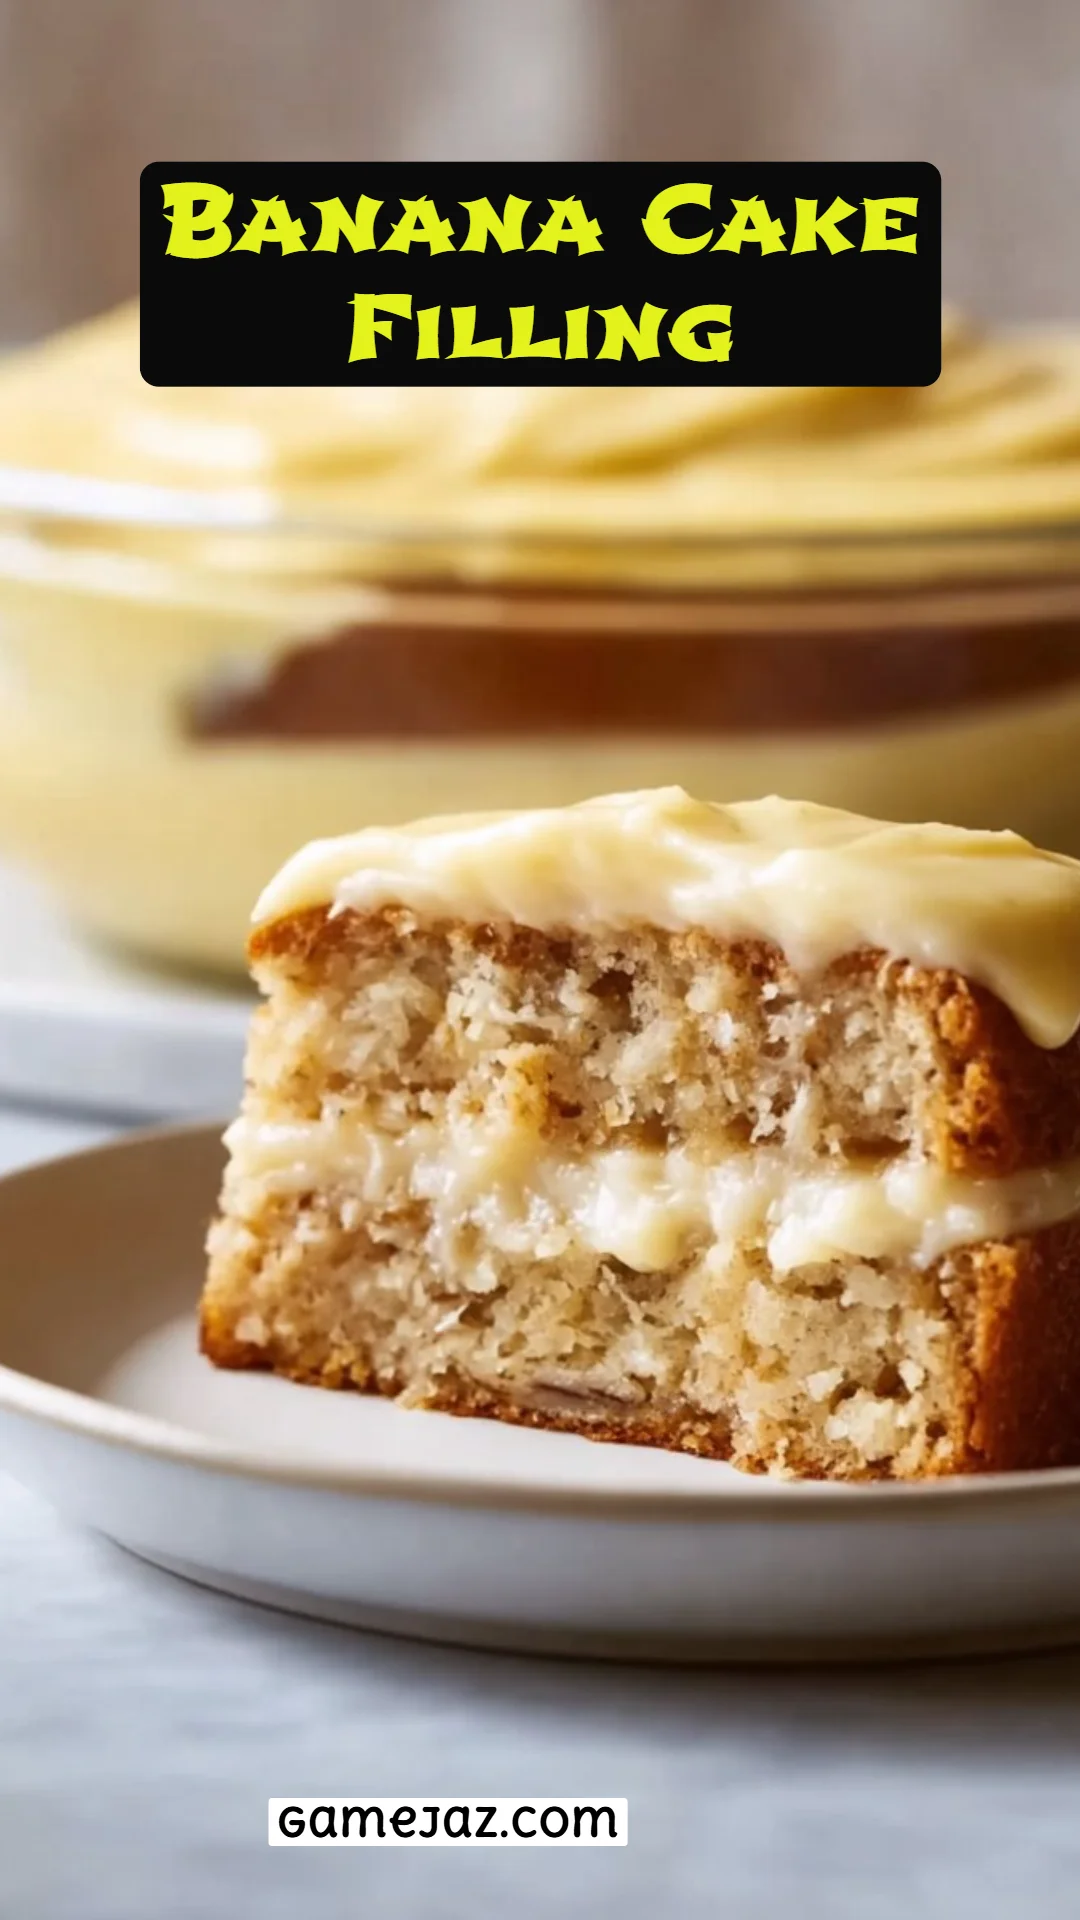
Heavenly Banana Cake Filling: A Recipe for Sweet Nostalgia
Every time I bake, it’s like stepping into a time machine filled with family memories and the sweet aroma of love. One of my all-time favorite recipes is Banana Cake Filling—a delectable treat that not only brings joy to my taste buds but also evokes warm recollections of family gatherings. I remember my grandmother whipping up a heavenly banana cream filling for her iconic layer cakes, and the scent of ripe bananas and vanilla would drift through our home, inviting everyone to the table.
What makes this Banana Cake Filling so special? It’s the perfect blend of creamy, fruity sweetness that adds a delightful layer to any cake. Unlike store-bought fillings that can taste artificial, this homemade version offers an authentic flavor that will have your loved ones begging for seconds. It’s comfort food with a twist, and it’s so easy to make—trust me, you’ll want to spread it on everything from sponge cakes to pancakes.
Today, I’m excited to share this recipe with you, packed with tips, tricks, and a few stories from my kitchen. By the end of this post, you’ll be armed with the knowledge to create your very own Banana Cake Filling, guaranteed to impress friends and family at your next gathering!
What Are Banana Cake Fillings?
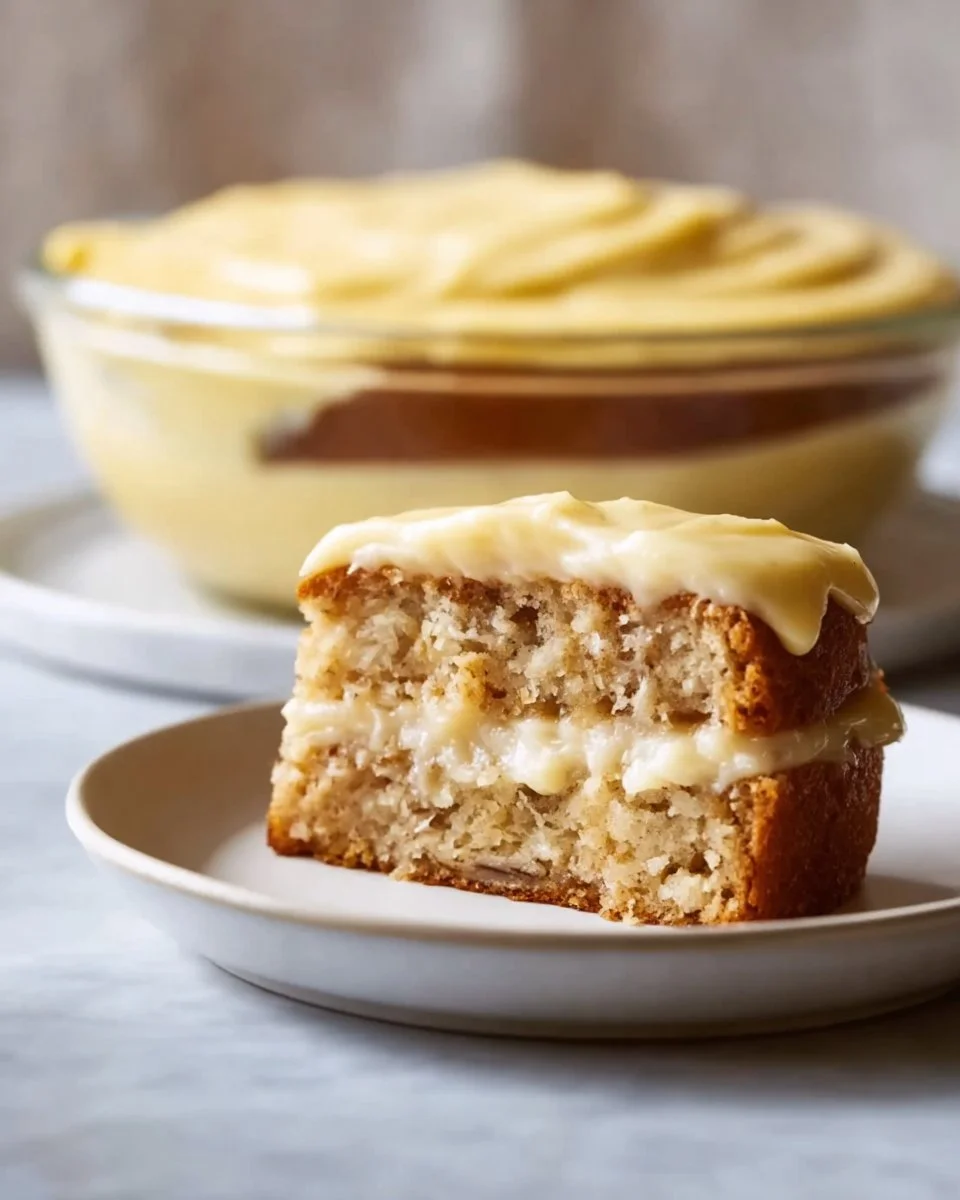
Banana cake filling is a creamy mixture that combines the natural sweetness of ripe bananas with rich ingredients like milk and butter to create a luxurious custard. The origins of banana-flavored desserts can be traced back to the late 19th century, but this filling takes it up a notch by turning the humble banana into a luscious topping or layer that elevates every bite of cake.
What sets it apart? It’s not just about the flavor; it’s about the texture, too. This filling is smooth and velvety, melting in your mouth and enhancing the experience of any baked good it adorns. Whether you’re celebrating a birthday, hosting a brunch, or simply indulging in a slice of cake with your coffee, banana cake filling is a versatile choice that adds warmth and joy to any occasion.
Make this filling when you want to impress with minimal effort—it’s the perfect companion for spongy cakes, layered desserts, or even just as a dip for fruit. Trust me, once you make it, you’ll have a new go-to recipe in your baking arsenal.
Why You’ll Love This Recipe
Deliciously Homemade: Unlike the blandness of store-bought fillings, this recipe packs a punch of fresh flavor. You’ll love the natural sweetness from the bananas and the creamy consistency that combines beautifully with cakes and cupcakes.
Budget-Friendly: This amazing filling can be made with simple ingredients that you probably have in your pantry. It’s cost-effective too; you won’t need to splurge on specialty items just to achieve that gourmet taste.
Customizable to Your Taste: Want to give it a fun twist? You can easily add spices, chocolate, or even nuts to create new flavor combinations. Feeling adventurous? Try using different types of milk or sweeteners according to your dietary needs.
Easy to Make: This filling is beginner-friendly! If you’ve baked a cake before, you can certainly whip this up in no time. Plus, it only requires around 30 minutes of your day—perfect for a spontaneous baking session.
Make Ahead and Store: This filling can be made ahead of time, making it an ideal choice for busy bakers. Simply store it in an airtight container in the fridge, and you’ll always have a delicious treat ready to go when you’re hosting or craving something sweet.
Ingredients
Here’s what you’ll need to create your dreamy Banana Cake Filling:
- 2 large ripe bananas (spotted, not mushy): Choose bananas that are fragrant and slightly soft for the best flavor.
- 1/3 cup granulated sugar: You can substitute with brown sugar for a richer taste.
- 2 tablespoons cornstarch: This will help thicken your filling to the perfect custard-like consistency.
- Pinch of salt: A little salt enhances the sweetness of the bananas.
- 1 tablespoon lemon juice: Adds brightness and keeps the bananas from browning; freshly squeezed is best!
- 1 cup whole milk: For a richer taste, use full-fat milk or even coconut milk for a dairy-free alternative.
- 2 large egg yolks: These add creaminess; don’t throw the whites away—you can use them in meringues!
- 2 tablespoons unsalted butter: Make sure it’s room temperature for easy mixing.
- 1 teaspoon vanilla extract: Always opt for pure vanilla extract for the best flavor.
- 1 tablespoon heavy cream (optional): This will make your filling extra decadent.
- 1/4 teaspoon cinnamon or nutmeg (optional): Add a warm spice for a cozy flavor twist.
Prep Notes:
- Allow the butter to come to room temperature for easier blending.
- Mash the bananas until they’re mostly smooth to avoid lumps.
Step-by-Step Instructions
Mash the Bananas: In a medium bowl, mash the ripe bananas until mostly smooth. Stir in the lemon juice to preserve their color. Set aside for now.
Mix Your Dry Ingredients: In a medium saucepan over low heat, whisk together the granulated sugar, cornstarch, and pinch of salt until well combined.
Combine Milk and Eggs: Gradually whisk in the whole milk until smooth. Once combined, add the egg yolks and mashed banana mixture until fully blended.
Cook Until Thickened: Turn the heat to medium and constantly stir the mixture for about 6 to 8 minutes. You’ll notice it thickening; it’s ready when it starts bubbling and coats the back of a spoon. Remove from heat immediately.
Add Butter and Vanilla: Stir in the unsalted butter and vanilla extract until completely melted and smooth. If you’re using heavy cream and spices, toss those in as well.
Chill the Filling: Pour the mixture into a heatproof bowl. Cover it with plastic wrap directly on the surface to prevent a skin from forming. Let it cool to room temperature, then refrigerate for 1 to 2 hours. This filling can even be made up to 3 days in advance if stored in an airtight container.
Chef’s Tips:
- Avoid cooking the mixture over high heat, as it can become lumpy.
- If you want to simplify, you can even use a pre-made pastry cream as a base and mix in the banana.
Expert Tips & Tricks
Storage Recommendations: The Banana Cake Filling can be stored in the fridge for up to 3 days. Just make sure to cover it well to maintain freshness.
Make Ahead Instructions: Perfect for parties, this filling tastes best chilled! Make it one day ahead for an easy dessert assembly.
Troubleshooting Common Problems:
- If your filling doesn’t thicken properly, try cooking it a bit longer while continuously stirring.
- For too thick a filling, add a splash more milk until you reach your desired consistency.
Variation Tips: Experiment with different banana varieties, or try adding a tablespoon of peanut butter for a twist. You can also swap in almond or oat milk for a dairy-free version.
Presentation Suggestions: When ready to serve, consider piping the filling between cake layers for a stunning effect. You could also drizzle melted chocolate on top for a gourmet look!
Serving Suggestions
Banana Cake Filling is incredibly versatile! Serve it alongside a slice of vanilla sponge cake to turn an ordinary dessert into something extraordinary. You can also use it as a delightful filling for cupcakes, layer in a trifle, or even as a topping for pancakes and waffles topped with whipped cream. For special occasions, try garnishing it with toasted coconut or chopped nuts for an extra special presentation.
Variations & Substitutions
There are so many ways to get creative with your Banana Cake Filling! Here are a few ideas:
- Chocolate Banana Filling: Mix in cocoa powder or melted chocolate for a rich chocolatey flavor that pairs beautifully with banana.
- Nut Flavors: Stir in chopped walnuts or pecans for a delightful crunch and added nutty flavor.
- Seasonal Variants: During the fall, try adding pumpkin spice for a cozy autumn flavor.
- Vegan Adaptation: Use almond milk, coconut cream, and a flaxseed mixture instead of egg yolks for a vegan version!
Nutrition & Storage Info
- Prep Time: 10 minutes
- Cook Time: 15 minutes
- Total Time: 25 minutes (plus chilling time)
- Yield: About 2 cups of filling
- Estimated Calories per Serving: Approximately 150 calories per serving (1/4 cup)
Storage Instructions:
- Room Temperature: Not recommended; store in the fridge.
- Fridge: Up to 3 days in an airtight container.
- Freezer: Not recommended for this filling as it can separate upon thawing.
FAQ Section
Can I use frozen bananas?
Yes! Just ensure they’re mostly thawed and well-mashed before using.What if my filling is too sweet?
Balance it out by adding a pinch of salt or a dash of lemon juice to brighten the flavors.How do I make this dairy-free?
You can substitute whole milk with almond, coconut, or oat milk.How thick should the filling be?
It should be thick enough to coat the back of a spoon; it will thicken more as it cools.Can I make this filling ahead of time?
Absolutely! It can be made up to 3 days in advance and stored in the fridge.What type of cake pairs best with this filling?
Vanilla cakes, chocolate cakes, and even spice cakes are fantastic choices!How do I avoid lumps in my banana filling?
Cook over medium heat and whisk continually to create a smooth consistency.Can I use other fruits?
While bananas are a classic, you can experiment with pureed strawberries or peaches for entirely different flavors!Is this filling stable in warm weather?
It’s best to serve this filling chilled, especially during warmer months. Use chilled tools to maintain the temperature.How can I tell if my bananas are ripe enough?
Look for bananas with brown spots on the skin; this indicates they’re sweet and perfect for baking!
Conclusion
This Banana Cake Filling is a delightful way to add warmth and sweetness to your baked creations. Its creamy texture and authentic taste make it an unforgettable addition to any dessert table. I encourage you to try out this recipe and discover the joy it brings to both you and your loved ones.
Please share your experiences with me in the comments! I’d love to know how your filling turned out and if you made any tasty variations. For more baking inspiration and delectable recipes, check out my other posts on the blog!