# Delightfully Cute Easter Bunny Crescent Rolls Recipe: A Sweet Spring Treat!
Easter is more than just a holiday; it’s a beautiful blend of family traditions, laughter, and, of course, food. Growing up, our Easter mornings were always filled with the mesmerizing scent of freshly baked pastries wafting through the house. One of my favorite childhood memories is rolling out dough with my mom to make what we fondly called our Easter Bunny Crescent Rolls. These adorable treats are not only whimsical and fun but also incredibly easy to make!
What makes this Easter Bunny Crescent Rolls Recipe stand apart from any other is how customizable it is – you can tuck in your favorite fillings like chocolate chips, jam, or indeed, for a twist, even Nutella! Plus, they come together with just a few ingredients, making them both a delicious and cost-effective treat for your family gatherings. As warmth fills your kitchen, I promise that you’ll find comfort in each bite, just as I do every spring season. By the end of this post, you’ll not only know how to create these delightful bunny rolls but also discover tips to make them uniquely yours!
## What Are Easter Bunny Crescent Rolls?
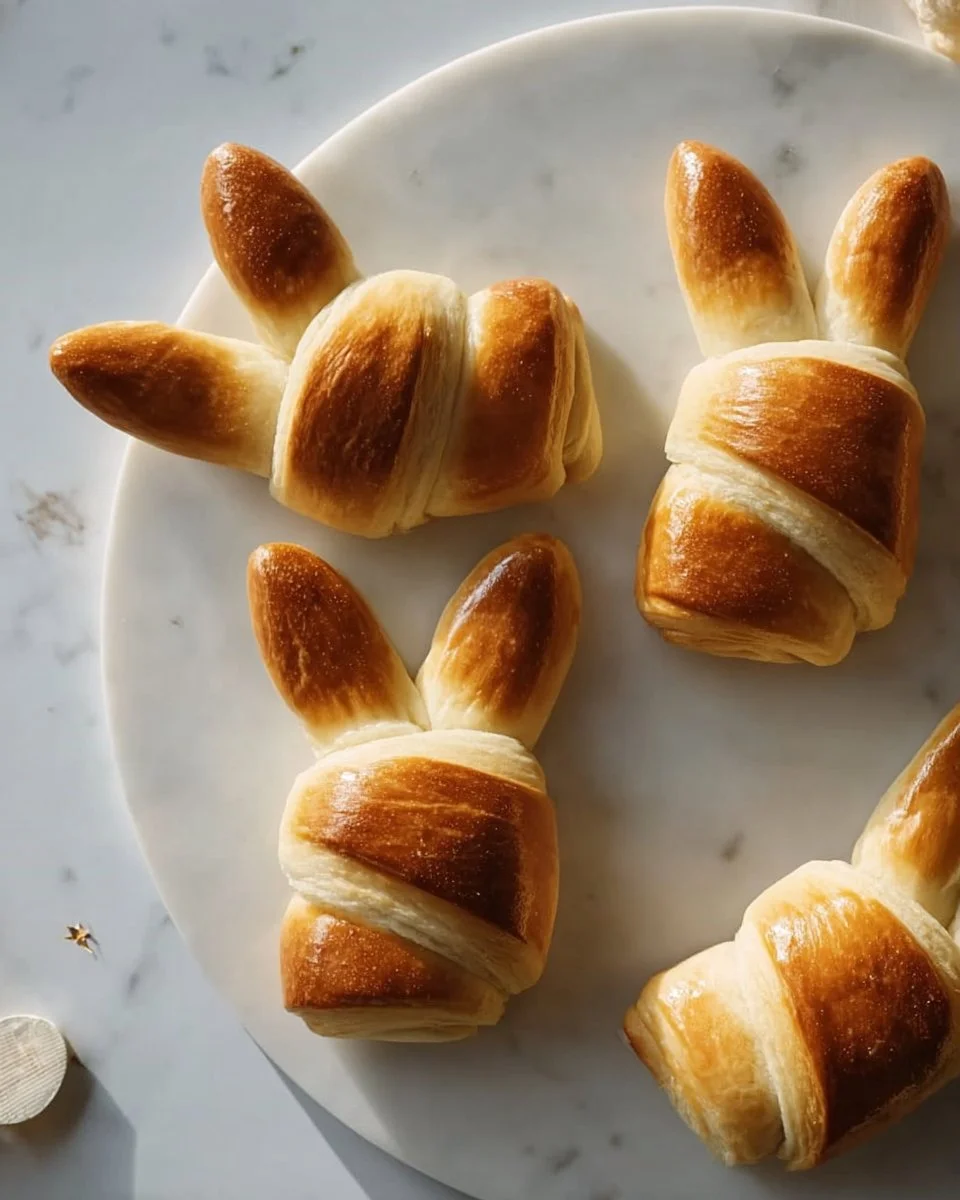
Easter Bunny Crescent Rolls are a playful and delightful twist on traditional crescent rolls, designed to bring a bit of whimsy to your spring celebrations. Originating as a fun way to celebrate Easter, these crescent-shaped treats are fashioned to resemble sweet bunnies, complete with little ears poking up at the top.
The taste and texture of these buns are exceptional. You get the flaky, buttery goodness of classic crescent rolls with the added bonus of whatever delicious fillings you choose. With a golden exterior and a soft, warm interior, they are perfect for any springtime brunch, family dinner, or as a fun breakfast on Easter morning. You may find yourself making them just to spread joy – animal-shaped treats always have a way of bringing smiles!
## Why You'll Love This Recipe
### 1. **Whimsical Appeal**:
Adorable and festive, these crescent rolls are a perfect conversation starter at any gathering. Your family will adore the bunny shapes and ask for seconds!
### 2. **Endless Customization**:
Whether you crave sweet or savory, these rolls can be filled with your favorite ingredients. From Nutella for a chocolatey delight to a savory cheese or jam filling, the possibilities are endless.
### 3. **Budget-Friendly**:
Making these treats at home is not only easier than you might think but also easier on your wallet than buying pre-made pastries. A few basic pantry staples yield a dozen of these delightful rolls!
### 4. **Perfect for All Skill Levels**:
This recipe is beginner-friendly. Even if you’ve never baked before, the step-by-step instructions will guide you to delicious, festive results!
### 5. **Memorable Family Activity**:
Encouraging the kids (or even your friends) to help shape the rolls can turn a simple cooking task into priceless family memories. Plus, everyone loves the end result!
Ready to get started? Let’s gather our ingredients!

## Ingredients
- **1 can refrigerated crescent roll dough (8 count)**: A quick and convenient base.
- **1 egg**: For binding and adding richness.
- **1 tbsp water**: To mix with the egg for the wash.
- **Optional fillings**: Cinnamon sugar, chocolate chips, jam, or Nutella make for scrumptious surprises inside.
- **2 1/4 tsp active dry yeast (1 packet)**: If you want to make homemade dough.
- **1/4 cup warm water (110 degrees F)**: To activate the yeast.
- **1/2 cup milk, warmed**: For a tender roll.
- **1/4 cup granulated sugar**: To sweeten the dough.
- **1/3 cup unsalted butter, melted**: For richness and flavor.
- **1 large egg**: To incorporate into the dough.
- **1/2 tsp salt**: Enhances flavor!
- **3 to 3 1/2 cups all-purpose flour**: For the right structure.
- **1 egg + 1 tbsp water for egg wash**: For a beautiful golden finish.
### Tips:
- **Ingredient Quality**: I always choose high-quality butter and eggs for the most flavorful rolls.
- **Substitutions**: You can use whole milk, almond milk, or any favorite dairy-free variant without affecting the end products!
- **Room Temperature**: Make sure that butter and eggs are at room temperature for better incorporation.
Now that you have everything you need, let’s dive into crafting these delightful bunnies!

## Step-by-Step Instructions
1. **Preheat the Oven**: Set your oven to 375 degrees F (190 degrees C) and line a baking sheet with parchment paper. This creates a non-stick surface for our rolls.
2. **Prepare the Dough**: Open the crescent dough and unroll it onto a floured surface. Gently cut each triangle lengthwise, creating two thinner triangles. (You can use a pizza cutter for precision!)
3. **Shape the Rolls**: Roll each triangle towards the tip, shaping them into crescent rolls. Pinch off a small piece from the thick end to shape into bunny ears and tuck them into the top of each roll – how cute is that?
4. **Arrange**: Place the rolls on the baking sheet, ensuring the pointed tip is underneath to hold their shape.
5. **Egg Wash**: In a small bowl, whisk together 1 egg and 1 tablespoon of water, then brush this mixture over each roll for a gorgeous golden finish when baked.
6. **Bake**: Pop those beauties in the oven and bake for 10 to 12 minutes until puffed and golden brown. Your kitchen will smell out of this world!
7. **Homemade Dough Option**: If you're feeling adventurous and want to make your own dough, stir the yeast into warm water and let it sit for 5 minutes until foamy. In a mixing bowl, combine warm milk, sugar, melted butter, egg, and salt. Stir in the yeast mixture. Gradually add flour, mixing until a soft dough forms. Knead for 5 to 7 minutes until smooth and elastic.
8. **Let it Rise**: Place your kneaded dough into a greased bowl, cover it, and let it rise until doubled in size, which usually takes about 1 to 1.5 hours.
9. **Shape Again**: Once risen, deflate the dough and divide it into triangles; follow the same shaping, egg wash, and baking instructions as above.
10. **Serve**: Allow them to cool slightly before serving, and watch them disappear!
### Chef's Tips:
- **Visual Cues**: The dough should feel soft and slightly springy when ready.
- **Common Mistakes**: Ensure your oven is correctly preheated. Placing the dough in a cold oven can ruin the puffiness!
- **Time Saving**: Using pre-made dough is a huge time saver, perfect for busy mornings.
## Expert Tips & Tricks
- **Storage**: Store any leftover rolls at room temperature in an airtight container for up to two days, or refrigerate them for up to a week. For longer storage, freeze them in a sealed container, where they’ll last for about three months.
- **Make-Ahead**: You can prepare the rolls up to the baking step and refrigerate them, then simply bake them fresh when you’re ready to enjoy.
- **Troubleshooting**: If your rolls haven’t puffed up, check your yeast for freshness next time, or ensure your liquid temperatures are correct (too hot or too cold can kill yeast).
## Serving Suggestions
These adorable Easter Bunny Crescent Rolls are perfect on their own, but why stop there? Pair them with a light salad for brunch, serve them alongside some savory quiche, or offer them up as a beautiful centerpiece at your Easter table. For presentation, place them on a colorful platter, garnishing with some fresh flowers or Easter-themed decorations. They make delightful gifts on a spring afternoon or a sweet addition to any holiday gathering!
## Variations & Substitutions
The beauty of this recipe lies in its versatility:
- **Different Flavor Combinations**: Try using spiced fruit preserves like apricot or peach alongside cream cheese for a tangy twist.
- **Dietary Restrictions**: Substitute gluten-free crescent roll dough for a gluten-free version or coconut yogurt for a non-dairy option.
- **Seasonal Adaption**: During the fall, think about adding pumpkin spice to your dough or filling for a cozy twist!
## Nutrition & Storage Info
- **Prep Time**: 15 minutes
- **Cook Time**: 10-12 minutes
- **Total Time**: 30 minutes
- **Yield**: 8 rolls
- **Estimated Calories**: Approximately 120 calories per roll.
### Storage Instructions
- **Room Temp**: Up to 2 days in airtight container.
- **Fridge**: Up to a week.
- **Freezer**: Up to 3 months.
## FAQ Section
1. **Can I use homemade dough for these rolls?**
Yes, feel free to use your favorite dough recipe! Just follow the shaping and baking directions.
2. **How can I tell if my yeast is still active?**
If your yeast bubbles and foams when mixed with warm water and sugar, it’s active and ready to use.
3. **Can I use whole wheat flour instead of all-purpose flour?**
Absolutely! Keep in mind that the texture and flavor might vary a bit but will still be delicious.
4. **What fillings would work best?**
Anything! Good options include Nutella, chocolate chips, fruit jams, cream cheese, and even savory cheese mixes.
5. **Is there an egg-free version?**
You can substitute the egg in the dough with a flaxseed egg or applesauce.
6. **Why are my rolls dense?**
This can happen if the dough has over-proofed or if there’s too much flour added. Make sure to measure accurately!
7. **Can I freeze these rolls before baking?**
Yes, assemble them and freeze them on the baking sheet before transferring to a Ziploc bag for up to 3 months.
8. **Can I add spices to the dough?**
Absolutely! Cinnamon or nutmeg can give a lovely flavor to your rolls.
9. **What’s the best way to warm up leftovers?**
Reheat them gently in a microwave or toaster oven until warmed through.
10. **Do these rolls taste good the next day?**
Yes! Although best served fresh, they can easily be enjoyed the next day if stored properly.
## Conclusion
Easter Bunny Crescent Rolls are so much more than a recipe; they’re a delightful way to create memories in your kitchen. As you craft these whimsical pastries, I hope you find joy in each step and share them with your loved ones. I encourage you to give this recipe a try, and I’d love to hear your thoughts and any modifications you make! For more sweet inspirations, check out my blog for other festive recipes that will surely bring a smile to your table.
Happy baking!


Similar Posts
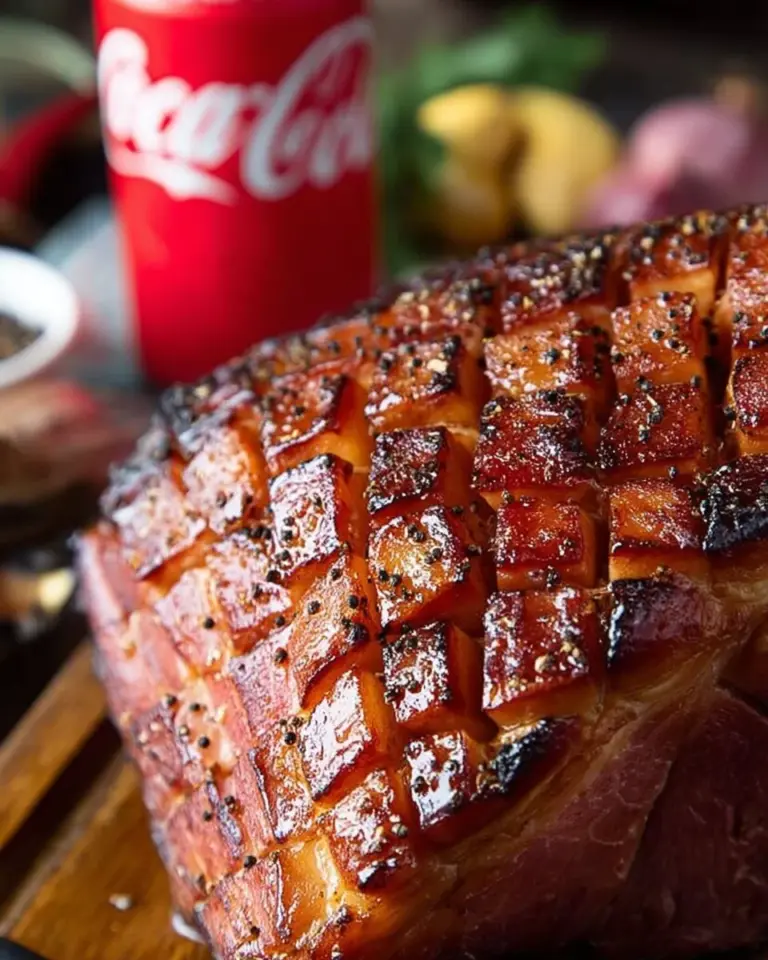
Bourbon and Coke Glazed Ham
Every family has their holiday traditions, and for mine, glazed ham is a staple that brings us all to the…
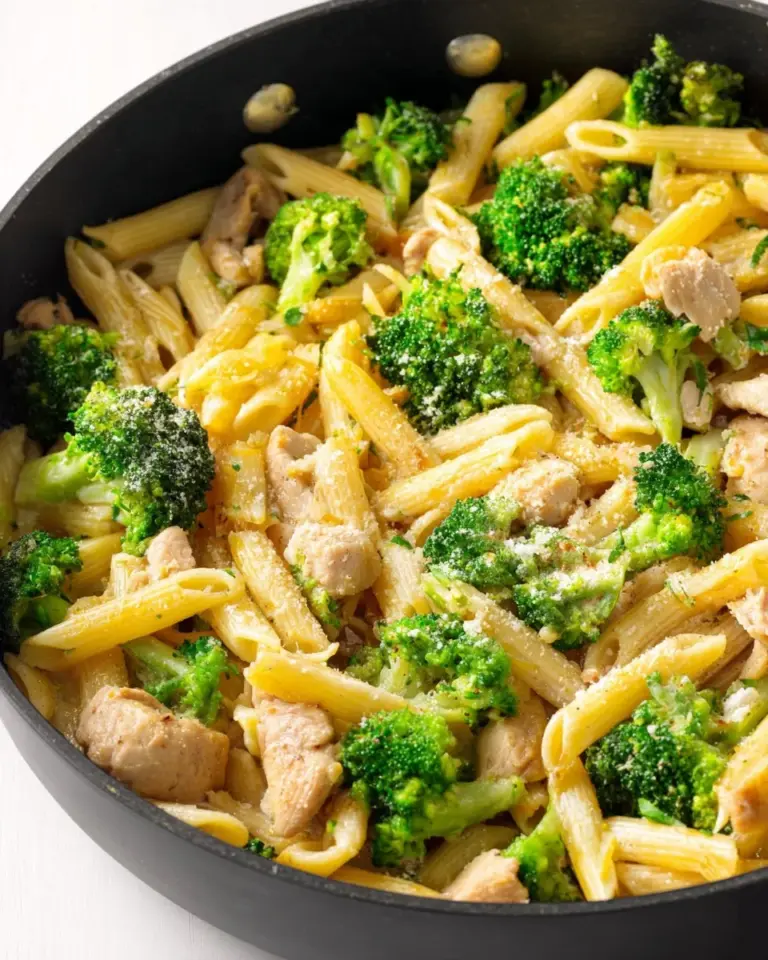
Irresistible Chicken Broccoli Ziti: A Family Favorite That’s Comforting and Delicious!
Growing up, there was nothing more comforting than the smell of Chicken Broccoli Ziti wafting through our home on a…
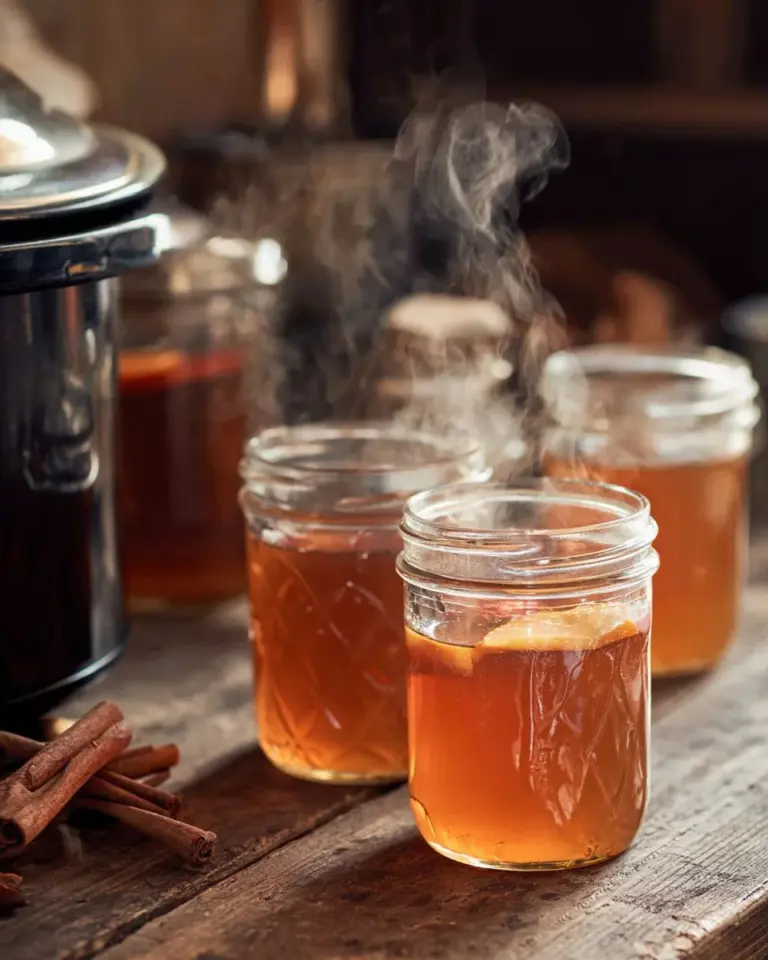
Crock Pot Apple Cider
When the leaves start to change and the air turns crisp, there’s nothing quite like a warm mug of homemade…
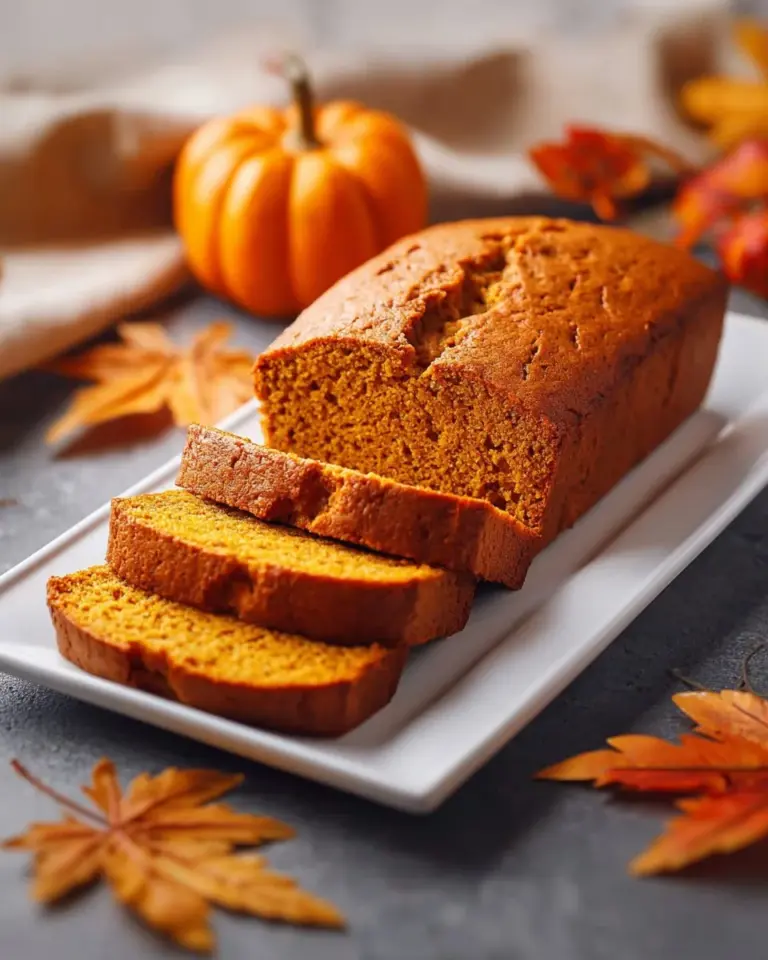
Perfect Pumpkin Bread
As the crisp air and vibrant foliage signal the arrival of fall, I can’t help but think of that magical…
Gingerbread Brownies
Nothing warms the heart quite like the rich aroma of freshly baked goods filling the kitchen, don’t you agree? I…
Italian Christmas Cookies
As the holiday season rolls around, the scent of fresh cookies wafting from the oven evokes cherished memories of my…