Irresistible Spring Brownies: A Delicious Twist on a Classic
Spring has a magical way of awakening our senses, and there’s something about this time of year that calls for a sweet treat to celebrate. Picture this: a vibrant kitchen filled with the intoxicating aroma of freshly baked chocolate brownies, dusted with pastel-colored candies, while the sun streams through the windows. That was the scene last weekend, as I decided to whip up a batch of my beloved Spring Brownies, inspired by the joyous spirit of the season.
These brownies are special—unlike any other brownies you’ve tasted before. They’re rich and fudgy, with a unique texture that melts in your mouth, and topped with irresistibly colorful pastel candies. It’s a simple yet crowd-pleasing dessert that brings back nostalgic memories of family gatherings and cheerful celebrations.
What I love most about this recipe is that it’s easy to pull together with everyday ingredients, and it usually yields rave reviews from family and friends. In the coming paragraphs, I’ll share my secrets to making these sweet, cheerful masterpieces that will surely steal the show at your next spring gathering!
What You’ll Learn:
- The origin and flavor profile of Spring Brownies.
- Why this recipe shines brighter than store-bought options.
- Pro tips and variations that will level up your baking game.
What Are Spring Brownies?
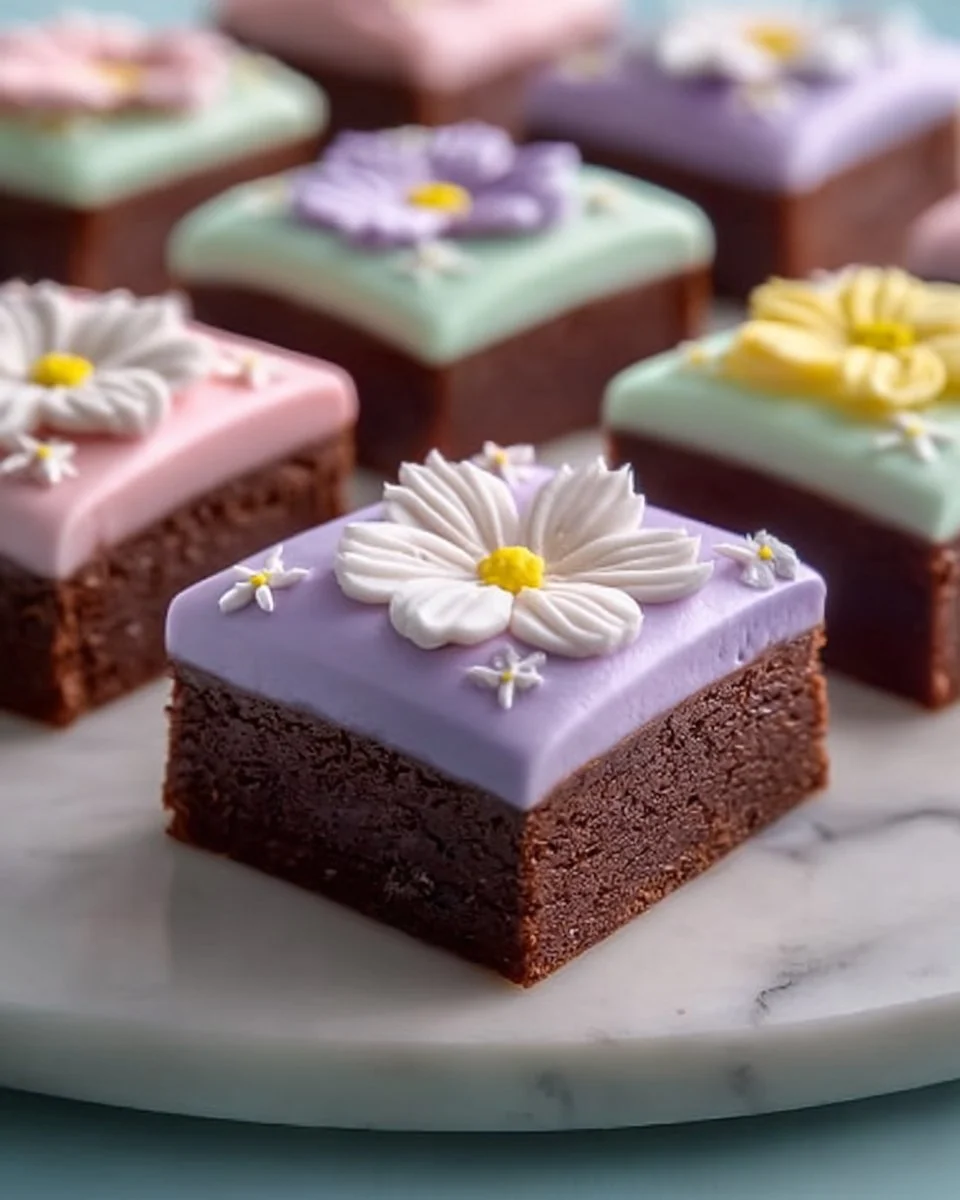
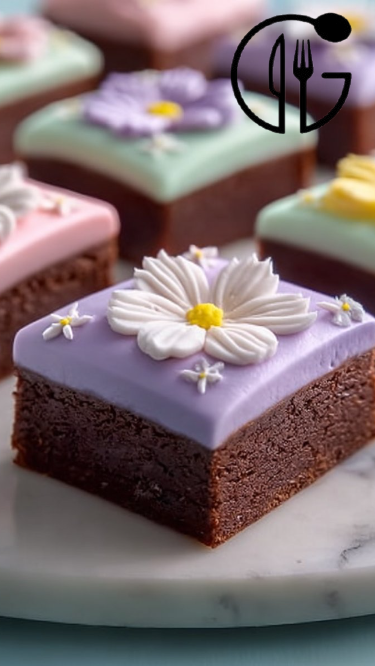
Originating from the quintessential brownie base, Spring Brownies take the classic dessert and inject it with vibrant life and flavor. The base is rich and chocolatey, thanks to the perfect blend of cocoa powder and butter. Picture sinking your teeth into that first bite: the outer layer is slightly crisp, while the inside remains gooey, reminiscent of that beloved fudgy goodness.
What truly sets these brownies apart is their playful presentation. Each brownie is adorned with pastel candies, reminiscent of blooming flowers—a delightful nod to the season. Whether you’re hosting a spring picnic or a birthday party, these brownies are your secret weapon for a fun, festive treat.
Ideal for any spring occasion, think Easter gatherings, garden parties, or simply celebrating your love for chocolate on a sunny afternoon. Whether you’re baking to impress or just treating yourself, Spring Brownies are the answer to your sweet tooth’s dreams.
Why You’ll Love This Recipe
You might wonder why you should skip the store-bought version and instead turn your kitchen into a brownie paradise. Here are five compelling reasons to roll up your sleeves and make your own Spring Brownies:
Cost-Effective: A batch of homemade brownies is not only budget-friendly but can also serve a crowd. You’ll save more than buying a small box from the store, plus you’ll have fun customizing them!
Customization Galore: Feel free to get creative! Swap in different chocolates, or mix in nuts, fruits, or even a hint of espresso to complement that rich cocoa flavor. The possibilities are endless!
Fresher and Tastier: There’s just something about biting into a homemade brownie that store-bought options can’t replicate. The fresh ingredients and the love you put into them make all the difference.
Perfect for All Skill Levels: Whether you’re a baking novice or a seasoned pro, this recipe is straightforward. With just a few steps, even the least experienced bakers can create a show-stopping dessert.
Quick Preparation: From preheating the oven to enjoying your first bite, you’ll have these brownies ready in under an hour! Perfect for those sudden urges to indulge in something sweet.
Ingredients Section
To make your delicious batch of Spring Brownies, gather the following ingredients:
- 1 cup unsalted butter, melted (Preferably use high-quality butter like Kerrygold for a rich taste)
- 2 cups granulated sugar (Organic sugar can enhance the flavor)
- 4 large eggs (Room temperature for better incorporation)
- 1 teaspoon pure vanilla extract (Use Madagascar vanilla for a more aromatic flavor)
- 1 cup all-purpose flour (Sifted for lighter texture)
- 1 cup unsweetened cocoa powder (Dutch-process cocoa is a nice upgrade)
- 1/2 teaspoon salt (Himalayan or sea salt enhances sweetness)
- Pastel candies for topping (Use candy-coated chocolates or M&M’s for a bright pop of color)
- Frosting for decoration (Homemade or store-bought, I often use a simple cream cheese frosting)
Prep Notes:
- Remember to let the butter cool slightly after melting, and ensure your eggs are at room temperature for optimal mixing.

Step-by-Step Instructions
Preheat the oven: Preheat your oven to 350°F (175°C). Grease a 9×13 inch baking pan with butter or cooking spray for impeccable brownie release.
Mix the wet ingredients: In a medium bowl, combine the melted butter and sugar. Whisk together until the sugar is fully incorporated and the mixture is smooth.
Add the eggs: Add each egg one at a time, mixing well after each addition to ensure a unified batter. Stir in the vanilla extract until combined.
Combine the dry ingredients: In another bowl, sift together the flour, cocoa powder, and salt. This step is crucial as it prevents clumps, ensuring a seamless batter.
Mix wet and dry: Gradually add the dry ingredients to the wet mixture, gently folding until just combined. Avoid overmixing—it’s okay if you see a few flour streaks!
Pour the batter: With a spatula, pour the brownie batter into the prepared pan and spread it evenly.
Bake it up: Bake for 20-25 minutes. You’ll know they’re done when a toothpick inserted in the center comes out with a few moist crumbs.
Cool and decorate: Once baked, let the brownies cool in the pan. Then, pipe swirls of frosting on top, followed by a sprinkle of pastel candies for that festive touch.
Serve your creation: Cut into squares and serve with a smile!
Chef’s Tips:
- Timing is Key: Keep an eye on the brownies after 20 minutes; ovens can vary. They should be slightly set in the edges and still soft in the center.
- Prevent Overmixing: For fudgy brownies, mix until just combined to avoid aeration.
Expert Tips & Tricks
For the best results with your Spring Brownies, consider these expert tips:
Use High-Quality Cocoa: Trust me, invest in good cocoa powder—it makes a world of difference in flavor.
Check for Doneness: Overbaking can lead to dry brownies. Aim for a toothpick that comes out with a few moist crumbs, not batter.
Storage: Keep brownies in an airtight container at room temperature for about 3 days or in the fridge for up to a week. They can last in the freezer for up to 3 months—just wrap them well!
Make Ahead: Prepare your brownie batter a day ahead and pour it into the pan; cover it well and store in the fridge. Bake them fresh for the event!
Troubleshooting: If your brownies come out too cakey, it’s likely they were overbaked. Remember—fudgy is the goal!
Serving Suggestions
Pair your delightful Spring Brownies with a scoop of vanilla ice cream or a dollop of freshly whipped cream to elevate your dessert experience. For a fanciful presentation, serve them on colorful plates, topped with fresh spring berries like strawberries and a sprinkle of powdered sugar.
These brownies are perfect for any occasion—spring picnics, Easter celebrations, or even just as a surprise treat for your family. They’ll be5 the highlight of the dessert table!
Variations & Substitutions
Feel free to switch things up! Here are some variations:
- Nutty Delight: Add 1 cup of chopped walnuts or pecans for a crunchy contrast.
- Fruit Infusion: Incorporate 1 cup of mini marshmallows or chocolate chips for added sweetness and texture.
- Dietary Adaptations: For gluten-free brownies, substitute all-purpose flour with a 1:1 gluten-free blend.
- Minty Fresh: Add peppermint extract to the batter for a refreshing chocolate mint brownie.
Get adventurous with flavors—experiment with different extracts or infuse the frosting with orange zest!
Nutrition & Storage Info
- Prep Time: 15 minutes
- Cook Time: 25 minutes
- Total Time: 40 minutes
- Yield: 24 squares
- Calories per Serving: Approximately 210 calories
(Please note, this may vary with toppings)
Storage Instructions:
- Room Temperature: Keep in an airtight container for up to 3 days.
- Refrigerator: For a longer shelf life, refrigerate for up to 1 week.
- Freezer: Wrap tightly in plastic wrap and freeze for up to 3 months.
FAQ Section
Can I use dark chocolate instead of cocoa powder?
Absolutely! Melt about 4 oz of dark chocolate and substitute it for the cocoa powder, adjusting the sugar slightly as dark chocolate is typically sweeter.Can I make these brownies without eggs?
Yes! You can replace each egg with 1/4 cup of unsweetened applesauce or mashed banana for a vegan alternative.What can I use instead of frosting?
For a lighter touch, consider a dusting of powdered sugar or a simple glaze made from powdered sugar and milk.How do I prevent my brownies from sticking to the pan?
Grease the pan thoroughly and consider lining it with parchment paper for an easy lift!Can I add a layer of cheesecake?
Of course! Pour half the brownie batter in the pan, spread a layer of cheesecake mixture, and then top with the remaining brownie batter.How can I make them more chocolatey?
Adding chocolate chips or chunks to the batter will enhance the chocolate flavor—and who doesn’t love an extra chocolatey brownie?How long do they take to cool before serving?
I recommend letting them rest for at least 30 minutes before cutting; this helps them set up nicely.Can I double this recipe?
Yes! Just use a larger baking pan and increase the baking time by a few minutes.What’s the best way to cut brownies?
Use a sharp knife and wipe it clean between cuts for neat, even squares.Can I add coffee to enhance flavor?
Yes! A tablespoon of brewed coffee can add depth to the chocolate flavor—try it and see!

Conclusion
To wrap things up, these Spring Brownies truly encapsulate the joy of the season—a delightful blend of comfort, nostalgia, and sweetness. With their fudgy texture and bright toppings, they’re the perfect way to celebrate spring gatherings or simply indulge in a little chocolate therapy.
I encourage you to try baking these delightful treats yourself. I’d love to hear how they turn out for you! Feel free to leave your thoughts in the comments below, or let me know what special twists you added to your brownies. Also, don’t forget to check out some of my other favorite dessert recipes on the blog; your sweet tooth will thank you!
Happy baking!