Decadent Red Velvet Hot Chocolate Cookies: A Cozy Treat You’ll Love
Imagine this: it’s a chilly winter afternoon, and the smell of something delicious wafts through the air. I’m snug in my kitchen, wearing my favorite apron, on a mission. While most people might reach for a cup of hot cocoa, I’m whipping up a batch of Red Velvet Hot Chocolate Cookies. These aren’t just any cookies. They’re a warm hug after a long day and a sweet reminder of family gatherings. The vibrant red hue, the melting chocolate goodness, and the comforting essence of hot cocoa make these treats utterly irresistible.
Growing up, my mom had a knack for turning ordinary days into extraordinary ones with her baking. These cookies have become one of our family’s cherished recipes, bringing back memories of laughter, stories, and cozy moments around the table. Trust me, this isn’t just another cookie recipe; it’s one that will elevate your dessert game and fill your home with nostalgia.
In this post, I’ll take you step by step through the process of making these delightful Red Velvet Hot Chocolate Cookies, sharing tips and insights that will ensure your batch turns out perfect every time. Let’s dive in!
What Are Red Velvet Hot Chocolate Cookies?
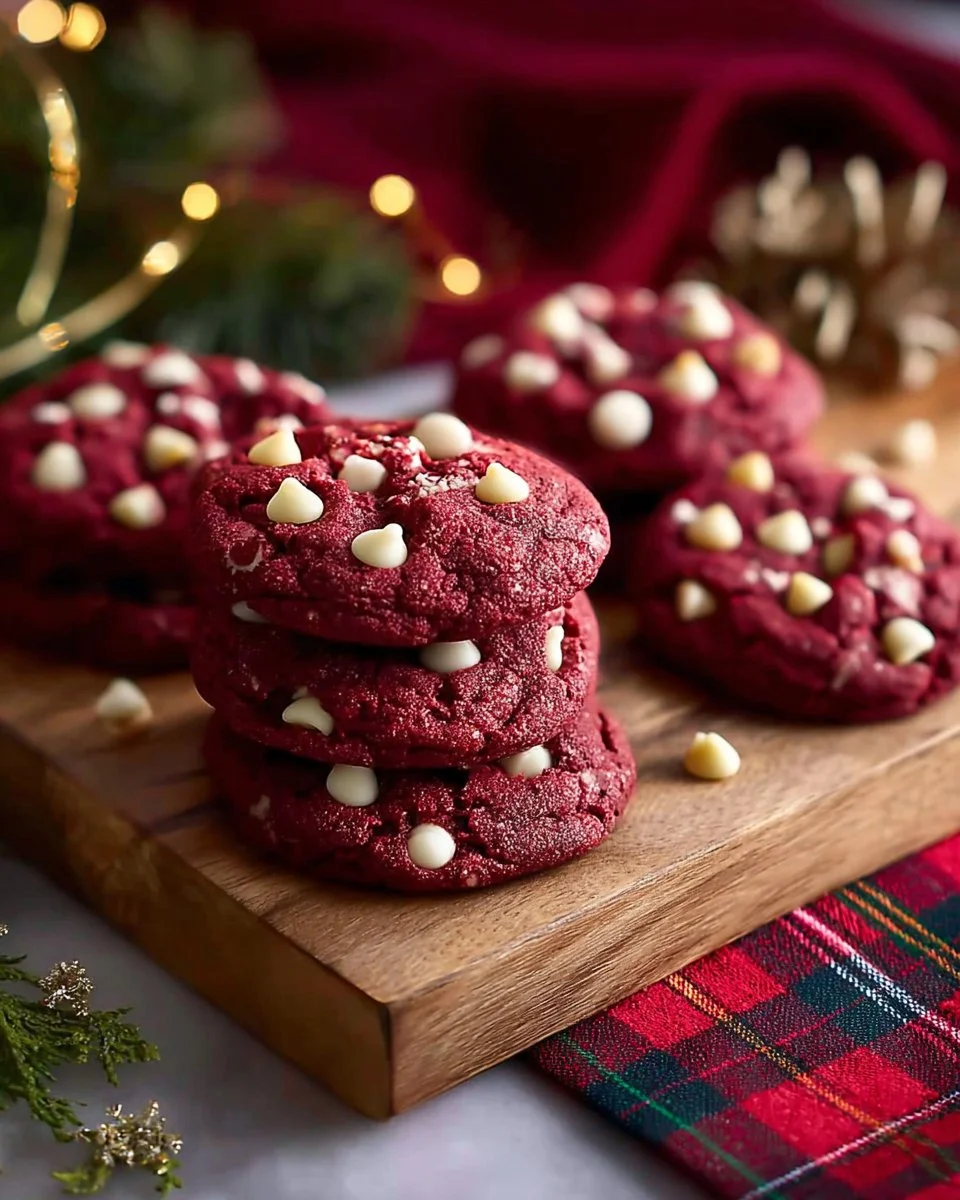
Red Velvet Hot Chocolate Cookies are not just a feast for the eyes; they’re a decadent experience for the taste buds. Combining the rich, somewhat tangy flavors of red velvet cake with the sweet, comforting taste of hot chocolate, these cookies deliver a symphony of flavors in every bite. The signature red color adds a festive touch, making them perfect for holidays or any special occasion.
The texture? Think soft, chewy edges with a gooey center, bursting with melty chocolate chips and marshmallows. They’re like a hug in cookie form! You can enjoy these year-round, but they hold a special place during the holiday season when cozy treats are a must.
Whether you want to impress guests, surprise loved ones, or simply indulge yourself, these cookies will always hit the spot.
Why You’ll Love This Recipe
Irresistible Flavor: With layers of taste from chocolate pudding mix, cocoa powder, and marshmallows, these cookies step well beyond what you’ll find in stores or bakeries.
Homemade Comfort: There’s something about baking your own cookies that gives you a sense of accomplishment. Plus, your home will smell heavenly!
Cost-Effective: For a fraction of the price, you can create a delicious batch that clearly beats those store-bought options. I mean, who doesn’t love saving money while enjoying fantastic treats?
Customizable: While the base recipe is divine, feel free to play around! Swap in dark chocolate chips, experiment with different types of marshmallows, or drizzle the cookies with white chocolate for added flair.
Easy to Make: You don’t have to be a culinary expert to pull these off. With straightforward instructions and common ingredients, even beginner bakers will shine.
Set aside some time to make these, as the dough requires chilling, but the wait is totally worth it!

Ingredients
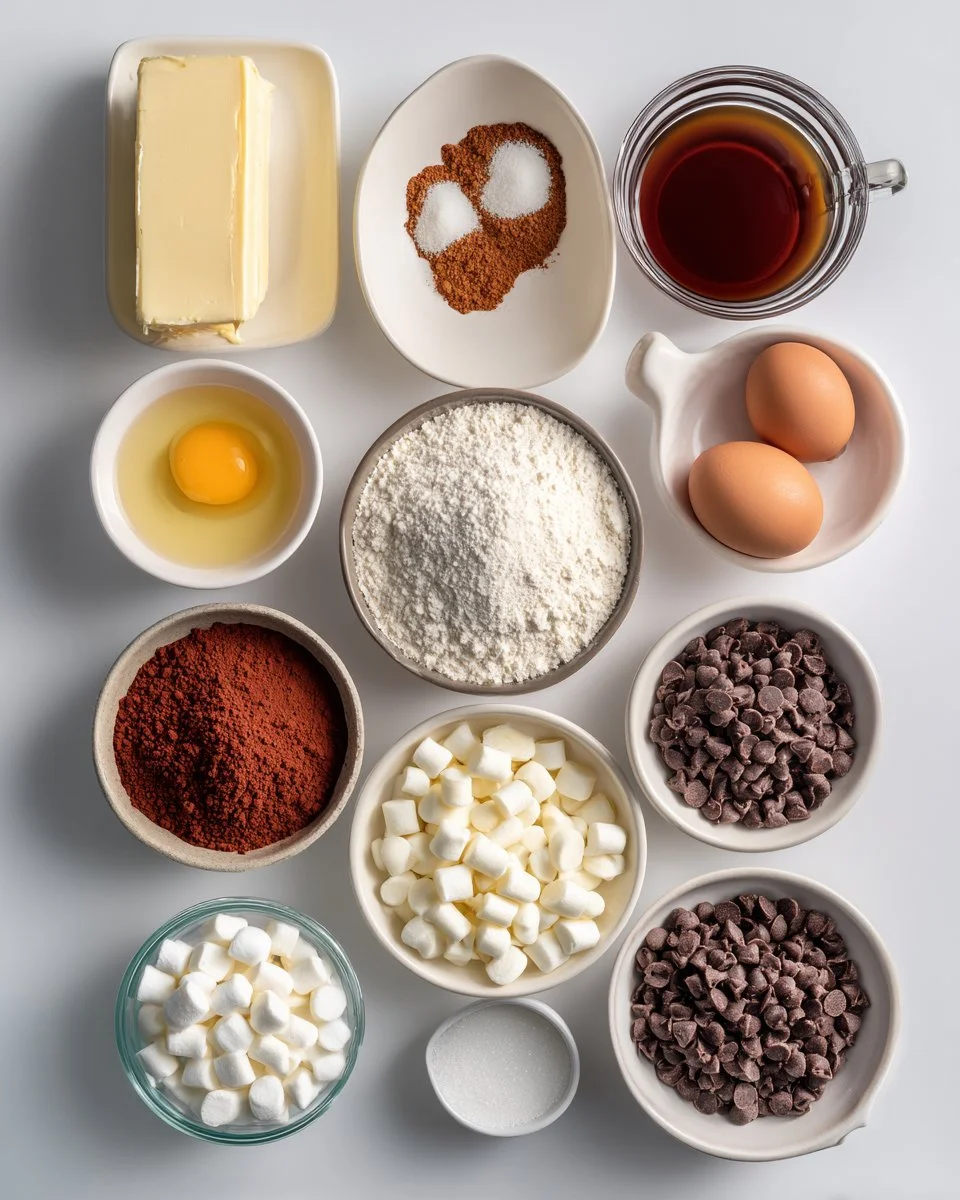
Here’s what you’ll need to create your own batch of Red Velvet Hot Chocolate Cookies:
- 1 3/4 cups unsalted butter, softened (Room temperature is crucial for a smooth dough!)
- 1 3/4 cups brown sugar, packed (Adds moisture and richness)
- 3/4 cup granulated sugar (For that perfect crisp)
- 4 large eggs, room temperature
- 1.5 tablespoons vanilla extract (Use high-quality for the best flavor!)
- 1.5 tablespoons red food coloring (For that iconic hue)
- 4.5 cups all-purpose flour (Sift for a lighter texture!)
- 1 cup instant chocolate pudding mix (A secret ingredient for moist cookies!)
- 1/2 cup hot cocoa mix (You can use your favorite brand)
- 1/2 cup cocoa powder, sifted (For deep chocolate flavor)
- 1/2 teaspoon espresso powder (Enhances the chocolate flavor but is optional)
- 2 teaspoons baking soda (Helps the cookies rise)
- 2 teaspoons salt (Balances sweetness)
- 2 cups milk chocolate chips (Creamy and delicious)
- 2 cups white chocolate chips (For that luxurious contrast)
- 4 cups mini marshmallows (These add that delightful gooeyness)
Ingredient Notes:
- Butter: Make sure it’s truly softened for an easier mixing process; I always recommend leaving it out for at least an hour.
- Sugars: The mix of brown and white sugars ensures the perfect chewiness.
- Food Coloring: Gel food coloring provides more vibrancy and is often preferred for baking.
- Chocolate Chips: Brands like Ghirardelli or Nestlé Toll House are my go-tos!
Step-by-Step Instructions
Prepare Dry Ingredients: In a large bowl, sift together the flour, cocoa powder, instant chocolate pudding mix, hot cocoa mix, espresso powder (if using), baking soda, and salt. This step is crucial for a light and fluffy cookie!
Cream Butter and Sugars: In your stand mixer or a large bowl, beat the softened butter, brown sugar, and granulated sugar until light and fluffy—about 3-5 minutes. This process helps to incorporate air.
Incorporate Wet Ingredients: With the mixer on low, add in the eggs one at a time until well combined. Then mix in the vanilla extract and red food coloring. This is where the magic happens, and the batter starts to glow!
Combine Wet and Dry Ingredients: Gradually mix the dry ingredients into the wet mixture until just combined. Be careful not to overmix, or you’ll lose that soft, tender texture.
Fold in Chocolates and Marshmallows: Using a spatula, gently fold in both the milk and white chocolate chips, along with the mini marshmallows. Don’t worry if the dough seems thick; it’s supposed to be!
Shape and Chill the Dough: Scoop out the dough into balls (about 2 tablespoons each) and place them on a baking sheet lined with parchment paper. Refrigerate the dough for at least 2 hours. This step is essential for creating the perfect cookie texture.
Bake and Cool: Preheat your oven to 350°F (175°C). Bake the dough balls for 17-20 minutes, or until the edges look set but the center is still slightly soft. Allow them to cool on the baking sheet for 10 minutes before transferring to a wire rack to cool completely.
Storage: Store any leftovers in an airtight container at room temperature for up to 5 days, or freeze for up to 3 months!
Chef’s Tips:
- For a more festive twist, consider adding peppermint extract or crushed candy canes during the wet ingredient stage.
- Avoid the common mistake of not chilling the dough; this is key to ensuring thick cookies that don’t spread too much.
Expert Tips & Tricks
Quality Matters: Always use high-quality chocolate chips and cocoa powder; it makes a noticeable difference in flavor.
Make Ahead: You can make the dough ahead of time and keep it in the fridge for up to 3 days. Just roll, chill, and bake when you’re ready!
Common Issues: If your cookies spread too much, make sure your dough is well-chilled, and your baking sheet is cool before placing the dough on it.
Storage Recommendations: If you plan to freeze the cookies, place parchment paper between layers to prevent sticking.
Using Leftovers: If you have leftover cookies (unlikely!), consider using them as toppings for ice cream sundaes.
Serving Suggestions
Serve these heavenly Red Velvet Hot Chocolate Cookies warm alongside a tall glass of milk or a cup of hot cocoa. For a festive touch, how about pairing them with eggnog or a delicious spiced chai?
To make your presentation pop, arrange the cookies on a tiered cake stand, dust with powdered sugar, or drizzle melted white chocolate over the tops. These cookies are perfect for any occasion—from holiday parties to cozy family gatherings.
Variations & Substitutions
- Different Flavor Combos: Try adding different extracts like almond or hazelnut for a unique twist.
- Gluten-Free Option: Substitute the all-purpose flour with a 1-to-1 gluten-free flour mix for those with dietary restrictions.
- Seasonal Variations: Add spices like cinnamon or nutmeg for fall flavors or sprinkle with seasonal sprinkles for a festive treat.
Nutrition & Storage Info
- Prep Time: 20 minutes
- Cook Time: 20 minutes
- Total Time: 2 hours 40 minutes (includes chilling time)
- Yield: Approximately 36 cookies (depending on size)
- Estimated Calories: 200 calories per cookie (varies based on size)
- Storage Instructions: Room temperature (up to 5 days), fridge, or freeze for up to 3 months.
FAQ Section
Can I use different types of chocolate chips?
Absolutely! Feel free to use dark chocolate, peanut butter chips, or even butterscotch for a fun twist.How do I make these cookies softer?
Ensure you don’t overbake them; they should look slightly underdone when you take them out, as they will continue to cook on the baking sheet.Can I freeze the cookie dough?
Yes! Scoop the dough balls onto a baking sheet, freeze them for a few hours until solid, then store in an airtight container or bag.What if I don’t have red food coloring?
While it won’t be red velvet without it, you can still make the cookies without. They’ll be chocolatey and delicious nonetheless!Can I mix in nuts?
Yes! Walnuts or pecans could add a lovely crunch.What are the best ways to store the cookies?
Keep them in an airtight container at room temperature. If needed, no plastic wrap—just a container!Is there a vegan version of this recipe?
You can substitute the butter with coconut oil, use flax eggs, and almond milk to make it vegan.Can I use whole wheat flour?
Whole wheat flour will change the texture, but you can substitute half to add some fiber.What can I do with leftover hot cocoa mix?
Use it in smoothies, or mix it into pancake batter for a cocoa kick!How long do these cookies last?
In an airtight container, they remain fresh for about 5 days, or you can freeze them for longer storage.
Conclusion
These Red Velvet Hot Chocolate Cookies are not just another treat; they’re a delightful blend of nostalgia, warmth, and deliciousness that everyone will adore. I hope you give this recipe a whirl—it truly brings the essence of home and comfort into every bite. Let me know how your batch turns out, or if you’ve experimented with any fun variations! And while you’re at it, check out some of my other cozy recipes on the blog, like the Spiced Pumpkin Cookies or the Classic Chocolate Chip Cookies. Happy baking!