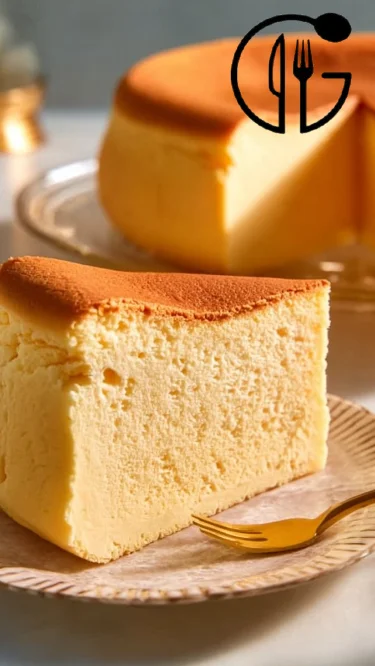
# Heavenly Japanese Cheesecake: Light, Fluffy & Irresistibly Delicious!
## Introduction
Have you ever tasted a dessert so light and airy that it feels like you're eating a cloud? That's exactly how I felt the first time I savored a slice of Japanese Cheesecake at a quaint little bakery in Tokyo. The moment it melted in my mouth, I was hooked! This delightful dessert, known for its jiggly, fluffy texture, quickly became a family favorite. Every holiday, you’d find my loved ones gathering around the kitchen, eagerly awaiting a homemade version of this exquisite cake, all while sharing stories and laughter—the perfect blend of comfort food and cherished memories.
What makes this Japanese Cheesecake recipe special is not just its magic-like texture, but also the balance of sweet and tangy flavors enhanced by a touch of lemon juice. Plus, it’s so much easier to make than most people think! I promise that by the end of this guide, you’ll be equipped to create your own dreamy, fluffy Japanese Cheesecake that will impress your friends and family beyond measure. Ready to dive in? Let’s go!
## What Are Japanese Cheesecakes?
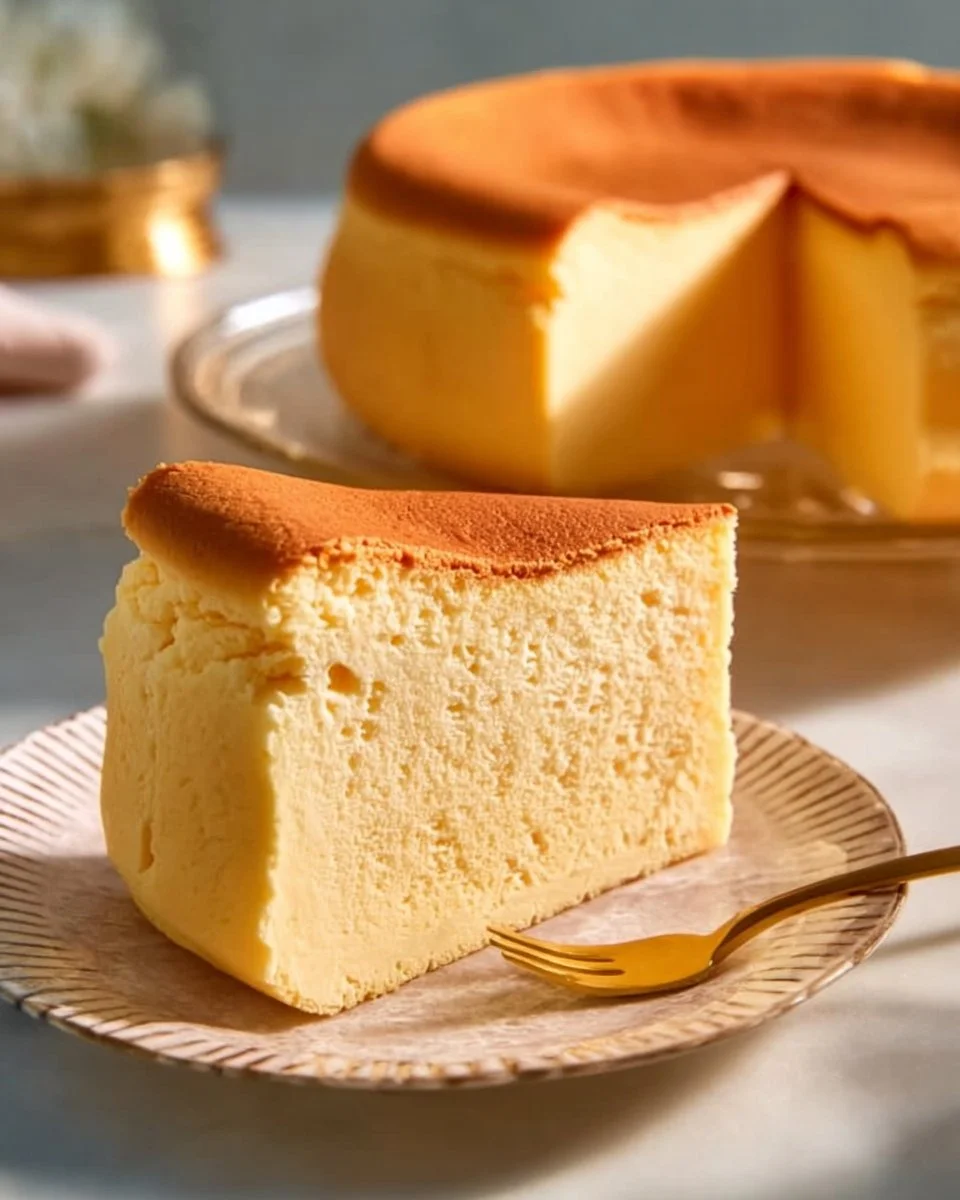
Japanese Cheesecakes, also known as "soufflé cheesecakes," originated in Japan and have taken the world by storm due to their unique texture and flavor profile. Unlike traditional cheesecakes, which are denser and richer, these airy delights are wonderfully light and fluffy, almost reminiscent of a soufflé. The key lies in the careful folding of whipped egg whites into the cream cheese mixture, creating that iconic rise.
You can expect a subtly sweet flavor, balanced with the pound of cream cheese that is softened to perfection. These cheesecakes are versatile—perfect for occasions like birthday celebrations, casual family dinners, or even a sweet treat for yourself on a cozy night in. A slice of Japanese Cheesecake feels like a hug from the inside, making it an instant classic worth mastering!
## Why You’ll Love This Recipe
1. **Irresistibly Fluffy**: This Japanese Cheesecake puffs up beautifully, delivering that sought-after cloud-like texture that’s simply divine. You won’t find a texture like this in most store-bought cheesecakes!
2. **Cost-Effective**: While a slice of Japanese Cheesecake at a fancy café may cost you a small fortune, making it at home is not only more satisfying but also budget-friendly. With just a handful of ingredients that are likely already in your pantry, you’ll save both money and effort.
3. **Customizable**: Like to experiment? You can add flavorings such as green tea, matcha, or chocolate to give your cheesecake a unique twist, catering to different palates within your family.
4. **Beginner-Friendly**: This recipe is more approachable than you might think! With simple instructions and minimal steps, even novice bakers can tackle this recipe comfortably. Perfect for impressing guests without being overwhelmed!
5. **Perfect for Any Occasion**: Whether it's holiday gatherings, birthday parties, or even a cozy weekend brunch, this cheesecake fits any context. And believe me, it’ll be the star of the dessert table!
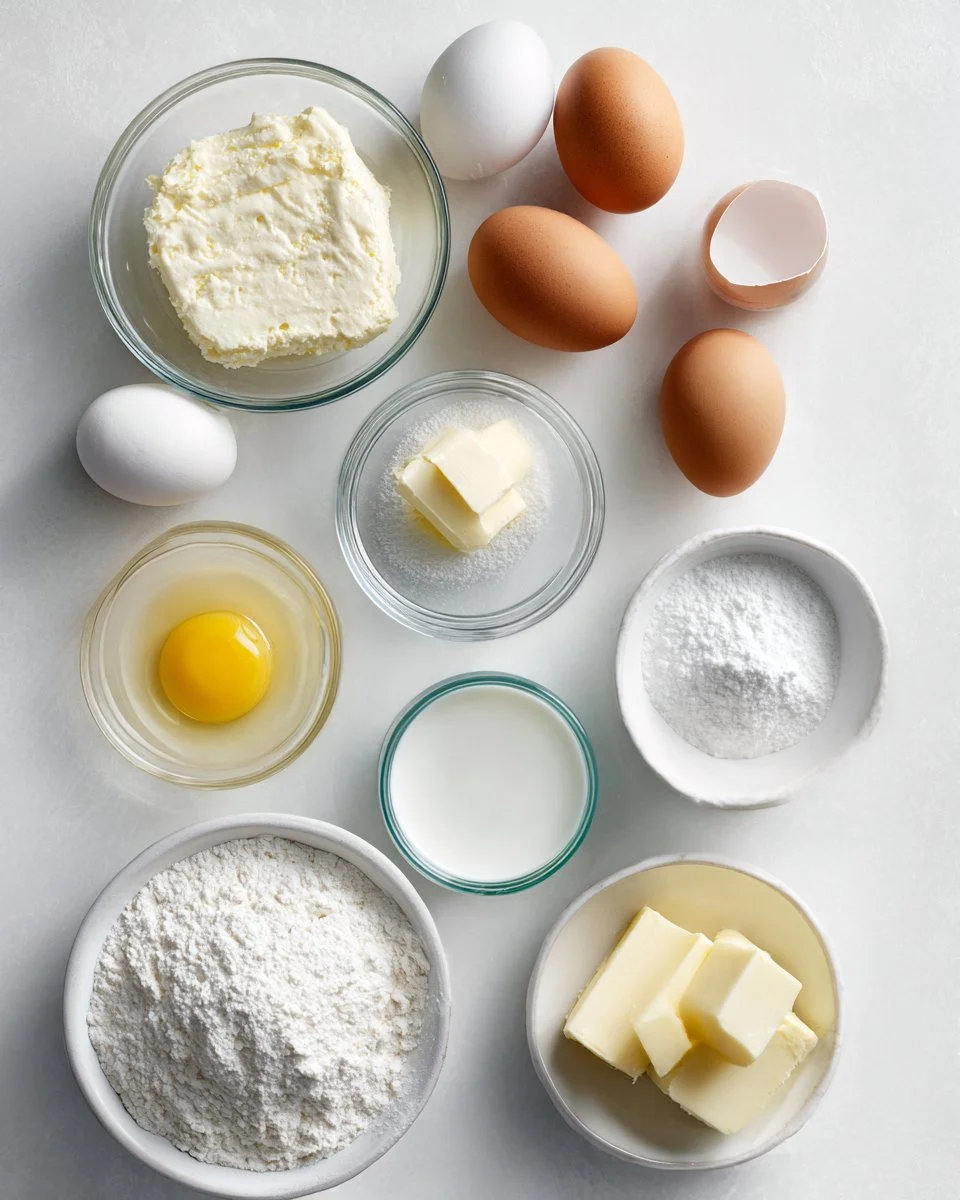
## Ingredients
To make a delightful Japanese Cheesecake, gather the following ingredients:
- 3 large eggs (Make sure they’re at room temperature for better incorporation)
- 1/2 cup cream cheese, softened (I recommend Philadelphia for its creamy texture)
- 1/4 cup unsalted butter, softened (Always choose high-quality butter for great flavor)
- 1/4 cup milk (Whole milk works best, but you can substitute with almond milk for a lighter version)
- 1/2 cup granulated sugar (Adjust the sugar level for desired sweetness)
- 1/2 cup cake flour (This gives you that soft texture—no all-purpose flour here!)
- 1 tablespoon cornstarch (Helps enhance the structure)
- 1 teaspoon lemon juice (For that bright, tangy note)
- A pinch of salt
**Prep Notes**: Ensure your butter is soft (leave it out for 30 minutes before starting) and your eggs are at room temperature for maximum fluffiness during mixing.
## Step-by-Step Instructions
1. **Preheat your oven** to 320°F (160°C). Grease and line a 6-inch round cake pan with parchment paper to ensure easy removal.
2. **Make the Cream Cheese Mixture**: In a mixing bowl, beat the softened cream cheese and butter together until smooth. Add the milk gradually and mix thoroughly until there are no lumps.
3. **Prepare the Egg Mixture**: In another bowl, whisk the eggs and sugar until fully combined. This should take around 2-3 minutes until the mixture is smooth and slightly pale.
4. **Combine Mixtures**: Gradually add the egg mixture to the cream cheese mixture. Stir gently until fully incorporated.
5. **Sift Dry Ingredients**: Carefully sift in the cake flour, cornstarch, and salt. Gently mix until just combined, taking care not to over-mix.
6. **Lemon Essence**: Add the lemon juice to the batter, and give it a gentle fold to incorporate.
7. **Water Bath Setup**: Pour the batter into the lined cake pan. Create a water bath by placing the pan in a larger baking dish, filling the outer dish with boiling water to create moisture while baking.
8. **Bake**: Bake in your preheated oven for about 60 minutes. The top should appear lightly golden and a toothpick inserted should come out clean.
9. **Cooling Time**: Once done, turn off the oven and leave the cheesecake inside with the door slightly ajar for another 30 minutes. This gradual cooling helps prevent cracking.
10. **Serve**: Remove from the pan and let it cool completely on a wire rack. Once cool, enjoy a slice of your heavenly Japanese Cheesecake!
### Chef’s Tips:
- Avoid over-mixing to keep the airiness intact.
- Use room temperature ingredients for better integration.
## Expert Tips & Tricks
1. **Perfect Your Oven Temperature**: Each oven is unique, so consider using an oven thermometer to ensure accuracy. You want consistent, gentle heat for that fluffiness.
2. **Store Properly**: This cake can be stored at room temperature for 1 day, or wrapped tightly and refrigerated for up to 3 days.
3. **Make-ahead**: Feeling busy? You can bake this cheesecake a day in advance and refrigerate it; flavors tend to deepen overnight!
4. **Troubleshoot Common Problems**: If your cheesecake cracks, it could be due to sudden temperature changes. Ensure a gradual cool-down for best results.
5. **Perfect Your Flavor**: Experiment with different extracts like vanilla or almond extract for additional depth to the flavor.
## Serving Suggestions
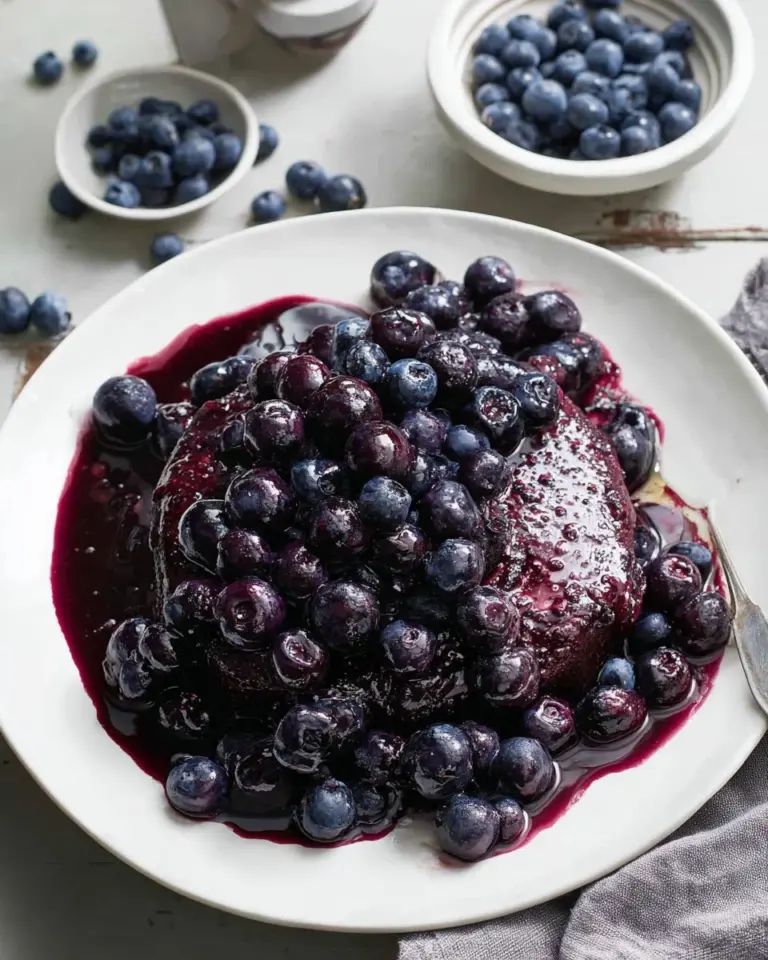
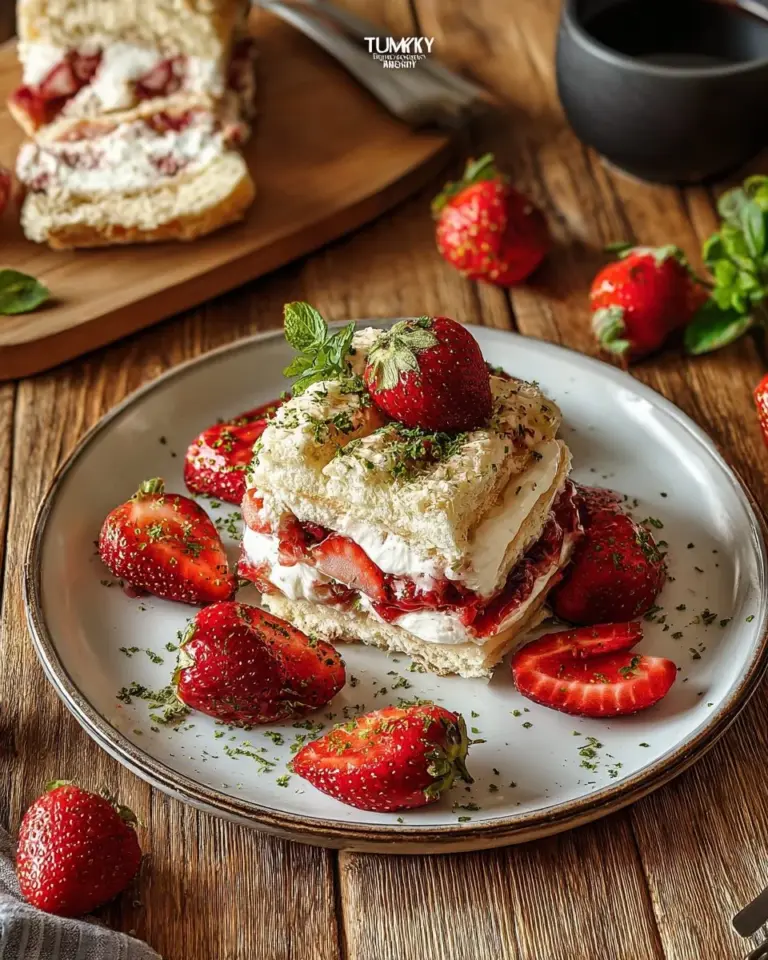
Pair your Japanese Cheesecake with fresh fruits such as strawberries or blueberries for a refreshing contrast. For an impressive presentation, dust the top with powdered sugar or serve with a drizzle of fruit compote. Perfect for gatherings like birthdays or afternoon tea!
## Variations & Substitutions
- **Flavor Additions**: Incorporate matcha powder, cocoa powder, or even extracts such as vanilla or almond for a unique take!
- **Dietary Restrictions**: Substitute gluten-free cake flour for those requiring gluten-free options. Vegan adaptations can include using coconut cream and aquafaba instead of eggs.
## Nutrition & Storage Info
- **Prep time**: 20 minutes
- **Cook time**: 60 minutes
- **Total time**: 1 hour 20 minutes
- **Yield**: Serves 8
- **Estimated calories**: Approximately 210 calories per slice
- **Storage**: Room temperature for 1 day, in the refrigerator for up to 3 days, or store in the freezer for up to a month.
## FAQ Section
1. **Can I use other cheese instead of cream cheese?**
- While cream cheese gives the cheesecake its signature taste, mascarpone or ricotta can work, though they will change the flavor and texture slightly.
2. **What if my cheesecake doesn't rise?**
- It could be due to under-beaten egg whites. Make sure to whip the egg whites until stiff peaks form for maximum lift.
3. **Why does my cheesecake crack?**
- A sudden change in temperature can cause cracking. Always allow for gradual cooling in the oven.
4. **Can I make this in a larger pan?**
- Yes! Just adjust the cooking time accordingly—larger cakes may take longer to bake.
5. **How can I tell when it’s done?**
- Look for a lightly golden top and a toothpick inserted into the center should come out clean but moist.
6. **Is this recipe easily halved?**
- Absolutely! Simply divide the ingredients by half and use a smaller pan.
7. **Can I freeze leftovers?**
- Yes, slice the cheesecake, wrap them individually, and freeze! Thaw overnight in the fridge before serving.
8. **Can I decorate the cheesecake?**
- Definitely! Top it with whipped cream, fresh fruits, or drizzle with a chocolate sauce for an extra flair.
9. **Why is my cheesecake so dense?**
- Overmixing the batter or not incorporating enough air while beating can result in a denser cheesecake.
10. **What’s the best way to slice cheesecake?**
- For perfect slices, use a hot knife—run it under hot water and wipe it clean between cuts!
## Conclusion
This Japanese Cheesecake is not just another dessert; it’s an experience filled with lightness, comfort, and cherished memories. Each bite is a delicious reminder of the joy of baking and sharing with loved ones. I invite you to try making this recipe yourself! Your friends and family will be talking about it long after the last slice is gone. Please share your feedback and any adaptations you try—the journey of baking is always better when shared! For more delightful recipes, be sure to check out my other posts on the blog.

Japanese Cheesecake
A light and fluffy Japanese Cheesecake that's irresistibly delicious, perfect for any occasion.
Ingredients
Method
Preparation
- Preheat your oven to 320°F (160°C). Grease and line a 6-inch round cake pan with parchment paper.
- In a mixing bowl, beat the softened cream cheese and butter together until smooth. Gradually mix in the milk until there are no lumps.
- In another bowl, whisk the eggs and sugar until fully combined and slightly pale.
- Gradually add the egg mixture to the cream cheese mixture. Stir gently until fully incorporated.
- Sift in the cake flour, cornstarch, and salt. Gently mix until just combined.
- Add the lemon juice to the batter, and fold gently to incorporate.
Baking
- Pour the batter into the lined cake pan. Create a water bath by placing the pan in a larger baking dish and filling the outer dish with boiling water.
- Bake in the preheated oven for about 60 minutes, until lightly golden and a toothpick inserted comes out clean.
- After baking, turn off the oven and leave the cheesecake inside with the door slightly ajar for another 30 minutes.
- Remove from the pan and let it cool completely on a wire rack before serving.
Notes
Avoid over-mixing to keep the airiness intact. Use room temperature ingredients for better integration.