Bright & Blissful Orange Curd: The Zesty Treat You Didn’t Know You Needed
Imagine a sunlit kitchen and the delicious perfume of freshly squeezed oranges dancing in the air. That’s how I feel whenever I whip up a batch of homemade orange curd. Growing up, my mom had a knack for transforming simple ingredients into magical treats. Orange curd became our family favorite, often spread generously on buttery scones during leisurely Sunday brunches. It wasn’t just about the flavor; it was the joy of laughter, the warmth of togetherness, and, of course, the sweet tang of citrus love.
What makes my orange curd recipe so special? It’s all about the freshness! While store-bought versions often rely on artificial flavors and preservatives, my homemade concoction is made with vibrant, fresh oranges, rich butter, and the best eggs I can find. Each scoop of this velvety treat brings back fond memories of family gatherings and sunny mornings. Plus, I’ll share tips that will elevate your curd-making game.
In this post, you’ll learn how to create the most exquisite orange curd that’s perfect for topping desserts, filling pastries, or simply enjoying by the spoonful. Let’s dive in!
What Are Orange Curds?
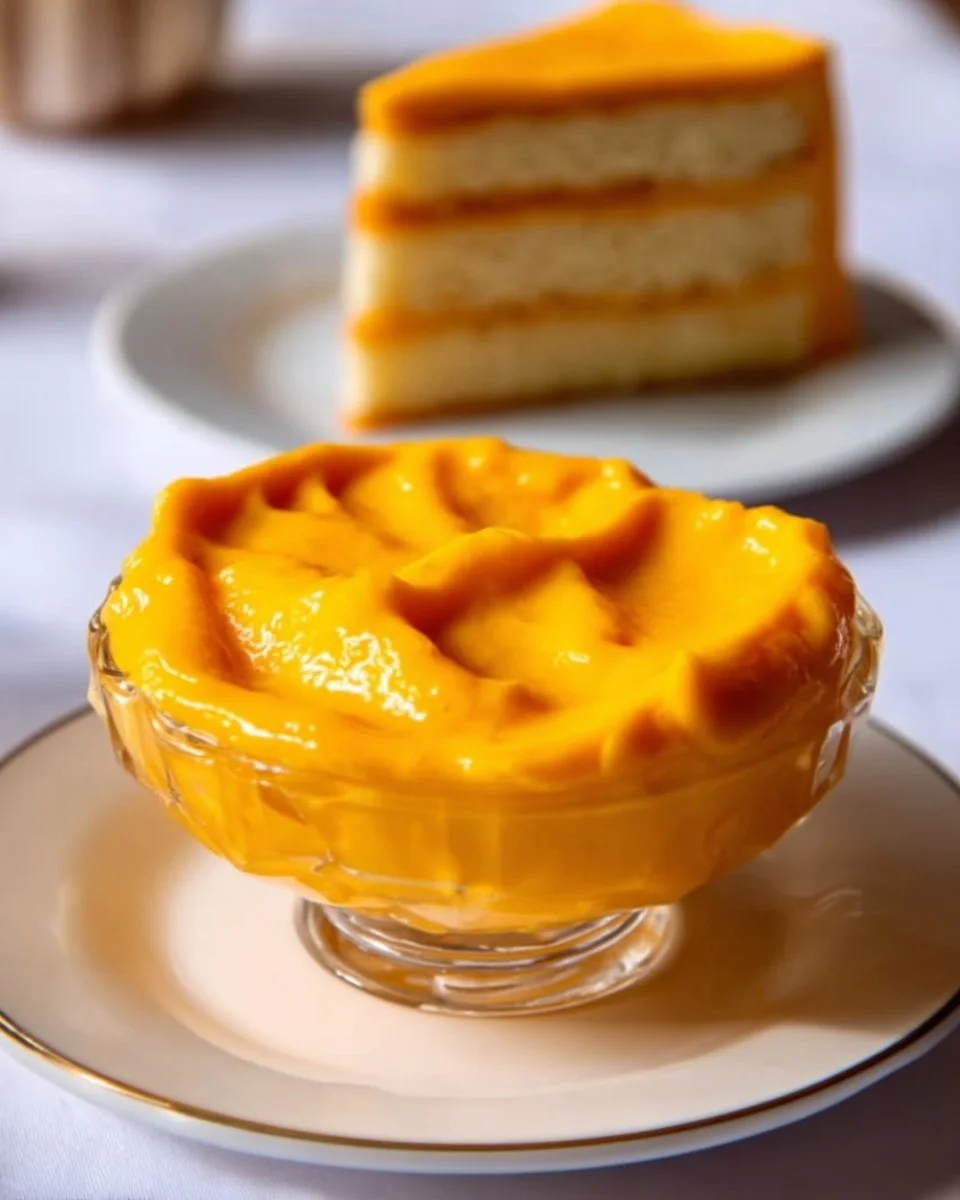
Orange curd is a silky, zesty spread made from fresh oranges, sugar, eggs, and butter. Often likened to lemon curd, this delightful treat is beloved for its vibrant flavor and luscious texture. It hails from England, where curds have been enjoyed for centuries as a spread for scones, filling for cakes, or simply enjoyed with a dollop of cream.
What makes orange curd so unique is its balance of sweetness and tanginess, alongside a buttery richness that makes it incredibly satisfying. It pairs beautifully with many desserts and adds a burst of citrus delight wherever you use it. Whether it’s a casual weekend or a festive gathering, orange curd can elevate your culinary creations and impress your guests.
So, why not make it at home? With minimal ingredients and a bit of love, you can enjoy a truly superior version that beats anything off the grocery store shelf!
Why You’ll Love This Recipe
Freshness You Can Taste: Unlike store-bought options, this homemade orange curd uses real fruit, delivering a fresh flavor that takes your morning toast to new heights.
Cost-Effective: A small investment in quality ingredients yields a batch that can be stored for weeks, making it a budget-friendly way to elevate your desserts and breakfasts.
Endless Customization: Want to switch things up? You can incorporate spices like ginger or even mix in other citrus fruits for a unique twist. It’s your canvas!
Simplicity and Satisfaction: With just a few straightforward steps, you’ll create a gourmet masterpiece that’s sure to impress. Plus, you’ll feel proud knowing you made it from scratch!
Versatile and Delicious: Whether you’re dolloping it over pancakes, spreading it on toast, or using it to fill pastries, this orange curd adapts to any occasion, making it perfect for both fancy gatherings and everyday treats.
Join me as we get into the juicy details of making this mouthwatering orange curd!
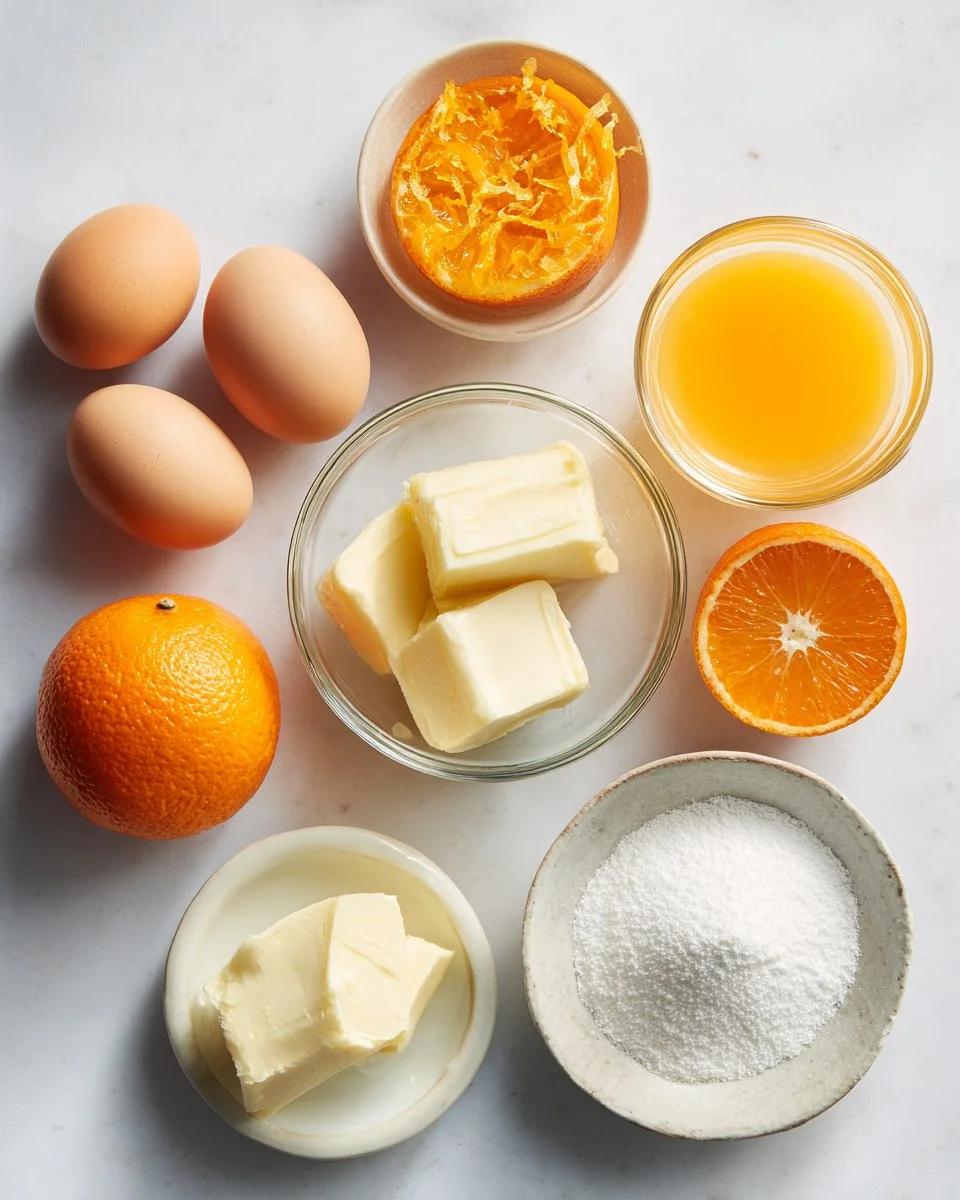
Ingredients
- 4 large eggs: Use large, fresh eggs for the best texture. Organic or free-range eggs enhance the flavor.
- 1 cup granulated sugar: Sweeten to taste; you can adjust if you prefer it less sweet.
- 1/2 cup fresh orange juice: For optimal flavor, squeeze oranges just before use. Fresh is key here!
- Zest of 2 oranges: Don’t skip the zest; it provides intense orange aroma and flavor.
- 1/2 cup unsalted butter: Room temperature butter ensures a smooth incorporation. I recommend European butter for a richer taste.
- 1/4 teaspoon salt: A pinch enhances the sweetness and balances the flavors.
Prep note: Make sure your butter is softened to room temperature to blend seamlessly into your curd.
Step-by-Step Instructions
Whisk Together: In a medium saucepan, whisk together the eggs, sugar, orange juice, orange zest, and salt until well combined. The mixture should be smooth and vibrant, hinting at the sunny flavor to come.
Heat It Up: Cook over medium heat, stirring constantly with a wooden spoon or heat-resistant spatula. You’ll want to keep an eye on this for about 8-10 minutes—or until the mixture thickens enough to coat the back of the spoon. You’ll know it’s ready when it holds a line when you swipe your finger through it.
Incorporate Butter: Once the curd has thickened, remove it from the heat. Stir in the room temperature butter until fully melted and incorporated, creating a rich, luxurious texture.
Strain It: For an ultra-smooth finish, strain the mixture through a fine mesh sieve into a bowl. This step helps remove any cooked egg bits for that perfect curdiness!
Cool Down: Let it cool at room temperature, then transfer the bowl to the refrigerator until set. This usually takes a couple of hours. Once cool, your orange curd is ready to shine!
Chef’s Tip: If you notice any lumps while cooking, don’t panic! Just keep stirring, and be mindful of your heat. Also, feel free to taste as you go—just don’t burn your tongue!
Expert Tips & Tricks
Quality Ingredients are Key: Using the freshest, highest-quality eggs and butter will noticeably improve the taste of your curd.
Storage Recommendations: Store your cooled orange curd in an airtight container in the fridge; it will keep for about 1 to 2 weeks. You can also freeze it for up to three months—just make sure to use a freezer-safe container!
Make Ahead: This curd is perfect for prepping ahead of time. Make a batch on the weekend, and you’ll have a delicious treat ready for your breakfast or dessert all week long.
Troubleshooting: If your curd doesn’t thicken properly, it might be due to cooking on heat that’s too low or not stirring enough. Don’t be afraid to return it to the heat to achieve that perfect consistency.
Flavor Variations: Get creative! Try adding vanilla extract or lime juice for a different twist. You can even swap half of the orange juice for fresh lemon juice for a zesty lemon-orange curd.
Use Leftovers Wisely: Don’t let your leftover orange curd go to waste. Use it in yogurt parfaits, over ice cream, or stir it into oatmeal for a bright morning boost.
Serving Suggestions
Orange curd practically begs to be paired with other delights! Here are a few ideas:
- Scones: Serve with freshly baked scones for a delicious brunch.
- Pancakes or Waffles: Swirl it into pancake batter or drizzle it over stacks of fluffy waffles for a citrusy twist.
- Dessert Topping: Use it as a topping for cakes or an accompaniment to yogurt.
- Tarts: Spread it over tart crusts for stunning mini tarts.
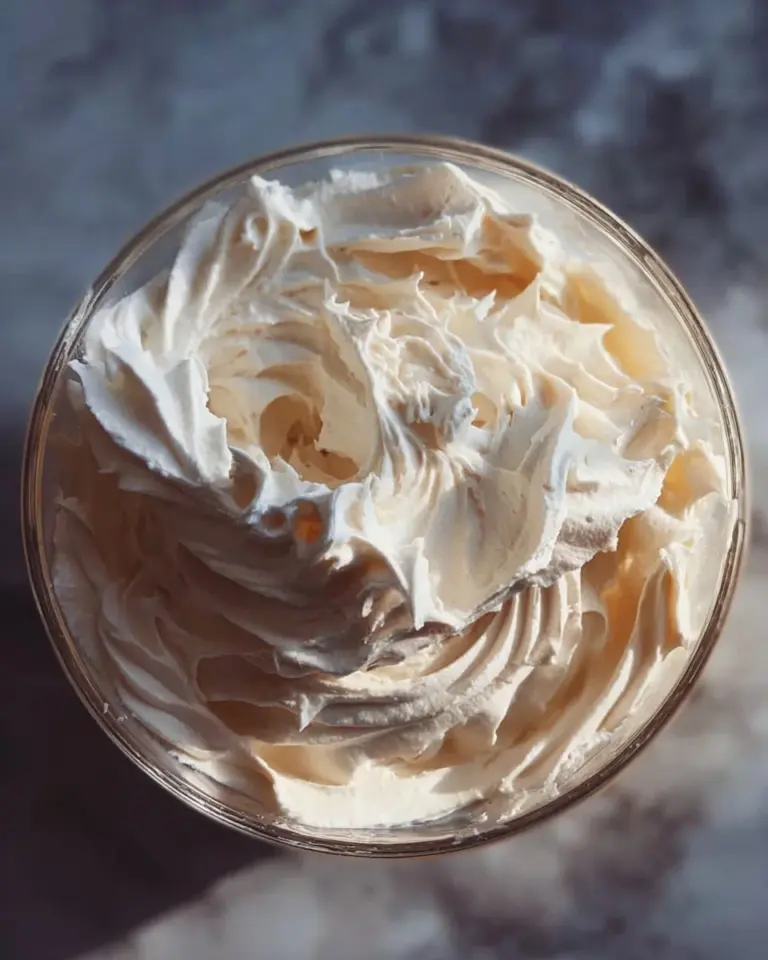
For presentation, consider serving your orange curd in a small glass jar, letting its vibrant color shine. Trust me, your guests will be asking for seconds!
Variations & Substitutions
- Seasonal Fruits: Swap out the oranges for other citrus fruits like lemons or limes, or even strawberries for a berry curd.
- Dietary Restrictions: If you need a dairy-free version, substitute the butter with coconut oil and use a non-dairy milk instead. It will alter the taste slightly, but it remains delicious!
- Spice It Up: Add a hint of ginger or ground cardamom for a warm flavor profile that complements the citrus beautifully.
Nutrition & Storage Info
- Prep Time: 10 minutes
- Cook Time: 10 minutes
- Total Time: 20-30 minutes (plus cooling time)
- Yield: Makes about 2 cups of orange curd, serving approximately 10.
- Estimated Calories: Approximately 100 calories per serving.
- Storage: Store in the refrigerator for up to 1-2 weeks or in the freezer for up to 3 months.
FAQ Section
Can I use bottled orange juice?
- While fresh juice yields the best flavor, bottled juice can be used in a pinch, but it may alter the taste.
What if my curd doesn’t thicken?
- Make sure to keep the heat low and stir consistently. If it doesn’t thicken after about 15 minutes, you might need to raise the heat slightly.
Can I double the recipe?
- Yes! Just be sure to use a larger saucepan for even cooking.
How do I prevent the curd from getting a skin on top?
- Placing a piece of plastic wrap directly on the surface of the curd while it cools will help prevent a skin from forming.
What’s the best way to use orange curd?
- The possibilities are endless – try it on toast, in desserts, or straight from the jar!
Can this recipe be adapted for different citrus?
- Absolutely! You can replace oranges with lemons, limes, or even grapefruits for a unique twist.
Do I need to use a whisk?
- A whisk is best for mixing everything together evenly, but you can use a spatula if you’re careful.
Is there a vegan version of orange curd?
- Yes, replace eggs with a vegan egg replacer and use dairy-free butter.
How do I know when it’s done cooking?
- It’s done once it thickens and coats the back of a spoon, and you can run a finger through it.
Can I use a microwave to make orange curd?
- Yes, but you’ll need to stir frequently to prevent cooking the eggs too fast. It can be a bit tricky.

Conclusion
This homemade orange curd is not just a recipe; it’s a celebration of sunny flavors and nostalgic moments. I hope you’ll bring a little sunshine into your kitchen and try making it today! Your family and friends will adore it, and every bite is a step toward making your own cherished memories.
If you have made this recipe, I would love to hear your experience! Feel free to share your thoughts in the comments below. And if you’re looking for similarly delightful recipes like my lemon curd or grapefruit meringue tart, don’t forget to check out my blog. Happy baking, my citrus-loving friends!