Homemade Chia Seed Jam: The Easy, Naturally Sweet Treat You Can’t Resist
I still remember the sweet aroma wafting through my grandmother’s kitchen every summer as she prepared her famous berry jams. As children, my siblings and I would eagerly gather around, waiting with anticipation for that first taste, fresh on warm toast. Those simple moments of joy inspired me to create my own version of this beloved family recipe—Homemade Chia Seed Jam. Not only does it bring back nostalgic memories of summer, but it’s also a healthier twist on traditional jams.
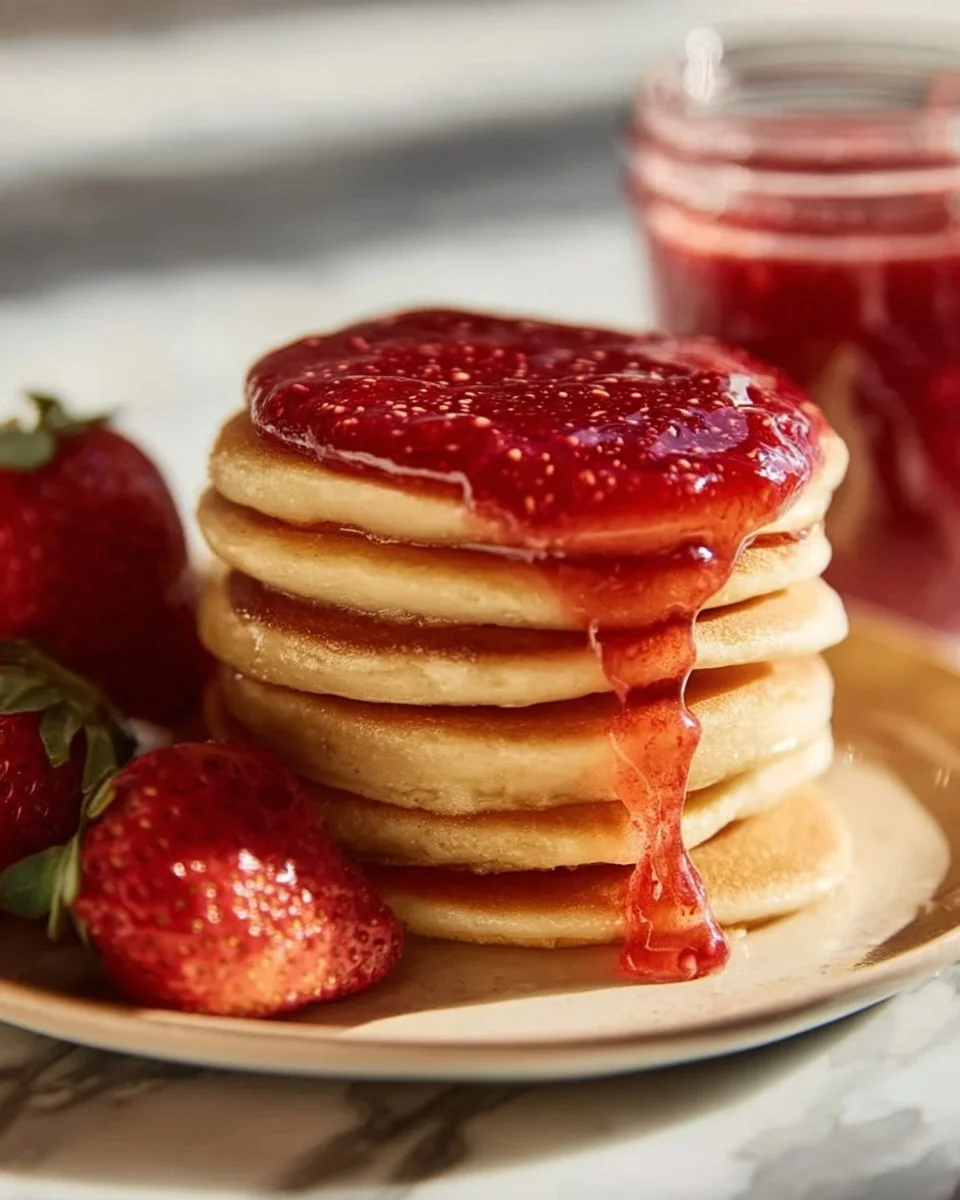
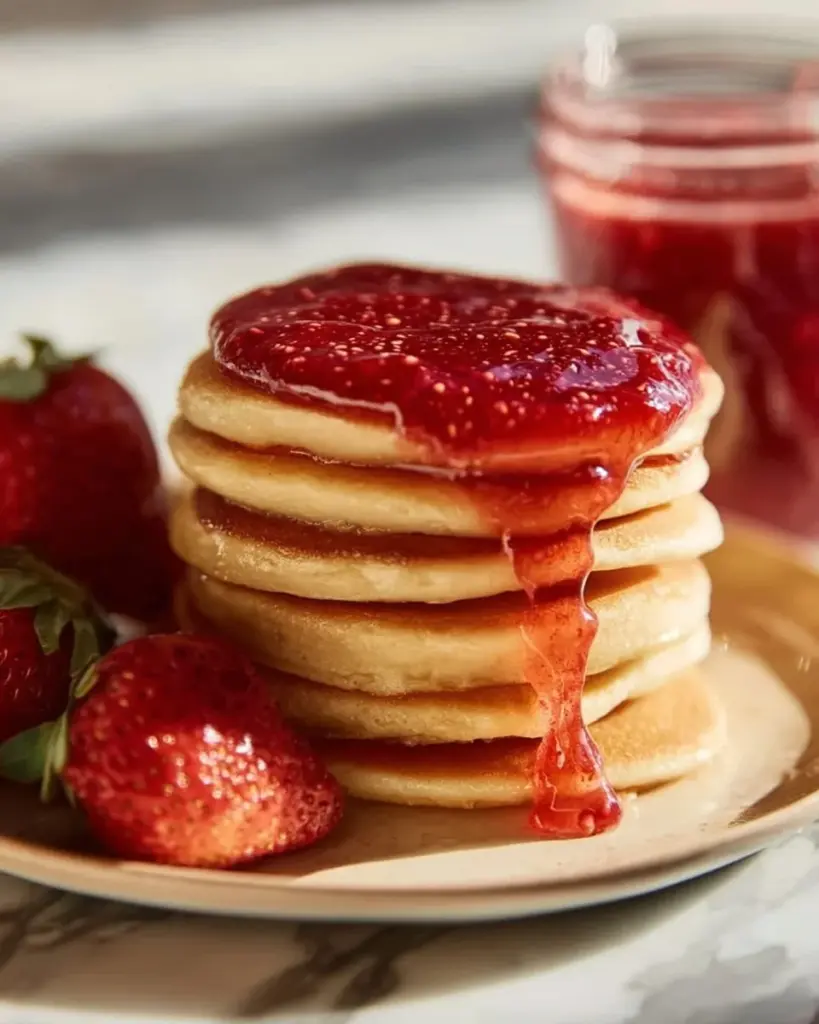
What makes this jam special, you ask? Unlike store-bought options, this colorful delight is packed with natural goodness—no preservatives or artificial sugars in sight! The combination of fresh or frozen fruits with chia seeds creates a delightful burst of flavor that’s both satisfying and guilt-free. You can adjust the sweetness to your liking, making it suitable for all taste buds. The thick, velvety texture brings comfort on a slice of toast, in yogurt, or even drizzled over pancakes.
Stick around, and I’ll guide you to whip up your very own Homemade Chia Seed Jam, bursting with flavor and memories, ensuring that each dollop you spread is filled with love!
What Are Homemade Chia Seed Jam?
The concept of chia seed jams might sound modern, but the use of chia seeds dates back to ancient civilizations. Originating from the Aztecs and Mayans, these tiny seeds were used for their incredible nutritional properties and served as a vital source of energy during long travels. Fast forward to today, and we find them as a star ingredient in healthy recipes due to their rich omega-3s, fiber, and antioxidants.
The beauty of Homemade Chia Seed Jam lies in its simplicity. The taste is vibrant and fruity, thanks to the fresh berries, while the chia seeds lend a delightful crunch and a pudding-like thickness that is quite satisfying. Whether you use juicy strawberries or tart raspberries, every jar is a treasure trove of flavor.
This jam is perfect for those times when you want to whip up something sweet yet nourishing. Make it for breakfast to brighten your morning, or prepare it to celebrate the flavors of the season at your next gathering!
Why You’ll Love This Recipe
Healthier Alternative: Unlike most jams available in stores laden with sugar, my Homemade Chia Seed Jam allows you to control the sweetness. You can use maple syrup or honey, or even skip it altogether if you prefer your berries’ natural sweetness!
Cost-Effective: Making your own jam is not only a labor of love, but it can also save you a trip to the grocery store and some cents in the process. With a few bags of frozen berries and chia seeds, you can create a delicious batch that lasts!
Customization: The beauty of this recipe is its versatility. Prefer summer’s bright berries? Go for strawberries and raspberries! Want to experiment? Add in some spices or even citrus zest to create your unique flavor.
Quick and Easy: With just a few simple steps, you can have a vibrant jar of homemade jam ready within 30 minutes. To top it off, you won’t need any fancy kitchen equipment—just a saucepan and a spatula!
Family Favorite: This jam has quickly become a staple in my household. Our breakfasts are never the same without a generous spread of this vibrant jam! Watching my kids enjoy it as they create their own unique snacks brings me immense joy.
Now that you know why this recipe is a must-try, let’s gather the ingredients!

Ingredients
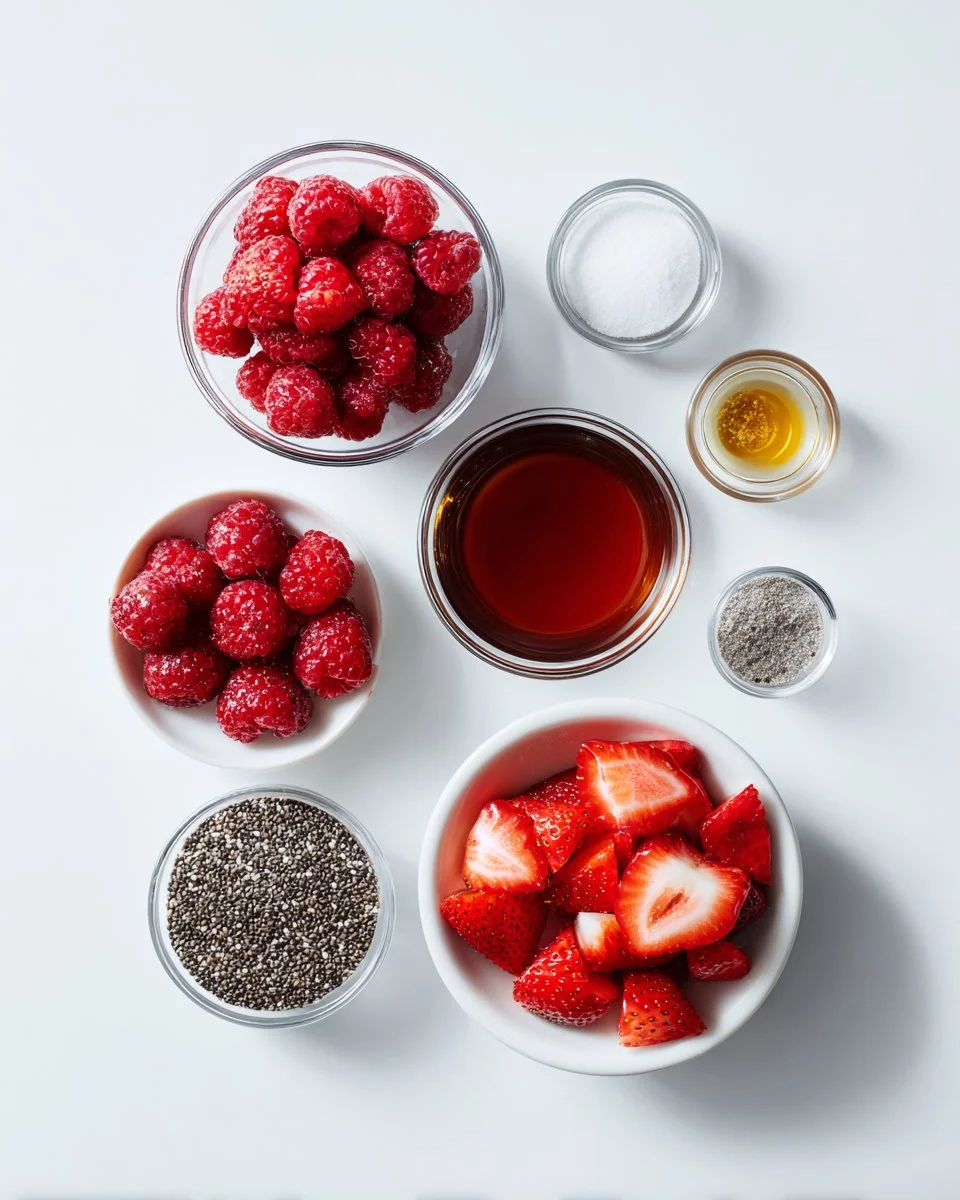
To make my delightful Homemade Chia Seed Jam, you’ll need the following ingredients:
- 2 cups fresh or frozen raspberries
- 2 cups fresh or frozen strawberries, hulled and chopped
- 1 to 2 tablespoons maple syrup or honey (adjust to taste)
- 2 tablespoons chia seeds
- 1/2 teaspoon vanilla extract (optional)
- 1 teaspoon lemon juice (optional)
Ingredient Tips:
- Fresh vs. Frozen: Both options work beautifully! Fresh berries give a vibrant flavor, while frozen berries are conveniently available year-round and can be even sweeter.
- Sweetness Adjustment: Start with 1 tablespoon of maple syrup or honey, and taste as you go. You can always add more if you prefer a sweeter jam.
- Chia Seeds: These power-packed seeds are the key to thickening your jam without any cooking. Make sure they are fresh for the best results!
Before diving into the cooking, make sure your utensils and jars are clean and dry, which will help in preserving your jam longer.
Step-by-Step Instructions
Prepare the Berries: Place the berries in a small saucepan over medium heat. Stir occasionally, cooking until the fruit breaks down and becomes syrupy, about 5 to 7 minutes. If using strawberries, feel free to mash them with a fork or potato masher to achieve your desired texture.
Chef’s Tip: Opt for a heavy-bottom saucepan to ensure even heat distribution and prevent the fruit from sticking.
Sweeten and Mix: Remove the pan from heat. Stir in maple syrup or honey to taste, followed by the chia seeds. Mix in the vanilla extract and lemon juice if you choose to use them.
Common Mistake to Avoid: If the mixture is too hot, it may not properly thicken once you add the chia seeds. Allow it to cool slightly first!
Thicken the Jam: Let the mixture sit for 10 to 15 minutes. During this time, the chia seeds will absorb the liquid, and your jam will thicken into a spoonable consistency.
Taste and Adjust: After thickening, taste the jam and adjust the sweetness or acidity if needed. For a smoother texture, you can blend it briefly using an immersion blender or small food processor.
Store the Jam: Transfer the jam to a clean jar or airtight container. Refrigerate for up to 1 week. The jam will continue to thicken as it cools.
Pro Tip: If you like your jam extra thick, let it sit for another 15 minutes before transferring!

Expert Tips & Tricks
Storage: Keep your jam in an airtight container in the fridge. It will last about 1 week. If you’d like to keep it longer, consider freezing it in ice cube trays for easy portioning.
Make-Ahead Instructions: You can prepare this jam ahead of time for busy mornings. Simply store it tightly in the fridge and enjoy all week.
Troubleshooting: Is your jam too runny? Allow it to sit longer to let the chia seeds absorb more liquid. In contrast, if it’s too thick, add a little water and mix it in until you reach your desired consistency.
Flavor Enhancements: Feel free to infuse this jam with herbs or spices like cinnamon, ginger, or even a sprig of rosemary for a surprising twist!
Other Uses: Besides spreading on toast, this jam makes a delightful topping for yogurt, pancakes, or even as a layer in a parfait.
Serving Suggestions
This Homemade Chia Seed Jam is more than just a breakfast treat! Spread it on freshly baked croissants or scones for an afternoon tea delight. Slather it across your favorite biscuits, or serve it alongside a cheese platter for an unexpected burst of flavor. For breakfast, swirl it in oatmeal or yogurt, or layer it into your smoothie bowls for a pop of color and taste.
Presentation is key! Consider transferring your jam to a mason jar topped with twine or a ribbon, making it a lovely gift for friends or family.
Variations & Substitutions
Get creative with your fruit combinations! Here are some ideas:
- Berry Medley: A mix of blueberries, strawberries, and even blackberries for a colorful jam.
- Tropical Twist: Use mango and pineapple instead of berries for a delicious tropical flavor.
- Spicy Cinnamon: Add a dash of cinnamon for warmth—perfect for those chilly mornings!
Dietary Adaptations:
- Vegan: Simply use maple syrup for sweetness to keep it completely plant-based.
- Paleo: Stick to fruits and natural sweeteners like honey for a paleo-friendly option.
- Nut-Free: This jam is inherently nut-free and safe for those with allergies!
Nutrition & Storage Info
- Prep Time: 10 minutes
- Cook Time: 10 minutes
- Total Time: 20 minutes
- Yield: About 2 cups
- Calories: Approximately 50 calories per tablespoon
Storage Instructions:
- Room Temperature: Avoid leaving it out for more than a couple of hours.
- Fridge: Store in an airtight container for up to 1 week.
- Freezer: Freeze in ice cube trays for easy access and longevity.
FAQ
Can I use other fruits?
Absolutely! Play around with your favorite fresh or frozen fruits. Just remember that the flavor may vary based on what you use.How long does the jam last?
Homemade Chia Seed Jam can last up to a week in the refrigerator. For longer storage, freeze it.Do I need to cook the chia seeds?
No, chia seeds absorb liquid and thicken naturally; cooking is not necessary!Can I use sweeteners other than maple syrup or honey?
Yes! Feel free to experiment with agave syrup, coconut sugar, or stevia to suit your taste.Is this jam good for kids?
Definitely! It’s a nutritious alternative to sugary store-bought jams, making it great for kids.What if my jam is too thick?
You can add a bit of water or additional fruit juice to thin it out to your desired consistency.Why use lemon juice?
Lemon juice enhances the flavor and acts as a natural preservative, refreshing the fruit flavor.Can I make this jam without chia seeds?
Chia seeds are key to thickening the jam naturally, but you can use cornstarch as a thickener if needed.What if I don’t have a blender?
You can stir well with a fork to get a textured consistency.Can I gift this jam?
Yes! It’s perfect for gifting. Just remember to store it properly and share the fridge life.
Conclusion
Homemade Chia Seed Jam is not just a recipe; it’s a journey back to simpler, sweeter memories filled with family and love. Trust me, once you try it, you won’t want to go back to store-bought! I encourage you to give it a shot this weekend and add your twist to it. I would love to hear how it turns out for you, so feel free to leave your feedback in comments! And don’t forget to check out my other delicious jam recipes and sweet treats on the blog. Happy cooking!
Homemade Chia Seed Jam
Ingredients
Method
- Place the berries in a small saucepan over medium heat. Stir occasionally, cooking until the fruit breaks down and becomes syrupy, about 5 to 7 minutes.
- Remove the pan from heat. Stir in maple syrup or honey to taste, followed by the chia seeds. Mix in the vanilla extract and lemon juice if using.
- Let the mixture sit for 10 to 15 minutes to thicken.
- Taste the jam and adjust the sweetness or acidity if needed.
- Transfer the jam to a clean jar or airtight container. Refrigerate for up to 1 week.