Have you ever experienced that moment when you bite into a creamy slice of cheesecake, and it feels like a warm hug? For me, that’s the magic of a Classic New York Baked Cheesecake. Growing up, my family had a tradition of gathering around the kitchen every Sunday, and my favorite part always involved a rich, velvety cheesecake topped with a vibrant fruit compote. Those sweet moments filled with laughter and love not only satisfied our cravings but created lasting memories.
What sets my classic recipe apart? It’s not just about the ingredients—it’s about the heart and soul that goes into every layer. This cheesecake boasts a buttery, crumbly crust that perfectly complements its rich, dense filling. Plus, it’s super easy to make, which means you’ll have more time to enjoy it with the loved ones who gather around your table.
In this post, I’ll share my foolproof recipe along with expert tips to ensure your cheesecake turns out absolutely perfect every time. You’ll discover how to create that legendary New York cheesecake experience right in your own kitchen. So grab your apron, and let’s make some sweet memories together!
What Are Classic New York Baked Cheesecakes?
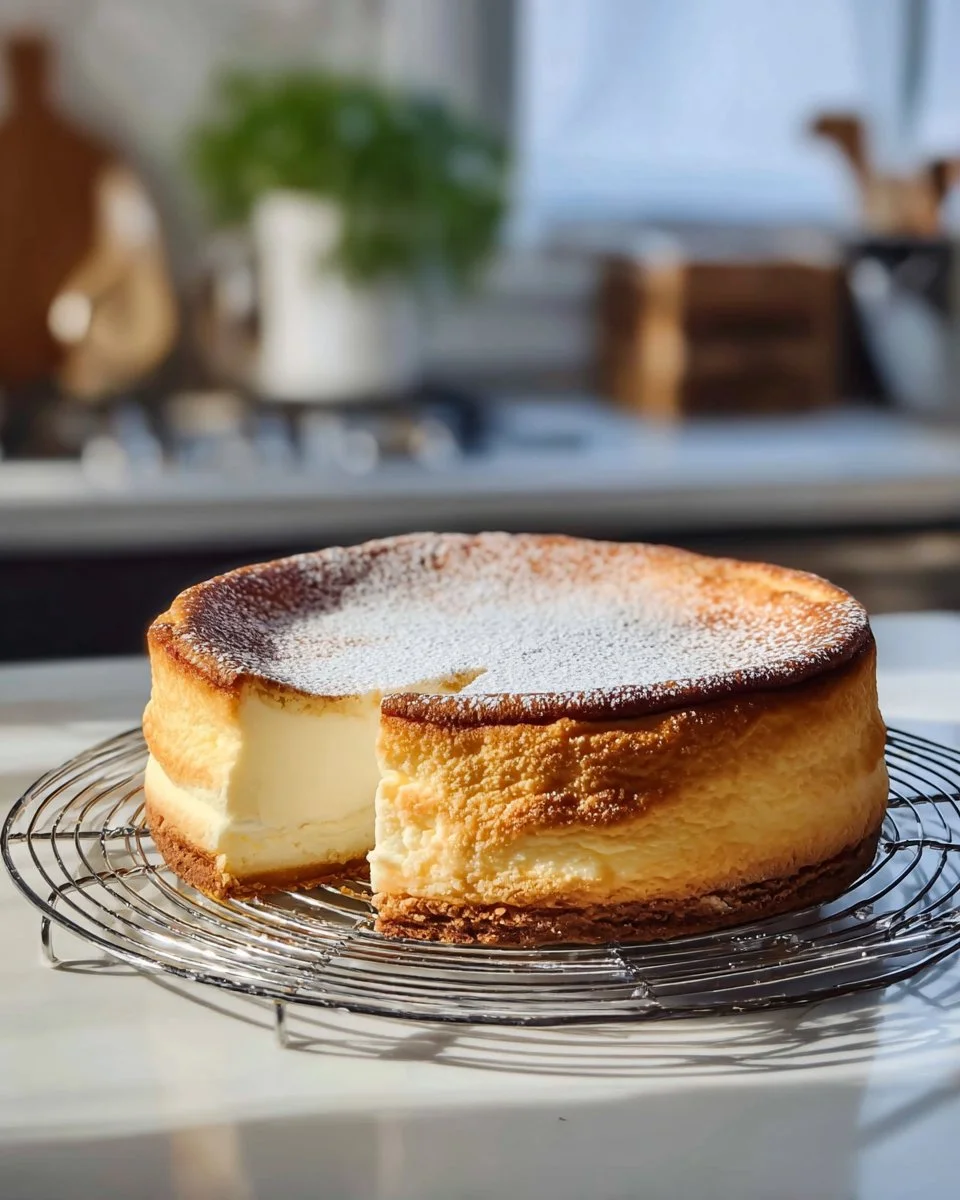
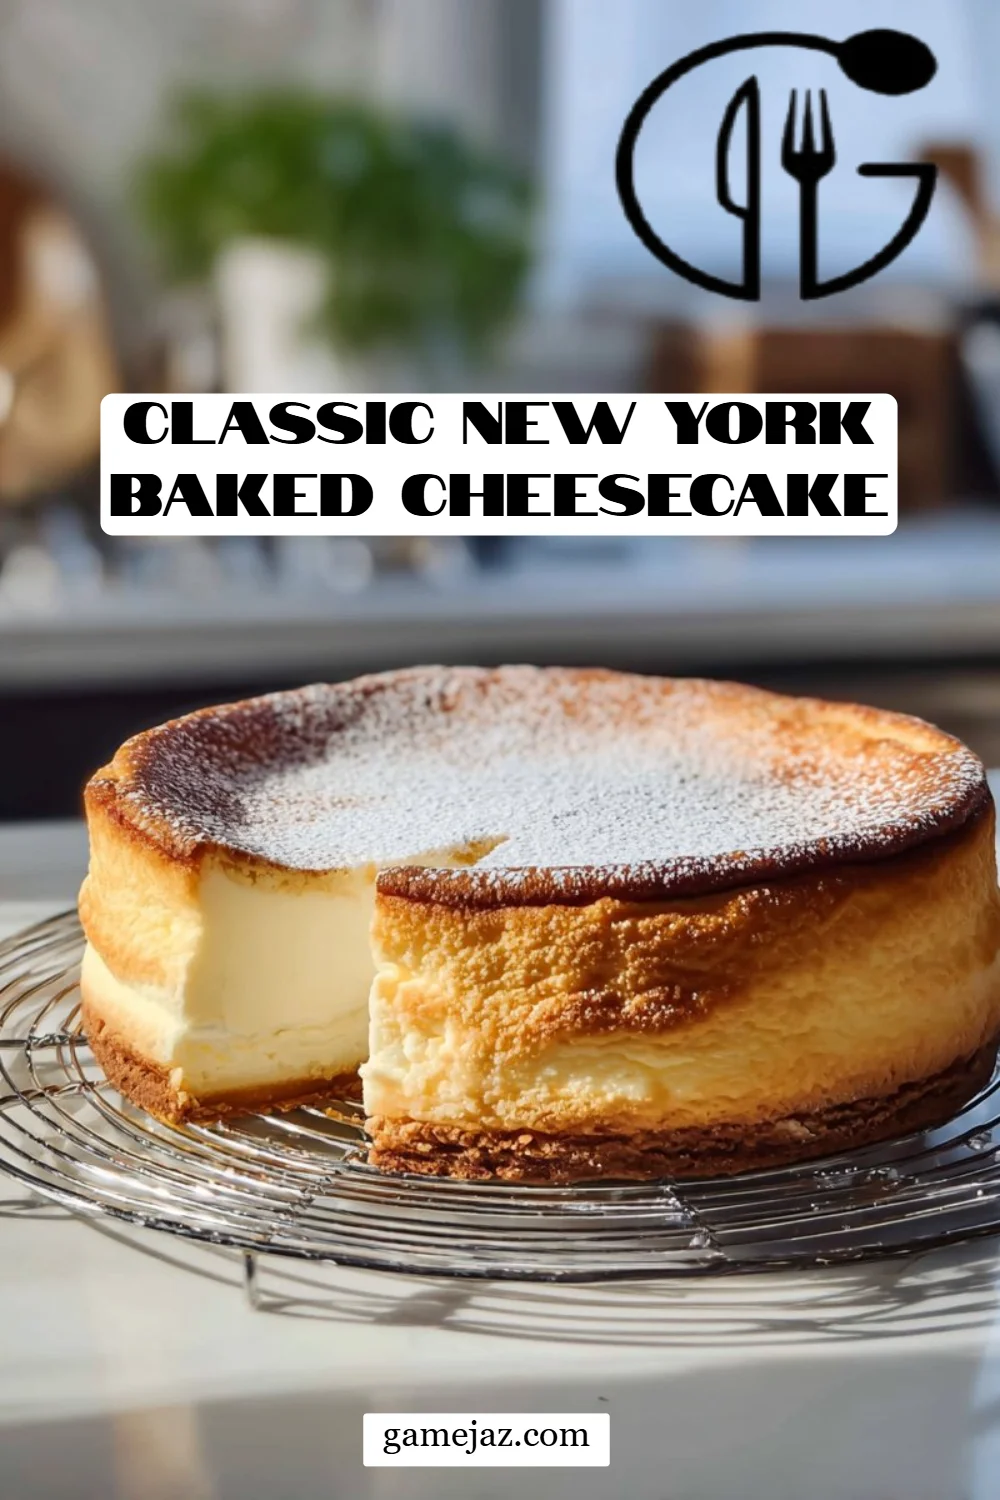
Originating from the vibrant streets of New York City, the Classic New York Baked Cheesecake is a beloved dessert known for its moisture, richness, and simplicity. Unlike its no-bake counterparts, this version utilizes the magic of baking to develop a creamy texture with a smooth and slightly dense consistency.
The flavor profile is a delightful blend of cream cheese, vanilla, and a hint of richness from the eggs. Think of it as a soft cloud, melt-in-the-mouth bliss with every bite. What makes it unique is its balance— the subtle sweetness paired with the tartness from the cream cheese creates a delightful contrast that leaves you wanting more.
Whether it’s a celebration, a family gathering, or simply a moment of indulgence, a Classic New York Baked Cheesecake is the perfect dessert to elevate any occasion.
Why You’ll Love This Recipe
Homemade Happiness: There’s nothing like the feeling of baking from scratch, especially when your home fills with the heavenly aroma of cheesecake wafting through the air. Just imagine the smiles when you present your masterpiece!
Cost-Effective: Making this cheesecake at home is not only cheaper than those pricey bakery versions but also offers a far superior taste. Plus, you can make a large batch to serve friends and family and still save money!
Customization Options: This cheesecake serves as the perfect blank canvas for your creativity! Want to add a swirl of caramel? How about a layer of chocolate ganache or a fruity compote? The possibilities are endless.
Ease of Preparation: With just a handful of ingredients, this recipe is straightforward, perfect for both novice bakers and experienced chefs. You don’t need fancy equipment—just your trusty springform pan and a mixer will do the trick.
Store-Bought vs. Homemade: There’s simply no comparison! Store-bought cheesecakes often fall flat, lacking the depth of flavor and intoxicating creaminess that a homemade version guarantees. You’ll never want to go back!
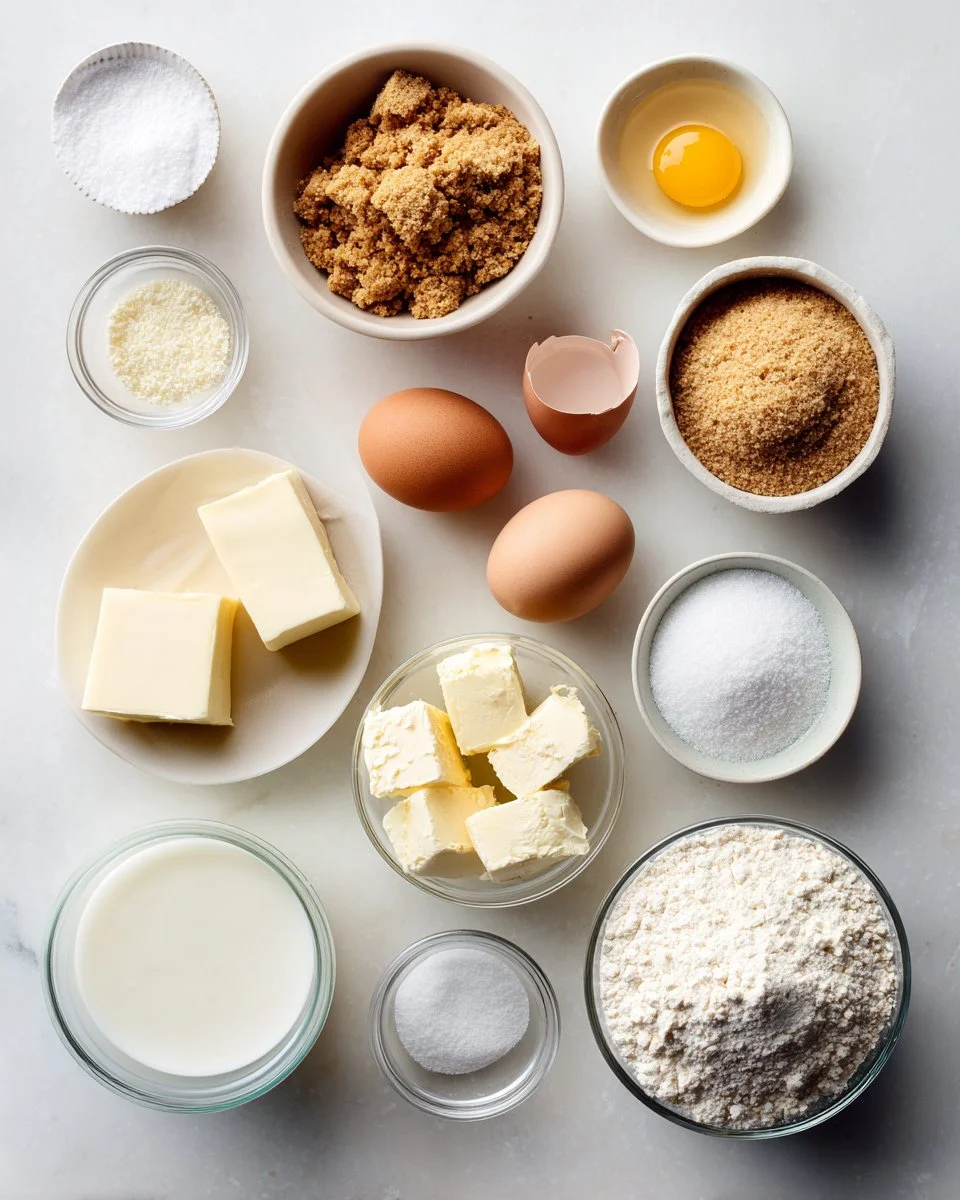
Ingredients
1 1/2 cups graham cracker crumbs
Use high-quality graham crackers for a flavorful crust. I love using Honey Maid for that perfect sweetness!1/4 cup granulated sugar
This helps to sweeten the crust.6 tablespoons unsalted butter, melted
Make sure your butter is at room temperature for easier mixing!4 (8 oz each) cream cheese packages, softened
Opt for full-fat cream cheese for that rich, creamy texture. Brands like Philadelphia work wonderfully.1 cup granulated sugar
This adds sweetness to the filling without overpowering it.1 teaspoon vanilla extract
Always use pure vanilla extract for the best flavor.3 large eggs
Room temperature eggs integrate better into the batter, ensuring a smooth filling.1 cup sour cream
This adds a lovely tanginess and creaminess to the cheesecake.1/2 cup heavy cream
Use heavy cream for extra richness.2 tablespoons all-purpose flour
This helps to stabilize the filling during baking.Fresh fruit or fruit compote (optional)
Top your cheesecake with seasonal fruits or a luscious fruit compote for an extra pop of flavor!
Step-by-Step Instructions
Preheat Your Oven: Begin by preheating your oven to 325°F (163°C). This is the perfect temperature for a gentle bake.
Make the Crust:
- Combine Ingredients: In a medium bowl, mix the graham cracker crumbs, 1/4 cup granulated sugar, and melted butter until well combined.
- Press Into Pan: Firmly press this mixture into the bottom of a 9-inch springform pan. Make sure it’s even to support the filling better.
- Bake: Bake the crust for 10 minutes, then remove and let it cool slightly.
Prepare the Filling:
- Beat Cream Cheese: In a large bowl, beat the softened cream cheese using an electric mixer until smooth and creamy, about 2 minutes.
- Add Sugar and Vanilla: Gradually mix in 1 cup granulated sugar and 1 teaspoon vanilla extract until well blended.
- Incorporate Eggs: Add the eggs one by one, mixing on low speed just until incorporated each time to avoid overmixing.
- Mix in Dairy: Add the sour cream and heavy cream, mixing gently until combined. Lastly, gradually add the flour and mix just until combined.
Bake the Cheesecake:
- Pour Filling: Carefully pour the filling into the cooled crust, smoothing out the top with a spatula.
- Bake: Place the springform pan into the oven and bake for 55-60 minutes. The edges should be set while the center remains slightly jiggly.
Cool Down:
- Oven Cooling: Once baked, turn off the oven and leave the cheesecake inside with the door ajar for about an hour. This helps to prevent cracking.
- Chill: Afterward, cool the cheesecake to room temperature before refrigerating it for at least 4 hours, but preferably overnight.
Serve and Enjoy:
- Garnish: Top with fresh fruit or compote if desired. Slice, serve, and enjoy the deliciousness!
Chef’s Tips:
- For a crust with more flavor, consider adding a pinch of cinnamon.
- Ensure your cream cheese is really softened for a lump-free filling. I usually leave it out for at least 2 hours before baking.
Expert Tips & Tricks
Water Bath Method: For a creamier texture, consider using a water bath. Wrap the bottom of your springform pan tightly in aluminum foil, and place it in a larger pan filled with water about halfway up the sides of the springform.
Storage Recommendations: Leftover cheesecake can last in the fridge for up to 5 days. Just make sure to cover it well to prevent drying out.
Make-Ahead Instructions: This cheesecake freezes beautifully! Wrap it tightly in plastic wrap and foil; it will keep for up to 3 months in the freezer. Thaw in the fridge overnight before serving.
Troubleshooting Common Problems: If your cheesecake cracks, it’s often due to overmixing the batter or uneven baking. Following the gentle mixing instructions and allowing it to cool slowly can help prevent cracking.
Serve at Room Temperature: For the best flavor and texture, let your cheesecake sit at room temperature for about 30 minutes before serving. It makes a significant difference!
Serving Suggestions
Pair your Classic New York Baked Cheesecake with a dollop of whipped cream or a side of fresh strawberries, blueberries, or raspberries for freshness. For a touch of elegance, drizzle with a homemade caramel sauce or chocolate ganache. This cheesecake is perfect for celebrations like birthdays or holidays, but it’s also an indulgent treat for a cozy night in.
Variations & Substitutions
Flavor Combinations: Try adding citrus zest, chocolate chips, or even a swirl of raspberry puree into the filling before baking for a fun twist.
Dietary Restrictions: For a gluten-free version, substitute graham crackers with gluten-free cookie crumbs. To make it dairy-free, opt for vegan cream cheese alternatives and nut-based milk.
Seasonal Variations: In the fall, add pumpkin puree and spices for a pumpkin cheesecake, or during the summer, incorporate fresh peaches or berries for a fruity version.
Nutrition & Storage Info
- Prep Time: 20 minutes
- Cook Time: 60 minutes
- Total Time: 6 hours (including chilling time)
- Yield: 12 servings
- Estimated Calories Per Serving: 350 calories
Storage Instructions:
- Room Temperature: Best not to leave out for more than 2 hours.
- Refrigerator: Store covered for up to 5 days.
- Freezer: Wrap well; lasts about 3 months.
FAQ Section
Can I use low-fat cream cheese?
Yes, but keep in mind that the cheesecake may be less rich and creamy than using full-fat.Why is my cheesecake cracked?
Overmixing, baking at too high of a temperature, or sudden changes in temperature can all cause cracks.What’s the best way to cut cheesecake?
Use a hot, dry knife, wiping it clean between cuts for neat slices.Can I double the recipe?
Absolutely! Just note that you may need a larger pan and increased baking time.How do I know when it’s done?
The edges should be firm, and the center should still jiggle slightly when you remove it from the oven.Can I add chocolate to the filling?
Yes! Melted chocolate can be folded into the filling before baking for a delicious chocolate cheesecake.What toppings are best for cheesecake?
Popular options include fresh fruits, chocolate ganache, or even a drizzle of caramel or a layer of whipped cream.Do I need to refrigerate the cheesecake?
Yes, it should be refrigerated after it cools to maintain freshness and texture.Can I leave the cheesecake out at room temperature?
It’s best to serve within 2 hours if left at room temperature to avoid spoilage.Is it necessary to let the cheesecake chill overnight?
While you can eat it after 4 hours, chilling overnight enhances the flavor and texture significantly.

Conclusion
Baking a Classic New York Baked Cheesecake is more than just preparing a dessert; it’s about creating an experience filled with flavor, joy, and cherished memories. So why not dive into this delightful recipe? I’d love for you to try it and share in the wonderful flavors of your very own cheesecake story. Don’t forget to leave your feedback in the comments—I always love hearing about your baking adventures! For more tempting recipes, feel free to explore other delectable treats on my blog.
Happy baking!