Growing up, fall meant one thing in our household: my mom’s legendary apple crisp. The aroma of sweet, spiced apples filling the kitchen was the true essence of comfort food that wrapped around me like a warm hug. Now, as a passionate home cook, I’ve taken that nostalgia and transformed it into a quick and easy Air Fryer Apple Crisp recipe that you can whip up in no time!
What makes this air fryer version special is not just the delectable blend of perfectly tender apples and crispy oat topping—it’s the lightning-fast cooking time that means the sweet treat of my childhood can grace your table in under 30 minutes. Unlike traditional oven methods, the air fryer delivers that coveted crunchy texture on top while keeping the apples tender and juicy below, making every bite a little slice of heaven.
In this recipe, you’ll learn how to recreate that cherished family tradition, plus tips to customize it to your taste, dietary preferences, or even the season! So grab those apples, and let’s dive into a delightful adventure of flavor and memories together.
What are Air Fryer Apple Crisps?
Air Fryer Apple Crisp is a modern take on the classic dessert that has warmed hearts since its inception in early American kitchens. Made with simple ingredients like fresh apples, oats, and a sprinkle of sugar, this delightful dish marries the sweet and tart notes of apples with a golden, crumbly topping that’s hard to resist.
The taste is a delicious contrast: the juicy softness of the baked apples meets the satisfying crunch of the oat topping. What sets it apart from more traditional baked versions is the method—air frying allows the crisp to cook quickly while maintaining a moist center, ensuring that every bite is perfectly balanced.
When should you make Air Fryer Apple Crisp? The answer is simple: any time you’re craving warmth, comfort, and sweetness—whether it be for a cozy family dessert, a potluck contribution, or just because it’s a Wednesday!
Why You’ll Love This Recipe
Quick and Easy: This Air Fryer Apple Crisp can be on the table in under 30 minutes! With just a few simple steps, you can enjoy a homemade dessert without spending all day in the kitchen.
Cost-Effective: Using just a few basic ingredients, this recipe is not only less expensive than buying a cake or dessert from a bakery, but it also allows you to create something unique and delightful in your own home.
Versatile Customization: Feel free to play with flavors! Want to add nuts or swap the apples for pears? Go ahead! This recipe is as flexible as your imagination. You’ll find variations on spice levels, sweetness, and even toppings that can cater to any palate.
Better Than Store-Bought: Let’s face it, store-bought desserts often fall flat in terms of flavor and satisfaction. When you make your own Air Fryer Apple Crisp, you control the quality and freshness of your ingredients, leading to a much tastier experience!
Perfect for Any Occasion: Whether it’s a family gathering, a cozy date night at home, or a simple treat for yourself, this crisp will shine in any setting. Plus, it’s just as delightful served warm with a scoop of vanilla ice cream as it is on its own!
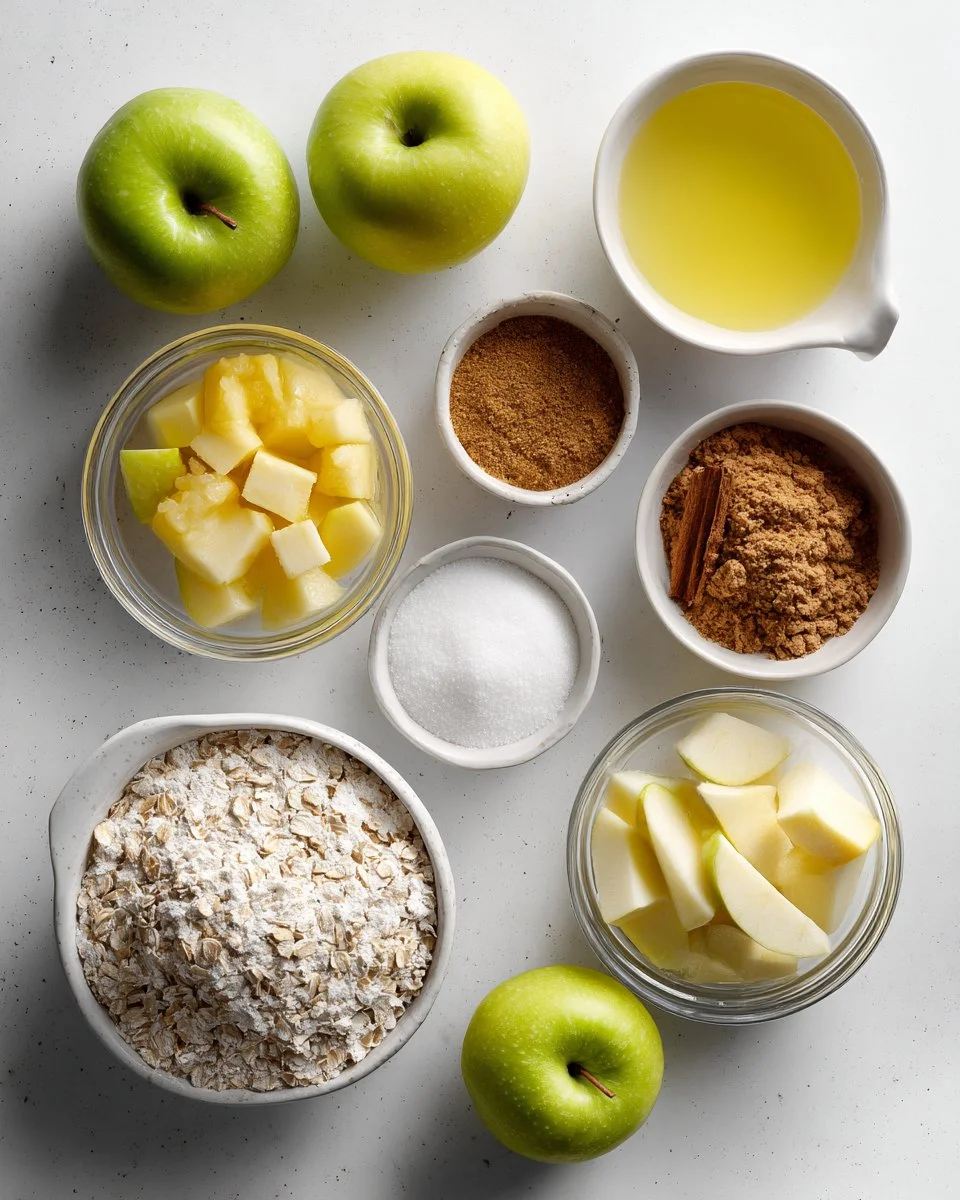
Ingredients
- 3 medium apples (peeled and diced, about 2 cups): Select firm varieties for the best results. Granny Smith or Honeycrisp work wonderfully!
- 3 tbsp lemon juice: Freshly squeezed will provide the best flavor.
- 2 tsp granulated sugar: Adjust based on the sweetness of your apples.
- 1 tsp cinnamon: The warm spice that brings everything to life!
- 1/4 tsp salt: Just a pinch to enhance all the flavors.
- 3 tbsp rolled oats: Old-fashioned oats lend great texture.
- 2 tbsp all-purpose flour (or gluten-free flour if needed): This helps bind the topping.
- 3 tbsp brown sugar: For that lovely caramel flavor.
- 2 tbsp butter, melted: Room temperature or slightly warmed for easier mixing.
Chef’s Tip: Organic apples are often tastier and more fragrant, so consider them for a special treat!
Step-by-Step Instructions
Prep the Dishes: Begin by buttering or greasing two 5-inch oven-safe baking dishes to prevent sticking.
Mix the Apples: In a medium bowl, combine the peeled and diced apples with 3 tbsp lemon juice, 2 tsp granulated sugar, 1 tsp cinnamon, and 1/4 tsp salt. Toss until the apples are well coated.
Fill the Dishes: Divide the apple mixture evenly between the prepared baking dishes, spreading it out for even cooking.
Cover and Air Fry: Cover the dishes with aluminum foil and air fry at 400°F for 10 minutes. This initial step helps to soften the apples and brings out their natural juices.
Prepare the Topping: While the apples are cooking, mix together the rolled oats, 2 tbsp flour, 3 tbsp brown sugar, and the melted butter in a small bowl until crumbly.
Check the Apples: After 10 minutes, remove the foil and check if apples are fork-tender. If they are, sprinkle the oat mixture generously over the apples.
Final Air Fry: Close the air fryer and air fry at 350°F for an additional 5 minutes or until the topping is golden and crispy.
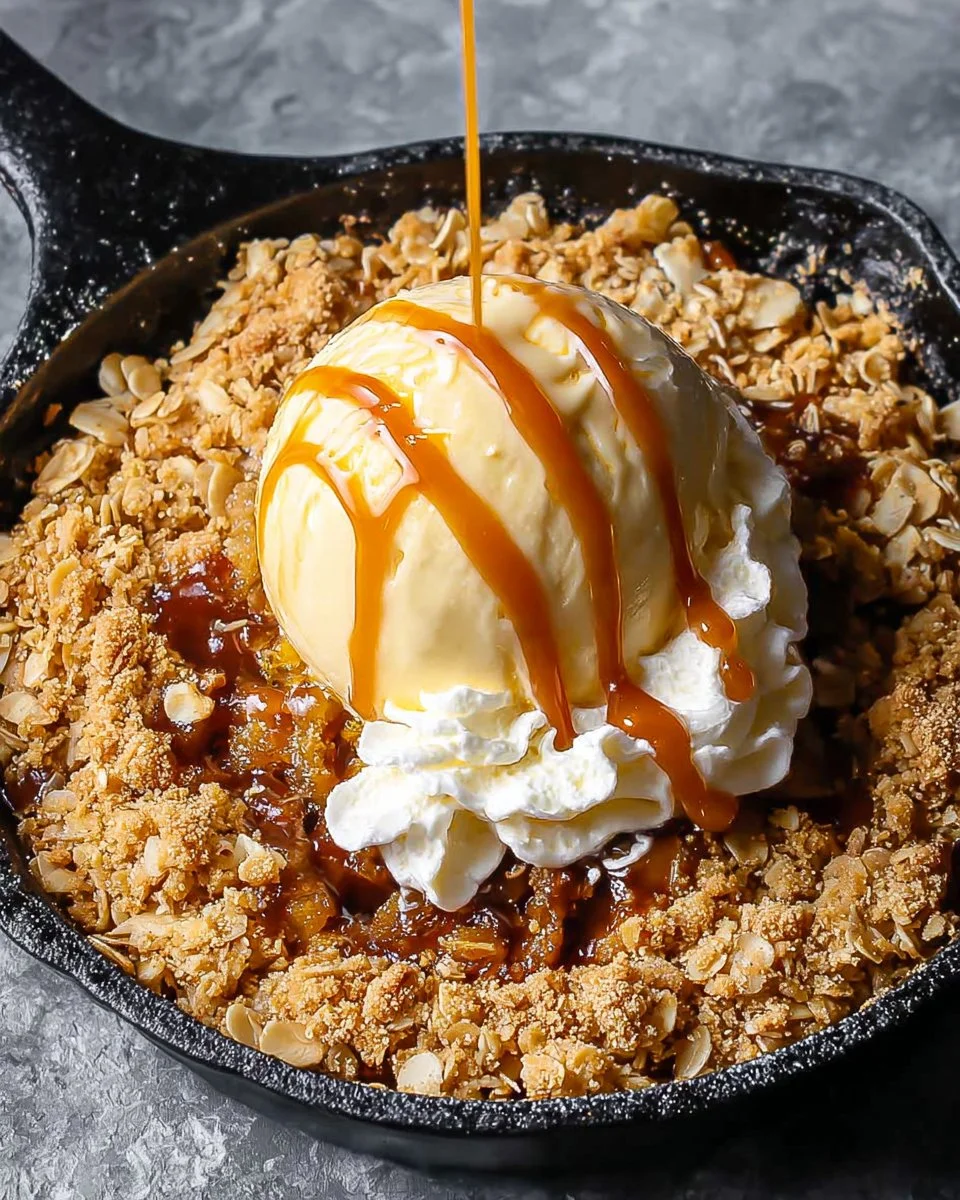
Cool and Serve: Let the crisp cool for 5 minutes before serving. It’s divine topped with a scoop of vanilla ice cream, a dollop of whipped cream, or a drizzle of caramel sauce. Enjoy every bite!
Chef’s Tip: Keep an eye on the topping during the final air frying to prevent burning!
Expert Tips & Tricks
Choosing Apples: The variety of apple you choose greatly affects the flavor. Try mixing sweet and tart apples for a complex taste!
Storage: Leftovers can be stored in an airtight container for up to 3 days in the refrigerator. Reheat in the air fryer or microwave for best results.
Make-Ahead: You can prepare the apple mixture ahead of time and store it in the fridge. Just assemble and cook when you’re ready!
Troubleshooting: If the topping isn’t crispy enough, try increasing the air frying time by a couple of minutes, but keep an eye on it!
Experiment with Flavors: Feel free to add nuts or raisins for extra texture. You can also sprinkle a little nutmeg for an additional layer of flavor.
Enjoy Warm: This dessert is always best served warm, so be sure to account for that when serving.
Serving Suggestions
This Air Fryer Apple Crisp is a delightful standalone dessert, but you can elevate it with some delicious accompaniments. Serve it warm alongside a scoop of creamy vanilla ice cream, a dollop of freshly whipped cream, or even a drizzle of caramel sauce. For a special touch, sprinkle a hint of crushed pecans or walnuts on top for added crunch.
It’s perfect to share during family gatherings, cozy date nights, or even as a comforting weeknight treat. Gather your loved ones and relive those warm memories with each bite!
Variations & Substitutions
Flavor Combos: Consider adding chopped nuts like pecans or walnuts for a delightful crunch, or mix in some dried cranberries for a pop of color and flavor!
Dietary Adaptations: Swap regular flour for almond or coconut flour to cater to gluten-free needs, or substitute coconut oil for butter for a dairy-free option.
Seasonal Fruits: While this recipe is fantastic with apples, why not try pears or peaches when they’re in season? They’re just as delicious!
Nutrition & Storage Info
- Prep Time: 10 minutes
- Cook Time: 15 minutes
- Total Time: 25 minutes
- Yield: Serves 4
- Estimated Calories: Approximately 180 calories per serving (without ice cream)
- Storage Instructions: Store leftovers at room temperature for up to 2 days; refrigerate for up to 3 days. It can be frozen for up to 3 months. Reheat in the air fryer for best flavor.
FAQ Section
Can I use other fruits instead of apples?
Yes! Feel free to experiment with pears, peaches, or even berries for different flavors.What’s the best air fryer temperature for this dish?
Start at 400°F for the initial cooking, and then lower it to 350°F for the crisp topping.How can I make this recipe healthier?
You can reduce the sugar, use less butter, and substitute some oats for a whole grain flour or nut flour.Can I make this recipe without an air fryer?
Absolutely! You can bake it in a conventional oven at 375°F, but it will take longer to cook.How do I know when the apples are done?
They should be fork-tender but not mushy once the foil is removed.Is it okay to use frozen apples?
Yes, but thaw and drain excess moisture, or the dish may become too watery.Can I prepare the topping in advance?
Yes, you can mix the topping ingredients ahead of time and store it in the fridge until ready to use.What if I don’t have aluminum foil?
You can use a silicone mat or another oven-safe cover, but ensure it’s not too tight to allow steam to escape.What type of air fryer do you recommend?
I love the Cosori Air Fryer for its large capacity and easy controls.Can this be made vegan?
Yes! Use a vegan butter substitute and ensure your oats and flour are certified vegan.

Conclusion
This Air Fryer Apple Crisp not only brings together the sweetest childhood memories but also keeps the essence of comfort food alive with a modern twist. It’s quick, customizable, and perfect for any occasion—from weeknight desserts to a show-stopping treat for your next gathering.
I’d love to hear how yours turns out! Feel free to leave your thoughts and any special twists you tried in the comments. And if you’re in the mood for more comforting desserts, don’t forget to check out my other cozy recipes on the blog.
Happy baking!

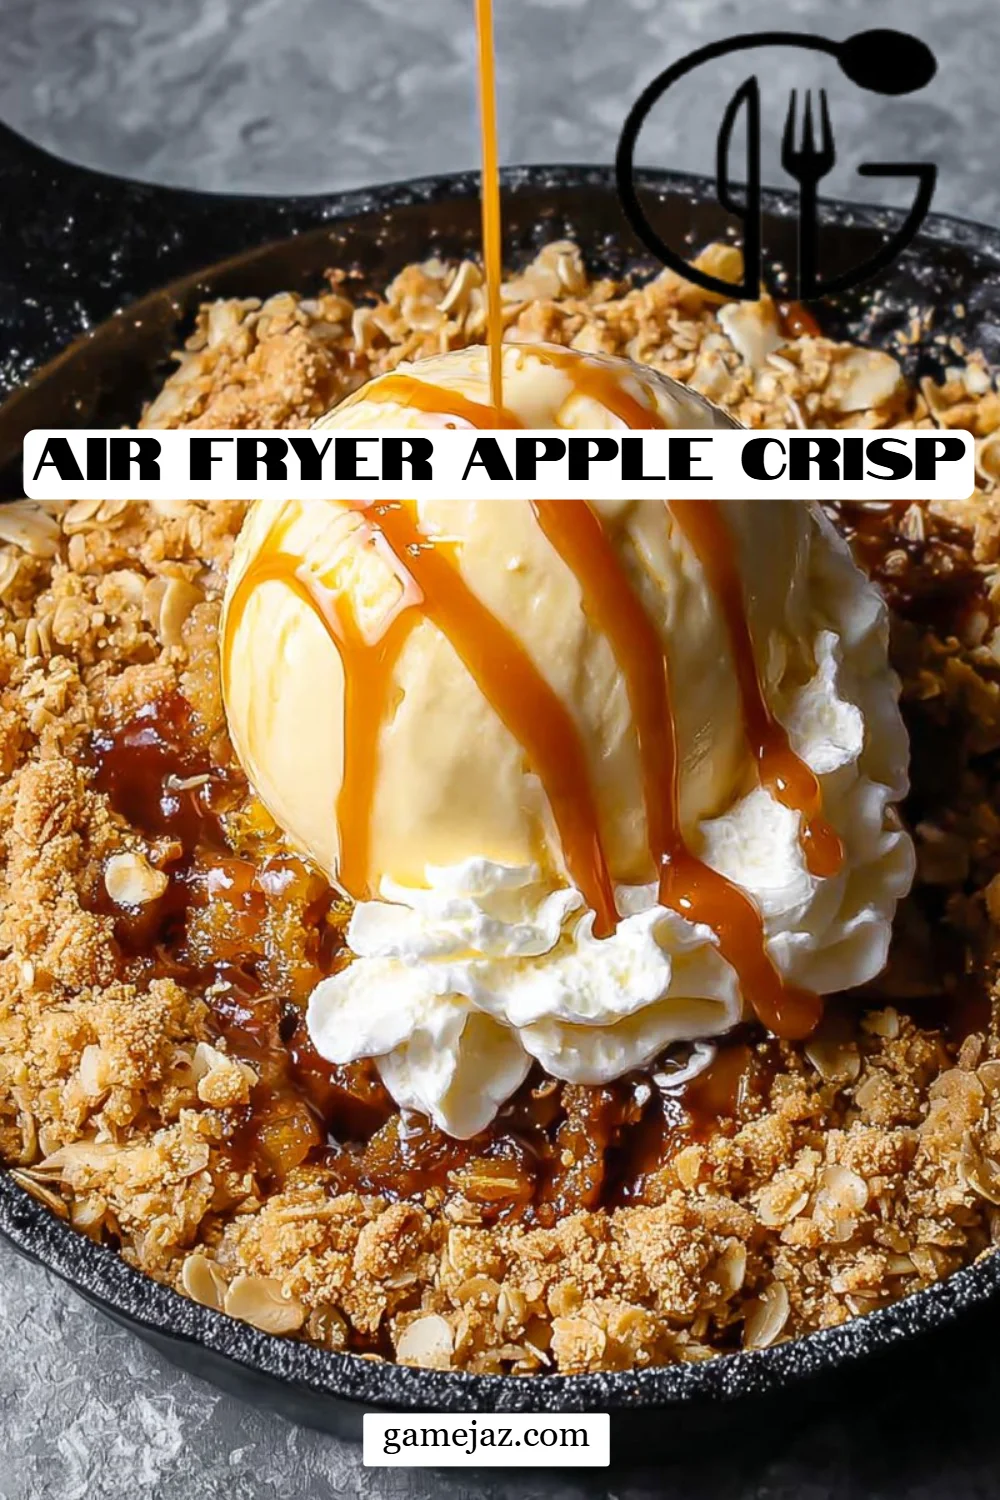
Air Fryer Apple Crisp
Ingredients
Method
- Begin by buttering or greasing two 5-inch oven-safe baking dishes to prevent sticking.
- In a medium bowl, combine the peeled and diced apples with lemon juice, granulated sugar, cinnamon, and salt. Toss until the apples are well coated.
- Divide the apple mixture evenly between the prepared baking dishes, spreading it out for even cooking.
- Cover the dishes with aluminum foil and air fry at 400°F for 10 minutes to soften the apples.
- While the apples are cooking, mix together the rolled oats, flour, brown sugar, and melted butter in a small bowl until crumbly.
- After 10 minutes, remove the foil and check if the apples are fork-tender. If they are, sprinkle the oat mixture generously over the apples.
- Close the air fryer and air fry at 350°F for an additional 5 minutes or until the topping is golden and crispy.
- Let the crisp cool for 5 minutes before serving. Enjoy it topped with vanilla ice cream, whipped cream, or caramel sauce.