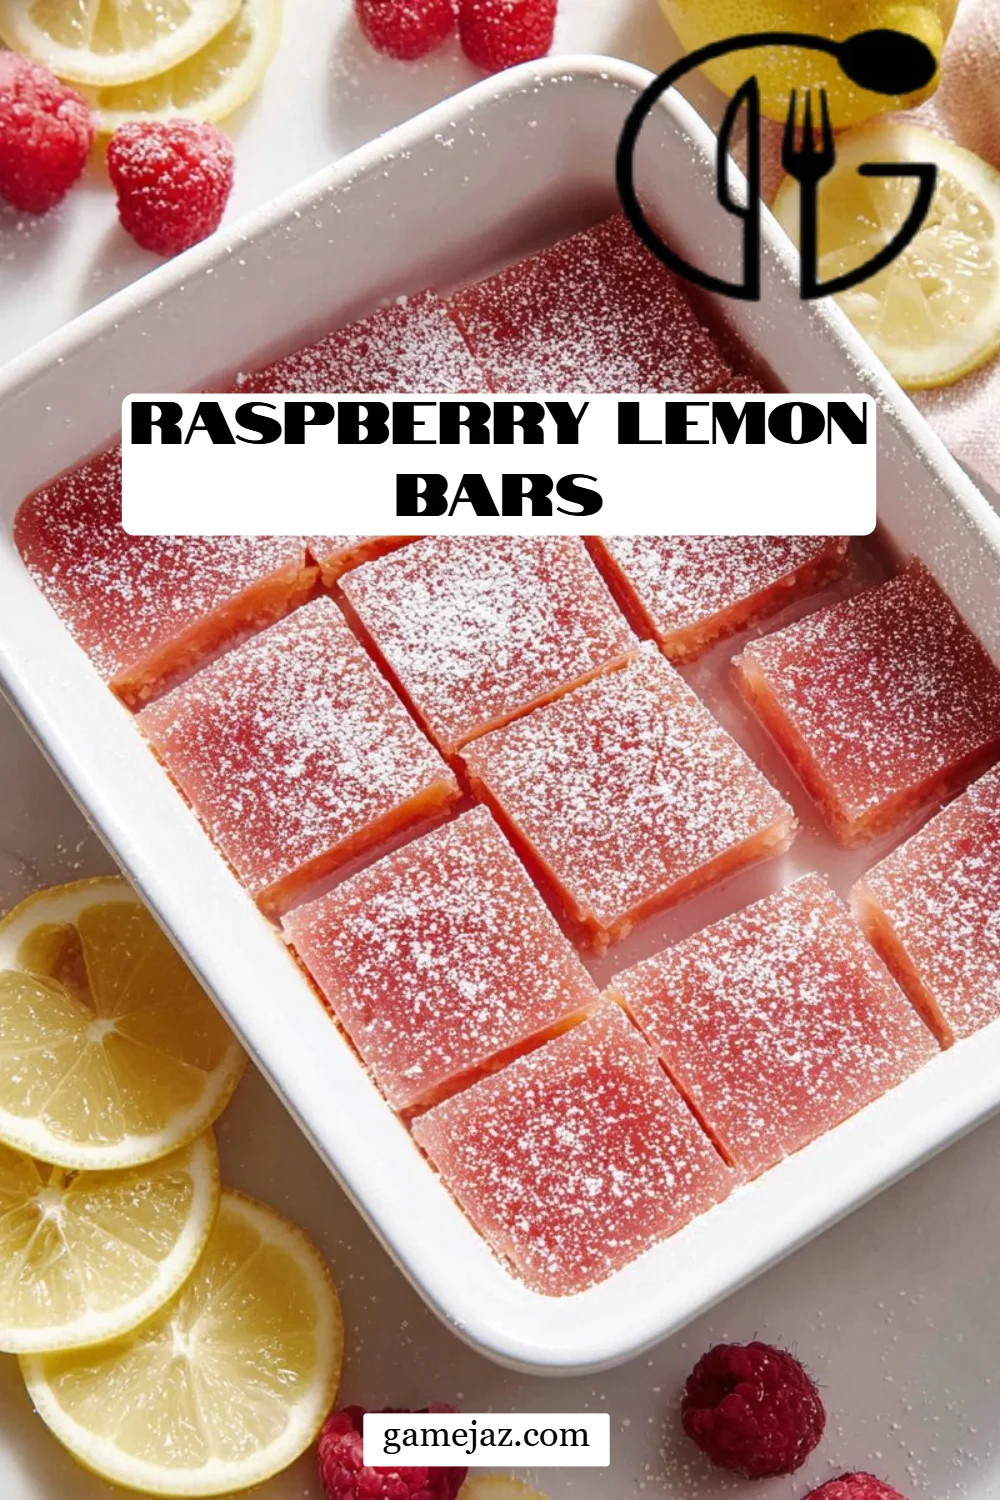
Ah, summer! The time of year when the sun shines brighter, the flowers bloom in vibrant colors, and just a hint of tangy sweetness fills the air. For me, nothing spells summer like Raspberry Lemon Bars. These delicious squares bring back fond memories of my grandma’s backyard gatherings, where the table was adorned with homemade treasures. She would serve these beautiful bars with a fluffy dusting of powdered sugar, and the moment you bit into one, the crisp buttery crust melted in your mouth, perfectly complementing the sweet-tart raspberry topping.
What makes my Raspberry Lemon Bars extra special is the addition of fresh lemon juice and zesty raspberries, which makes every bite refreshingly bright. Unlike store-bought versions that often leave you feeling weighed down with artificial flavors, these bars are made from wholesome, simple ingredients that create a symphony of flavors in your mouth. I promise you, the explosion of tart and sweet in every bite will not only satisfy your summer cravings but will also keep you coming back for seconds.
So gather your ingredients, and let me show you how to make these luscious delights at home. You’re not just baking; you’re creating memories.
What Are Raspberry Lemon Bars?
Raspberry Lemon Bars are a delightful dessert that combines the fresh tartness of raspberries with the zesty brightness of lemons, all set upon a buttery, crumbly crust. Originating from the classic lemon bars we all know and love, these bars take the concept to the next level by adding a fruity twist that enhances the overall flavor profile.
The taste is an exquisite balance of sweet and tangy; each bar is a little piece of sunshine. The crust offers a sturdy foundation with a crumbly texture, while the filling is creamy and smooth, creating a heavenly contrast with the crispy base. These bars are unique because they stand out not only for their bright flavors but also for their versatility—perfect for picnics, potlucks, or just a rainy day at home.
When should you make them? Honestly, any occasion will do! Whether you’re hosting a summer gathering or simply wanting a delightful treat to enjoy while watching the sunset, Raspberry Lemon Bars are perfect for almost any occasion.
Why You’ll Love This Recipe
Fresh Ingredients: You’ll be amazed at how just a handful of simple ingredients can come together to create such a vibrant treat. No chemicals or preservatives here—just fresh raspberries, lemons, and quality butter.
Taste That Rivals Bakery Versions: Trust me, this homemade version knocks the socks off any store-bought bar. They’re simply more flavorful, fresh, and free of mystery ingredients. Your taste buds will thank you!
Budget-Friendly: Making these bars at home is not only more fun but also much more economical than buying fancy desserts. You can whip up a whole batch for a fraction of the price.
Easy Customization: Feel free to switch things up! I’m a firm believer that baking should be a creative endeavor. Try adding different berries, or infuse your bars with herbs like mint for an extra twist.
Simple Steps and Great Results: This recipe is beginner-friendly, so even if you’re not an expert baker, you’ll find that making these bars is straightforward and satisfying.
With a total time of just about an hour (plus chilling), you’ll have a stunning dessert ready to impress friends and family in no time!
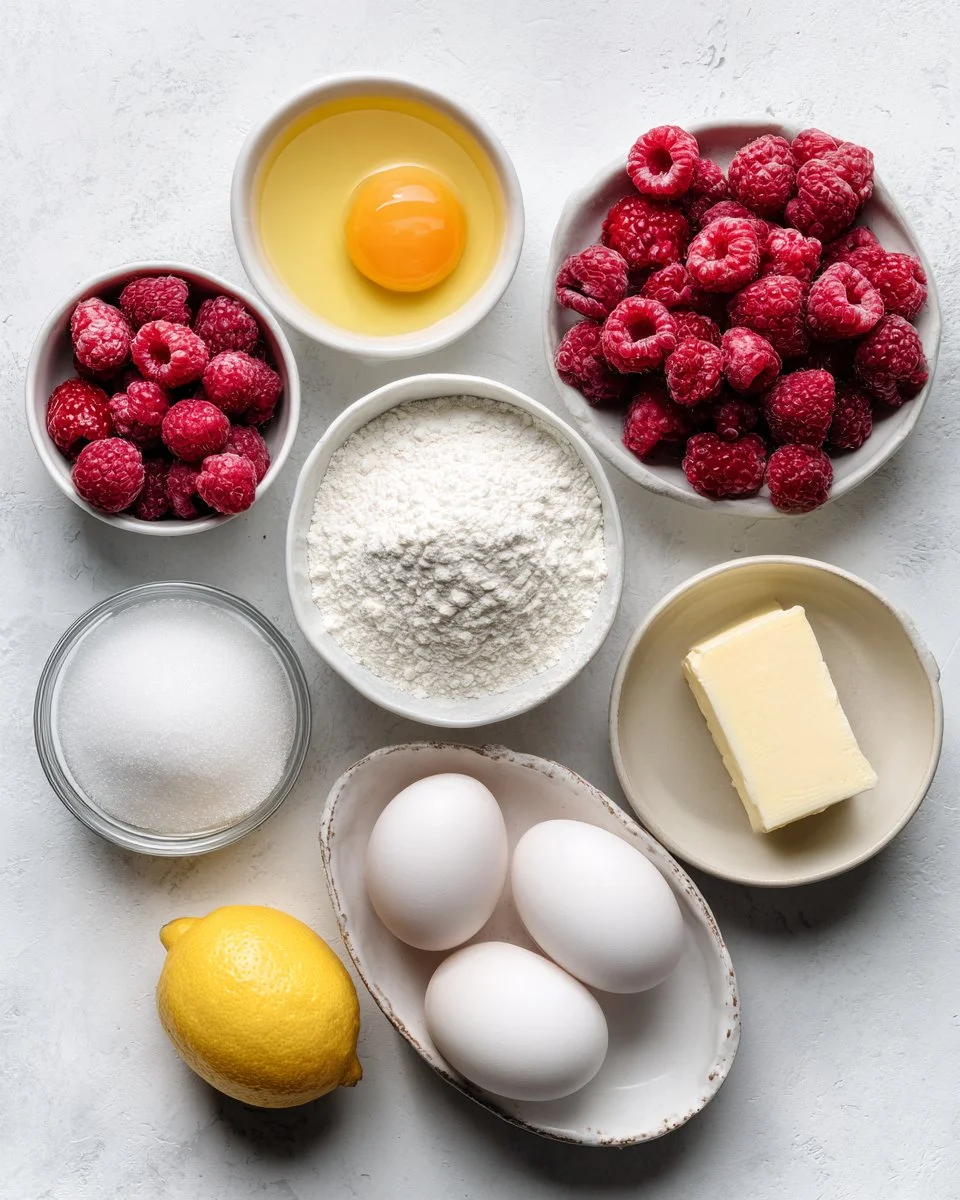
Ingredients
- 12 ounces fresh or frozen unthawed raspberries – I love using organic raspberries for the best flavor, but feel free to choose whatever is available.
- 1/4 cup granulated sugar – This sugar is for sweetening the raspberry mixture; you can adjust a bit if you prefer it sweeter.
- 2 tablespoons fresh lemon juice – Fresh, freshly squeezed lemon juice is key for that bright and zesty flavor!
- 1 cup unsalted butter, softened – Make sure your butter is at room temperature to ensure an evenly blended crust; I recommend using a high-quality brand like Kerrygold for the best taste.
- 2 cups all-purpose flour – Regular flour works just fine; if you’re gluten-free, try a 1:1 gluten-free flour blend.
- 1/2 cup granulated sugar – This sugar goes into the crust to add sweetness.
- 1 1/2 cups granulated sugar – This sugar is for the filling; the balance is crucial in harmonizing the flavors.
- 1/4 cup all-purpose flour – A bit of flour to thicken the filling.
- 4 large eggs – Fresh eggs will make the filling rich and custardy.
- 2/3 cup freshly squeezed lemon juice – Always opt for fresh; it makes all the difference!
- Confectioners’ sugar for dusting – This adds a beautiful finish; feel free to skip if you prefer a more rustic look.
Get your ingredients prepped and let’s dive into the steps!
Step-by-Step Instructions
Create the Raspberry Sauce: In a medium saucepan over medium heat, add the raspberries, 1/4 cup sugar, and 2 tablespoons lemon juice. Bring the mixture to a gentle boil, stirring often. Once boiling, let it simmer for 8-10 minutes or until it thickens—stir frequently to avoid burning. Once thickened, pour the mixture into a fine-mesh strainer to remove the seeds, and set aside to cool completely.
Prep the Oven: Preheat your oven to 350°F (175°C) and spray a 9×13 inch baking dish with nonstick cooking spray.
Make the Crust: In a medium bowl, combine 1 cup butter, 2 cups flour, and 1/2 cup sugar. Using a pastry cutter, fork, or your hands, blend the mixture until it resembles coarse crumbs (a minute or two should suffice). Press the crumb mixture evenly into the bottom of your prepared baking dish. Bake for 15-20 minutes, or until golden and fragrant.
Prepare the Filling: In a large bowl, whisk together 1 1/2 cups sugar, 1/4 cup flour, eggs, 2/3 cup lemon juice, and the cooled raspberry sauce until smooth and well combined.
Assemble and Bake: Once the crust is out of the oven, pour the raspberry filling over it. Return to the oven and bake for an additional 20-25 minutes or until the filling is just set. Look for it not to jiggle in the center.
Cool and Chill: Allow the bars to cool completely at room temperature; then chill in the refrigerator for at least 2 hours before cutting them into squares.
Serve with Flair: When ready to serve, dust lightly with confectioners’ sugar for that beautiful finishing touch.
Chef’s Tip: Use parchment paper to line your baking dish for easier bar removal.

Expert Tips & Tricks
Temperature Check: Always use room temperature butter and eggs for consistency. Cold butter won’t cream well, and cold eggs can cause curdling in your filling.
Storage: These delicious bars can last up to a week when stored in an airtight container in the refrigerator. You can also freeze them for up to three months—just cut them into squares and freeze individually before placing them in a container.
Customization Ideas: Try adding a tsp of vanilla extract to the filling for extra depth. Or replace some of the raspberries with blueberries or strawberries for a mixed berry affair!
Common Mistakes to Avoid: Watch closely when baking; over-baking can lead to a tough texture. You want the filling to be set but still soft!
Make Ahead: These bars are perfect as a make-ahead dessert. Whip them up a day or two in advance for best flavor.
Serving Suggestions
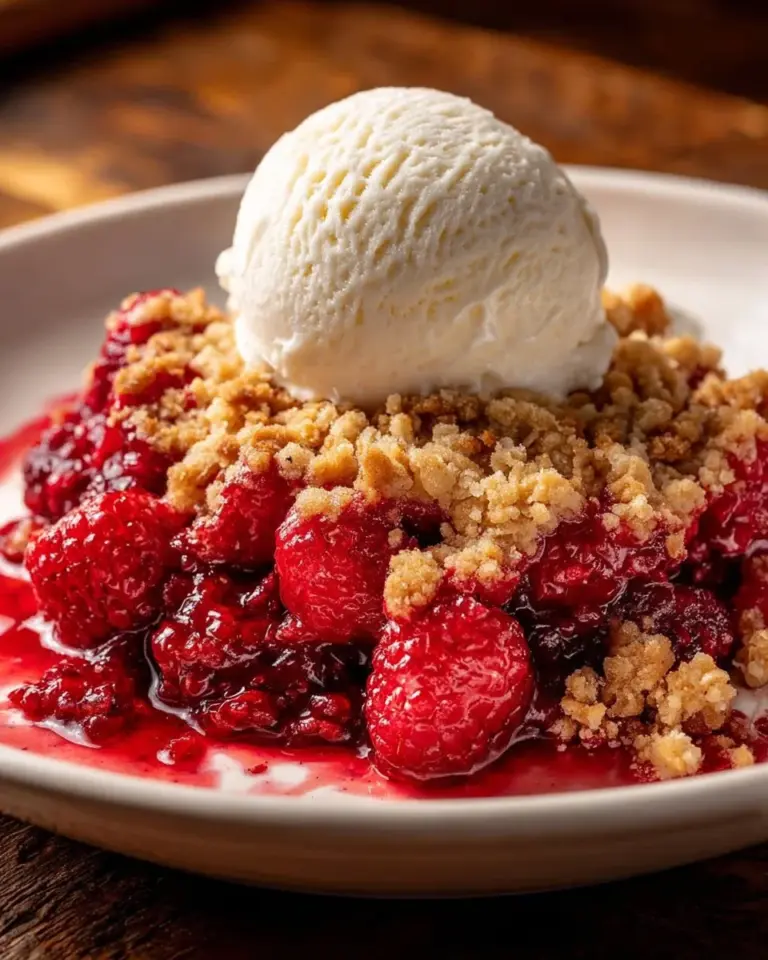
Serve these Raspberry Lemon Bars with a dollop of freshly whipped cream or alongside a light summer salad for a refreshing finish. They look beautiful on a dessert table, especially garnished with fresh raspberries or lemon slices for a pop of color. Perfect for summer barbecues, birthday parties, or a cozy family night in, they’re sure to be a hit!
Variations & Substitutions
- Flavor Adventures: Try other berries like blackberries or strawberries! Just make sure they’re ripe and flavorful.
- Dietary Adjustments: For a gluten-free option, substitute all-purpose flour with a gluten-free blend. Use coconut sugar for a lower glycemic index sweetener.
- Seasonal Specials: During fall, swap out raspberries for pumpkin puree combined with spices like cinnamon and nutmeg!
Nutrition & Storage Info
- Prep Time: 15 minutes
- Cook Time: 40 minutes
- Total Time: 55 minutes (plus chilling time)
- Yield: 24 bars
- Estimated Calories per Serving: 150 (may vary based on adjustments)
Storage Instructions: Store in the fridge for up to a week or freeze them for up to three months.
FAQ Section
Can I use frozen raspberries?
Yes, frozen raspberries work perfectly, just make sure to use them unthawed.How thick should the filling be?
The filling should be slightly wobbly in the middle once you take it out from the oven as it will continue to set upon cooling.What if my crust crumbles?
If your crust crumbles too easily, make sure you’ve mixed the butter and flour properly—it should hold together when pressed.How do I cut the bars neatly?
Use a sharp knife, and warm it under hot water before making the cuts for clean edges.Can I double the recipe?
Absolutely! Just use a larger baking dish and adjust the cooking time accordingly; keep an eye on them as they bake.Can I make these vegan?
Yes! Substitute eggs with a flaxseed meal or other egg replacements and use vegan butter.What’s the best way to store these?
Store in an airtight container in the fridge. You can freeze individual pieces for later.Can I make these bars gluten-free?
Yes! Just use a gluten-free flour blend, and remember to check the labels of your other ingredients too.Can I add zest to my bars?
Yes! Adding lemon zest enhances the lemony flavor, so go ahead and grate some into your filling.How long will these last?
In the fridge, they will keep for about a week, and if frozen, they can last up to three months.
Conclusion
These Raspberry Lemon Bars are a little slice of summer that can brighten any day. With their sweet and tart flavor, they evoke sunshine and warmth, making them a perfect treat for any occasion. I encourage you to give this recipe a try and let me know how it goes! I’d love to hear about your experience and any creative variations you come up with. Don’t forget to check out my other fruity dessert recipes on the blog for more delicious ideas!
Happy baking!

Raspberry Lemon Bars
Ingredients
Method
- In a medium saucepan over medium heat, add the raspberries, 1/4 cup sugar, and 2 tablespoons lemon juice. Bring the mixture to a gentle boil, stirring often. Once boiling, let it simmer for 8-10 minutes or until it thickens—stir frequently to avoid burning. Once thickened, pour the mixture into a fine-mesh strainer to remove the seeds, and set aside to cool completely.
- Preheat your oven to 350°F (175°C) and spray a 9×13 inch baking dish with nonstick cooking spray.
- In a medium bowl, combine 1 cup butter, 2 cups flour, and 1/2 cup sugar. Using a pastry cutter, fork, or your hands, blend the mixture until it resembles coarse crumbs. Press the crumb mixture evenly into the bottom of your prepared baking dish. Bake for 15-20 minutes, or until golden and fragrant.
- In a large bowl, whisk together 1 1/2 cups sugar, 1/4 cup flour, eggs, 2/3 cup lemon juice, and the cooled raspberry sauce until smooth and well combined.
- Once the crust is out of the oven, pour the raspberry filling over it. Return to the oven and bake for an additional 20-25 minutes or until the filling is just set.
- Allow the bars to cool completely at room temperature; then chill in the refrigerator for at least 2 hours before cutting them into squares.
- When ready to serve, dust lightly with confectioners’ sugar.