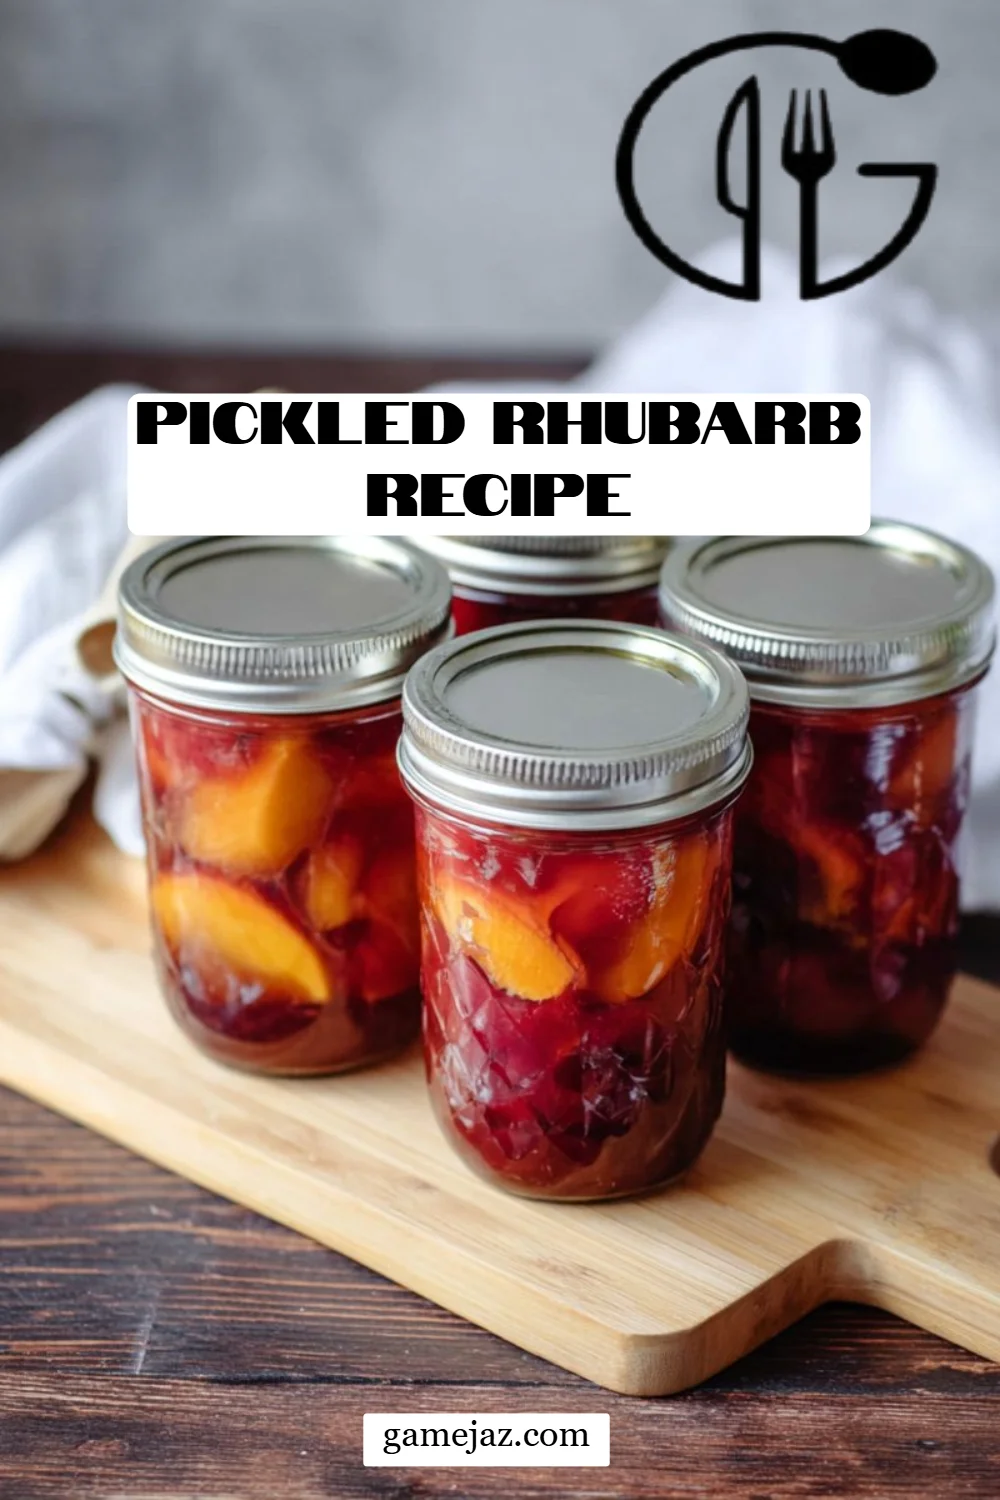
As a passionate home cook, I’ve always believed that the kitchen is the heart of the home. Each jar of my Pickled Rhubarb Recipe captures fond memories, sunshine-sweet rhubarb, and the tang of vinegar. I was introduced to pickling at a young age—my grandmother’s kitchen bursting with colorful jars, each one filled with family secrets and stories. The aroma of sweet and sour always wafted through the air, making my mouth water. As I grew up, those jars turned from nostalgia to a beloved tradition, one I couldn’t wait to pass on.
What makes this pickled rhubarb recipe special? It’s not just the balance of flavors that hit every taste bud; it’s the love infused into every jar. Unlike store-bought options full of preservatives, this homemade version evokes a sense of comfort, warmth, and a connection to home. With only a handful of ingredients, you’ll be thrilled to see how easy it is.
In this post, I promise to share everything you need to know to create vibrant, crunchy, and delicious pickled rhubarb that can elevate any meal or snack. You’re bound to fall in love with this recipe just like I did. Let’s dive in!
What Are Pickled Rhubarb?
Pickled rhubarb might not be your standard condiment, but it’s a delightful twist on traditional pickling. Originating from the practice of preserving fruits and vegetables, pickling rhubarb enhances its natural tartness, creating a unique sweet-savory infusion. The resulting tangy crunch is fabulous—perfect for adding to salads, sandwiches, or as an elegant accompaniment to meats.
Texturally, pickled rhubarb is that crispy, bright ingredient that takes dishes over the top. It retains its crunch while absorbing the tangy flavors from the brine, resulting in a flavor experience that’s both sour and slightly sweet. You’ll find that it beautifully complements savory dishes while also making a wonderful snack on its own.
So when should you make it? It’s the ideal summer project, especially when rhubarb is in season. You can whip up a batch in no time, and trust me, your future self will thank you when those winter blues set in. This isn’t just about preserving food; it’s about embracing the season and creating an enduring treat.
Why You’ll Love This Recipe
Freshness Over Store-Bought: There’s nothing like homemade! Store-bought pickled rhubarb often comes loaded with preservatives and artificial flavors. This recipe opts for simple, fresh, and real ingredients. Trust me; once you taste homemade, you’ll never go back!
Cost-Effective: Making your own pickled rhubarb saves money compared to those tiny jars at gourmet shops. Plus, you get a heaping supply that lasts well throughout the year—all from just a few stalks of rhubarb.
Customization: One of my favorite parts of this recipe? You can personalize it! Want it spicier? Toss in some extra hot pepper flakes. Prefer it sweeter? Adjust the sugar. Each batch can be a unique expression of your taste.
Simple Preparation: If you’re a beginner in the kitchen, this recipe is perfect for you! With a straightforward process, you’ll create delicious results without stress. In under an hour, you can have jars ready to cool.
Perfect for Gifting: Homemade pickled rhubarb jars make heartfelt gifts. Tie some twine around them, slap on a cute label, and brighten someone’s day with a jar of vibrant joy!
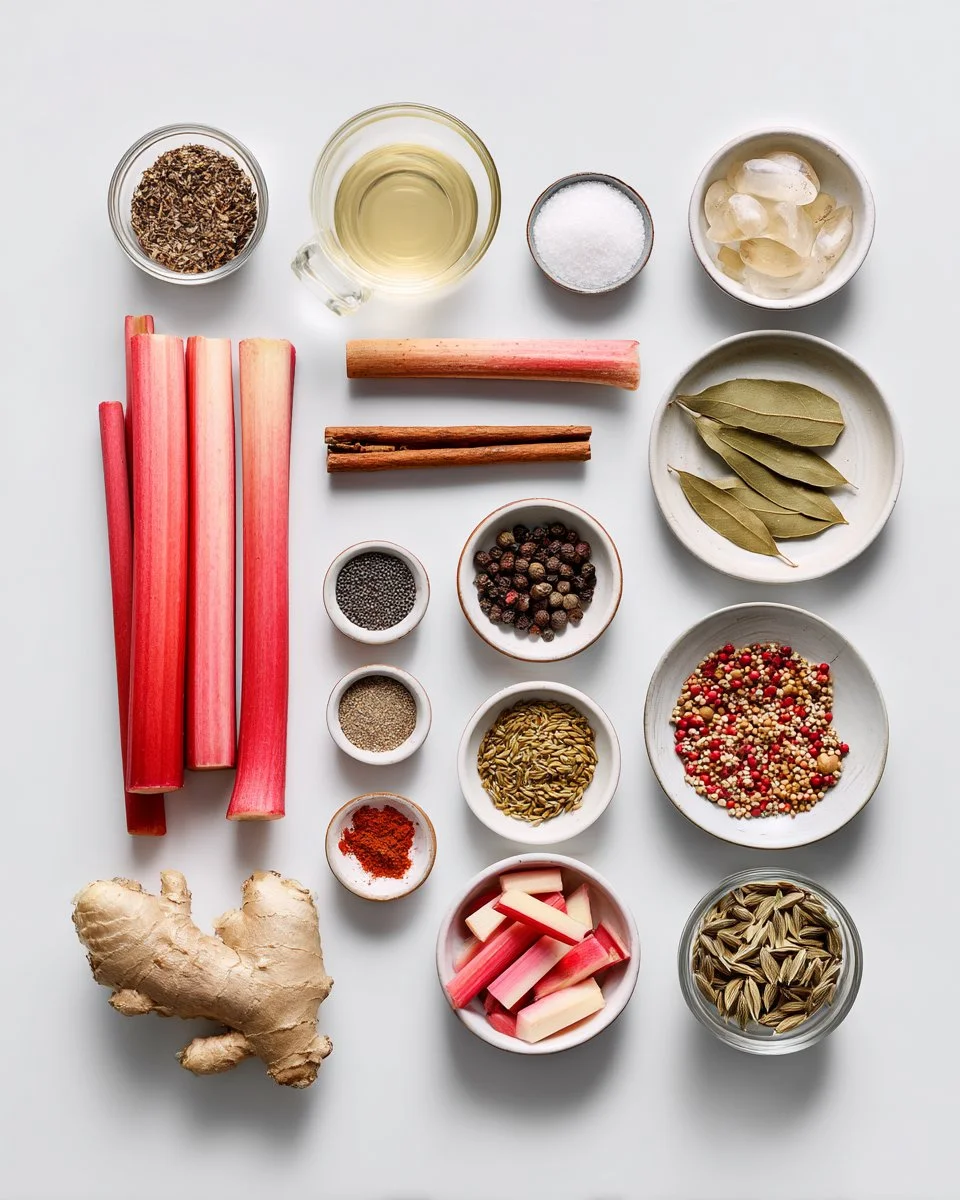
Ingredients
For this delicious Pickled Rhubarb Recipe, gather the following ingredients:
- 2 cups white vinegar (for that tangy punch)
- 1.5 cups sugar (to balance the tartness)
- 1 cinnamon stick (a warm touch)
- 5 bay leaves (for depth of flavor)
- 2 tbsp mustard seeds (adds a nice crunch)
- 1 tbsp coriander seeds (for a fresh aroma)
- 1 tbsp whole black peppers (provides heat)
- 1 tbsp fennel seeds (sweet and aromatic)
- 2 tsp cardamom seeds (for a unique flavor twist)
- 1 tsp allspice (warm undertones)
- 1 tsp hot pepper flakes (add to taste)
- 1 tsp whole cloves (for that holiday feel)
- 1 lb rhubarb (about 6 stalks, sliced diagonally)
- 1 2-inch piece fresh ginger (peeled, for zing)
Ingredient Notes:
- Quality Matters: Always choose vibrant, firm rhubarb stalks and fresh spices for the best flavor.
- Substitutes: If you can’t find something, feel free to experiment! Apple cider vinegar can be a tangy substitute for white vinegar, and honey can replace some sugar for a natural sweetness.
Prep Notes:
- Have all ingredients at room temperature to ensure an even blend when preparing the brine.
Step-by-Step Instructions
- In a medium saucepan, stir together all ingredients except rhubarb. Ensure the sugar dissolves completely; this step is crucial for balancing the flavors.
- Bring to a boil and boil, stirring until sugar is dissolved. This should take about 5-7 minutes. Watch for that beautiful aromatic steam!
- Reduce heat and simmer for 5 more minutes. You’ll see the brine thicken slightly—it should smell heavenly!
- Strain and discard solids. Use a fine mesh sieve or cheesecloth for this step. We want a clear, flavorful liquid!
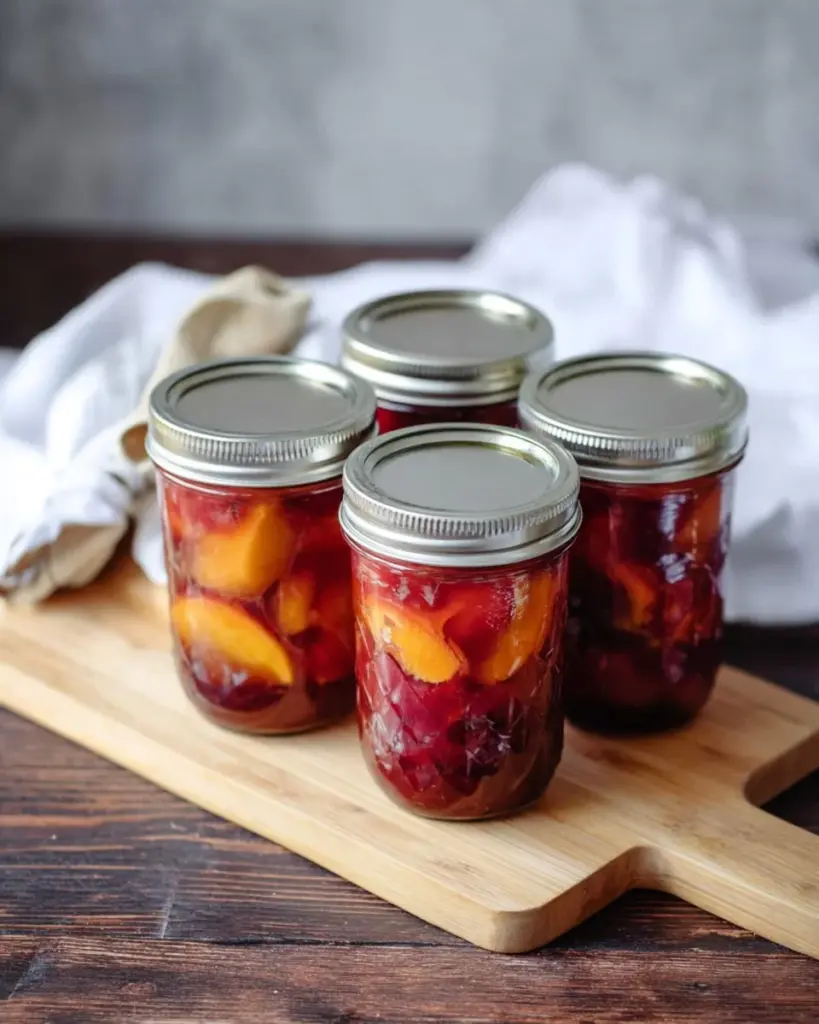
- Pack rhubarb into 4 250 ml jars (half pint). Make sure the jars are sterilized and ready to go. Don’t overpack; leave some space for the brine.
- Pour the hot liquid into the jars, filling to about ½ inch below the rims. Watch out for splashes—those can be hot!
- Center lids on jars and screw on rings until fingertip-tight. This is important to allow for the release of air while processing.
- Process in a boiling water bath for 10 minutes. Ensure the jars are fully submerged in the boiling water for even heat distribution.
- Allow to cool, then label and store unopened jars in a cool, dark place. You’ll want to give them time to develop their flavors!
Chef’s Tips:
- Always use fresh, vibrant spices for the best flavor.
- To avoid overcooking rhubarb, ensure not to simmer for too long after boiling.
- Check for any jar seals—pressed-down lids indicate a good seal!
Expert Tips & Tricks
- Use Fresh Ingredients: Fresh rhubarb and spices will yield the best flavor. Avoid using wilted rhubarb, as it will affect the final taste.
- Storage Recommendations: Properly sealed jars stored in a cool, dark place can last up to a year. Once opened, refrigerate and consume within two months.
- Make-Ahead Instructions: You can prepare these jars a month before a special occasion. The flavors deepen the longer they sit, enhancing the experience.
- Troubleshooting: If your jars don’t seal correctly, reprocess them in the boiling water bath or store in the fridge and enjoy as quickly as possible.
Serving Suggestions
These vivid pickled rhubarb jars are perfect for pairing with charcuterie boards, topping on creamy cheese, or even sprinkling on tacos for a zesty touch. For presentations, arrange the jars on a beautiful wooden platter alongside artisan bread and cheeses. They also make a special addition to summer picnics, enlivening even the simplest of meals.
Variations & Substitutions
Want to elevate the flavor? Explore different flavor combinations. How about adding fresh herbs like dill for a fresh take, or experimenting with different spices like star anise or turmeric for an exciting twist?
Dietary restrictions? Adapt this recipe by adjusting sugar levels or replacing the vinegar with a non-sugar alternatives, in line with your needs. Since this recipe will keep well, making seasonal variations when rhubarb is at its peak will keep your pantry stocked for months.
Nutrition & Storage Info
- Prep Time: 15 minutes
- Cook Time: 20 minutes
- Total Time: 35 minutes
- Yield: Approximately 4 jars
- Estimated Calories: 60 per 1/4 jar
- Storage Instructions: Keep sealed jars at room temperature; refrigerate once opened.
- Shelf Life: Unopened jars last up to 1 year; opened jars should be consumed within 2 months.
FAQ Section
Can I use frozen rhubarb for this recipe?
- Yes, you can! However, fresh rhubarb will have a crisper texture once pickled.
What should I do if my jars didn’t seal properly?
- Simply reprocess them in the boiling water bath, or store them in the fridge for immediate enjoyment.
How long should I wait before eating my pickled rhubarb?
- I recommend waiting at least 24 hours after sealing to allow flavors to meld together beautifully.
What can I use pickled rhubarb with?
- This tart condiment complements salads, grilled meats, tacos, or even cheese platters wonderfully.
Can I adjust the sugar levels?
- Absolutely! Feel free to experiment with sugar—or use a sugar substitute that’s suitable for you.
Is this recipe safe for beginners?
- Yes, this recipe is beginner-friendly and doesn’t require canning experience. Just maintain cleanliness for the best results.
Can I double the recipe?
- Certainly! Just make sure to use appropriately sized jars so they can be processed correctly.
Is there a way to give a fruity twist to pickled rhubarb?
- Absolutely! You can add slices of citrus fruits or berries in the jar before pouring in the brine.
Can I prepare a small batch in smaller jars?
- Yes, use smaller jars if you want to make a pilot batch—you might just find you want more!
What if I don’t have mustard seeds?
- You can leave them out, or try using celery seeds for a different flavor profile.

Conclusion
This Pickled Rhubarb Recipe is more than just a fun kitchen project. It’s a tradition that brings warmth to your home and flavors a variety of meals all year long. I encourage you to give it a try; I think you’ll find it not only special but deeply satisfying.
After you experience the sweet and tangy transformation of rhubarb, I’d love to hear your thoughts! Share your feedback or any creative tweaks you made in the comments. And don’t forget to check out other delightful recipes on my blog—there’s always something delicious waiting for you!
Pickled Rhubarb
Ingredients
Method
- In a medium saucepan, stir together all ingredients except rhubarb, ensuring the sugar dissolves completely.
- Bring to a boil while stirring until sugar is dissolved; this should take about 5-7 minutes.
- Reduce heat and simmer for 5 more minutes. The brine should thicken slightly.
- Strain and discard solids using a fine mesh sieve or cheesecloth.
- Pack rhubarb into 4 sterilized 250 ml jars.
- Pour the hot brine into the jars, filling to about ½ inch below the rims.
- Shelf life is maximized by securely tightening the lids.
- Process jars in a boiling water bath for 10 minutes, ensuring jars are fully submerged.
- Allow to cool, then label and store unopened jars in a cool, dark place.