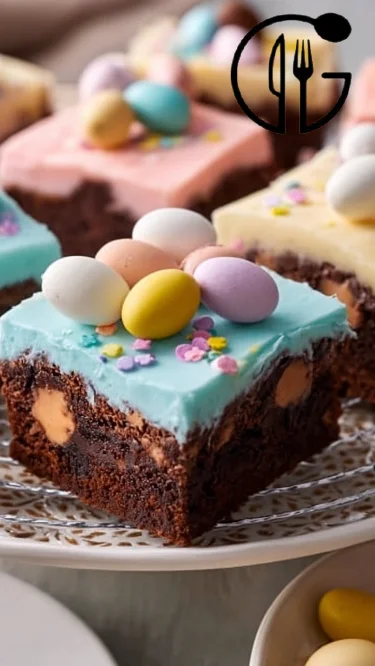
Irresistible Mini Egg Brownies: The Ultimate Chocolate Treat
There’s something magical about sinking your teeth into a delicious brownie that brings back childhood memories of baking sessions with family. I remember racing my siblings to the kitchen after school, eagerly awaiting the rich aroma of chocolate wafting through the air. Today, I’m excited to share a recipe that has become a cherished tradition in my home: Mini Egg Brownies. These delightful treats combine the fudgy, gooey texture of classic brownies with the vibrant flavors of mini chocolate eggs, creating an irresistible dessert that warms the heart and pleases the taste buds.
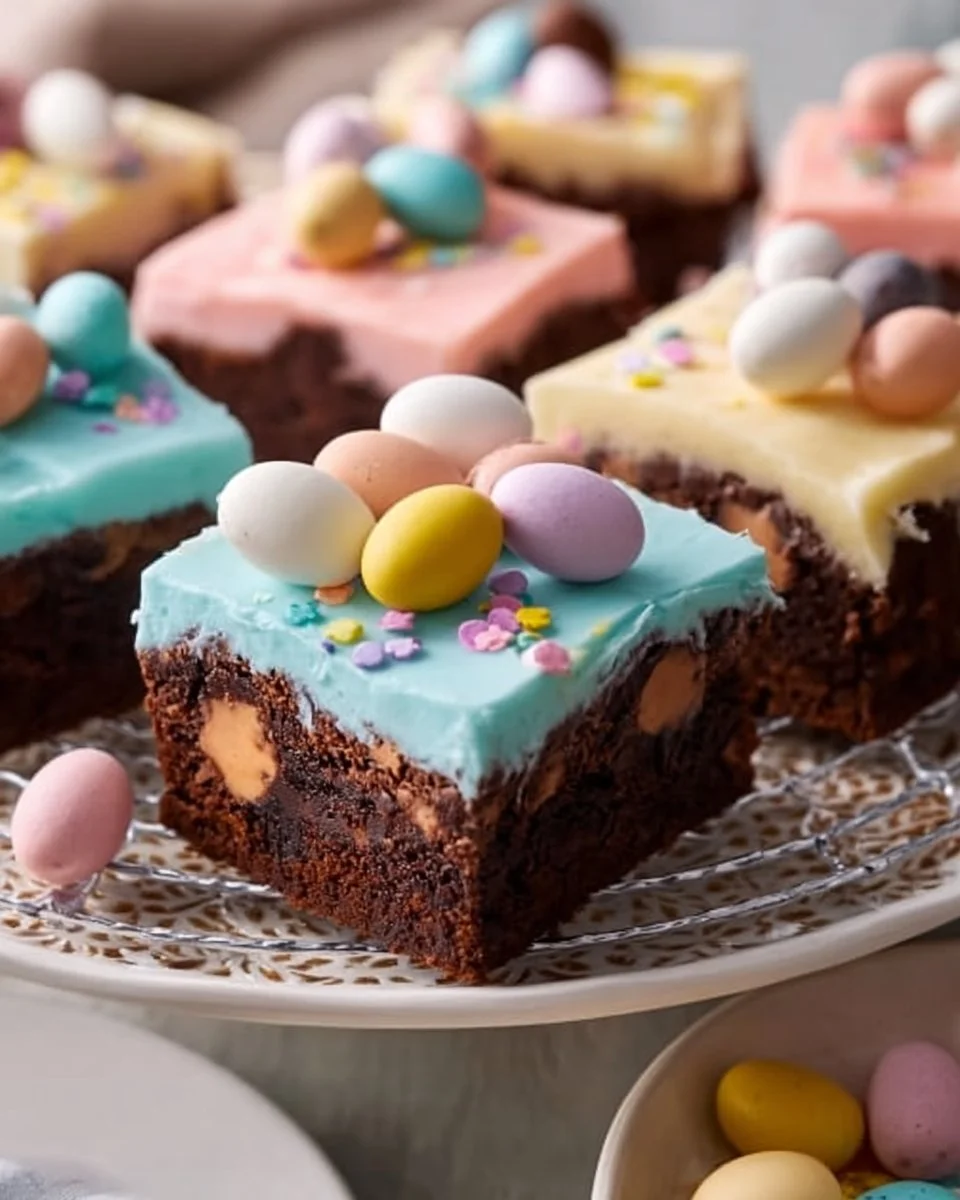
What sets these Mini Egg Brownies apart from other brownie recipes is their unique topping of colorful mini chocolate eggs that not only add crunch but a burst of chocolatey goodness. They’re a fabulous choice for any occasion, be it an Easter celebration or a simple family gathering. Trust me; these brownies have consistently garnered rave reviews from friends and family alike.
In this post, I’ll walk you through the process of making these delicious bites of joy, ensuring you create the perfect Mini Egg Brownies that will leave everyone asking for seconds (or thirds!). Let’s dive into this delicious adventure together!
What Are Mini Egg Brownies?
Mini Egg Brownies are an innovative twist on the classic brownie, originating from the desire to jazz up the standard chocolate treat. The star of this recipe is the mini chocolate eggs, which you typically find around Easter. These vibrant little candy-coated chocolates lend a satisfying crunch and sweet surprise with every bite.
The brownies themselves are rich and fudgy, boasting a deep chocolate flavor that pairs perfectly with the creamy sweetness of the mini eggs. The texture is a heavenly balance—chewy, dense, and packed with chocolate, yet topped with a colorful, crisp shell that creates a delightful contrast.
You can whip these brownies up for many occasions, from birthday parties to simple weekday desserts or holiday gatherings. They’re not just a dessert; they’re a joyous experience, flashing colors and flavors that brighten any moment!
Why You’ll Love This Recipe
Easy and Quick to Make: This recipe comes together in about 30 minutes, so you can satisfy your chocolate cravings without spending hours in the kitchen.
No Fancy Ingredients Required: You probably have most of the ingredients in your pantry already! With staples like butter, sugar, eggs, and cocoa powder, you can whip these up anytime.
Endless Customization: While delicious as is, these brownies are a great canvas for your personal touch. Want to add nuts, or swirl in some peanut butter? Go for it!
Cost-Effective: Making your own brownies is significantly more budget-friendly than purchasing from bakeries, and the taste is unbeatable. Your family will think you’ve gone gourmet without breaking the bank.
Perfect for Sharing: These brownies are perfect for gatherings! They cut easily into squares and look gorgeous on a platter, making them a snapshot of joy for any event.
This recipe might seem simple, but the flavors and textures will elevate your dessert game. Get ready to impress your friends and family with brownies that are far superior to store-bought varieties.
Ingredients Section
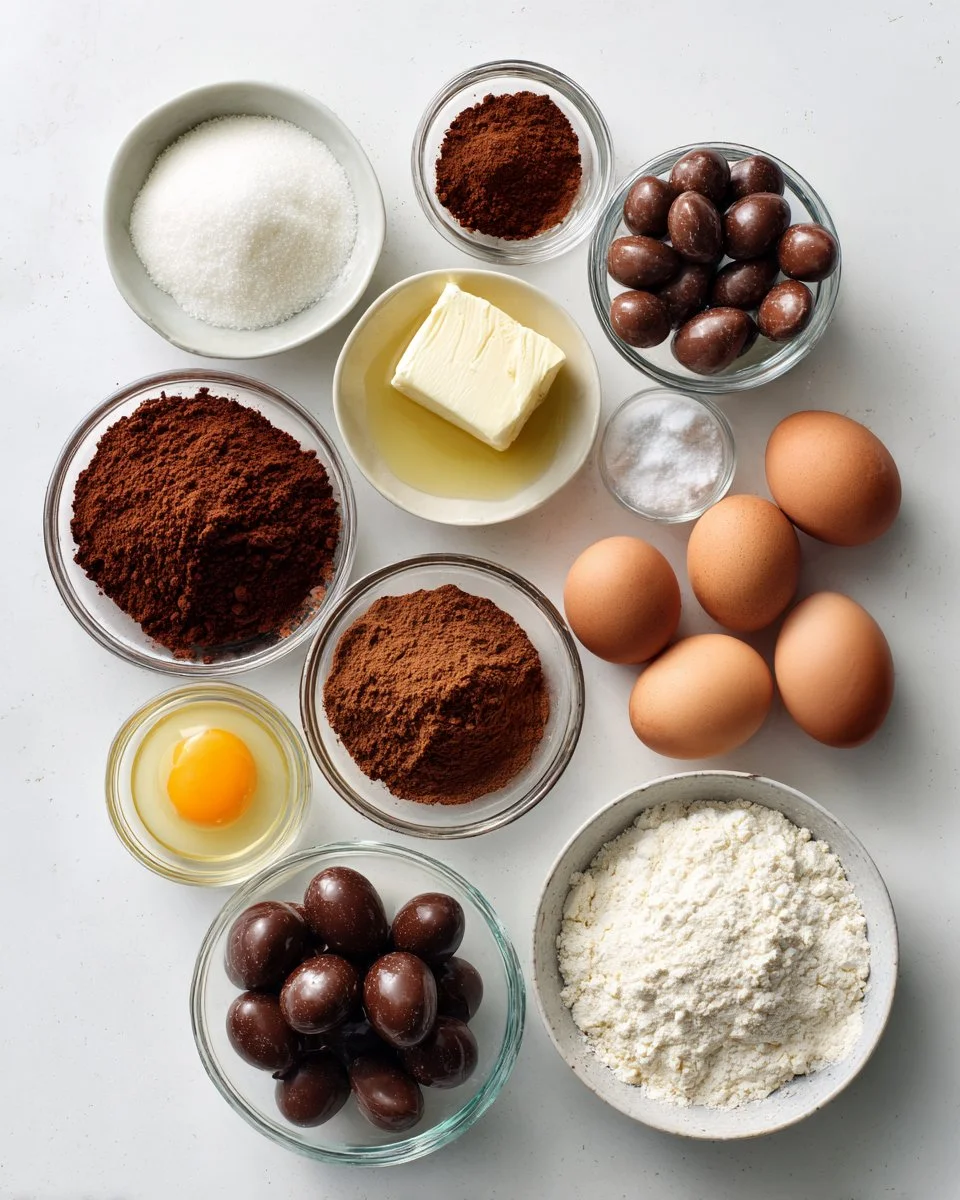
To create the most delectable Mini Egg Brownies, gather the following ingredients:
- 1/2 cup unsalted butter (make sure it’s at room temperature for easy mixing)
- 1 cup sugar (granulated white sugar works best)
- 2 large eggs (preferably at room temperature)
- 1 teaspoon vanilla extract (pure extract for the richest flavor)
- 1/3 cup unsweetened cocoa powder (Dutch-process cocoa adds richness)
- 1/2 cup all-purpose flour (sifted for a lighter texture)
- 1/4 teaspoon salt (omit if using salted butter)
- 1/4 teaspoon baking powder (helps the brownies rise slightly)
- 1 cup mini chocolate eggs (for a colorful and crunchy topping; I love using Cadbury Mini Eggs for their great taste)
Note: Feel free to substitute the butter with coconut oil for a dairy-free version or use brown sugar instead of white for a chewier brownie.
Step-by-Step Instructions
Preheat the oven: Start by preheating your oven to 350°F (175°C). Grease an 8×8-inch baking pan to ensure easy removal of your brownies.
Melt the butter: In a medium-sized bowl, melt the butter in the microwave or over a stovetop. Stir in the sugar until well combined.
Mix in the eggs: Beat in the eggs one at a time, mixing thoroughly after each addition. Stir in the vanilla extract.
Combine dry ingredients: In a separate bowl, sift together the cocoa powder, all-purpose flour, salt, and baking powder. This step helps to eliminate lumps and mix the dry ingredients evenly.
Mix wet and dry: Gradually add the dry mix to your wet mixture, folding gently until just combined. You don’t want to overmix, as this can lead to dense brownies.
Pour the batter: Spread the brownie batter evenly in your prepared baking pan.
Add the mini chocolate eggs: Scatter the mini chocolate eggs on top of the batter, pressing them in slightly so they don’t burn during baking.
Time to bake: Place the pan in the preheated oven and bake for 20-25 minutes. The brownies should look set, but a toothpick inserted into the center should come out with moist crumbs—this is key!
Cool down: Once baked, remove the brownies from the oven and allow them to cool in the pan for about 10 minutes before transferring them to a wire rack. Let them cool completely before cutting into squares.
Chef’s Tip: Avoid checking the brownies too soon. Slightly underbaking ensures they’ll be fudgy and rich!
Expert Tips & Tricks
Storage: Once cooled, store these brownies in an airtight container at room temperature for up to three days. They freeze beautifully for up to a month!
Make-ahead: You can prepare the batter a day in advance and keep it in the refrigerator until you’re ready to bake. Just bring it to room temperature before baking.
Troubleshooting: If your brownies turn out too dry, you may have overbaked them. Keep an eye on them towards the end of the baking time!
Mix it up: Feel free to add different flavors, like peppermint extract or espresso powder, for a fun variation.
Perfect cut: To cut perfect squares, use a sharp, serrated knife and wipe it clean between each cut.
Decorative Topping: Want brownies that are extra special? Drizzle with melted chocolate or sprinkle with sea salt before serving!
Serving Suggestions
Enjoy these Mini Egg Brownies warm with a scoop of vanilla ice cream on the side for a delightful dessert experience. You could also serve them with a drizzle of chocolate sauce or a dusting of powdered sugar for that professional touch. Perfect from birthday parties to cozy family dinners, these brownies are truly versatile!
Variations & Substitutions
Nutty Twist: Add chopped walnuts or pecans to the brownie batter for an extra crunch.
Dairy-Free Option: Swap out butter for coconut oil and use dairy-free chocolate eggs.
Seasonal Special: Swap the mini chocolate eggs for seasonal candies during holidays—think peppermint patties in winter or caramel-filled chocolates for fall!
Whatever variations you choose, rest assured that the base recipe is flexible and forgiving!
Nutrition & Storage Info
- Prep Time: 10 Minutes
- Cook Time: 25 Minutes
- Total Time: 35 Minutes
- Yield: 16 brownies
- Estimated Calories: 150 calories per serving
- Storage Instructions: Store at room temperature in an airtight container for up to three days. Freeze for up to a month for best quality.
FAQ Section
Can I use a different type of chocolate?
Yes! You can replace the unsweetened cocoa powder with dark cocoa or even melted chocolate for a different flavor profile.What can I substitute for eggs?
Flax eggs or unsweetened applesauce can work as a substitute for eggs if you need a vegan option.Why are my brownies cakey?
If they’re too cakey, it could be due to overmixing the batter or baking them for too long—watch the time closely!Can I use brown sugar instead of white?
Absolutely! Brown sugar will add a lovely depth and moisture to your brownies.What other toppings work well?
Chopped nuts, chocolate chunks, or even swirls of caramel sauce can make for delicious toppings.How do I know when they’re done baking?
Look for the edges to be set while the center is slightly moist. A toothpick should come out with a few crumbs attached.What size baking pan should I use?
An 8×8 inch pan works best for this recipe. Using a different size can alter the baking time.Can I double the recipe?
Yes! Just use a 9×13 inch baking pan and adjust baking time as needed.Can I freeze the brownies?
Yes, they freeze well! Wrap them in plastic wrap and place in an airtight container.How long do brownies last?
They last about three days at room temperature and up to a month in the freezer.
Conclusion
These Mini Egg Brownies are not just another dessert; they are a beautiful blend of flavor, nostalgia, and fun! I encourage you to try this recipe and share it with your friends and family. When you see their faces light up with joy as they take a bite, you’ll understand why this recipe has found a spot in my heart.
Have you tried making Mini Egg Brownies or do you have some tweaks you’ve made? I’d love to hear your thoughts or any fun variations you’ve tried! Don’t forget to check out my other brownie recipes for more inspiration. Enjoy baking and indulging in these chocolatey delights!
Happy baking!