Delightful Marshmallow Easter Eggs: A Sweet Recipe to Celebrate Spring
Continuing the tradition of sharing sweet treats during the Easter season, there’s nothing quite like making your own Marshmallow Easter Eggs at home! Growing up, my family had a special tradition: every Easter, my mom would gather us around the dining table, and we would create colorful, gooey marshmallow eggs together. Those moments are etched in my heart, filled with laughter, flour dust, and a sprinkle of mischief as we “taste-tested” the sugary mess.
What makes these homemade marshmallow eggs so special? Unlike the store-bought versions that often have artificial flavors and preservatives, my recipe is crafted from scratch, highlighting fluffy mini marshmallows and simple ingredients. Plus, you can customize them to suit your taste, creating flavors and colors that evoke delightful memories and nostalgia.
In this post, I’ll share my fail-proof recipe for these delightful Marshmallow Easter Eggs that’ll leave your family swooning over their irresistible taste and texture. You’ll learn how to make them step-by-step, and I promise you’ll create a new family tradition of your own!
What Are Marshmallow Easter Eggs?
The history of marshmallows can be traced back to ancient Egypt, where the sap of the mallow plant was first combined with honey to create a treat fit for royalty. Fast forward to today, and we have mastered the art of transforming those tiny puffs of sweetness into egg-shaped delights, perfect for any Easter celebration.
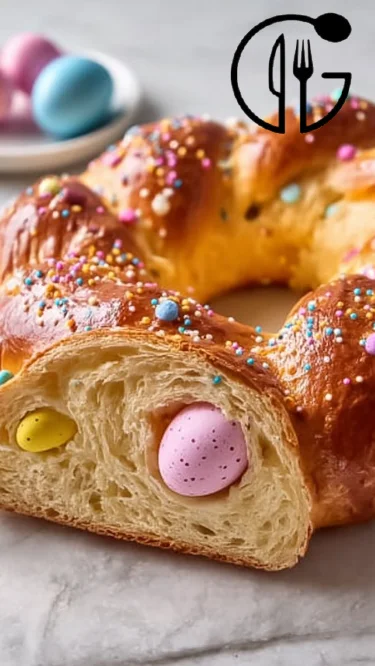
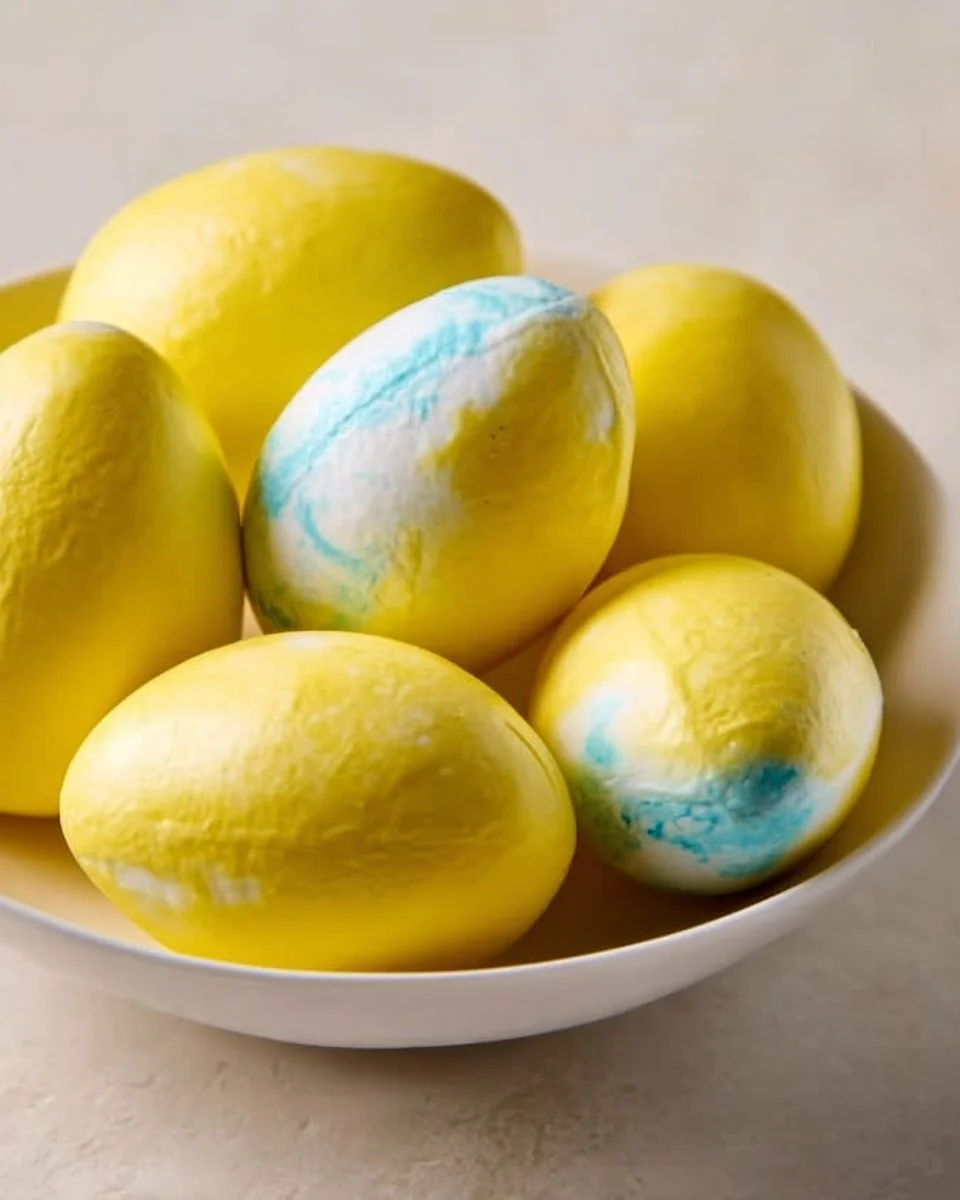
These Marshmallow Easter Eggs are a tantalizing fusion of airy marshmallows, creamy butter, and sugary sweetness, creating a texture that is both pillowy and slightly chewy. Each bite brings an explosion of sugary goodness, coated in vibrant pastel colors that are as delightful to the eyes as they are to the taste buds.
Why make these beauties? Because they capture the essence of craftiness and creativity, whether you’re hiding them around the house for an Easter egg hunt or gifting them to friends and family. They’re easy to make, fun to decorate, and absolutely delicious – a wonderful way to celebrate the season!
Why You’ll Love This Recipe
- Easy and Fun: This recipe is simple enough for kids (and adults!) to enjoy making together. Roll up your sleeves and unleash your creativity!
- Cost-Effective: Making Marshmallow Easter Eggs at home means saving money compared to premium store-bought options. Plus, you can make a large batch to share!
- Endless Customization: You’re not limited to traditional flavors; this recipe allows for countless variations with different extracts, food colors, and toppings. Some of my favorite additions are coconut shavings or festive sprinkles!
- Quality Ingredients: When you make these marshmallow eggs at home, you control every ingredient. No artificial flavors or preservatives, just good old-fashioned marshmallow goodness.
- Perfect for Any Occasion: While they’re great for Easter, you can whip these up for birthdays, spring parties, or just a rainy day when you need a sweet pick-me-up.
These Marshmallow Easter Eggs not only tickle your taste buds but also bring back sweet memories and create new ones that you’ll treasure forever.
Ingredients
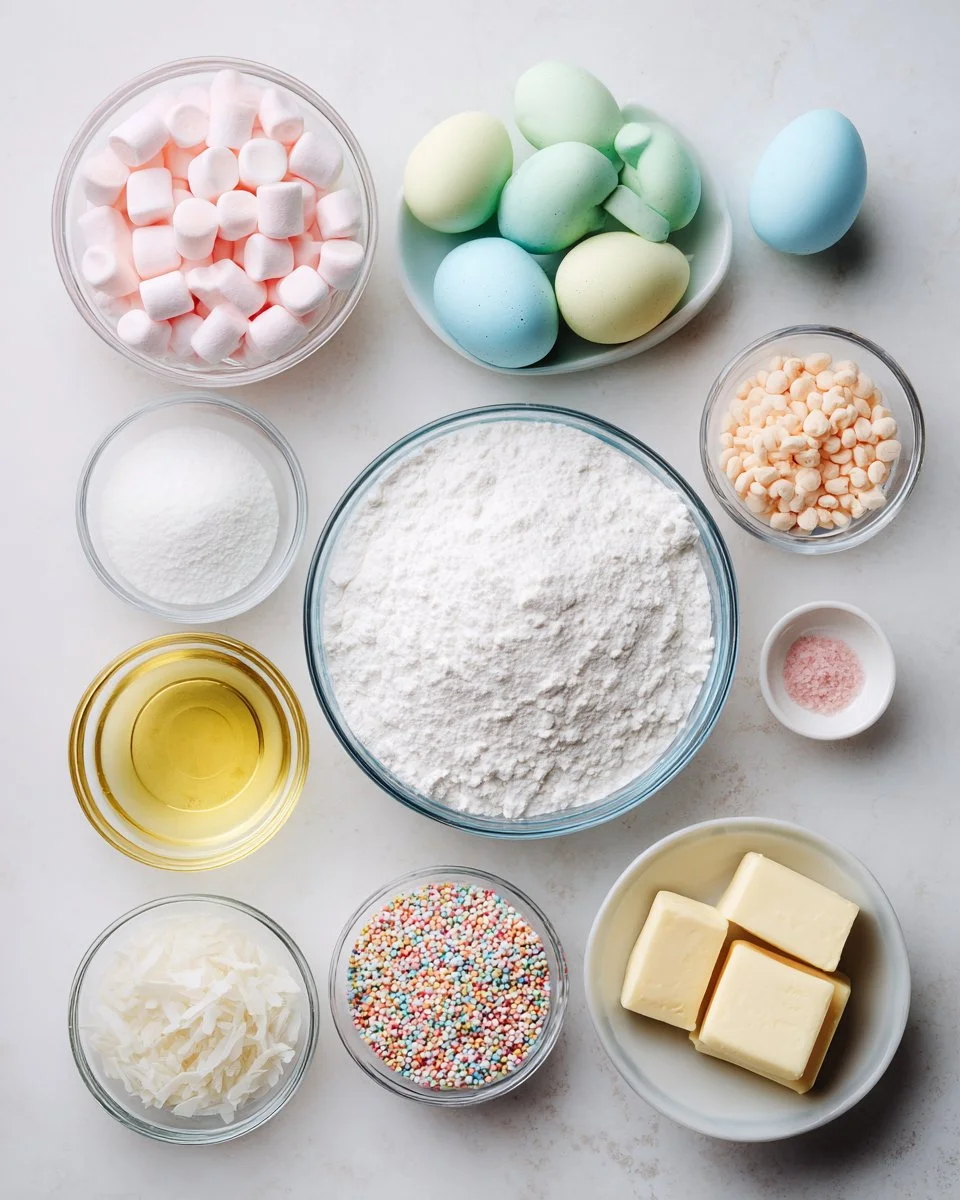
Here’s what you’ll need to create your Marshmallow Easter Eggs:
- 2 cups mini marshmallows: Ensure they’re fresh for the best fluffiness. Brands like Kraft work well.
- 1/4 cup unsalted butter: Make sure it’s at room temperature for easy melting! I love using Land O’Lakes butter for its creamy richness.
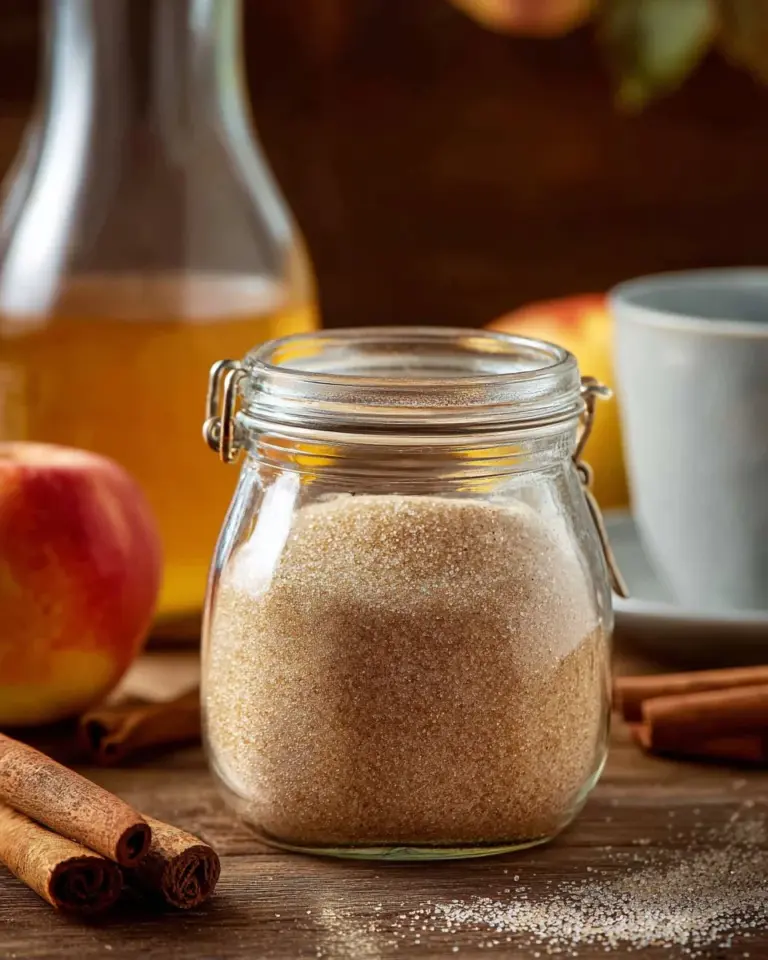
- 3 cups powdered sugar: Sifted, please! This helps prevent lumps in your mixture.
- 1 teaspoon vanilla extract: Real vanilla adds a lovely warmth; I love using Nielsen-Massey for that pure flavor.
- Food coloring (pastel colors): Choose your favorite spring colors like lavender, pale yellow, and mint green for a soft palette.
- Candy molds (egg-shaped): You can find these at craft stores or online.
- Optional toppings: Think sprinkles, shredded coconut, or crushed nuts to decorate!
Notes on Ingredients
- For dairy-free options, substitute the butter with a plant-based alternative.
- If you’d like a hint of flavor, add different extracts like almond or lemon to the marshmallow mixture.
Step-by-Step Instructions
Let’s turn those ingredients into mouthwatering marshmallow eggs! Follow these easy steps:
Melt the Butter and Marshmallows: In a large mixing bowl, combine the room temperature butter and mini marshmallows. Use a microwave or double boiler to melt, stirring until smooth and completely combined (about 1-2 minutes).
- Chef’s Tip: Microwave in short intervals, stirring in between to prevent burning.
Incorporate the Sugar and Vanilla: Gradually add the sifted powdered sugar and vanilla extract. Mix until fully combined into a thick dough (1-2 minutes). You may need to use your hands if it gets too thick!
Color the Mixture: Divide the mixture into separate bowls (two or three is ideal) and add a few drops of food coloring to each bowl. Mix until the desired pastel colors are achieved (this is where you can get creative!).
Shape the Eggs: Using your hands, press the colored marshmallow mixtures firmly into egg-shaped molds. Make sure to stamp them down well so they hold their shape.
Set the Mixture: Allow the candies to set at room temperature for at least 30 minutes until firm but still slightly soft to the touch.
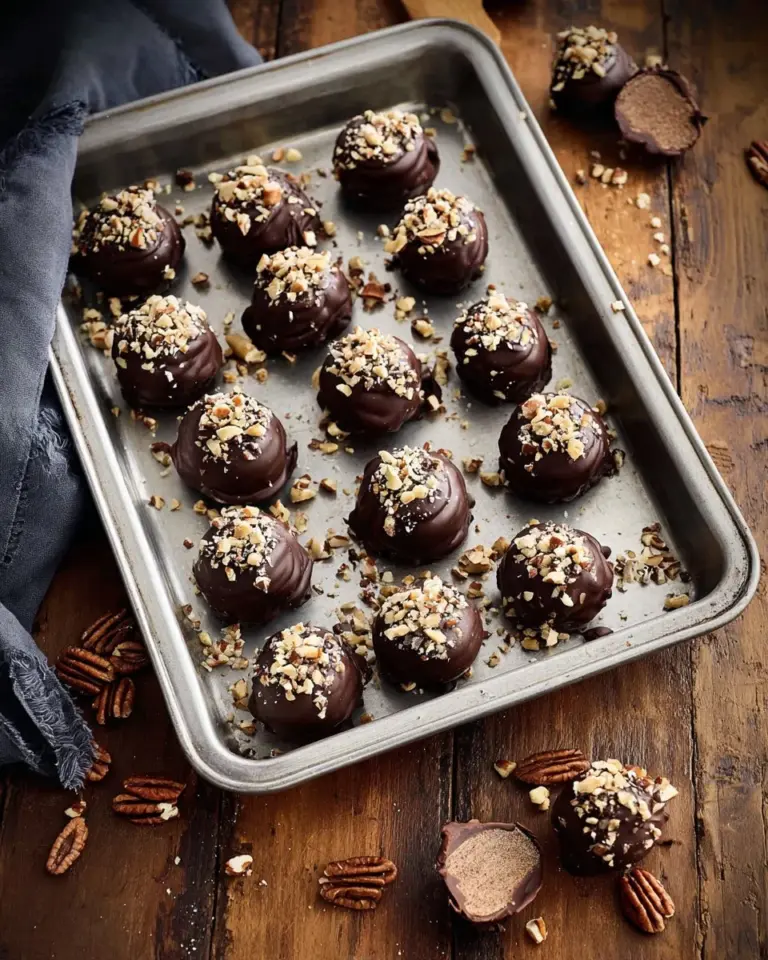
Decorate: Carefully remove the eggs from the molds. You can dip them in chocolate, roll them in shredded coconut, or simply sprinkle them with colorful toppings if desired.
Enjoy: Your colorful Marshmallow Easter Eggs are ready to be devoured or gifted!
- Common Mistake to Avoid: Make sure the mixture is not too sticky. If it is, add more powdered sugar a little at a time until perfect for shaping.
Expert Tips & Tricks
- Storage: Keep your marshmallow eggs in an airtight container at room temperature for up to a week. If you want them to last longer, refrigerate them for up to two weeks.
- Make-Ahead Instructions: You can make these eggs a day ahead; just store them in an airtight container to maintain freshness.
- Troubleshooting: If your marshmallows do not melt completely, continue heating them in the microwave in short intervals, as melted marshmallows should be smooth and glossy.
- Flavor Variations: Play around! Consider adding peppermint extract for a minty treat or orange extract for a citrus kick.
Serving Suggestions
These Marshmallow Easter Eggs can stand on their own as a sweet treat, but they pair fabulously with other Easter goodies! Serve them alongside freshly brewed coffee, a warm slice of banana bread, or even a fruit salad for a colorful dessert platter.
Presentation-wise, consider arranging them on a cake stand with pastel-colored napkins for a charming spring display or laying them out on a festive platter amidst faux grass for that Easter vibe!
Variations & Substitutions
- Flavor Combinations: Mix in chopped nuts, dried fruits, or even mini chocolate chips for a crunchy twist.
- Dietary Restrictions: Vegan? Substitute butter with coconut oil or a vegan butter alternative. Ensure marshmallows are vegan, as some contain gelatin.
- Seasonal Variations: For fall, make pumpkin spice marshmallow eggs, and for winter, some peppermint-flavored ones can add a seasonal treat!
Nutrition & Storage Info
- Prep Time: 10 minutes
- Cook Time: 5 minutes
- Total Time: 45 minutes (including setting time)
- Yield: Approximately 12-15 egg-shaped marshmallows
- Estimated Calories: About 80 calories per egg
- Storage Instructions: Store at room temperature in an airtight container for up to a week, or in the fridge for up to 2 weeks.
FAQ Section
Can I use regular marshmallows?
Yes, but mini marshmallows melt easier and create a smoother mixture.Can I make these gluten-free?
Absolutely! All the ingredients listed are gluten-free, but ensure to check the labels.How can I make them less sweet?
Consider adding a pinch of salt to the mixture to balance out the sweetness.What can I use instead of powdered sugar?
You may try blending granulated sugar into a fine powder using a blender, but this will not yield the same smooth texture as commercial powdered sugar.How can I get vibrant colors?
Gel food coloring works best for rich colors; just a little will go a long way!What is the best way to store these?
Keep them in an airtight container, preferably at room temperature.Can these be made in advance?
Yes! They can be made a day or two before serving and stored properly.Why are my marshmallow eggs sticky?
This often means there isn’t enough powdered sugar in the mixture; just add more gradually.Can I freeze these?
I don’t recommend freezing them, as it changes their texture, but they last well in the fridge.Are there other shapes I can use?
Absolutely! You can use any shape molds—bunnies, flowers, whatever tickles your fancy!

Conclusion
There you have it! A delightful recipe for Marshmallow Easter Eggs that combines nostalgia, creativity, and of course, yummy flavors. I encourage you to give these a try and make your own sweet memories! Let me know how they turn out, and don’t forget to share any variations you create in the comments. For more sweet recipes, check out my blog where you’ll find everything from chocolate treats to comforting family favorites. Happy baking!