Irresistible Khorasan Bread: A Heartwarming Recipe for Flavorful Comfort
I remember the first time I tasted Khorasan bread; it was on a cozy Sunday afternoon, and the air was filled with the fragrance of freshly baked bread wafting through my grandmother’s kitchen. That warm aroma instantly transported me back to her home, where the simple act of breaking bread together felt sacred. Khorasan bread, made from the ancient grain khorasan (also known as Kamut), is not just a recipe; it carries a legacy of nutty flavors and a chewy texture that can turn an ordinary meal into a cherished memory. What sets this recipe apart is the combination of wholesome ingredients, a dash of patience, and a sprinkle of love.
While many bread recipes call for white flour, I adore how Khorasan flour adds depth and character to each loaf. It’s not only richer in flavor, but also packed with nutrients that make it a healthier choice—a sentiment I cherish every time I share this bread with family and friends. In this post, I promise to guide you through the delightful experience of making your own Khorasan bread, arm you with helpful tips, and inspire you to create not just a loaf but a vessel of love and warmth for your loved ones.
What Are Khorasan Breads?
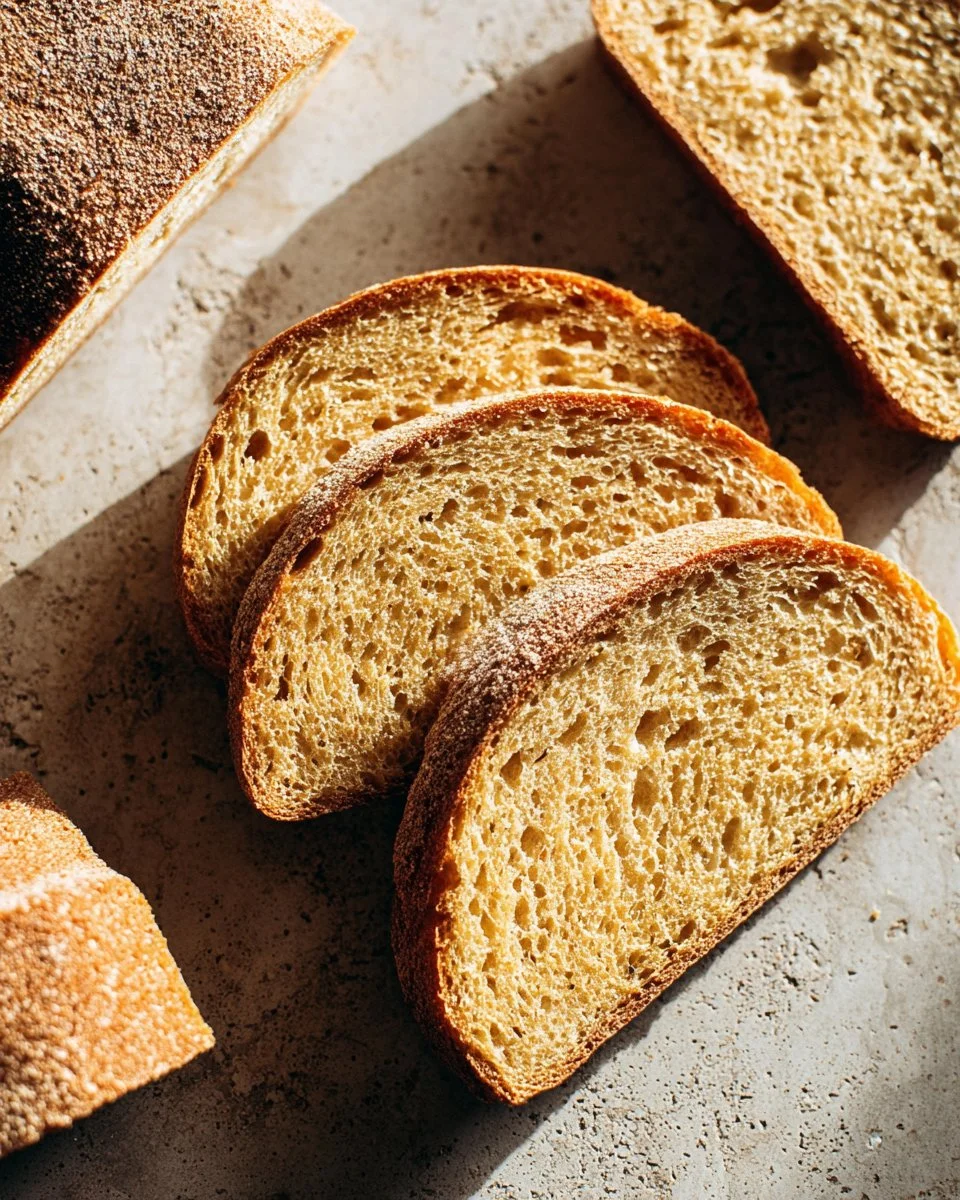
Khorasan bread has its roots in antiquity, tracing back thousands of years to the Middle East. Made from khorasan, a grain originally cultivated in ancient Egypt, this bread represents a culinary journey through time. The taste? Let me tell you: it’s a captivating mix of nuttiness and a hint of sweetness, with a hearty texture that’s both chewy and satisfying. You might have encountered this bread in artisanal bakeries, where its alluring golden-brown hue beckons to be savored.
What makes Khorasan bread distinct is its high protein content, which not only contributes to its unique flavor profile but also boosts its health benefits. It’s the perfect choice for family gatherings or cozy dinners, providing a rustic centerpiece that pairs beautifully with everything from soups to cheeses. So, when should you make Khorasan bread? Anytime you seek comfort and connection—baking this bread is more than just a recipe; it’s a celebration of love, tradition, and togetherness.
Why You’ll Love This Recipe
Here are five compelling reasons why my Khorasan bread recipe is a must-try:
Superior Flavor: The robust nuttiness of khorasan flour makes each slice an adventure in taste that far surpasses store-bought bread. You’ll never want to go back!
Customization Galore: Want to add herbs, seeds, or a hint of honey? This recipe is a blank canvas for your creative flair. Just last weekend, I tossed in some rosemary and was over the moon with the flavor!
Cost-Effective: Making Khorasan bread at home is kinder to your wallet than buying premium artisan loaves. With just a few basic ingredients, you’ll have enough to share (or keep all to yourself).
Easy to Follow: Despite the little hands-on time, it’s far simpler than it seems. Even if you’re new to sourdough or baking, my step-by-step guide will help you nail it on your first try.
Feel-Good Factor: There’s something magical about filling your home with the scent of baking bread. You’ll create not only a delicious loaf but also lasting memories with those you share it with.
{image_template}
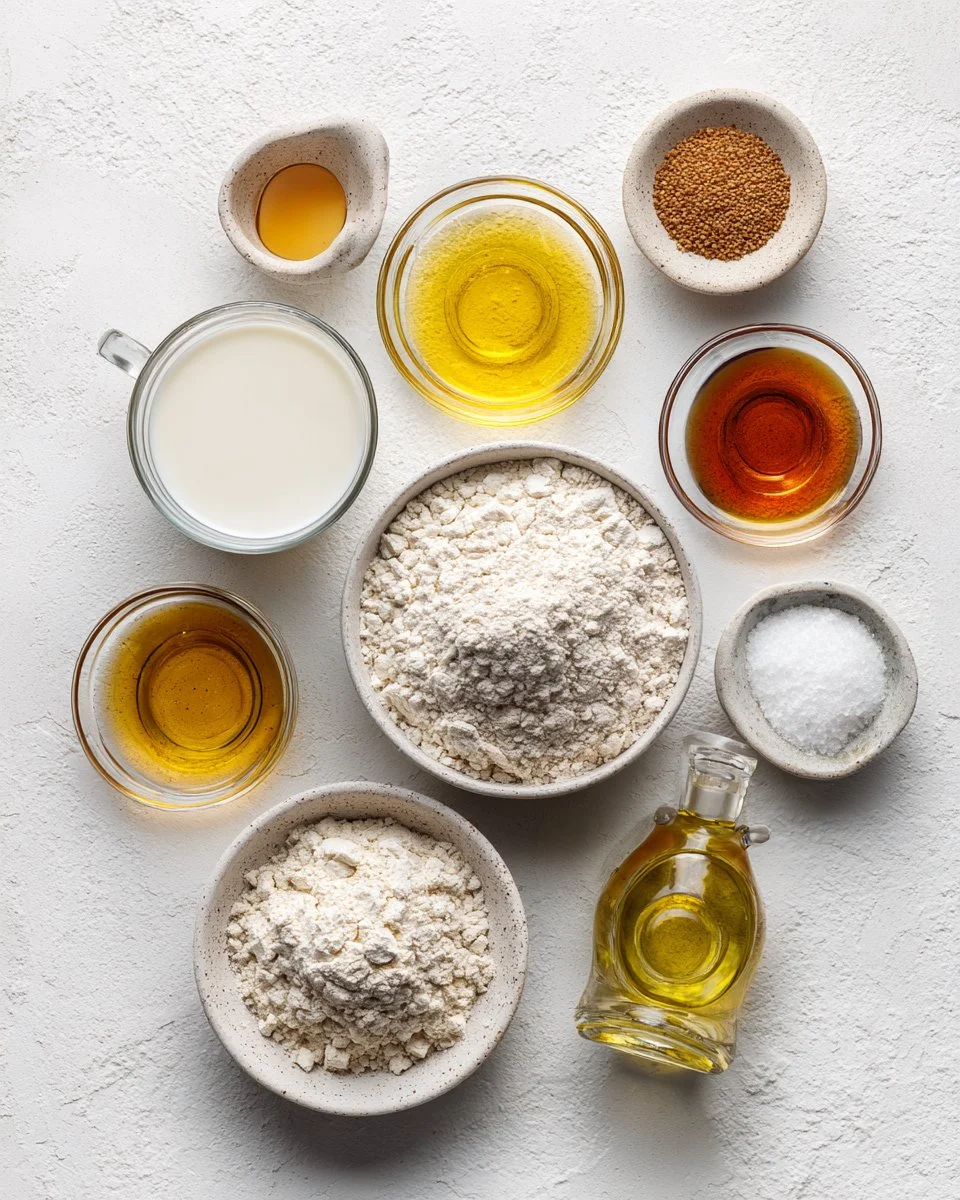
Ingredients Section
400 ml (1 ⅔ cups) non-dairy milk or dairy milk at room temperature. (I use almond milk for a nutty flavor, but feel free to opt for whole milk for a richer taste.)
2 tablespoons honey or maple syrup (for a vegan option). (Choose local honey for added flavor or a robust maple syrup for that cozy sweetness.)
2 tablespoons olive oil – I personally love using extra virgin as it enhances the overall flavor profile.
2 ¼ teaspoons dry yeast – active or instant works perfectly. Look for a reputable brand like Red Star for reliable results.
450 grams (1 pound) khorasan flour – I recommend using organic for the best taste and quality.
1 teaspoon sea salt – Always opt for fine sea salt; it dissolves more evenly into the dough.
Note: Make sure all ingredients are at room temperature for optimal activation and texture.
Step-by-Step Instructions
Warm the Milk: Pour the non-dairy or dairy milk into a small saucepan and heat it gently until it’s warm but not hot—about 100°F (37°C) or just warm to the touch. Make sure you don’t bring it to a boil; once warm, pour it into a large mixing bowl and stir in the honey and olive oil.
Activate Yeast: Sprinkle the dry yeast over the warm milk mixture. Let it sit for about 10 minutes until it becomes frothy. This means the yeast is alive and ready!
Combine the Dry Ingredients: Stir in the khorasan flour and sea salt, forming a wet and shaggy dough. Don’t worry about perfecting the texture; this is just the beginning.
Knead the Dough: Use a stand mixer with a dough hook or knead by hand for about 8 minutes until the dough is smooth and elastic. If kneading by hand, you may want to sprinkle a little extra flour as needed.
Let it Rise: Place the dough in a lightly oiled bowl, cover it with a damp kitchen towel, and let it rise in a warm place for about 1 hour, or until it has doubled in size. Patience is key here!
Shape the Loaf: Preheat your oven to 190°C (375°F). Grease or line a bread tin and turn the risen dough onto a floured surface. Flatten it into a rectangle and roll it up tightly, seam-side down, before placing it in the tin.
Second Rise: Cover the dough again and let it rise for another 30 minutes until it has risen to the top of the tin, ensuring a light and airy loaf.
Bake to Perfection: Bake for 30-35 minutes, or until the bread is golden brown and sounds hollow when tapped on the bottom. Visual cue: it should also be puffed up!
Cool Down: Let the bread cool in the tin for just a few minutes before transferring it to a wire rack to cool completely. I know it’s tempting, but let it cool fully before slicing to preserve the texture.
Storage: Enjoy fresh or slice and store in an airtight container for up to 5 days, or freeze slices for up to 2 months. Slice when frozen for quick toast!
Expert Tips & Tricks
Perfect your rise: If your kitchen is cool, try placing the covered dough in a warm spot like near the oven or over a bowl of warm water to encourage rising.
Avoid over-kneading: Keep an eye on the texture of your dough. If it becomes tough, you may have kneaded too long.
Make Ahead: You can mix the dough, let it rise the first time, and then shape it into a loaf. Cover it and place it in the fridge overnight. Bring it back to room temperature before baking.
Don’t skip the cooling: Cooling on a wire rack helps prevent a soggy bottom; a crucial step for maintaining its delightful texture.
Troubleshoot: If your dough doesn’t rise, check that your yeast is fresh and your milk isn’t too hot or cold when blooming.
Serving Suggestions
Khorasan bread shines when served warm with creamy butter, rich cheeses, or with a hearty soup. Consider slicing it up for a rustic charcuterie board, layering it with your favorite spreads, or using it as a base for sandwiches. Its beautiful golden crust and soft interior make the perfect backdrop for any occasion—from weeknight dinners to holiday feasts.
Variations & Substitutions
Want to switch things up? Here are some variations to consider:
Herbs & Seeds: Add a tablespoon of dried herbs like oregano or rosemary for a flavorful twist. Or incorporate seeds like sesame or sunflower for an added crunch.
Sweets & Fruits: If you’re feeling adventurous, fold in dried fruits (like cranberries or cherries!) or a sprinkle of cinnamon for a sweet breakfast treat.
Gluten-Free Option: If you need a gluten-free option, look for gluten-free khorasan flour blends, keeping in mind you’ll need to adjust the liquid levels.
Nutrition & Storage Info
- Prep Time: 15 Minutes
- Cook Time: 35 Minutes
- Total Time: 1 hour 50 Minutes
- Yield: 1 loaf (12 slices approx.)
- Estimated Calories per Serving: ~150 calories per slice
- Storage Instructions: Store at room temperature in an airtight container for up to 5 days, in the fridge, or freeze for up to 2 months.
FAQ Section
Can I use regular flour instead of khorasan flour?
- Yes, but then you lose the unique flavor and health benefits of khorasan!
How can I ensure my bread rises well?
- Use fresh yeast and keep the dough in a warm environment.
What can I do with leftover Khorasan bread?
- It’s amazing for toasting or turning into croutons for salads.
Can I make this bread without dairy?
- Absolutely! Use non-dairy milk—it works beautifully in this recipe.
Why is my bread dense?
- It may not have risen enough. Ensure the yeast is active and give it time to rise!
Can I make mini loaves?
- Yes! Just divide the dough before shaping and adjust baking time.
What’s the best way to slice bread?
- Use a serrated knife and wait until the bread is completely cool for cleaner slices.
Can I freeze the dough?
- Yes, you can freeze the shaped dough before the second rise. Thaw and let rise when you’re ready to bake.
How can I know when the bread is done baking?
- It should be golden brown, sound hollow when tapped, and register a temperature of around 190°F (88°C) on the inside.
What’s the best way to store Khorasan bread?
- Keep it in a bread box or wrap it in a cloth to maintain its crustiness.

Conclusion
Khorasan bread is more than just a recipe; it’s an invitation to create lasting memories through the joy of baking. I encourage you to try this recipe—your kitchen will be filled with warmth, and your family will adore the rich flavors and textures of this ancient grain. I’d love to hear how your Khorasan bread turns out, so don’t forget to leave your feedback and comments below!
For those who love exploring the world of baking, check out my related recipes for sourdough and multi-grain loaves on the blog. Happy baking!

Khorasan Bread
Ingredients
Method
- Warm the milk gently until about 100°F (37°C), then mix in honey and olive oil.
- Sprinkle yeast over the warm milk mixture and let it sit for about 10 minutes until frothy.
- Stir in khorasan flour and sea salt until a wet, shaggy dough forms.
- Knead the dough using a stand mixer or by hand for about 8 minutes until smooth and elastic.
- Place the dough in a lightly oiled bowl, cover with a damp towel, and let it rise for about 1 hour or until doubled in size.
- Preheat your oven to 190°C (375°F) and prepare a bread tin.
- Shape the risen dough by flattening it and rolling it tightly before placing it in the tin.
- Let the dough rise again for another 30 minutes until it reaches the top of the tin.
- Bake for 30-35 minutes until golden brown and hollow-sounding when tapped.
- Let the bread cool in the tin for a few minutes, then transfer to a wire rack to cool completely.
- Store in an airtight container for up to 5 days, or freeze slices for up to 2 months.