I still remember the first time I bit into a freshly made granola cluster. It was a warm, sunny afternoon, and my grandma had just taken them out of the fridge. The sweet aroma of maple syrup, mixed with a hint of cinnamon, wafted through the kitchen, drawing everyone in like bees to honey. That delightful combination of crunch and chew became a family favorite—after all, who could resist a snack that’s deliciously satisfying and good for you?
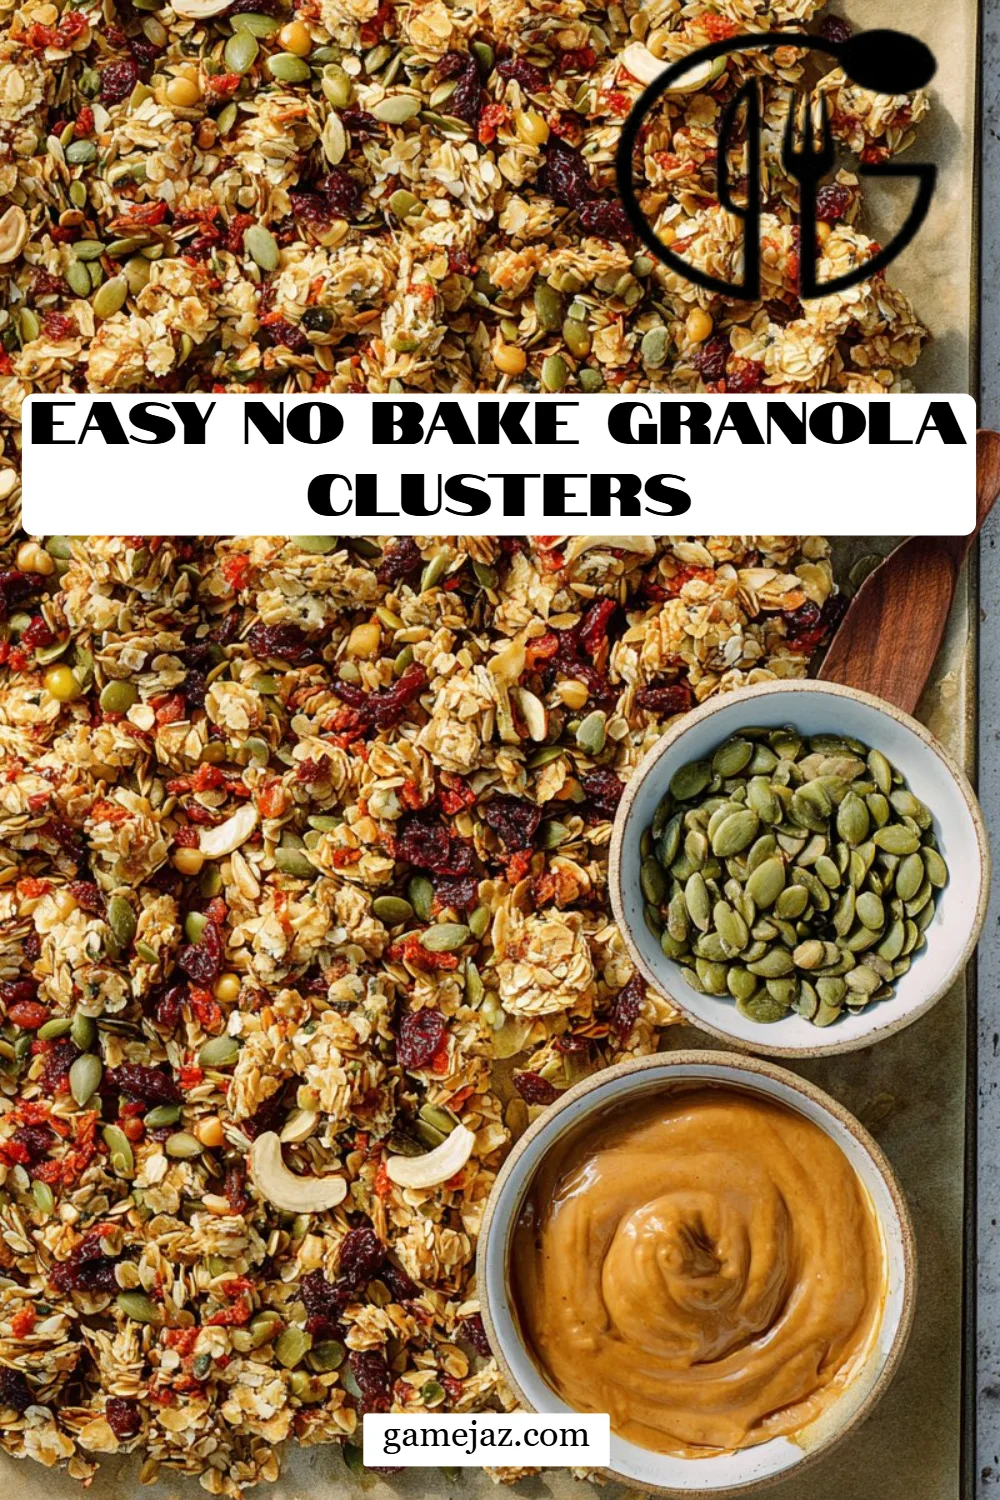
Fast forward to today, and I’m thrilled to share my take on her classic recipe: Easy No Bake Granola Clusters! What makes these clusters truly special is not just their incredible taste but also how effortlessly they come together, requiring no fancy equipment or baking skills. No more store-bought snacks filled with mystery ingredients; with this homemade gem, you can fully customize each bite to reflect your taste preferences.
You’ll learn how to mix and match flavors, ensuring that your clusters are as unique as your family traditions. So, roll up your sleeves and let’s savor the moment of creating something wholesome together—because nothing beats a homemade treat with a sprinkle of love!
What Are Easy No Bake Granola Clusters?
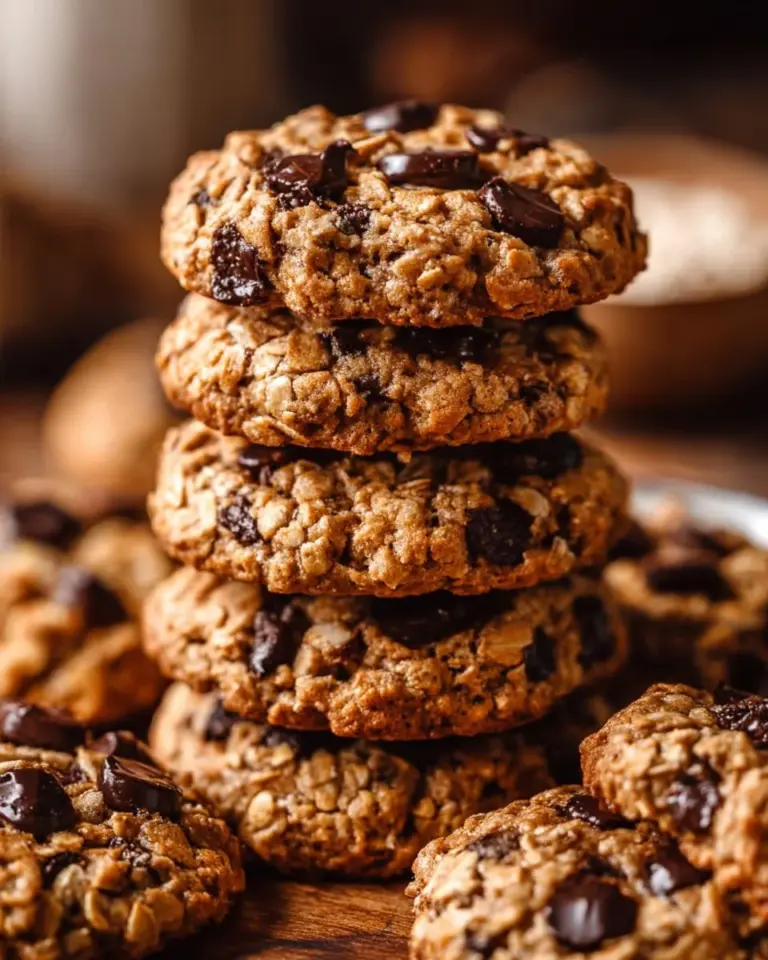
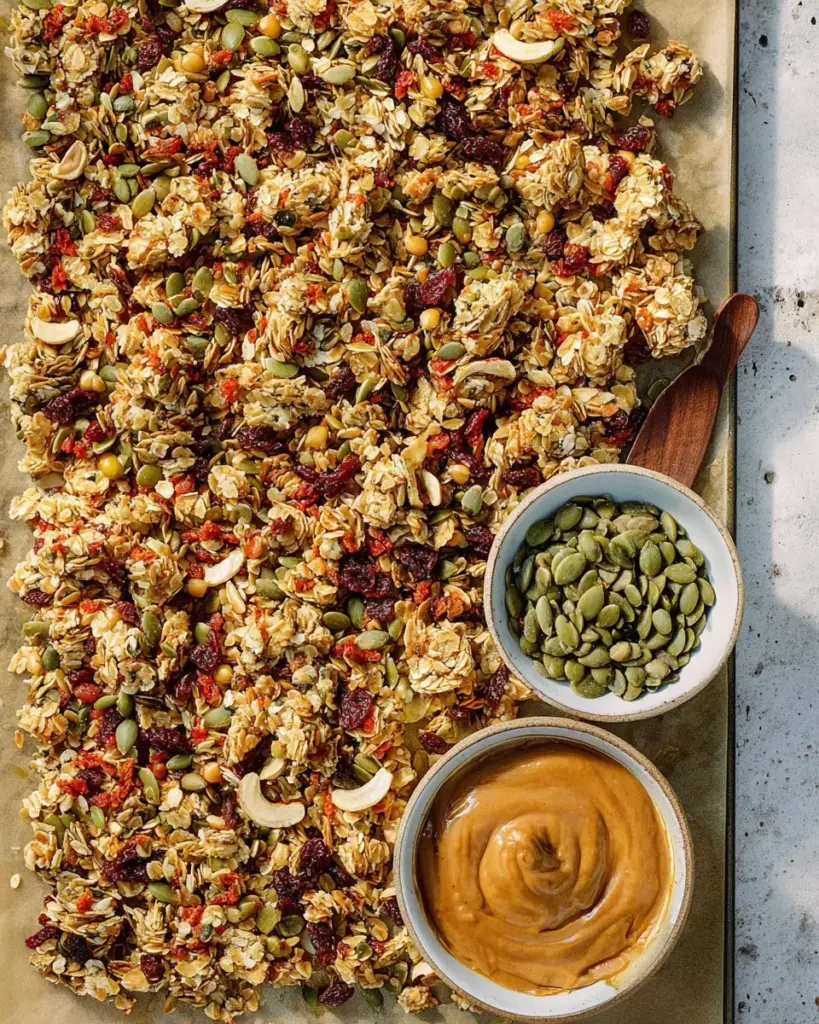
Originating from the idea of making wholesome snacks accessible and enjoyable, Easy No Bake Granola Clusters have taken the wholesome world by storm. Made with rolled oats, nuts, seeds, and your choice of sweeteners, these bite-sized delights strike the perfect balance between crunchy and chewy.
The beauty of these clusters lies in their versatility; you can tailor them to fit any occasion, whether it’s a hike to fuel your adventure, a grab-and-go breakfast on those busy mornings, or a fun afternoon snack for the kids. What sets them apart from other granola options is their satisfying texture and the fact that they come together without oven time—just mix, chill, and enjoy!
Why You’ll Love This Recipe
There are so many reasons to adore these Easy No Bake Granola Clusters:
- Quick and Effortless: With minimal prep time, you can whip these up in under 20 minutes. No baking, no fuss—just pure satisfaction!
- Cost-Effective: Why pay premium prices for store-bought granola bars when you can make a massive batch at home for half the cost? Plus, you’ll know exactly what goes into them.
- Complete Customization: Whether you’re craving a chocolatey treat with raw cacao nibs or something chewier with dried fruits, you can decide how to flavor your clusters. Balance out the sweetness, or make them nutty—the choices are endless!
- Health Benefits: Packed with wholesome ingredients, these clusters provide a much healthier alternative to sugary snacks without sacrificing flavor.
- Make Ahead and Store: Ideal for meal prep—make a batch, refrigerate, and have convenient snacks ready to go for weeks!
With these clusters, you can wave goodbye to the guilt of indulging in snacks. They’re delicious, nutritious, and I promise, once you make them, they’ll become a staple in your kitchen!
Ingredients
- 2 cups rolled oats: Use old-fashioned rolled oats for the best texture.
- 1 cup nuts and/or seeds of choice: Almonds, walnuts, chia seeds, or sunflower seeds all work beautifully.
- 1/4 cup dried fruit: Raisins, cranberries, or apricots add a delightful sweetness.
- 2 tablespoons raw cacao nibs (optional): For a touch of chocolatey goodness without the sweetness.
- 1/4 cup nut butter or tahini: Almond butter or peanut butter create a rich, creamy base.
- 2 tablespoons maple syrup or honey: Choose local honey for a touch of floral flavor!
- 1/2 cup filtered water: To help bind everything together.
- 1 teaspoon cinnamon: A warm spice that beautifully complements the sweetness.
- 1 teaspoon vanilla extract: Adds depth of flavor.
- A pinch of sea salt: To enhance all the other flavors.
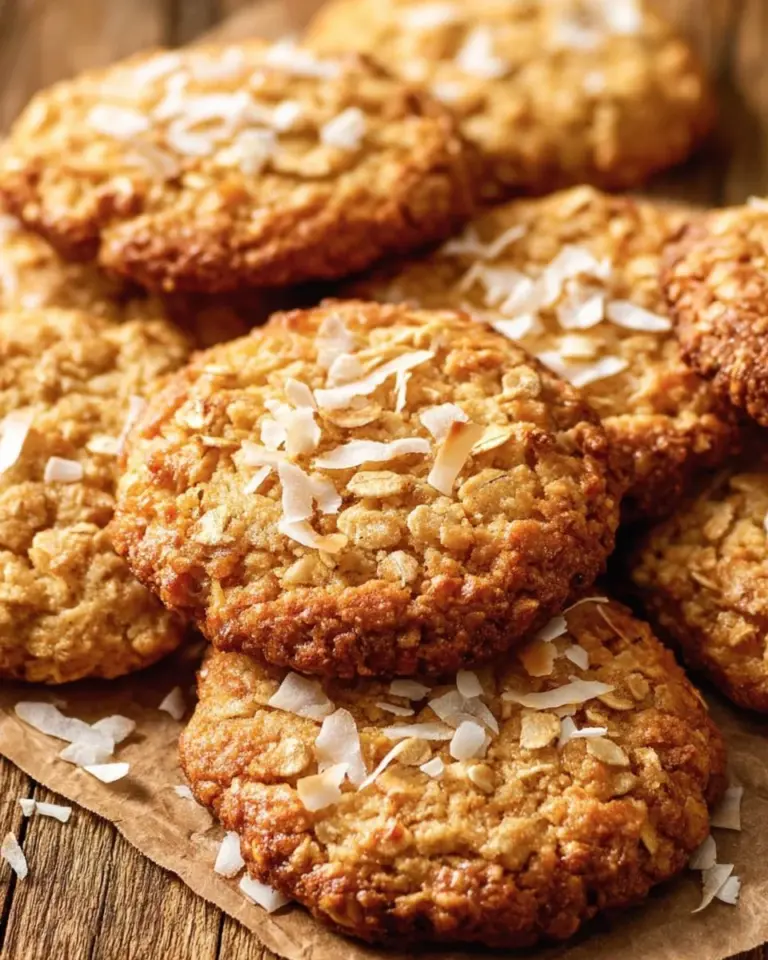
- 1 cup coconut flakes: Unsweetened coconut flakes bring a lovely chewiness and natural sweetness.
Prep Notes: Ensure your nut butter is at room temperature for easy mixing. If you’re making them nut-free, simply swap nut butter with sunflower seed butter!
Step-by-Step Instructions
Combine Dry Ingredients: In a large bowl, combine the oats, nuts, seeds, dried fruit, cacao nibs, cinnamon, and sea salt. Give this a good toss—your kitchen should start to smell wonderfully nutty!
Mix Wet Ingredients: In a separate small bowl, whisk together the nut butter, maple syrup, water, and vanilla until smooth and creamy. You may want to heat the nut butter slightly if it’s too thick to mix easily.
Combine Everything: Pour the wet mixture over the dry ingredients. Using your hands (it’s the best method!), massage everything together until the oats and nuts are thoroughly coated.
Add Coconut Flakes: Gently fold in the coconut flakes to the mixture, ensuring an even distribution.
Chill and Set: Transfer the mixture to a lined baking dish or mold it into clusters on a parchment sheet. Refrigerate for about 30 minutes until they firm up.
Enjoy: Once set, slice or break them into clusters. These can be stored in zip-lock bags in the fridge for up to 2 weeks or frozen for up to 3 months.
Chef’s Tips
- Timing: Make sure your mixture is at least 30 minutes in the fridge; this is crucial for perfect clusters.
- Visual Cue: They should hold together when pressed but still be a bit soft to the touch!
- Avoid Overmixing: If you overwork it, the clusters can turn out tough. Mix just enough to combine.
Common Mistakes to Avoid
- Make sure all ingredients are fully combined to avoid any dry pockets!
- Don’t skip the chilling step—this helps them maintain their shape.
Expert Tips & Tricks
Storage: Keep them in airtight containers in the fridge. For long-term storage, consider freezing for fresh snacks any time!
Make-Ahead Instructions: Prep a double batch on weekends, so you always have a quick snack available during the week.
Troubleshooting: If your clusters seem too crumbly, add a tiny bit more nut butter and a splash of water to help bind them.
Ingredient Quality: Use high-quality nuts and maple syrup for the best flavor. Organic or locally sourced ingredients are often more flavorful.
Essential Tools: A sturdy mixing bowl and a reusable spatula will go a long way in making this simple recipe a breeze.
Serving Suggestions
These granola clusters are incredibly versatile! I love to serve them alongside a dollop of Greek yogurt and fresh fruit for breakfast. For an afternoon treat, pair them with a cozy cup of tea, or pack them for a hike in your favorite snack bag. They not only look delightful piled high on a plate but also make a charming addition to snack tables for gatherings or picnics!
Variations & Substitutions
Flavor Combinations: Try different nut butters, such as cashew or pecan. Swap maple syrup for agave nectar for a vegan-friendly option. Toss in some chocolate chips for an indulgent twist!
Dietary Adaptations: If you’re gluten-free, ensure your oats are certified gluten-free. For nut-free, as mentioned, use sunflower seed butter and seeds instead of nuts.
Seasonal Variations: In the fall, add pumpkin spice and chopped dates. In the spring, consider dried pineapple or mango with a hint of lime zest for a tropical vibe!
Nutrition & Storage Info
- Prep Time: 10 minutes
- Chill Time: 30 minutes
- Total Time: 40 minutes
- Yield: About 12 clusters (depending on size)
- Estimated Calories: Approximately 180 calories per cluster
- Storage Instructions: Keep them at room temp for up to a week, in the fridge for 2 weeks, or freeze for 3 months.
FAQ Section
1. Can I use quick oats?
Yes, but the texture will be softer. Rolled oats provide a nice bite.
2. How do I make them more compact?
Press them firmly into the pan before refrigerating!
3. What if I don’t have nut butter?
You can use tahini or even applesauce for a different flavor perspective.
4. Can I bake these instead?
While it’s a no-bake recipe, baking at a low temperature for a short time can crisp them up.
5. Are these snack clusters gluten-free?
Yes, as long as you use gluten-free oats!
6. Can I add protein powder?
Absolutely! Just keep the liquid component balanced.
7. How can I make these sweetened naturally?
You can use mashed bananas or applesauce in place of some of the sweetener.
8. What types of nuts should I use?
Almonds, walnuts, or peanuts work great, but mix it up according to what you love!
9. Are these suitable for kids?
Definitely! They’re fun to eat and much healthier than store-bought snacks.
10. How long do they last?
Up to two weeks in the fridge and three months in the freezer!

Conclusion
There you have it, delicious Easy No Bake Granola Clusters that not only taste amazing but also evoke warm memories of home and family! They’re a brilliant way to indulge in a treat that’s both satisfying and nourishing. I hope you’ll give this recipe a try and allow it to become a cherished part of your kitchen adventures. Please share your feedback or any adjustments you made—I love hearing how you put your spin on things.
If you’re inspired by these clusters, be sure to check out my other snack recipes, like my Chocolate Chip Energy Bites or Chocolate Sour Cream Cake, that are perfect for any occasion!
Happy snacking!
Easy No Bake Granola Clusters
Ingredients
Method
- In a large bowl, combine the oats, nuts, seeds, dried fruit, cacao nibs, cinnamon, and sea salt. Give this a good toss.
- In a separate small bowl, whisk together the nut butter, maple syrup, water, and vanilla until smooth and creamy.
- Pour the wet mixture over the dry ingredients and massage everything together until the oats and nuts are thoroughly coated.
- Gently fold in the coconut flakes to ensure even distribution.
- Transfer the mixture to a lined baking dish or mold it into clusters on a parchment sheet. Refrigerate for about 30 minutes until they firm up.
- Once set, slice or break them into clusters. These can be stored in zip-lock bags in the fridge for up to 2 weeks or frozen for up to 3 months.