Indulge in Crunchy Perfection: Easy Crusted Chicken Romano Recipe
Have you ever faced the dilemma of making dinner after a long day, only to end up with a less-than-inspiring meal? I know I have! One evening, after one too many take-out pizzas, I decided to shake things up. That’s when I discovered the sheer delight of Crusted Chicken Romano. This dish struck a sentimental chord with me—growing up, my grandmother would often whip up variations of chicken dinners that were not only delicious but also filled our home with warmth and love.
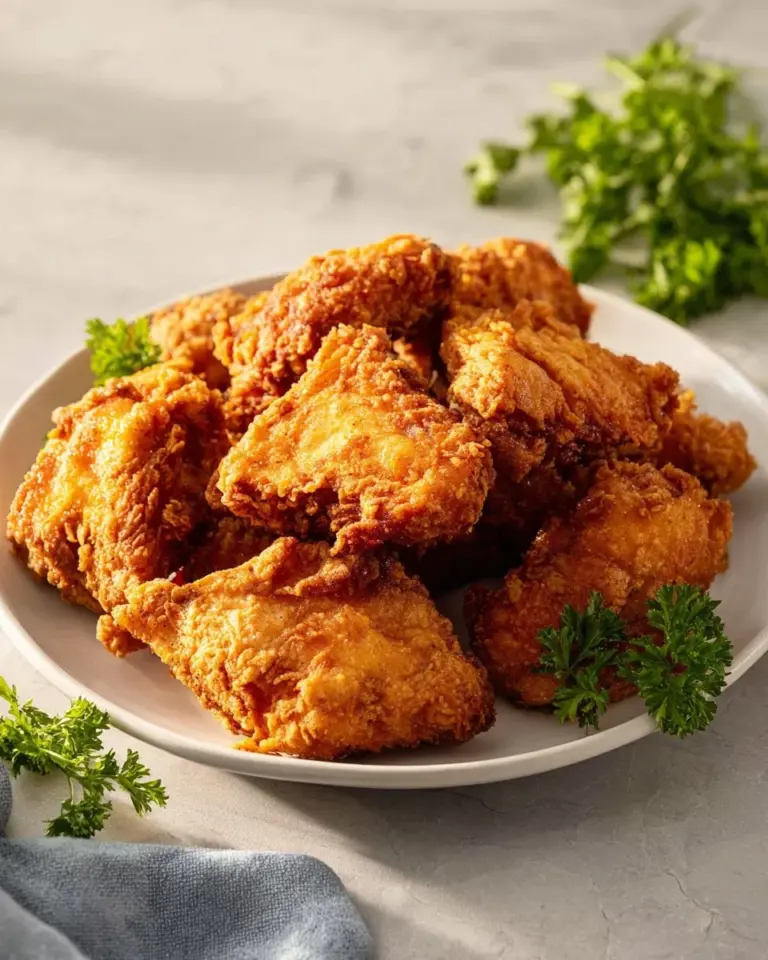
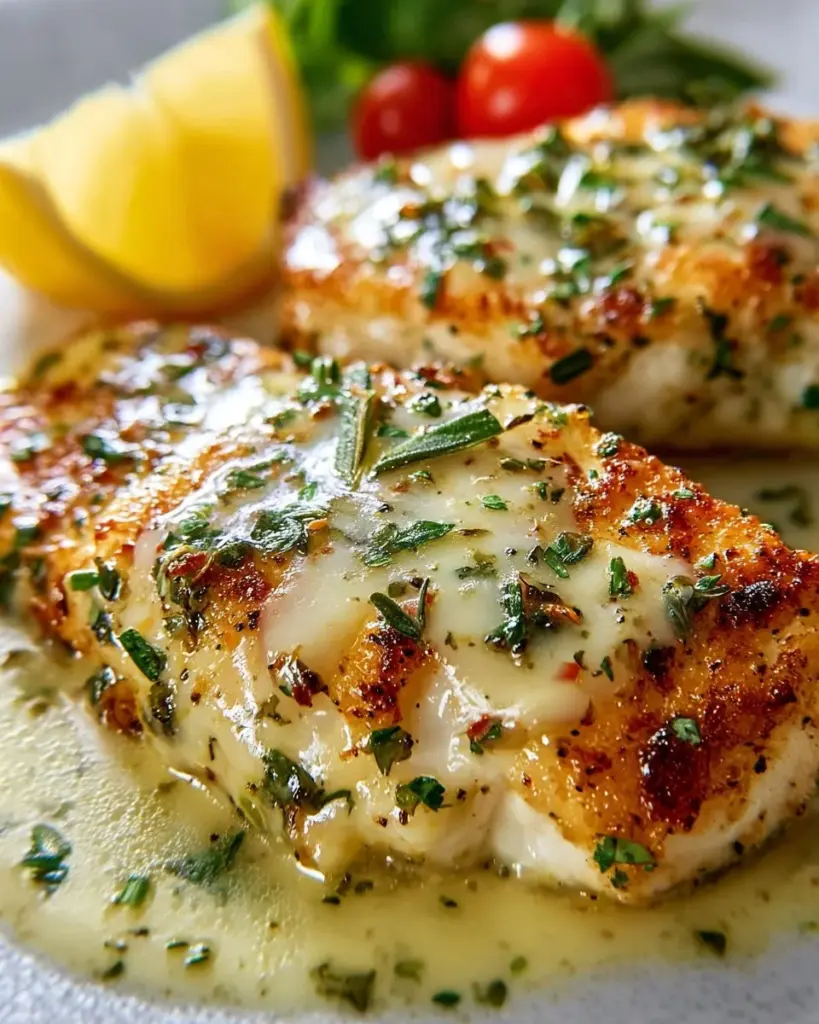
What sets my Crusted Chicken Romano apart from other recipes? It’s all about the crunchy panko crust, the tangy Romano cheese, and the gooey melted mozzarella that blankets each cutlet, turning a simple dinner into a celebration. Whether for a family meal or a special occasion, this dish captures the essence of comfort food—crispy on the outside, juicy on the inside, and absolutely packed with flavor.
In today’s post, I promise to walk you through how to create your own irresistible Crusted Chicken Romano, teaching you all the tips and tricks that will make this the go-to recipe in your kitchen!
What Are Crusted Chicken Romano?
Crusted Chicken Romano is a delightful dish that combines tender chicken cutlets with a flavorful, crispy coating. Think of it as an elevated version of chicken parmesan, but with an added crunch. The origins of this dish can be traced back to traditional Italian cuisine, where chicken is often prepared with a variety of crusts. However, the standout element here is the Romano cheese, which adds a rich, nutty flavor profile that takes the dish to new heights.
The texture is absolutely satisfying—the crispy exterior offers a delightful contrast to the juicy chicken inside. When you take your first bite, you’ll experience an explosion of flavors—the savory notes of cheese, punctuated by the freshness of parsley and a hint of lemon zest. It’s perfect for family dinners, cozy date nights, or even when you’re entertaining guests. Whether served with a side of pasta or a fresh salad, this Crusted Chicken Romano will quickly become a favorite!
Why You’ll Love This Recipe
Quick and Easy: One of the best aspects of my Crusted Chicken Romano recipe is how easy it is to prepare. With only about 30 minutes of prep and cooking time, it’s perfect for busy weeknights.
Cost-Effective: Forget overpriced takeout! This dish uses just a few budget-friendly ingredients, allowing you to serve a gourmet meal without breaking the bank.
Customizable: Want to amp up the flavor? Feel free to incorporate herbs like oregano or thyme, or even spices like paprika for additional kick. The possibilities are endless!
Impressively Delicious: Homemade always wins! The taste is miles apart from store-bought or restaurant versions, offering a freshness that will wow you and your loved ones.
Family-Friendly: This dish is a crowd-pleaser! Even picky eaters will find it hard to resist the crunchy goodness of the panko crust.
So roll up your sleeves and prepare to impress your family and friends with this easy yet spectacular Crusted Chicken Romano that’s bound to become a staple on your dinner table.
{image_template}
Ingredients
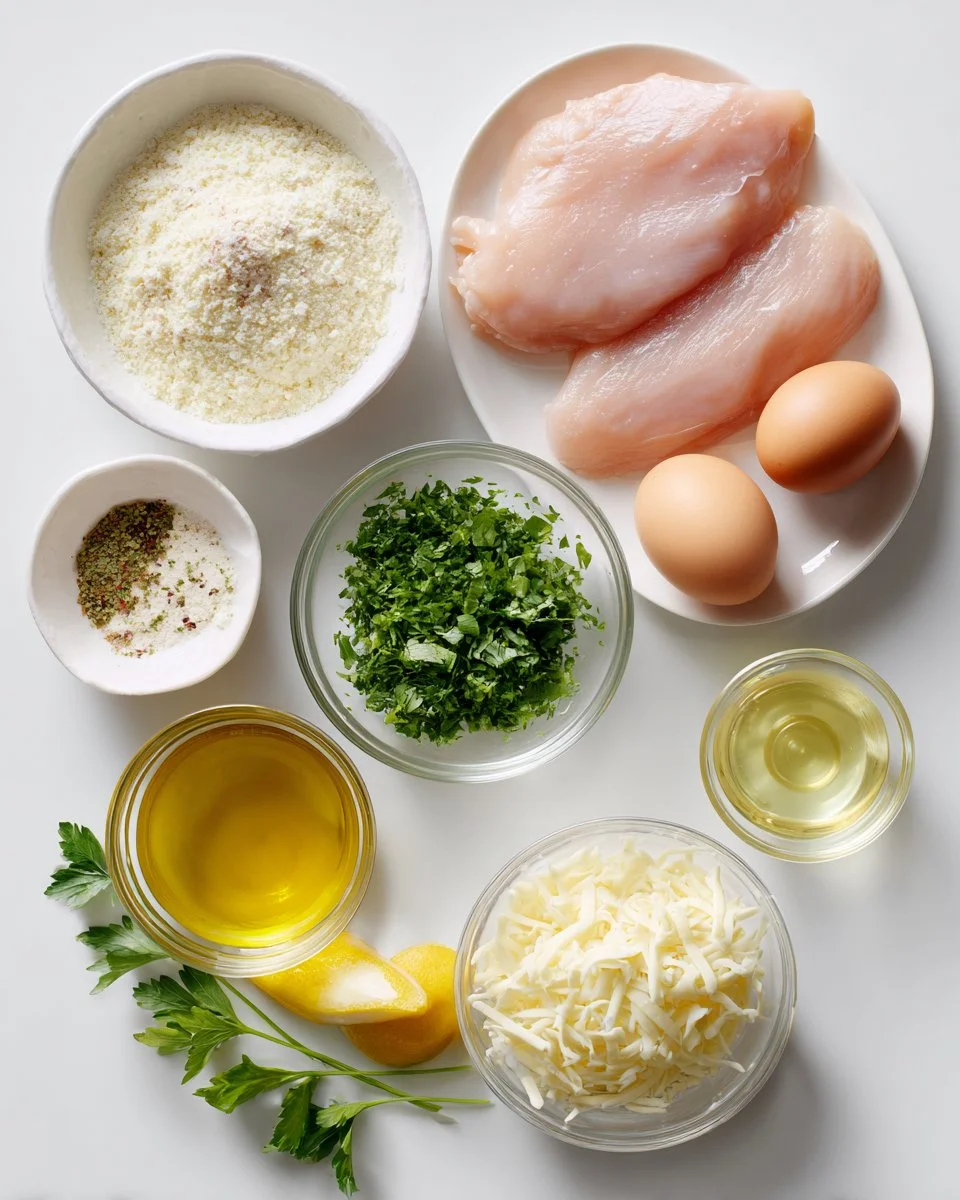
To whip up the perfect Crusted Chicken Romano, gather the following ingredients:
- 2 large chicken breasts, sliced lengthwise into thin cutlets (using fresh, high-quality chicken will enhance the flavor)
- Salt and pepper to taste (always season your ingredients for the best result)
- ¼ cup (30 g) all-purpose flour (unbleached flour is recommended for a more wholesome taste)
- 1 large egg, beaten (organic eggs are a great option)
- 1 cup panko bread crumbs (light and airy, these provide the ultimate crunch)
- ½ cup (60 g) grated Romano cheese (always go for freshly grated for maximum flavor)
- 1 tablespoon fresh parsley, finely chopped (for a touch of brightness)
- 1 teaspoon lemon zest (fresh lemon zest amps up the flavor)
- 4 tablespoons (60 ml) avocado oil or olive oil (I prefer avocado oil for its high smoke point)
- 1 cup mozzarella cheese, shredded (opt for whole-milk mozzarella for creaminess)
- Optional: lemon wedges and extra parsley for garnish.
Feel free to experiment with ingredients when necessary—substituting ingredients based on personal preference or dietary needs is always welcome!
Step-by-Step Instructions
Prep the Chicken: Slice the chicken breasts into thin cutlets if not already done. For uniform cooking, pound them gently to create an even thickness. Season with salt and pepper.
Set Up Dredging Station: Prepare three shallow bowls: one with the all-purpose flour, another with the beaten egg, and the third with a combination of panko bread crumbs, grated Romano cheese, chopped parsley, and lemon zest.
Dredging the Cutlets: Take each chicken cutlet, dredge it in flour, shaking off the excess. Next, dip it into the beaten egg, followed by the panko mixture. Make sure each cutlet is well-coated to achieve that beloved crunch.
Cooking Time: Heat the oil in a large skillet over medium heat. Once hot, carefully add the coated chicken cutlets. Cook for about 4-5 minutes per side until golden brown and cooked through. You’ll know they’re done when they reach an internal temperature of 165°F (75°C).
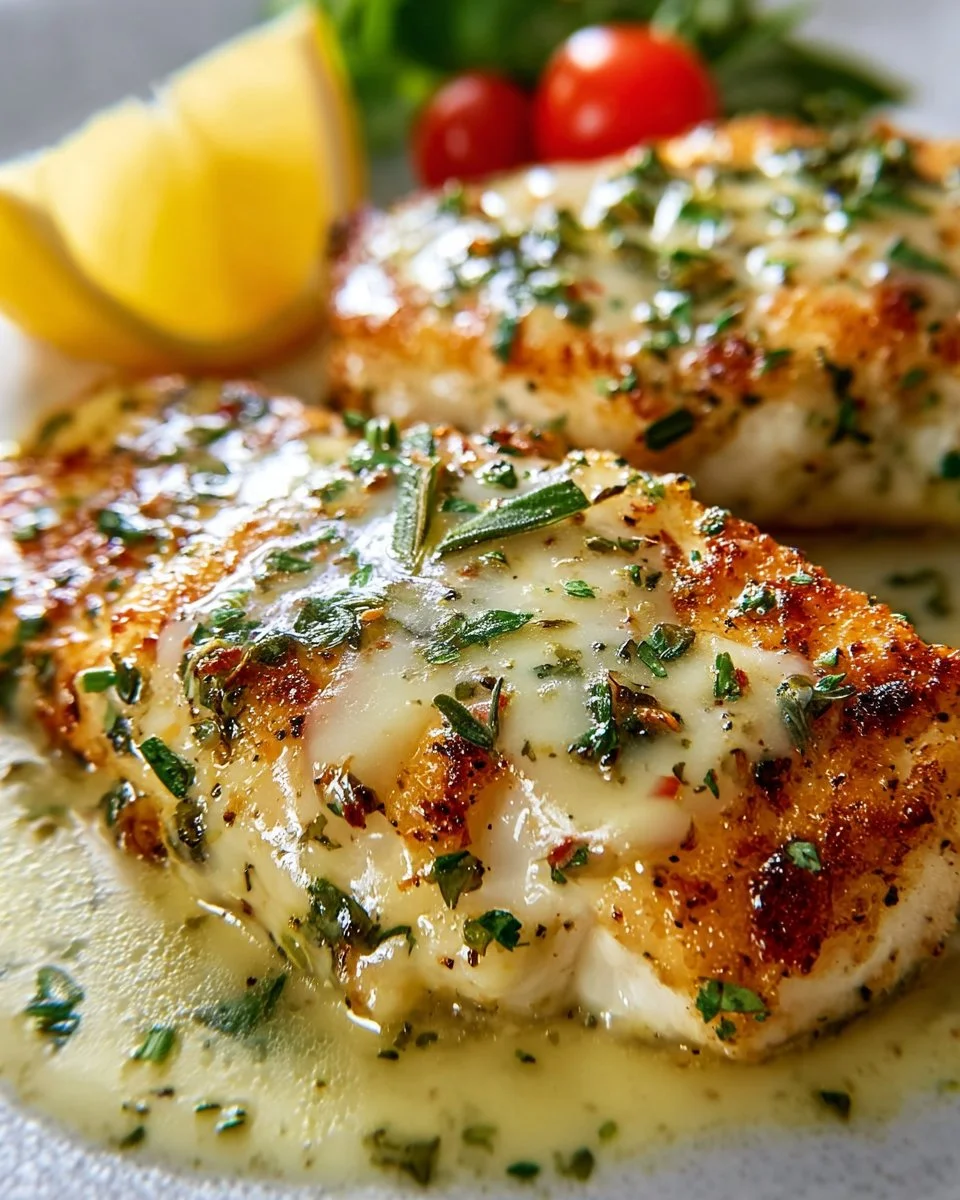
Melt the Mozzarella: Once the chicken is cooked, sprinkle shredded mozzarella on top. Cover the skillet temporarily with a lid and let it melt for about 2-3 minutes.
Garnish and Serve: Once melted, transfer the chicken to a serving platter, garnishing with fresh parsley and lemon wedges. Serve hot and enjoy the explosion of flavors!
Chef’s Tips
- A common mistake is overcrowding the pan; do it in batches if needed.
- Make sure your oil is hot enough before adding the chicken to prevent sogginess.
Expert Tips & Tricks
Make-Ahead: You can prepare the cutlets a day in advance and store them in the fridge. Just coat them in the morning, and cook them when you’re ready!
Storage: Leftovers can be stored in an airtight container in the refrigerator for up to 3 days or frozen for up to 3 months.
Reheating: For the best texture, reheat the cutlets in an oven or air fryer instead of the microwave to maintain that crispy crust.
No Panko? No Problem!: If you don’t have panko crumbs, you can easily substitute with regular bread crumbs, though the texture may be slightly different.
Common Troubleshooting: If you find your cutlets aren’t browning, it’s likely the oil wasn’t hot enough. Aim for a sizzle right when the chicken hits the pan!
Serving Suggestions
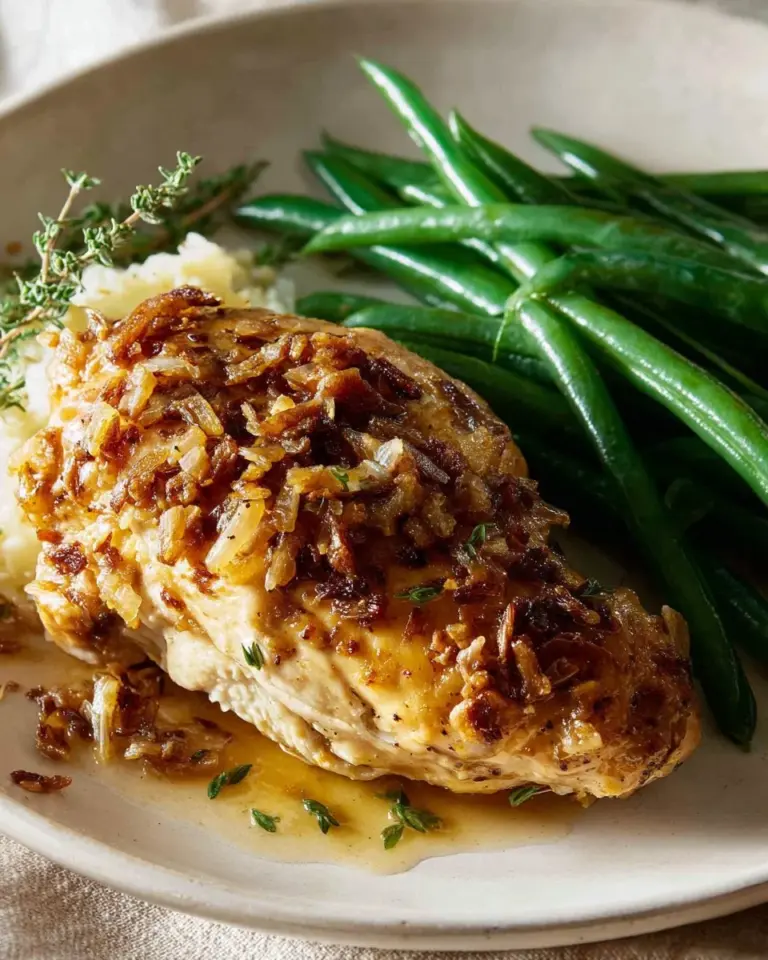
Crusted Chicken Romano pairs beautifully with a side of spaghetti tossed in marinara sauce, or perhaps a light arugula salad dressed in lemon vinaigrette. If you’re in the mood for something more comforting, serve it alongside creamy mashed potatoes or roasted vegetables.
For an elegant presentation, garnish with lemon wedges and a sprinkle of fresh parsley on top. This vibrant touch adds not only flavor but visual appeal as well.
Variations & Substitutions
- Herb Variations: Switch out the parsley for fresh basil or oregano for a different flavor profile.
- Gluten-Free: Substitute the flour and panko with almond flour or gluten-free breadcrumbs.
- Dairy-Free Version: Use dairy-free cheese for a tasty, lactose-free option.
- Spicy Twist: Add red pepper flakes to the panko mixture for an added kick!
Nutrition & Storage Info
- Prep Time: 10 minutes
- Cook Time: 15 minutes
- Total Time: 25 minutes
- Yield: 4 servings
- Estimated Calories per Serving: 400 calories
Storage Instructions: Keep in an airtight container at room temperature for up to 2 hours, in the fridge for 3 days, or in the freezer for 3 months.
FAQ Section
Can I use boneless chicken thighs instead of breasts?
Yes! Boneless chicken thighs will work well; just ensure they are cooked through to the safe internal temperature.Is it necessary to pound the chicken cutlets?
While it’s not strictly necessary, pounding them to an even thickness helps them cook consistently.How can I make this dish healthier?
Consider baking the chicken cutlets instead of frying them to reduce the oil content.Can I add vegetables to this dish?
Absolutely! Try adding spinach or sundried tomatoes on top of the melted mozzarella for added nutrition.What can I serve with leftovers?
Leftovers can be sliced and added to salads, pasta dishes, or even served in sandwiches—endless possibilities!Can I make Crusted Chicken Romano in advance?
Yes, the chicken can be prepared a day in advance. Store it in the fridge before cooking.What if I don’t have Romano cheese?
You can substitute with Parmesan or Pecorino cheese for a similar flavor.Is this dish gluten-free?
Not as is, but you can easily make it gluten-free using gluten-free alternatives.Can I use any oil for frying?
While olive oil is great, avocado oil has a higher smoke point which makes it ideal for frying.How can I keep the chicken crispy after cooking?
Serve it immediately after frying to preserve the crispiness or place it in a 200°F (95°C) oven until ready to serve.
Conclusion
In conclusion, this easy Crusted Chicken Romano not only satisfies your taste buds but also brings a sense of homely comfort to your dining table. It’s a dish that can easily become a family favorite, ensuring memories are created alongside every crunchy bite. Surely, you’ll want to dive in and make it yourself—trust me, your loved ones will thank you!
Don’t forget to share your experiences in the comments below. I’d love to hear your thoughts, and if you enjoyed this recipe, check out my related posts on delicious pasta dishes and hearty salads that will complement your Crusted Chicken Romano perfectly!
Crusted Chicken Romano
Ingredients
Method
- Slice the chicken breasts into thin cutlets if not already done. For uniform cooking, pound them gently to create an even thickness. Season with salt and pepper.
- Prepare three shallow bowls: one with the all-purpose flour, another with the beaten egg, and the third with a combination of panko bread crumbs, grated Romano cheese, chopped parsley, and lemon zest.
- Take each chicken cutlet, dredge it in flour, shaking off the excess. Next, dip it into the beaten egg, followed by the panko mixture. Ensure each cutlet is well-coated to achieve the beloved crunch.
- Heat the oil in a large skillet over medium heat. Once hot, carefully add the coated chicken cutlets. Cook for about 4-5 minutes per side until golden brown and cooked through. They’re done when they reach an internal temperature of 165°F (75°C).
- Once cooked, sprinkle shredded mozzarella on top. Cover the skillet temporarily with a lid and let it melt for about 2-3 minutes.
- Transfer the chicken to a serving platter, garnishing with fresh parsley and lemon wedges. Serve hot and enjoy.