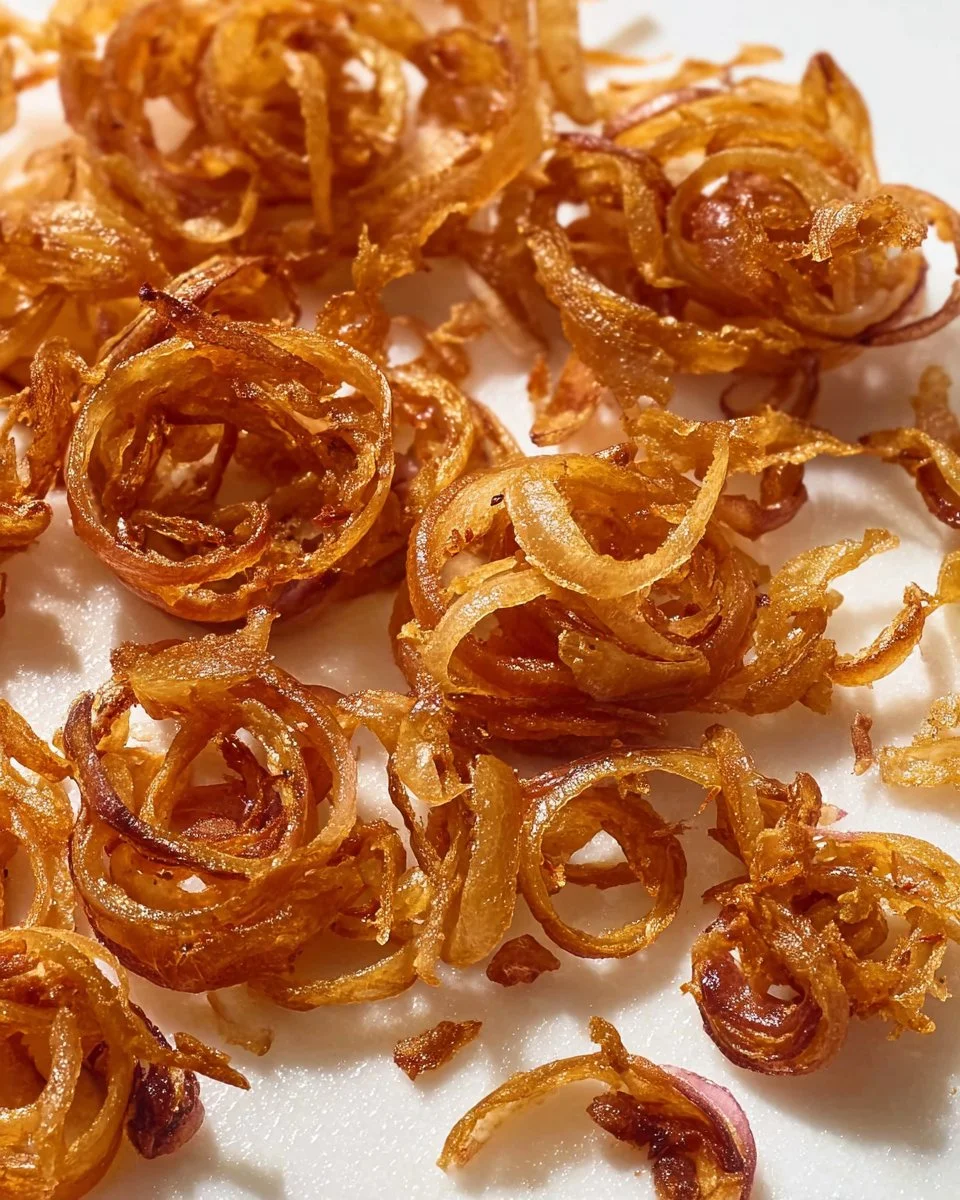
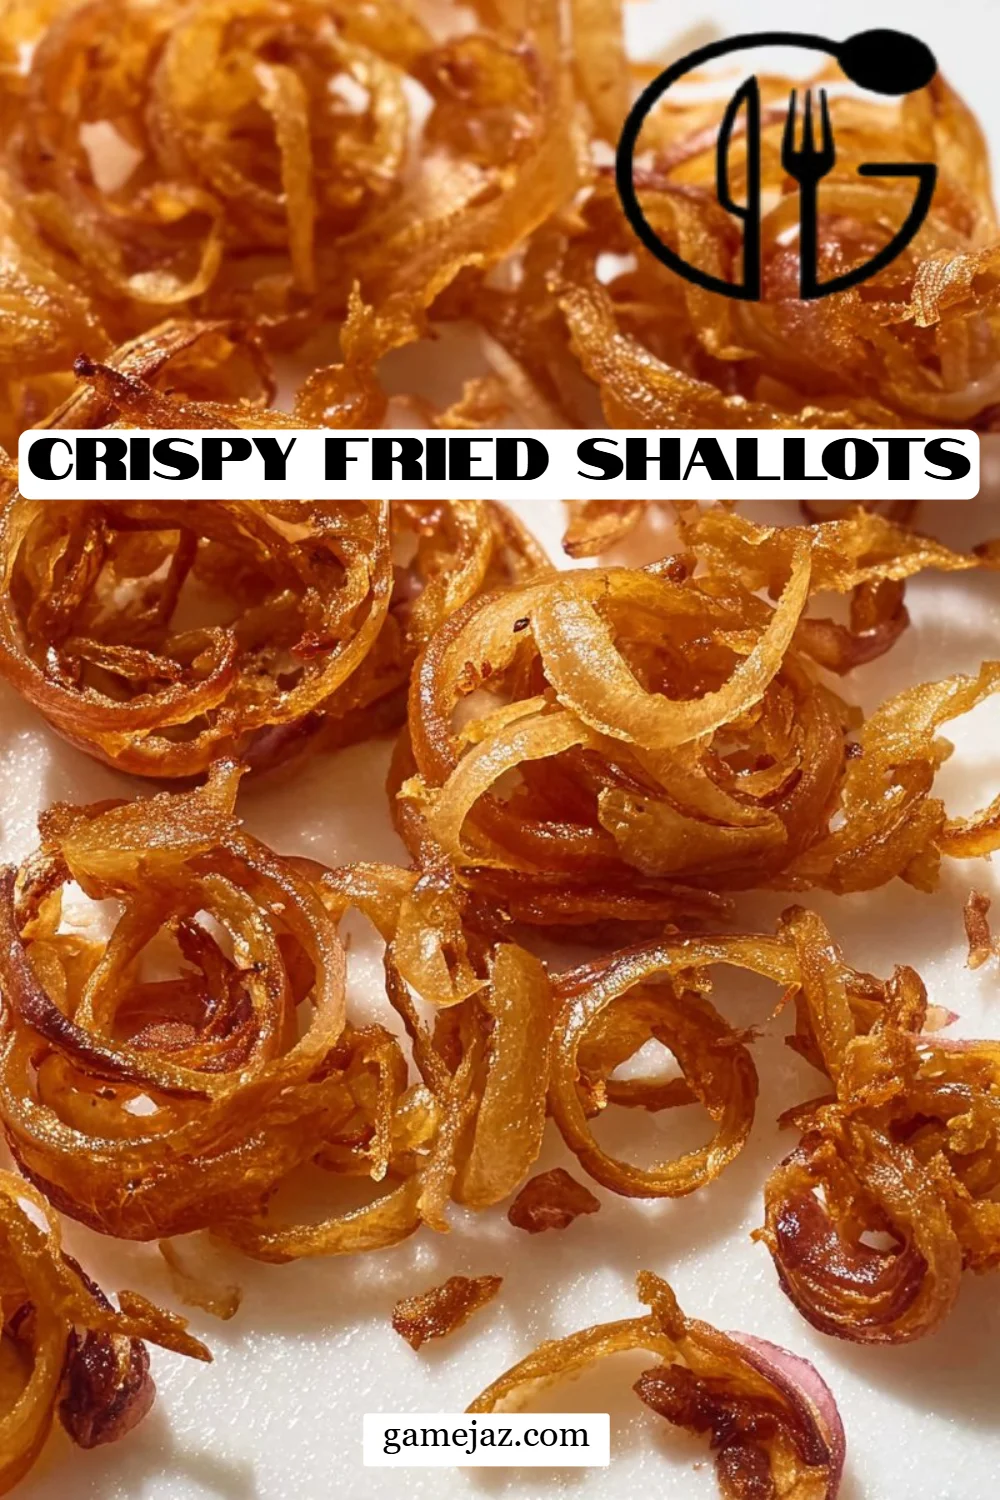
Crispy Fried Shallots: The Secret Ingredient to Elevate Every Dish!
Growing up, the aroma of crispy fried shallots wafting through my home was as comforting as a warm embrace. It wasn’t just a garnish; it was a family ritual. My mom would whip up a batch whenever she made our favorite dishes—noodle soups, stews, or even simple rice—and the crunch of those golden shallots would transform each plate into a celebration. There’s something special about Crispy Fried Shallots; they’re not just a topping—they’re the spark that ignites flavors, adding that perfect crunch and a hint of sweetness.
What makes this recipe truly stand out is its simplicity and the ability to customize it to your taste. Unlike many store-bought varieties, which can be overly salty or packed with preservatives, my homemade version is incredibly fresh and bursting with flavor, while still being budget-friendly. In this blog post, I promise you’ll learn how to achieve that perfect golden crisp and the secrets to making your shallots beautifully sweet and savory. Let’s dive into the world of Crispy Fried Shallots together!
What Are Crispy Fried Shallots?
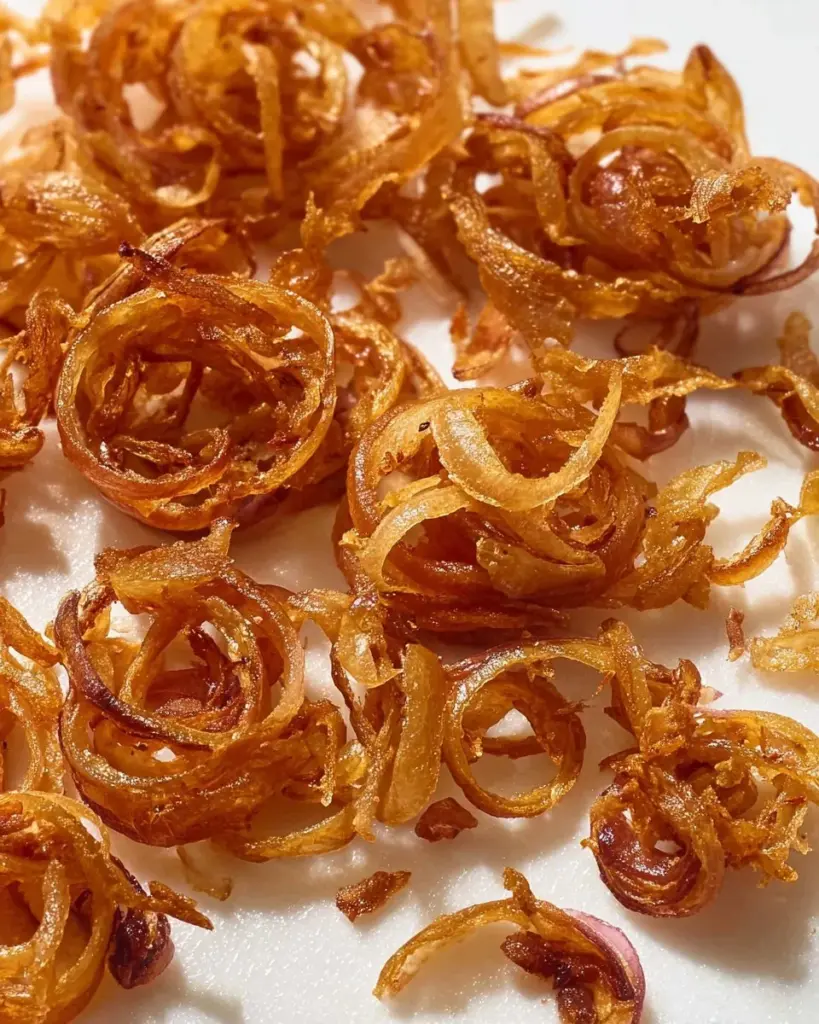
Crispy Fried Shallots have their roots entrenched in various Asian cuisines, often used as a beloved culinary staple. These little gems are made from shallots that are thinly sliced and fried to a delicate golden brown, resulting in a satisfying crunch that sings in harmony with its subtle sweetness. They’re not just an ingredient; they’re a texture enhancer that elevates simple dishes to gourmet experiences.
The taste is uniquely delightful: the initial crunch gives way to a soft, caramelized center that offers a lovely contrast. Whether you’re using them to top your mom’s classic noodle soup or throwing them atop a vibrant salad, they bring a depth of flavor and texture that can’t be replicated. Whenever you’re whipping up something special or even just preparing a weekday meal, adding Crispy Fried Shallots is a guaranteed way to brighten your dish and elevate your cooking.
Why You’ll Love This Recipe
Homemade Freshness: There’s an undeniable charm in creating your own Crispy Fried Shallots; they pack a much fresher flavor compared to the store-bought versions, which can be overly oily or fry-dried.
Cost-Effective: Making these shallots at home is not only convenient, but it’s also budget-friendly. A few heads of shallots can yield a generous amount—way more than you’d get from a tiny container at the store!
Customization: Whether you prefer them plain or enhanced with spices, it’s easy to customize your Crispy Fried Shallots. Want a hint of garlic butter or a spicy kick? The choice is yours.
Simplicity: This recipe is incredibly straightforward, making it perfect for even novice cooks. With just two main ingredients and minimal equipment, you’ll feel like a professional chef!
Quick to Make: With just about 20 minutes of frying time, you can prepare a batch that adds sophistication to multiple meals throughout the week, enhancing things like salads, soups, and rice dishes.
Ingredients
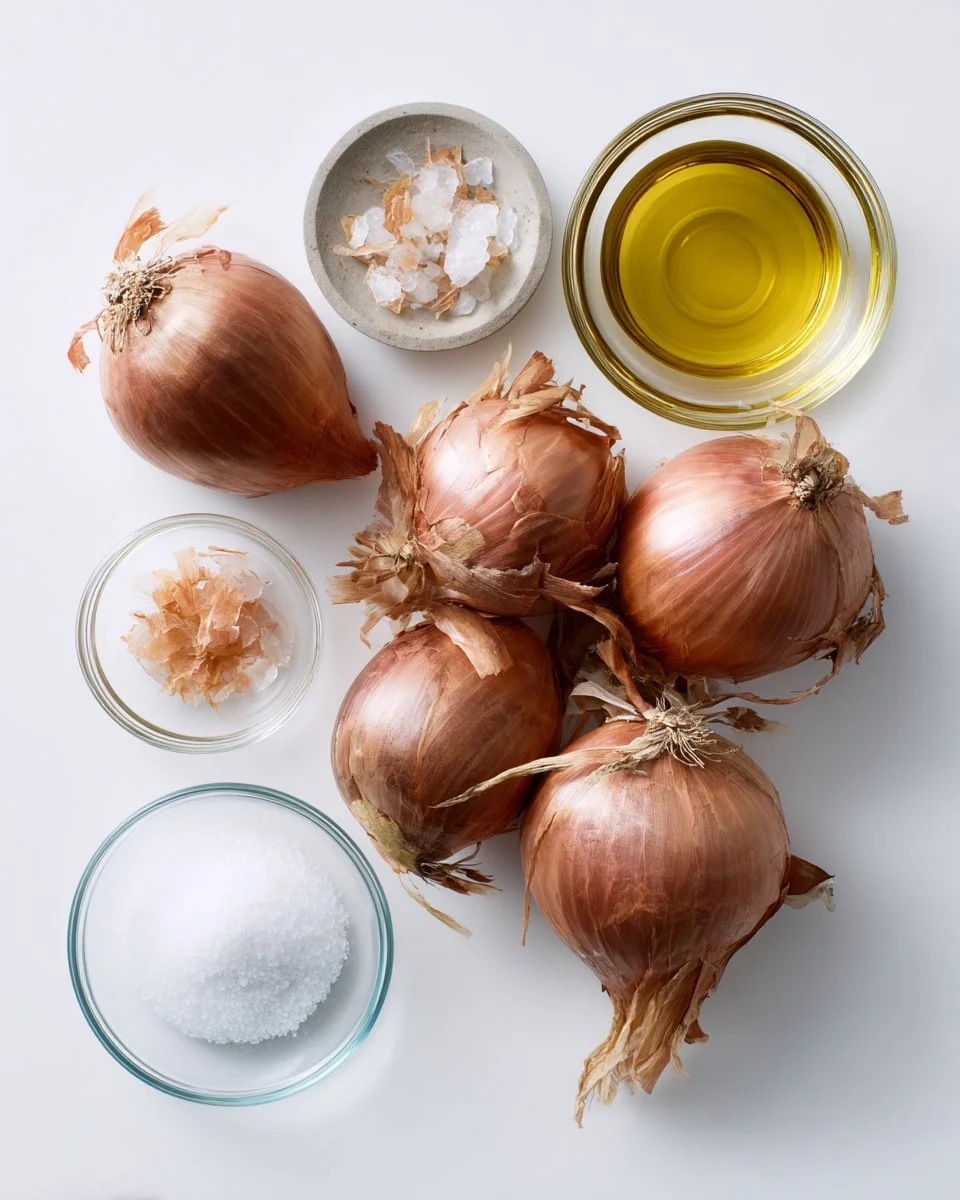
- 3 large heads shallots (or as much as you want)
- A pinch of salt
- Frying oil, as needed (I recommend using a neutral oil like canola or vegetable for frying)
Ingredient Notes:
- Quality Matters: Always opt for firm, fresh shallots—soft ones won’t fry up nicely and might lead to a soggy texture.
- Substitutions: If shallots aren’t available, onions can be a good alternative, but the flavor will differ slightly.
- Prep Notes: Ensure your ingredients are at room temperature, especially the oil; this helps achieve that perfect crispy texture.
Step-by-Step Instructions
Slice the Shallots: Begin by slicing the shallots evenly, crosswise, into 1/16-inch thick pieces and place them in a large bowl.
Season: Add a pinch of salt and toss to combine. Let the shallots sit for about 10 minutes; this helps to draw out moisture.
Drying: Spread the seasoned shallots on a paper towel-lined plate and press another piece of paper towel on top to absorb additional moisture—this step is crucial for frying!
Prepare to Fry: Prepare a plate or baking sheet lined with double layers of paper towels to drain the finished shallots.
Heat the Oil: In a wok or deep pot, pour enough frying oil to fully submerge the shallots. Heat the oil over medium-high heat. You can test the oil’s readiness by dropping in one piece of shallot; if it bubbles immediately, it’s time to fry.
Fry the Shallots: Lower the heat to medium-low and add the remaining shallots, stirring frequently for about 5-8 minutes. Watch for them to turn golden brown, achieving that perfect crispy texture.
Drain: Use a mesh skimmer to carefully remove the shallots and let them drain on the prepared paper towels.
Cool & Store: Allow your Crispy Fried Shallots to cool completely before transferring them to an airtight container. They will keep for about 1-2 weeks at room temperature.
Chef’s Tips:
- Don’t crowd the pan: Fry in batches to avoid steaming the shallots, which leads to sogginess.
- Oil Temperature: Keep the oil temperature steady; if it’s too hot, the shallots will burn before cooking through.
- Common Mistakes: Avoid frying them until they’re completely brown—this usually leads to a bitter taste. Aim for that beautiful golden color instead.
Expert Tips & Tricks
Storage Recommendations: Keep your homemade Crispy Fried Shallots in an airtight container at room temperature. Avoid refrigerating them, as that will cause them to lose their crunch.
Make-Ahead Instructions: These shallots can be made ahead of time and stored for later use—it’s a great way to prep for busy weeks!
Troubleshooting: If your shallots end up soggy, they likely retained too much moisture pre-fry. Make sure to dry them well next time.
Experimentation: Try adding spices like garlic powder or paprika to your mix before frying for an added flavor boost.
Batch Cooking: Think about preparing larger batches when you have some free time—these little wonders can truly enhance a variety of meals.
Serving Suggestions
Crispy Fried Shallots are extremely versatile. Top a steaming bowl of noodle soup to add a satisfying crunch, sprinkle them over a fresh salad for an unexpected texture pop, or use them as a garnish on homemade burgers. They can even elevate your breakfast—imagine them alongside an omelet or adorning avocado toast! Presentation is key, so consider serving them in a small bowl on the side to add a dash of elegance to your meal. Perfect for family gatherings, casual dinners, or even festive occasions!
Variations & Substitutions
- Flavor Combinations: Experiment with spices—try adding a touch of cayenne or chili powder for a spicy kick or even herbs like thyme for an herbal note.
- Dietary Restrictions: If you’re looking for a gluten-free option, just ensure the oil is certified gluten-free and avoid using soy sauce in your seasoning.
- Seasonal Variations: In the fall, try tossing in spices like cinnamon or nutmeg for a seasonal approach that works beautifully for pumpkin dishes.
Nutrition & Storage Info
- Prep Time: 10 minutes
- Cook Time: 10 minutes
- Total Time: 20 minutes
- Yield: Approximately 1 cup of crispy shallots
- Estimated Calories per Serving: About 95 calories for 2 tablespoons
- Storage Instructions: Best kept at room temperature in an airtight container, they’ll last about 1-2 weeks.
FAQ Section
Can I use onions instead of shallots?
- Yes! While it will alter the flavor somewhat, onions can be a good substitute in a pinch.
How can I tell when the oil is hot enough?
- You can test the oil with a small piece of shallot. If it bubbles right away, it’s ready for frying!
What if my fried shallots turn out burnt?
- It may have happened due to the oil temperature being too high. Keep a close eye on the color and reduce heat if necessary.
Can I freeze Crispy Fried Shallots?
- While it’s not ideal, you can freeze them. Just make sure they cool completely and store in an airtight container for up to a month.
What dishes should I use these shallots in?
- Great in soups, salads, rice dishes, on top of meats, or even as a crunchy snack!
Is it possible to make these without frying?
- Yes! You can bake them in the oven at a low temperature, although the texture may be slightly different.
Can I use other oils for frying?
- While neutral oils are best, you can experiment with oils like avocado or peanut oil for additional flavor.
Why do my shallots not get crispy?
- If they’re not drying properly or if they’re overcrowded while frying, they will become soggy instead of crispy.
How can I elevate the flavor of my Crispy Fried Shallots?
- Season them with garlic powder, a pinch of sugar, or spices prior to frying for an extra depth of flavor.
Are these shallots suitable for vegan diets?
- Absolutely! They’re completely plant-based and make a fantastic vegan topping.
Conclusion
Crispy Fried Shallots are not just a condiment; they’re a harmonious blend of comfort, nostalgia, and flavor. By making them at home, you’re not only saving money but also adding an irresistible crunch to your meals. I hope you’ll give this recipe a try—whether as a topping for your favorite dish or as a stand-alone snack, I guarantee they’ll delight your taste buds! I’d love to hear your feedback in the comments below, and don’t forget to check out my other delicious recipes for ideas on how to incorporate these flavorful shallots into your kitchen adventures!

Crispy Fried Shallots
Ingredients
Method
- Slice the shallots evenly, crosswise, into 1/16-inch thick pieces and place them in a large bowl.
- Add a pinch of salt and toss to combine. Let the shallots sit for about 10 minutes to draw out moisture.
- Spread the seasoned shallots on a paper towel-lined plate and press another piece of paper towel on top to absorb additional moisture.
- Prepare a plate or baking sheet lined with double layers of paper towels to drain the finished shallots.
- In a wok or deep pot, pour enough frying oil to fully submerge the shallots. Heat the oil over medium-high heat.
- Test the oil's readiness by dropping in one piece of shallot; if it bubbles immediately, it’s time to fry.
- Lower the heat to medium-low and add the remaining shallots, stirring frequently for about 5-8 minutes until golden brown.
- Use a mesh skimmer to carefully remove the shallots and let them drain on the prepared paper towels.
- Allow the crispy fried shallots to cool completely before transferring them to an airtight container. They will keep for about 1-2 weeks at room temperature.