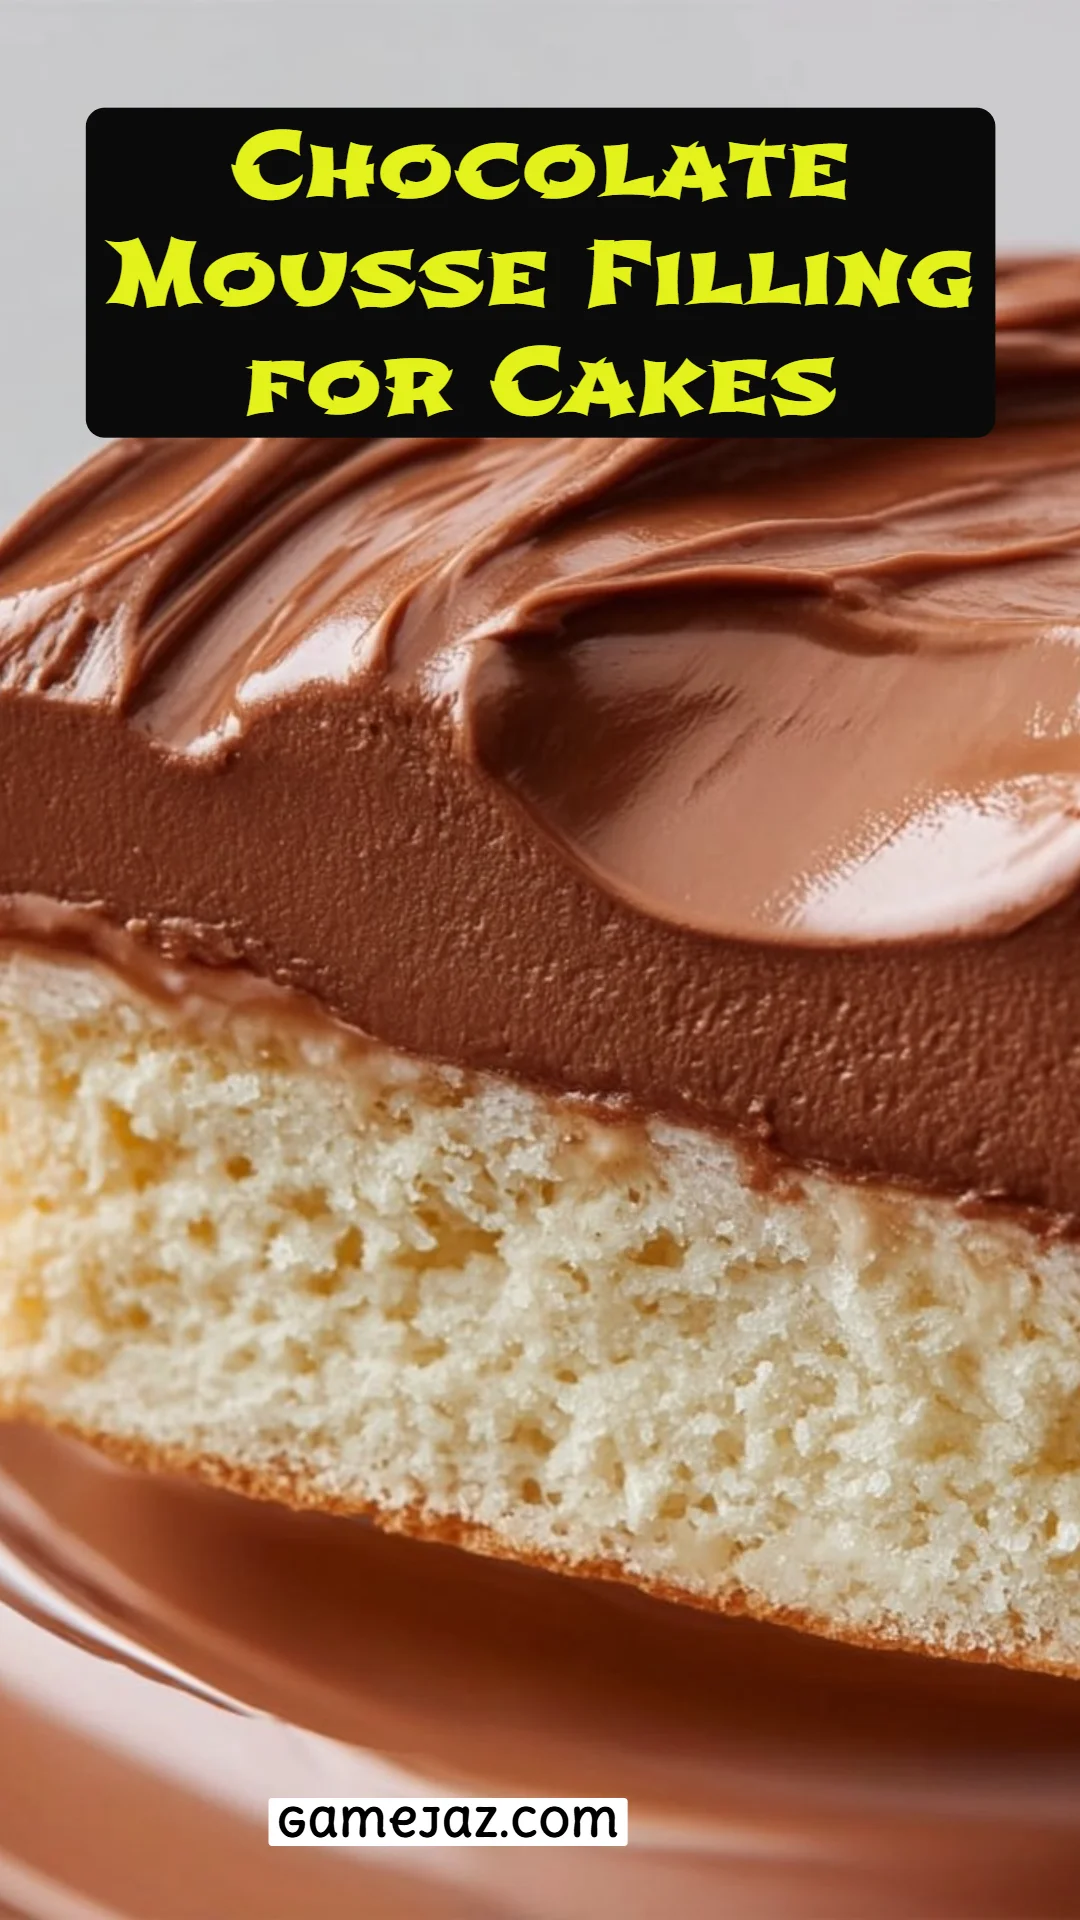
Heavenly Chocolate Mousse Filling for Cakes: The Ultimate Recipe You’ll Adore
There’s something utterly magical about desserts that transport us back to our childhood, isn’t there? I still remember the first time I tasted chocolate mousse—its silky texture melting in my mouth as my grandmother beamed at me from across the table. It was momentarily pure bliss, a sweet embrace of nostalgia that I’ve cherished ever since. And today, I want to share that same magic with you through this heavenly Chocolate Mousse Filling for Cakes.
What makes this recipe stand out from the rest? It’s the marriage of rich semi-sweet chocolate with perfectly whipped cream, producing a filling that’s not just sweet but decadent, airy, and effortlessly elegant. Plus, it’s surprisingly simple to make. Friends and family will rave about the luxurious texture and delightful flavor, perfect for any occasion—from birthday celebrations to cozy family dinners.
In this post, I promise you’ll learn the step-by-step process to create the best Chocolate Mousse Filling for Cakes, along with tips to customize it to your heart’s content. So, let’s dive into the world of chocolatey goodness together!
What Are Chocolate Mousse Fillings for Cakes?
Chocolate mousse filling is, at its core, a luxurious whipped mixture of chocolate and cream, renowned for its light, airy texture contrasted by a rich chocolate flavor. Originating from French cuisine, this delight first became popular in the 18th century and was initially served as a savory dish! Fortunately, it quickly evolved into the dessert we know and love today.
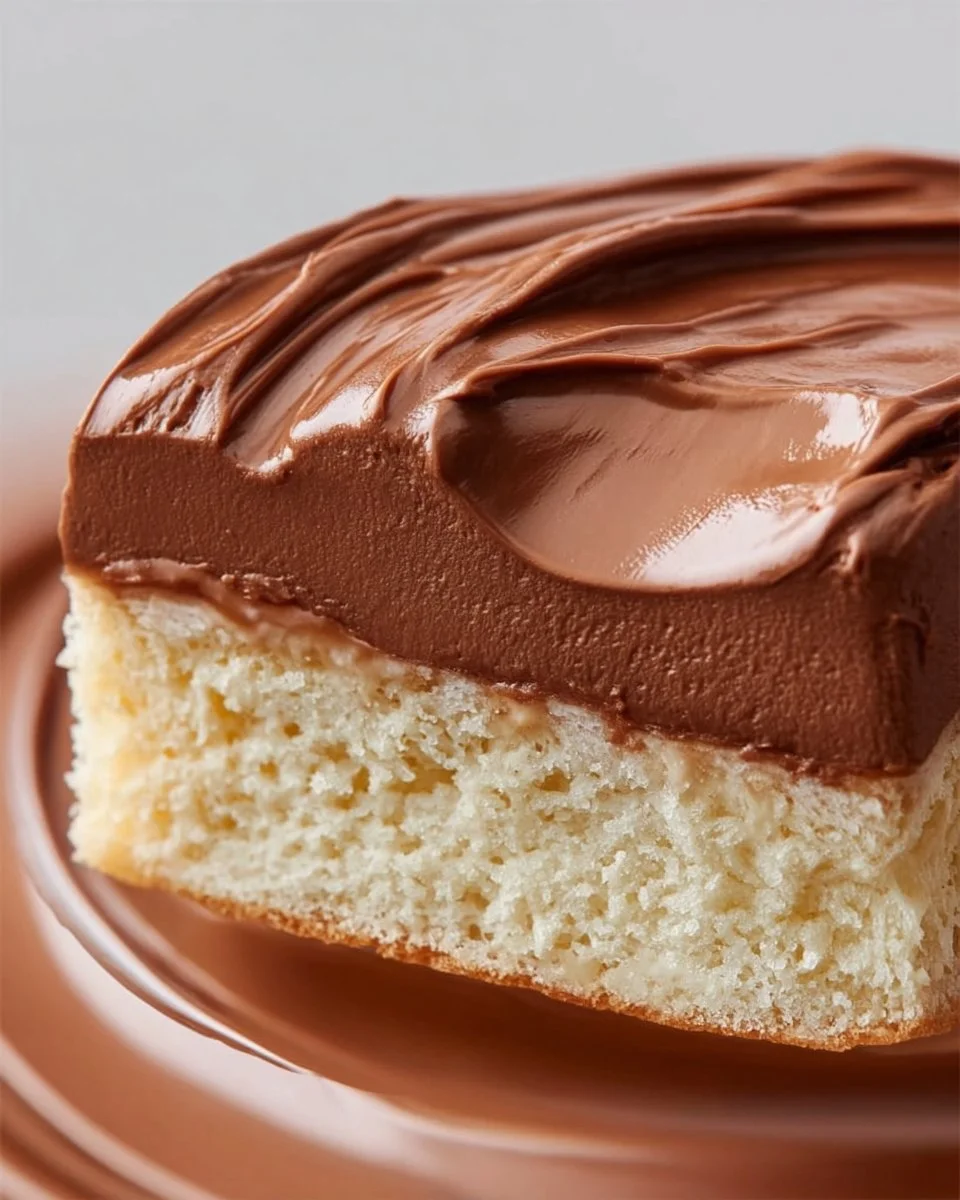
The taste is a delightful pull of bittersweet chocolate that dances on your palate, while the texture is decadently smooth and cloud-like, perfect for enveloping and enhancing cakes. Unlike dense frostings, chocolate mousse lifts cakes to another level, transforming them into melt-in-your-mouth experiences.
Whether you’re making a birthday cake or an elegant dessert for a dinner party, this velvety filling is a must. It’s not just a treat; it’s a comforting reminder of special moments shared with loved ones, making it the perfect choice for celebrating life’s sweet occasions.
Why You’ll Love This Recipe
Simple Yet Spectacular: If you think gourmet desserts require hours in the kitchen, think again! This mousse recipe is straightforward, needing only about 20 minutes of active preparation time, plus chilling. You’ll wow everyone with minimal effort!
Cost-Effective: Unlike store-bought fillings that can break the bank for a slice of cake, this homemade mousse is budget-friendly. With just a few ingredients—(you guessed it!) chocolate, cream, sugar, and vanilla—you create a sumptuous filling that rivals any patisserie.
Customizable to Your Taste: You can easily adjust the sweetness, experiment with different flavor profiles like coffee or orange zest, or even try dark chocolate for a richer indulgence. Your creativity knows no bounds!
Freshness Guaranteed: Who doesn’t love the taste of freshly made mousse? You’ll be delighted by the lightness and taste of this superior filling compared to anything you’d find pre-packaged in a store.
Perfect for Any Occasion: Be it a holiday feast, a family gathering, or simply treating yourself, this Chocolate Mousse Filling brings joy and satisfaction to any celebration. It’s simply irresistible!
Ingredients
- 200g (7 oz) semi-sweet chocolate (55–65% cocoa), chopped: Opt for high-quality chocolate—brands like Ghirardelli or Callebaut work wonders! The cocoa percentage gives the mousse depth and richness.
- 1 cup (240ml) heavy whipping cream, cold: Make sure it’s chilled to create light peaks. Organic brands usually have the richest flavor.
- 2 tablespoons powdered sugar (adjust to taste): Feel free to sweeten it more or less, depending on your chocolate preference.
- 1 teaspoon pure vanilla extract: Always use pure vanilla for the best taste. It’s worth the splurge!
- Pinch of salt (optional, only if using unsalted chocolate): A dash of salt balances the chocolate’s sweetness beautifully.
Prep Notes: Ensure your mixing bowl and beaters are cold for whipping the cream. Cold equipment helps achieve better volume and stability in your mousse.
Step-by-Step Instructions
Melt the Chocolate (around 5-10 minutes):
- Place the chopped chocolate in a heatproof bowl. Melt it gently over a double boiler on low heat, stirring continuously until it’s smooth. Alternatively, you can microwave it in intervals—20 seconds at a time—stirring in between until fully melted. Chef’s Tip: Make sure to cool it to room temperature before mixing with cream to avoid melting it!
Whip the Cream (5-7 minutes):
- In a large chilled bowl, combine the cold heavy cream, powdered sugar, and vanilla extract. Using a hand mixer or a stand mixer fitted with the whisk attachment, whip it on medium speed until soft peaks form. Don’t over-whip, as you want to keep that luxurious, airy texture!
Combine Chocolate and Cream (5 minutes):
- Once your chocolate has cooled, add a spoonful of whipped cream to it and stir gently to lighten the chocolate. Then fold in the remaining whipped cream in 2 to 3 additions. Use a folding motion to maintain the principal fluffiness until the mixture is smooth and evenly colored. Common Mistake to Avoid: Mixing too aggressively can deflate your mousse!

Expert Tips & Tricks
Storage Recommendations: Chocolate mousse can be stored in the fridge for up to 3 days. It may lose some volume, but it will still taste heavenly!
Make-Ahead Instructions: You can make chocolate mousse filling a day ahead of your event. Just prepare and chill; it will hold beautifully.
Troubleshooting Common Problems: If your mousse seems too runny, you may have not whipped your cream long enough or added the chocolate before it cooled. Just re-whip gently to incorporate some extra cold cream.
Serving Temperature: Let your mousse sit at room temperature for about 10 minutes before serving. This way, the flavors and texture shine!
Chocolate Options: Feel free to experiment! Try using white chocolate for a mousse that pairs beautifully with fruit layers or dark chocolate for a sophisticated twist.
Serving Suggestions
Pair this Chocolate Mousse Filling with fluffy sponge cakes, rich chocolate cakes, or as a surprise inside delicate pastries. For presentation, pipe the mousse into layers or dollops and top it with fresh berries or a sprinkle of cocoa powder. It’s a versatile delight suitable for weddings, birthdays, or just a cozy afternoon treat!
Variations & Substitutions
Flavor Combinations: Add a splash of coffee liqueur for an espresso mousse, or some peppermint extract for a holiday flair.
Dietary Restrictions: Looking for a dairy-free version? You can substitute the heavy cream with coconut cream—just chill a can of full-fat coconut milk overnight!
Seasonal Variations: In the fall, incorporate pumpkin spice for extra warmth. In spring, a hint of citrus zest can brighten the flavors beautifully.
Nutrition & Storage Info
- Prep Time: 20 minutes
- Chill Time: 1 hour
- Total Time: 1 hour 20 minutes
- Yield: Approximately 2 cups (enough for 1 to 2 cakes)
- Estimated Calories Per Serving: Approximately 180 calories per serving
- Storage Instructions: Refrigerate for up to 3 days or freeze for up to 2 months in an airtight container.
FAQ Section
Can I make this mousse vegan?
- Yes! Substitute with dairy-free chocolate and coconut cream.
What chocolate should I use?
- Aim for high-quality semi-sweet chocolate with 55–65% cocoa for the best flavor.
Why is my chocolate mousse too runny?
- It might be due to not whipping the cream enough or adding chocolate that was too hot.
How do I make this filling stiffer?
- Consider adding a tablespoon of gelatin mixed with warm water, or whip the cream a bit longer—just don’t overdo it!
Can this mousse fill cupcakes?
- Absolutely! Just use a piping bag for a nice, clean finish.
How far in advance can I make this?
- You can make it a day ahead and keep it in the fridge until needed.
Does this filling freeze well?
- Yes! It freezes nicely but may need re-whipping after thawing.
Can I add flavor extracts?
- Yes! A teaspoon of almond or peppermint extract can add a delightful twist.
What cake pairs best with chocolate mousse?
- Light sponge cakes or rich chocolate cakes are both excellent choices!
How can I present the mousse beautifully?
- Use a decorative piping bag to create swirls and top them with fresh fruit or chocolate shavings.
Conclusion
Chocolate Mousse Filling for Cakes is truly a dessert lover’s dream. With its irresistible taste and simple preparation, it’s destined to become a staple in your baking repertoire. I encourage you to try this at home and experience the joy of your loved ones’ smiles as they dig into a slice of your creation. I’d love to hear your thoughts and any variations you’ve tried!
Feel free to explore my other dessert recipes on the blog for more inspiration—who knows what sweet adventures await! Happy baking!