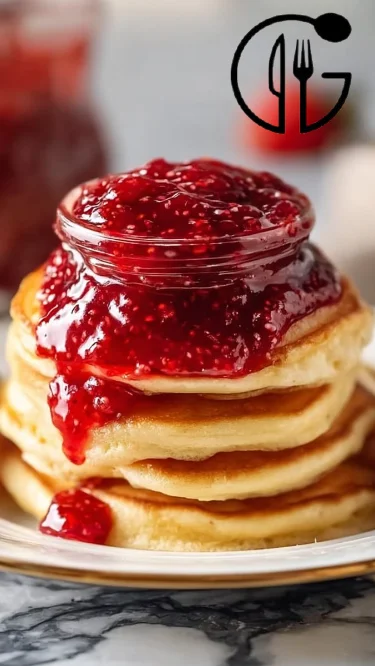
Get Your Spread On: The Ultimate Chia Seed Jam Recipe That Takes Breakfast to the Next Level!
INTRODUCTION
Growing up, my breakfast table was often adorned with jars of homemade jams crafted by my mom, bursting with summer’s sweetest fruits. I can still smell the fruity aroma wafting through our kitchen as she stirred her bubbling concoctions. Now as an adult, I find myself advocating for a healthier twist on those childhood memories, and that’s where my love for Chia Seed Jam comes in!
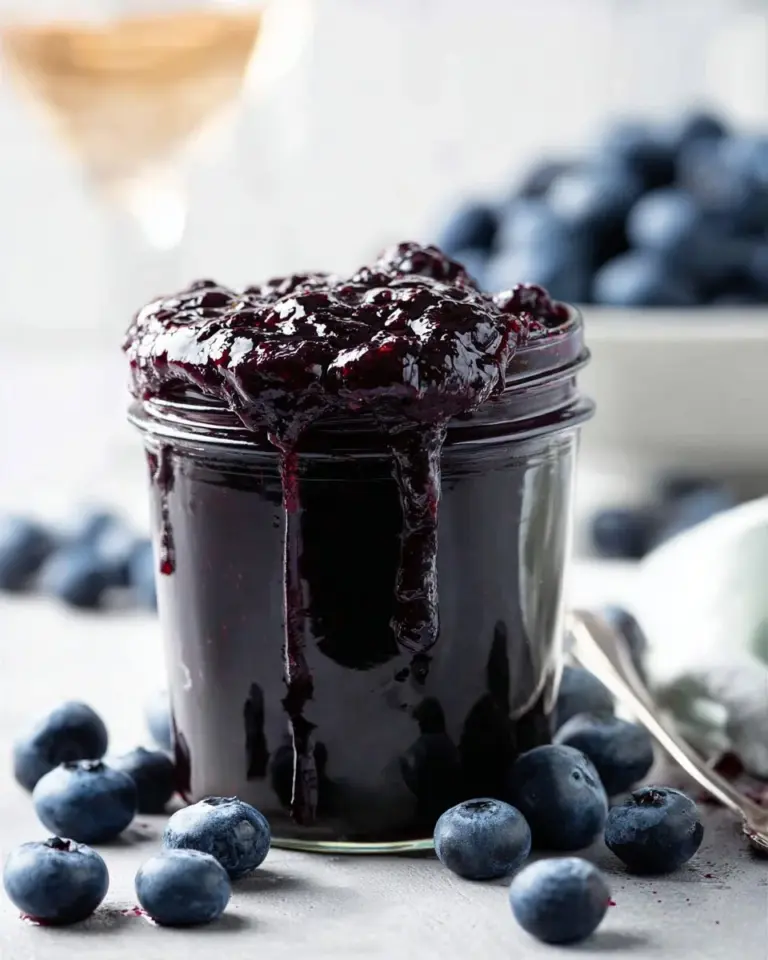
This recipe is close to my heart, offering a delightful medley of flavor and texture while staying guilt-free. The magic of chia seeds is that they act as a natural thickener, transforming fresh berries into a luscious spread without the added sugars and preservatives that are often found in store-bought jams. It’s essentially a burst of fruitiness packed with fiber and antioxidants, making it the perfect addition to your morning toast or yogurt.
What makes this recipe a true standout is not just how easy it is, but also how customizable it can be. From juicy strawberries to tart raspberries, you can tweak the flavors according to your taste or what’s in season. Are you ready to learn how to whip up this amazing Chia Seed Jam and create new breakfast memories of your own? Let’s dive right in!
WHAT ARE CHIA SEED JAM?
Chia Seed Jam is a simple yet inventive way to enjoy a fruity spread, and the best part? You can make it in a matter of minutes! Originating from the ancient Mayan civilization, chia seeds were prized for their nutritional benefits. When mixed with liquid, the seeds swell up and create a gel-like consistency, perfect for creating jams without any cooking!
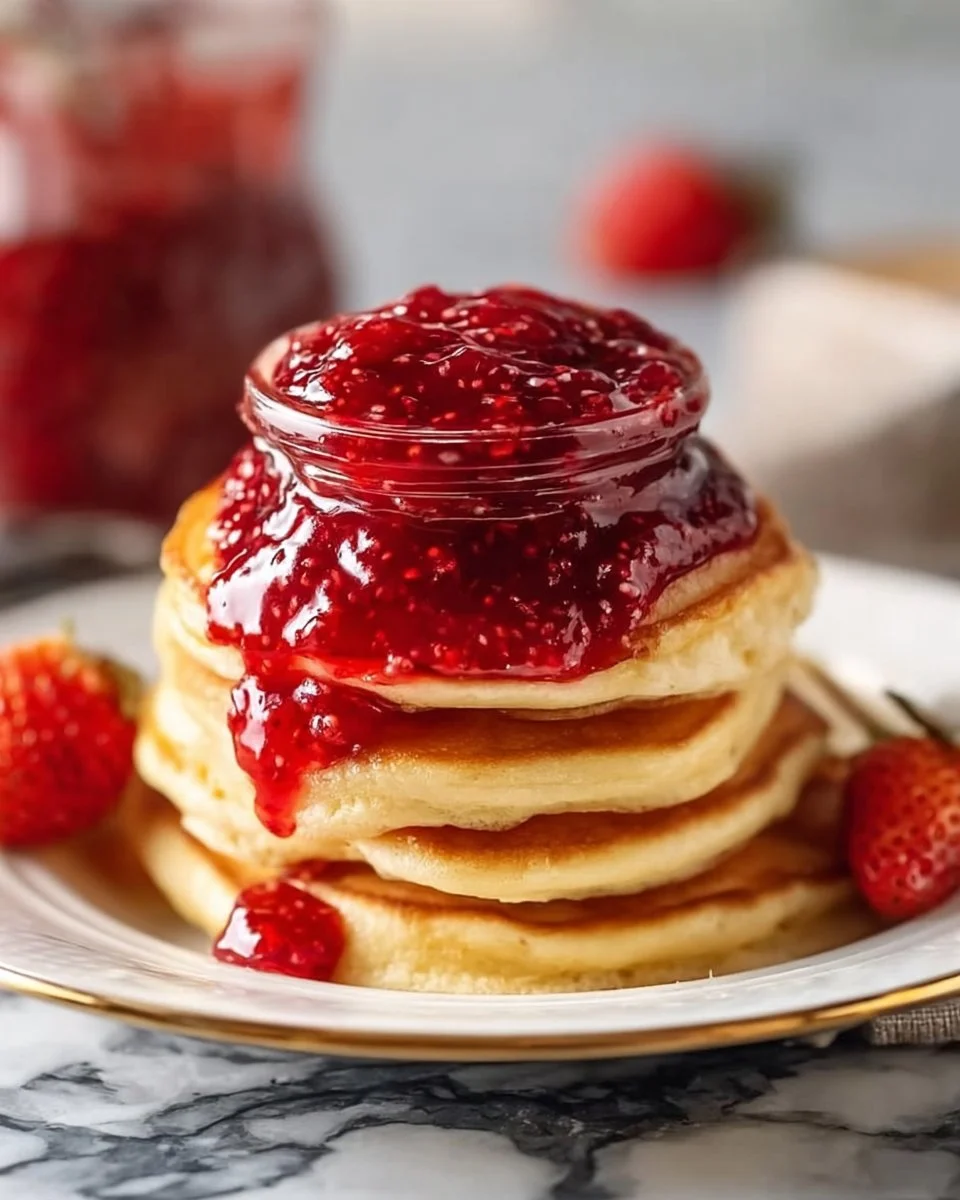
Taste-wise, Chia Seed Jam is a wonder of fresh fruit flavors paired with a delightful, slightly chewy texture from the chia seeds. It feels wholesome yet indulgent, allowing you to savor your fruits in a new way. This vibrant spread is perfect for various occasions, whether you’re looking to elevate your weekend brunch or simply want a healthy snack at any time of the day. You’ll want to make this delicious jam every time you have a craving for sweets!
WHY YOU’LL LOVE THIS RECIPE
Here’s why you’re going to love making Chia Seed Jam at home:
Healthiest Option: Compared to store-bought jams loaded with refined sugars and artificial additives, this recipe allows you full control over the ingredients. You get all the flavor and nutrition without guilt!
Budget-Friendly: This jam is incredibly cost-effective. For the price of a single jar of premium jam, you can make multiple batches at home. Plus, fresh fruits often go on sale, so it’s a win-win!
Endless Customization: One of my favorite things about my Chia Seed Jam is that I can mix and match fruits based on what I have on hand. Like blueberries? Mix those with your strawberries for a fruity twist! Or try adding in a hint of vanilla or mint for a unique flavor.
Quick and Easy: This recipe is a breeze to make! You’ll invest just 15-20 minutes—perfect for those busy mornings or last-minute guests.
Great for Storage: I love how well it keeps. Just pop your Chia Seed Jam in the fridge, and you’re good for up to two weeks, allowing you to enjoy it at a moment’s notice.
Ready to bring all this goodness into your pantry? Let’s get into the ingredients!
INGREDIENTS SECTION
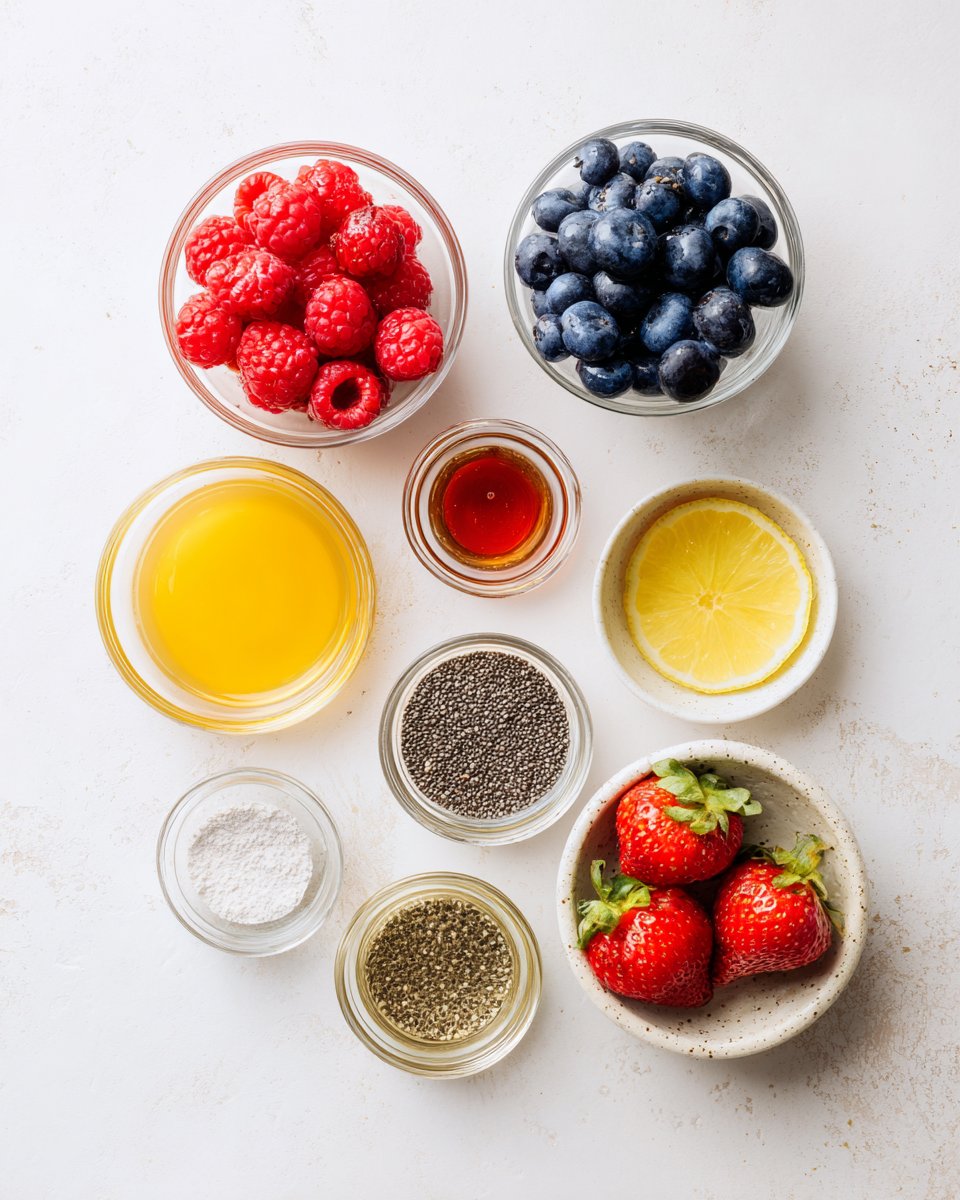
To make this luscious Chia Seed Jam, you’ll need the following simple ingredients:
- 1 cup fresh berries (raspberries, strawberries, blueberries, or a mix for variety)
- 2 tablespoons chia seeds (these little powerhouses are high in fiber and omega-3 fatty acids)
- 1-2 tablespoons natural sweetener (honey, maple syrup, or agave syrup – adjust based on your taste preference)
- 1 tablespoon lemon juice (optional, but it enhances the flavor and adds brightness)
Ingredient Notes:
- Fresh Fruit: Aim for ripe, in-season berries for the best flavor. If you’re using frozen berries, make sure to thaw and drain excess liquid before using.
- Sweeteners: You can also experiment with stevia or coconut sugar, but taste along the way to ensure it meets your sweetness level!
- Chia Seeds: These seeds are packed with nutrition, so don’t skimp on them! They are available in most grocery stores; I personally love the Nutiva brand for their quality.
- Lemon Juice: This is optional, but I find it adds a delightful tartness that balances the sweetness perfectly.
STEP-BY-STEP INSTRUCTIONS
Now, let’s bring it all together! It’s super easy to whip up your Chia Seed Jam. Follow these simple steps:
Prepare Your Berries: In a small saucepan, combine your fresh berries and natural sweetener over medium heat. If you want to use frozen berries, toss them directly into the pan.
Chef’s Tip: Stir gently to combine and avoid burning the fruit.
Cook the Berries: Cook for about 5-10 minutes, gently mashing the berries with a fork until they soften and release their juices. You’ll know they’re ready when they start looking syrupy and gooey.
Visual Cue: Your mixture should look chunky but saucy!
Add Chia Seeds: Stir in the chia seeds and lemon juice (if using) and continue cooking for another 2-3 minutes until the mixture thickens. Remember, the chia seeds will absorb some liquid as they sit!
Common Mistake to Avoid: If you find your mixture too runny, add an extra teaspoon of chia seeds and let it sit.
Cool: Remove from heat and let the jam cool to room temperature. It will thicken even more as it cools.
Transfer: Once cooled, transfer the jam to a jar. Make sure to label and date it if you’re batch-making!
Store: Refrigerate and enjoy as a spread for toast, or mix it into smoothies and yogurt, or use as a luscious topping for desserts.
EXPERT TIPS & TRICKS
Storage Recommendations: Store your Chia Seed Jam in a sealed glass jar in the fridge where it will keep for up to two weeks. If you want a quicker snack, try freezing portions in ice cube trays.
Make-ahead Instructions: This jam is perfect for making in advance and gives you a quick, homemade option for busy mornings.
Troubleshooting Common Problems: If the jam gets too thick after refrigeration, simply stir in a bit of water or fruit juice until you reach your desired consistency.
Flavor Experiments: If you want to experiment with additional flavors, consider adding spices like cinnamon or a splash of vanilla extract in the cooking stage.
Batch Size: Feel free to double or triple the recipe for meal prep! You might want to use a larger pan to avoid sticking.
SERVING SUGGESTIONS
This delightful Chia Seed Jam is versatile! Here are a few ideas on how to enjoy it:
- Toast & Bagels: Spread over warm toast or bagels for breakfast or an afternoon snack.
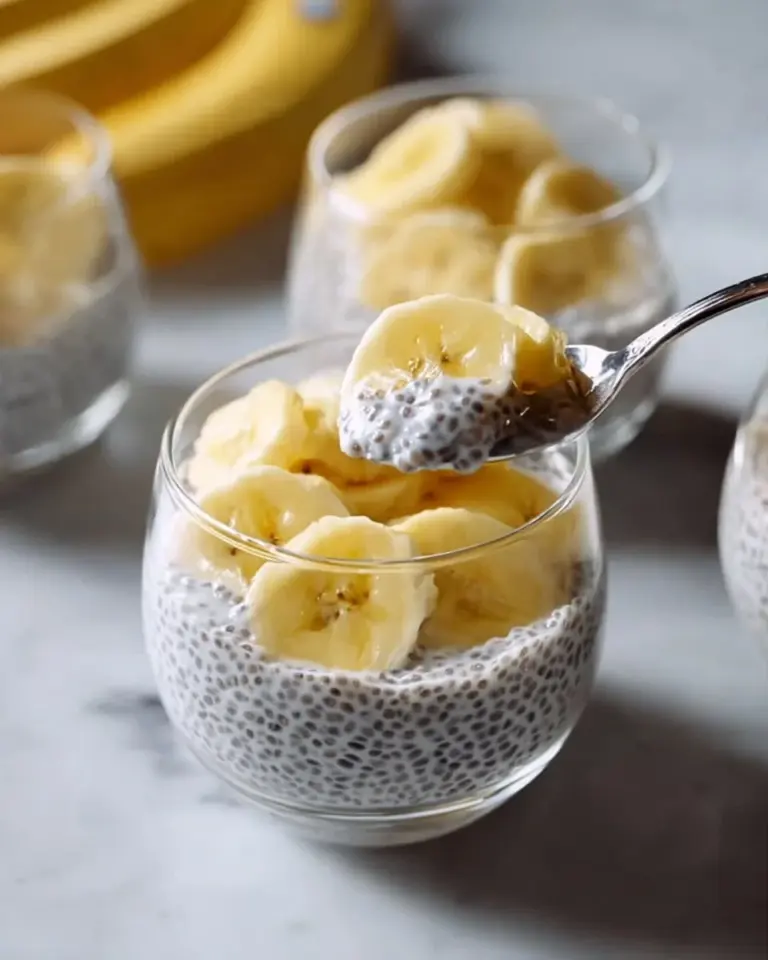
- Yogurt Parfaits: Layer with Greek yogurt and granola for a refreshing parfait.
- Dessert Topping: Drizzle over pancakes, waffles, or even ice cream for a fruity upgrade!
- Presentation: Serve in a small mason jar with a vintage spoon for a rustic aesthetic.
VARIATIONS & SUBSTITUTIONS
Explore these delicious variations:
- Fruit Combos: Mix strawberries and blueberries for a classic flavor, or try mango and lime for a tropical twist.
- Herbal Infusions: For a refreshing twist, consider mixing in fresh mint or basil.
- Dietary Restrictions: If you’re avoiding honey, opt for maple syrup or agave. The recipe is naturally gluten-free and vegan!
- Seasonal Variants: Swap in seasonal fruits like peach in summer or pumpkin puree with spices during fall.
NUTRITION & STORAGE INFO
- Prep Time: 10 minutes
- Cook Time: 10 minutes
- Total Time: 20 minutes
- Yield: Approximately 1 to 1.5 cups (about 8 servings)
- Estimated Calories per Serving: 40-50 calories
- Storage Instructions: Refrigerate for up to 2 weeks. Store in an airtight container. For longer storage, freeze for up to 3 months.
FAQ SECTION
Can I use frozen fruits instead of fresh?
Yes! Just make sure to thaw and drain excess liquid before cooking.How can I adjust the sweetness?
Start with a smaller amount of sweetener and adjust to taste as you cook.Do chia seeds need to be ground?
No, whole chia seeds work perfectly fine as they will swell and gelatinize.Can I use this recipe for other fruits?
Absolutely! Feel free to experiment with your favorite fruits. They all work well!Is there a way to reduce sugar content?
You can reduce the sweetener or use unsweetened varieties of fruit juice.Can I make this jam without cooking?
Yes! Simply mash the berries and combine with the chia seeds and sweetener, then let sit for a few hours in the fridge to thicken.What’s the best way to store the jam?
Use an airtight glass jar and keep it in the fridge for up to two weeks.How can I tell when the jam is thick enough?
When it’s reached a spreadable consistency and sticks to the back of a spoon.Can it be used as a filling for pastries?
Yes! It’s a wonderful filling for tarts and pastries as well.What makes this jam different from traditional jams?
The use of chia seeds to thicken gives it a fresh, fruity taste and a healthy twist compared to sugary, store-bought jams.
CONCLUSION
This Chia Seed Jam is not just an easy addition to your breakfast table; it’s a delightful way to capture the essence of your favorite fruits while keeping it healthy and homemade. I encourage you to try it out yourself and embrace the joy of creating your own spreads. If you’ve made it, I’d love to hear how it turned out! Did you try a different flavor combo? Share your experience in the comments below!
As always, check out my other recipes on this blog for more delicious ideas that will make your kitchen a happier place!