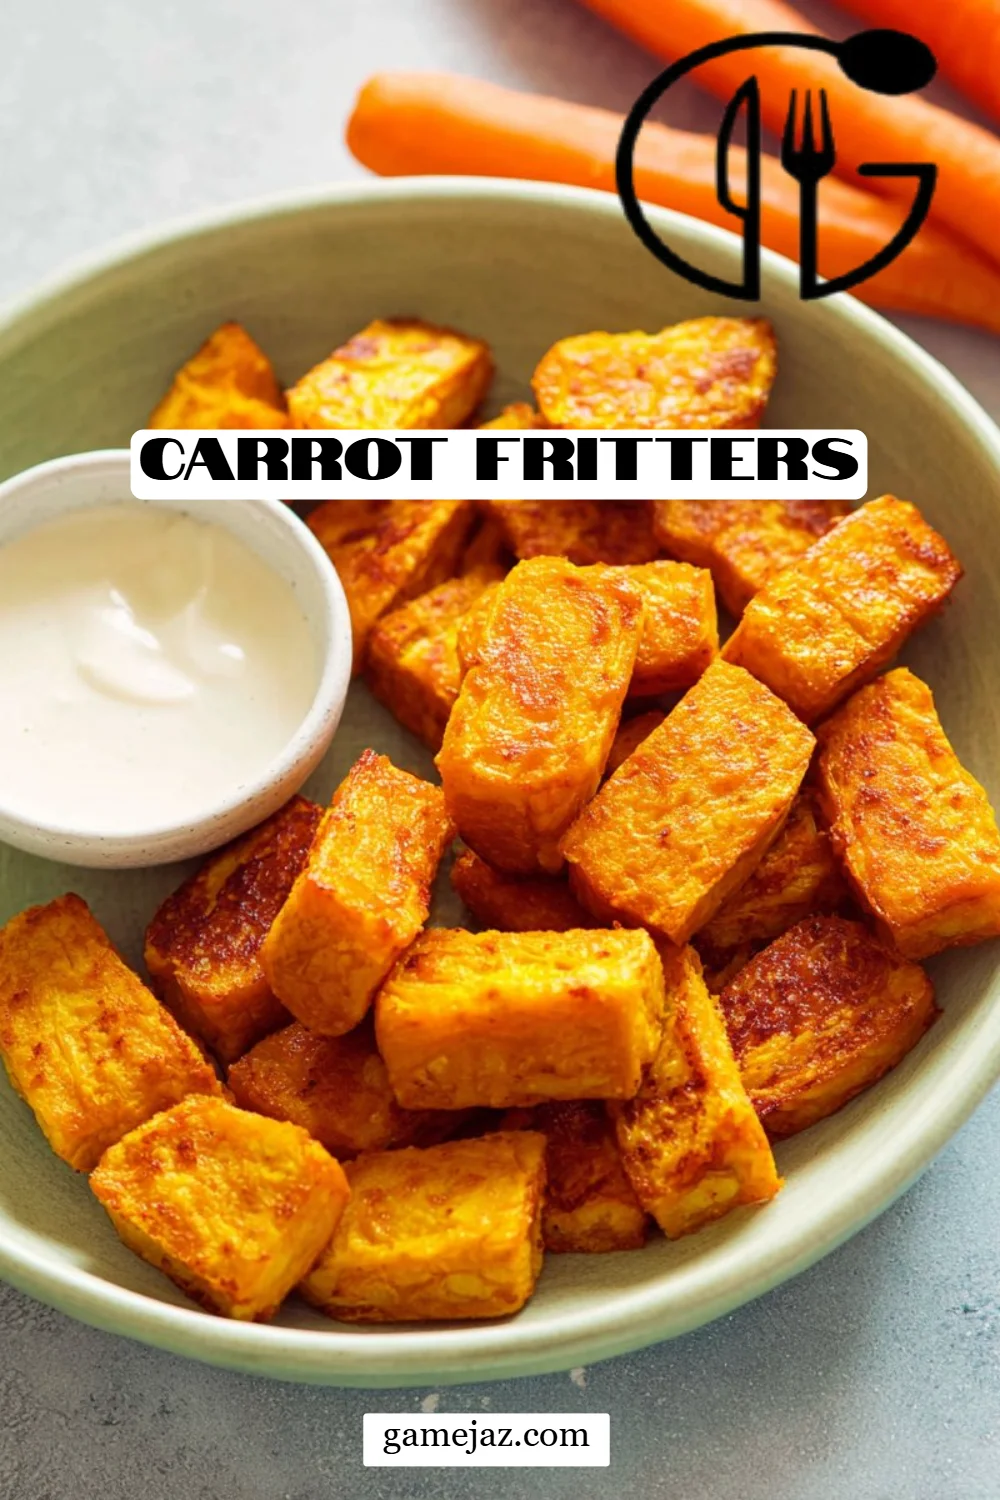
Growing up, my grandmother had a magical way of transforming the most humble ingredients into mouthwatering dishes that brought our family together. One of my fondest memories is when she would whip up her famous carrot fritters, filling the kitchen with their irresistible aroma. As they sizzled in the pan, I would sit by her side, eagerly waiting to taste the delightful crunch that encapsulated the sweet, tender carrots within.
These carrot fritters are special for so many reasons – not only do they boast a gorgeous golden crust, but they are also incredibly simple to make, utilizing just a handful of wholesome ingredients like ricotta and thyme that elevate their flavor profile beyond anything you can find in store-bought versions. What sets this recipe apart is its adaptability; you can customize it to fit your dietary preferences or even sneak in some extra veggies without anyone noticing!
Today, I’m excited to share my cherished carrot fritters recipe with you. You’ll learn how to create these little bites of joy that stir up nostalgia and warmth in every bite, while also being easy to whip up for any occasion. Let’s dive in!
What Are Carrot Fritters?
Carrot fritters are a delightful dish that stems from a love for comfort food made simple. Originating from various cultures where vegetables are the stars of the meal, these fritters are essentially savory pancakes made with grated carrots as their base. When cooked, they become crispy on the outside while remaining soft and flavorful on the inside.
What makes these carrot fritters unique is their versatility. Not only do you get the natural sweetness of the carrots, but the added creaminess of ricotta contributes to a rich texture that harmonizes beautifully with aromatic herbs. They’re perfect for brunch, a light dinner, or as a snack to satisfy those late-night cravings. If you’re looking for a way to highlight this veggie in a way your family will love, these fritters are just the ticket!
Why You’ll Love This Recipe
Here are just a few reasons why these carrot fritters will soon become your favorite go-to recipe:
Easy and Quick: Seriously, who doesn’t want a speedy recipe? Once your ingredients are prepped, you can have these fritters ready in under 30 minutes.
Healthier than Takeout: Unlike the greasy versions you might find at restaurants, these fritters are baked in a non-stick skillet, making them a healthier choice without compromising on taste.
Budget-Friendly: With just a few simple ingredients, this recipe is not only wallet-friendly but also minimizes food waste. You’ll likely have most of these staples already in your kitchen.
Fully Customizable: Don’t hesitate to mix things up! Add in some zucchini or spinach for a freshness boost or swap out the ricotta for a dairy-free option like almond cream to cater to dietary restrictions.
Perfect for Any Occasion: Whether you’re serving them as an appetizer at a dinner party or packing them in your kids’ lunchboxes, these fritters are perfect for any setting.
Ingredients
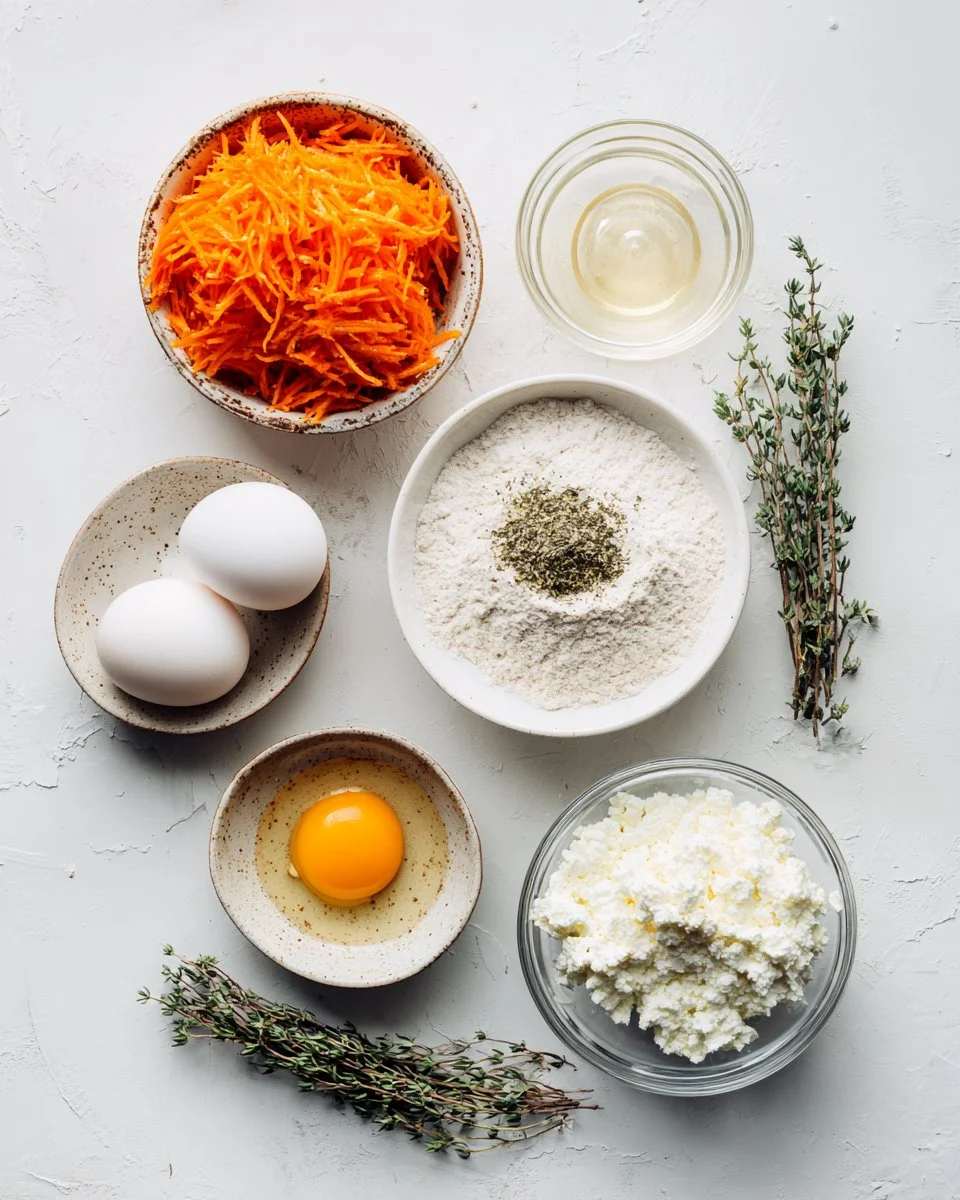
To create these fabulous carrot fritters, you will need:
- 1 cup packed, finely grated carrots
- 1/2 cup ricotta cheese (I highly recommend using a good-quality brand like Galbani for that creamy texture)
- 1 large egg (preferably at room temperature for better mixing)
- 2 tablespoons wholemeal self-raising flour (make sure it’s fresh to avoid any bitterness)
- 1/4 teaspoon garlic powder
- 1 teaspoon dried thyme (or fresh thyme if you have it on hand for a vibrant flavor)
Prep Notes:
- Ensure the ricotta cheese is at room temperature for a smoother mix.
- Squeeze out any excess moisture from the grated carrots to prevent sogginess in the fritters.
Step-by-Step Instructions
Prepare the Carrots: Using a fine grater, grate your carrots and place them into a large mixing bowl. Aim for about 1 cup packed before grating.
Mix the Ingredients: Add in the ricotta, large egg, self-raising flour, garlic powder, and dried thyme to the bowl. Using a silicone spatula or a spoon, stir everything together until well combined. The mixture should be thick but hold together.
Chef’s Tip: Don’t overmix – just combine until it’s blended to retain the texture!
Heat Your Skillet: Place a non-stick skillet over medium heat and lightly spray it with oil. Allow it to warm up for about 1-2 minutes.
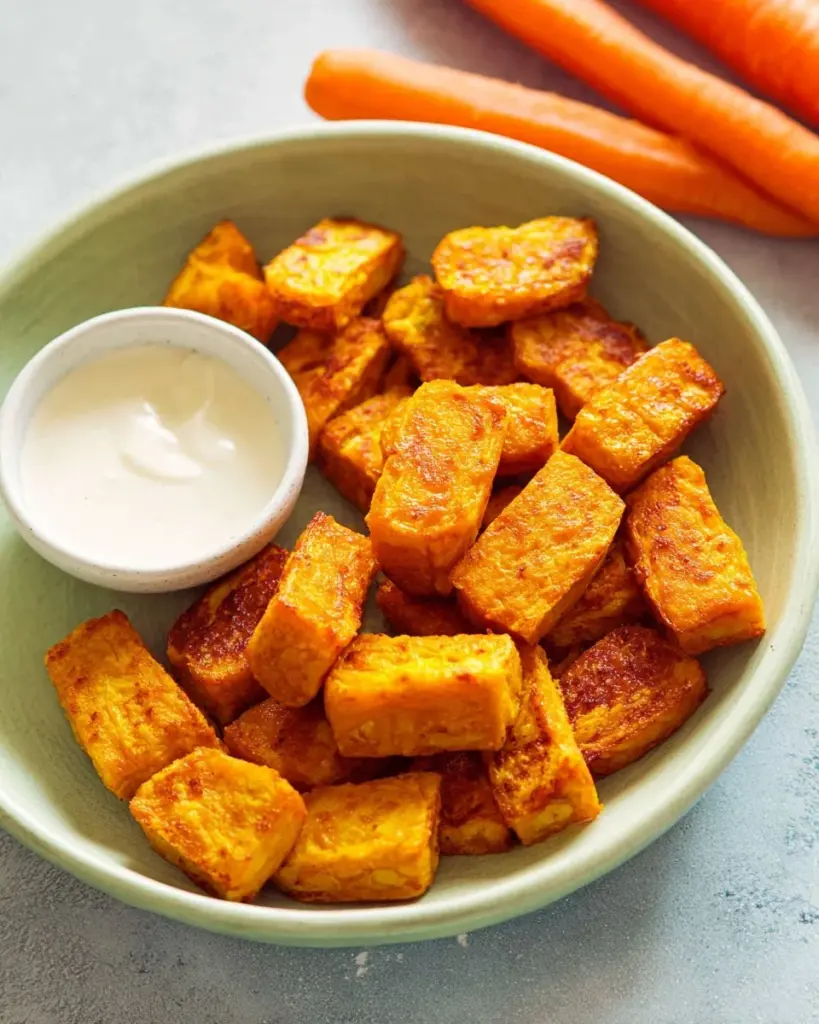
Cook the Fritters: Using a tablespoon, scoop out portions of the mixture and space them out in the skillet. Flatten them slightly with the back of the spoon. Cook for about 1 to 2 minutes per side, until they are turning golden brown and crisped up.
Visual Cue: You should see golden edges forming before flipping them!
Enjoy and Store: Once they are cooked, enjoy them warm with your favorite dip or plain as is! For storage, keep cooled fritters in an airtight container in the fridge for up to 3 days or freeze for up to 2 months. When you’re ready to eat, reheat them swiftly in a skillet, oven, or air fryer, from frozen or thawed.
Expert Tips & Tricks
Make-Ahead: Prep the mixture the night before and store it in the refrigerator. Simply cook them fresh in the morning for brunch!
Storing Leftovers: Leftover fritters are great reheated, but for the crispiest result, opt for a skillet or air fryer when reheating rather than a microwave.
Avoiding Sogginess: Squeeze extra moisture out of the grated carrots to maintain the perfect fritter texture.
Spice It Up: If you enjoy a little heat, add a pinch of red pepper flakes to the batter for a spicy kick!
Flavor Additions: Experiment with adding herbs like dill or parsley for a fresh twist or sprinkle some cheese on top while they’re still cooking for that melty goodness.
Serving Suggestions
These delightful carrot fritters are fantastic served alongside a tangy yogurt or tzatziki dip – perfect for a light lunch or as part of a family dinner spread. You could also pair them with a fresh green salad topped with a zesty vinaigrette. For a cozy night in, serve them with a bowl of creamy tomato soup. They’re incredibly versatile and fit seamlessly with many dishes.
Variations & Substitutions
Herb Swaps: Try adding fresh herbs like cilantro for a different flavor profile.
Cheese Choices: Feel free to swap ricotta for feta or even a vegan cheese alternative based on your preferences.
Flour Alternatives: If gluten-free is your goal, substitute with almond or chickpea flour as a direct swap.
Seasonal Sparks: In spring, try adding in peas or finely chopped asparagus; in the fall, consider some grated pumpkin for an autumnal twist.
Nutrition & Storage Info
- Prep Time: 10 minutes
- Cook Time: 10 minutes
- Total Time: 20 minutes
- Yield: Approximately 8 fritters (2-3 servings)
- Estimated Calories: 150 calories per serving
Storage Instructions
- Room Temp: Best enjoyed fresh!
- Refrigerate: Up to 3 days
- Freezer: Up to 2 months
FAQ Section
1. Can I freeze carrot fritters?
Absolutely! Cooked fritters can be frozen for up to 2 months. Reheat straight from the freezer for the best results.
2. How can I make them dairy-free?
Simply substitute ricotta with a plant-based creamy alternative, like cashew cream or a dairy-free ricotta.
3. Can I add more vegetables?
Yes! You can easily add grated zucchini, sweet potato, or even spinach for added nutrition.
4. How do I know when they are cooked?
Fritters should be golden brown on both sides. You can also test a fritter by cutting one in half; it should be cooked through without any raw batter inside.
5. Can I bake these instead of frying?
Yes! For a healthier approach, place them on a parchment-lined baking sheet and bake for about 20 minutes at 400°F (200°C), flipping halfway through.
6. What if my batter is too wet?
If the mixture feels too wet, add a touch more flour to absorb the moisture.
7. Are these suitable for kids?
Definitely! They’re mild in flavor yet nutritious, making them perfect for little ones.
8. What dips pair well with them?
I love serving them with a yogurt dip, tzatziki, or even a simple ketchup or hot sauce.
9. Can I prepare the batter in advance?
You can prepare the batter and store it in the fridge for up to a day for easy cooking the next day.
10. What’s the best way to store leftover fritters?
Place them in an airtight container in the refrigerator, and they’ll stay fresh for up to 3 days. Reheat them in a skillet for the best texture.

Conclusion
These Carrot Fritters are more than just a recipe; they’re a delicious way to connect with family and savor the joy of simple, wholesome ingredients. Whether you whip them up for a cozy brunch or serve them as a fun snack, I assure you they’ll become a favorite in your kitchen.
I can’t wait for you to give these a try! Please share your feedback, and feel free to let me know how your version turned out. If you loved these, be sure to check out my blog for more comforting recipes like my Zucchini Fritters or Turkey Lentil Soup.
Here’s to happy cooking!
Carrot Fritters
Ingredients
Method
- Using a fine grater, grate your carrots and place them into a large mixing bowl.
- Add in the ricotta, large egg, self-raising flour, garlic powder, and dried thyme to the bowl. Stir everything together until well combined.
- Heat a non-stick skillet over medium heat and lightly spray it with oil.
- Using a tablespoon, scoop out portions of the mixture and space them out in the skillet. Flatten them slightly.
- Cook for about 1 to 2 minutes per side until they are turning golden brown and crisped up.
- Enjoy them warm with your favorite dip or plain.