You know that feeling when the scent of fresh cake baking wafts through your home, wrapping you in a warm, nostalgic hug? That’s precisely how I feel every time I whip up a White Forest Cake. It instantly transports me back to my grandmother’s cozy kitchen, where laughter echoed, and sweet treats were a staple at family gatherings. The layers of creamy whipped topping, luscious cherries, and delicate white chocolate curls never fail to make my heart sing and my taste buds dance!
What makes my White Forest Cake recipe stand out from the rest? It’s simple, yet oh-so-elegant, combining the essence of tradition with a touch of modern flair. Each bite is a fluffy cloud of richness, bursting with flavors that scream comfort and joy. This isn’t just any dessert; it’s a love letter to all those cherished memories spent around the dinner table, where every slice was a reason to celebrate!
In this post, I’m excited to share my foolproof White Forest Cake recipe with you. You’ll learn the secret to airy layers, stabilized whipped cream, and how to turn simple ingredients into a show-stopping dessert that will impress your family and friends. Trust me; this isn’t just a cake – it’s an experience!
What are White Forest Cakes?
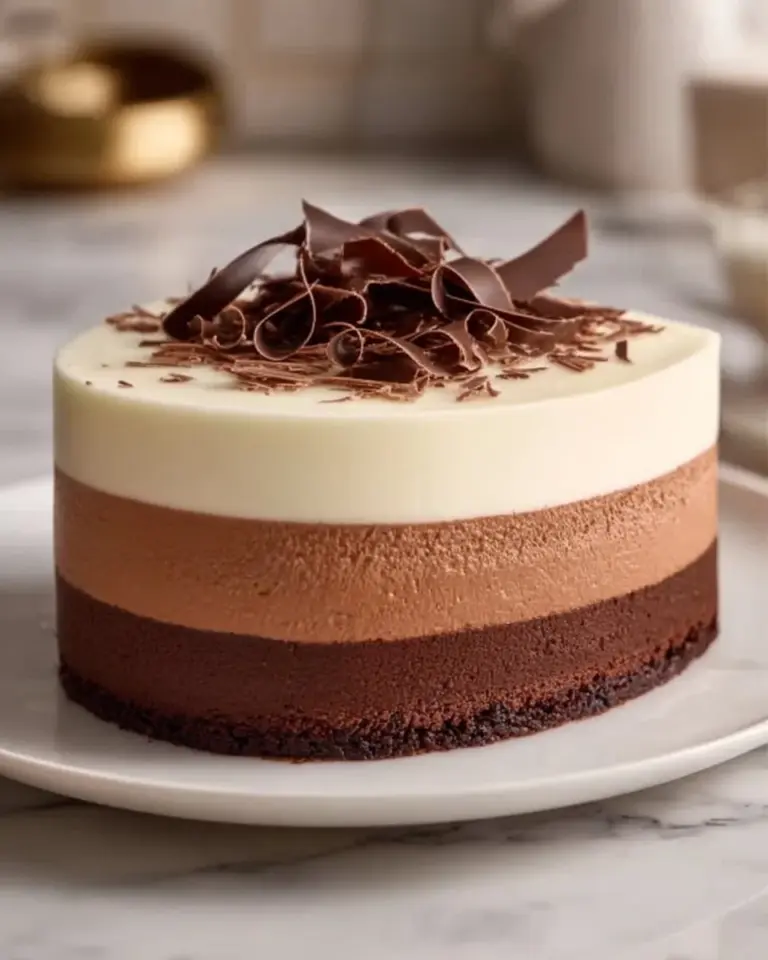
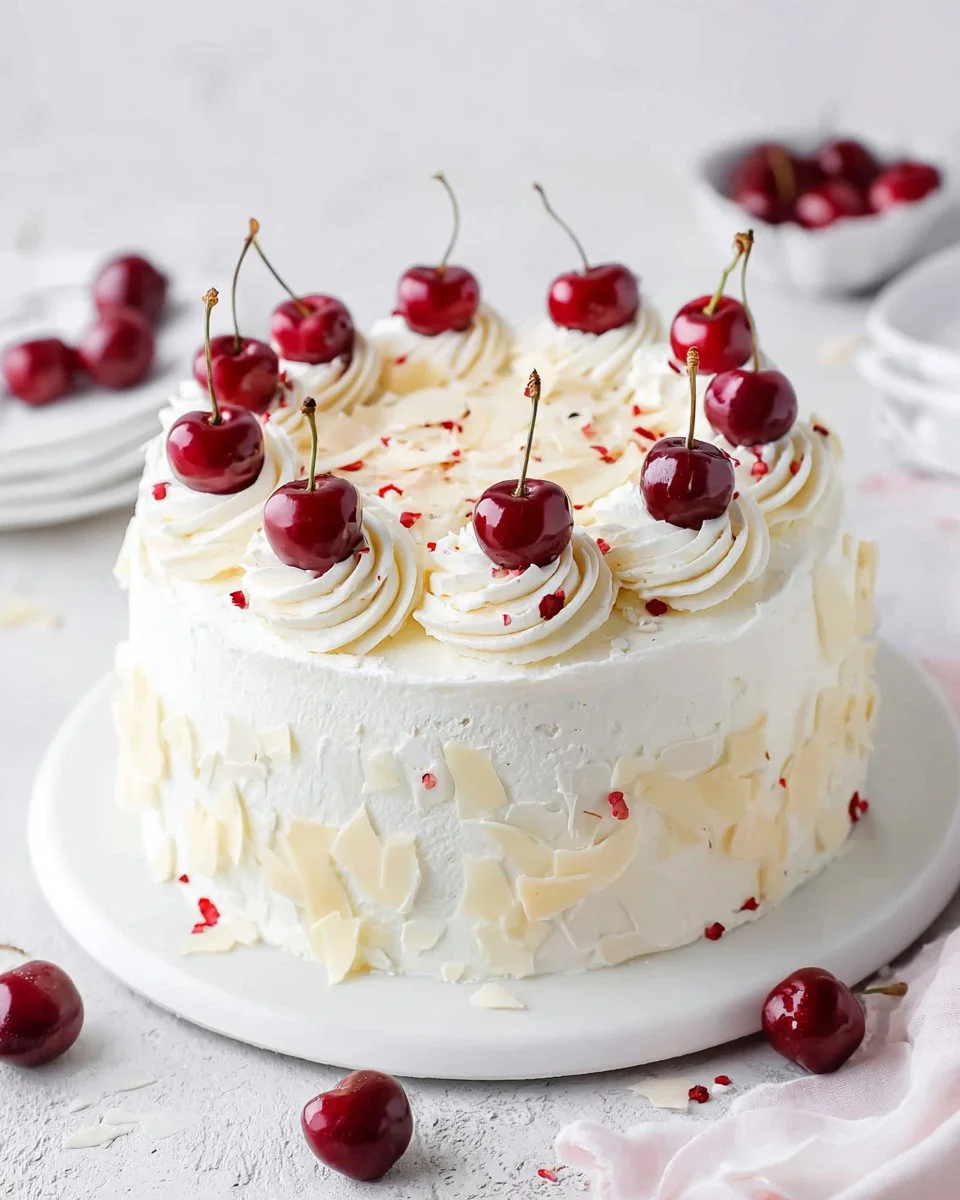
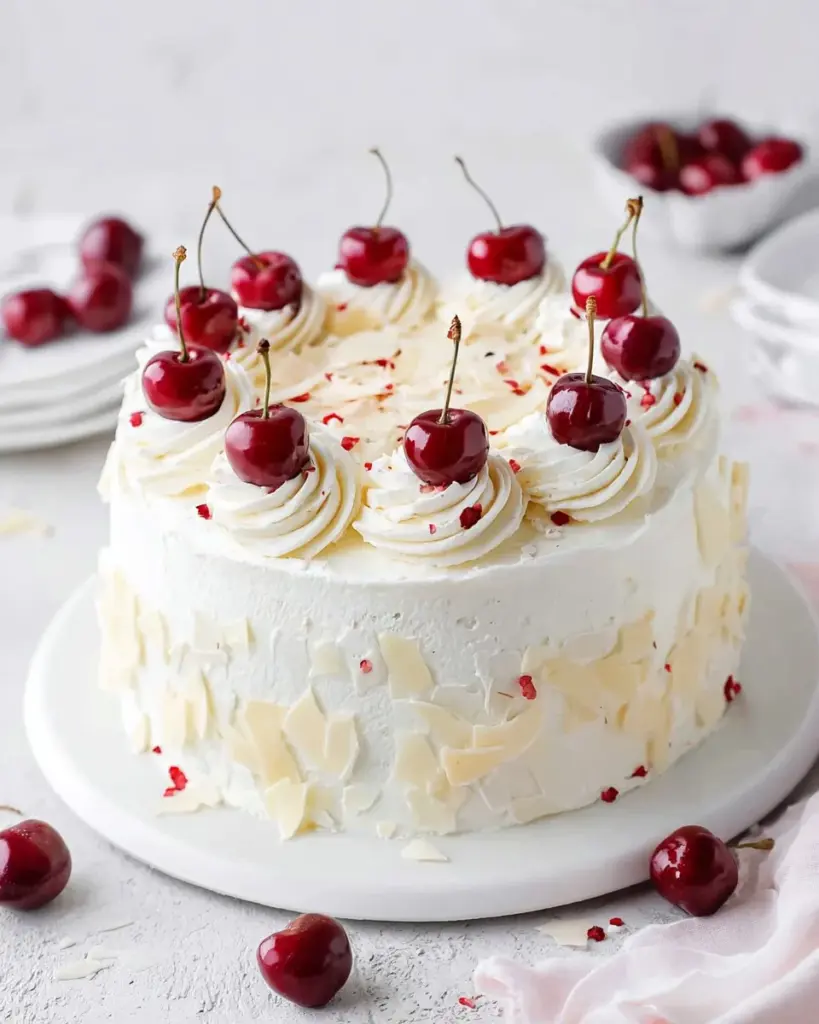
White Forest Cake, often considered a delightful twist on the classic Black Forest, hails from the charming region of the Black Forest in Germany. This enchanting cake features layers of moist white cake, rich whipped cream, and luscious cherries, making it a dessert that smiles as much as it delights the palate. The key distinction, of course, is the blonde, vanilla-flavored cake in place of the chocolate layers you might expect in a Black Forest version.
When you take a bite of this mesmerizing creation, you’re greeted by a fluffy texture that melts delightfully on your tongue. The cool cream contrasts beautifully with the sweet-tart cherries, while the delicate crunch of white chocolate adds an unexpected surprise that elevates each mouthful. Perfect for birthdays, anniversaries, or any occasion that calls for celebration, this cake is sure to impress.
So, when should you make this beautiful dessert? Anytime you want to bring a touch of joy to your day, or, let’s be honest, when you need a sweet pick-me-up. It’s as versatile as it is delicious!
Why You’ll Love This Recipe
1. Pure Flavor Perfection
This White Forest Cake is a beautiful amalgamation of flavors; the light vanilla sponge combines seamlessly with the sweet cream and tart cherry filling. Each forkful connects you to a world of warmth and happiness.
2. A Baking Experience to Remember
Unlike store-bought or restaurant options that often leave you wanting, making this cake from scratch gives you the ultimate satisfaction of creating something truly special. Plus, it’s much easier than you might think!
3. Cost-Effective and Customizable
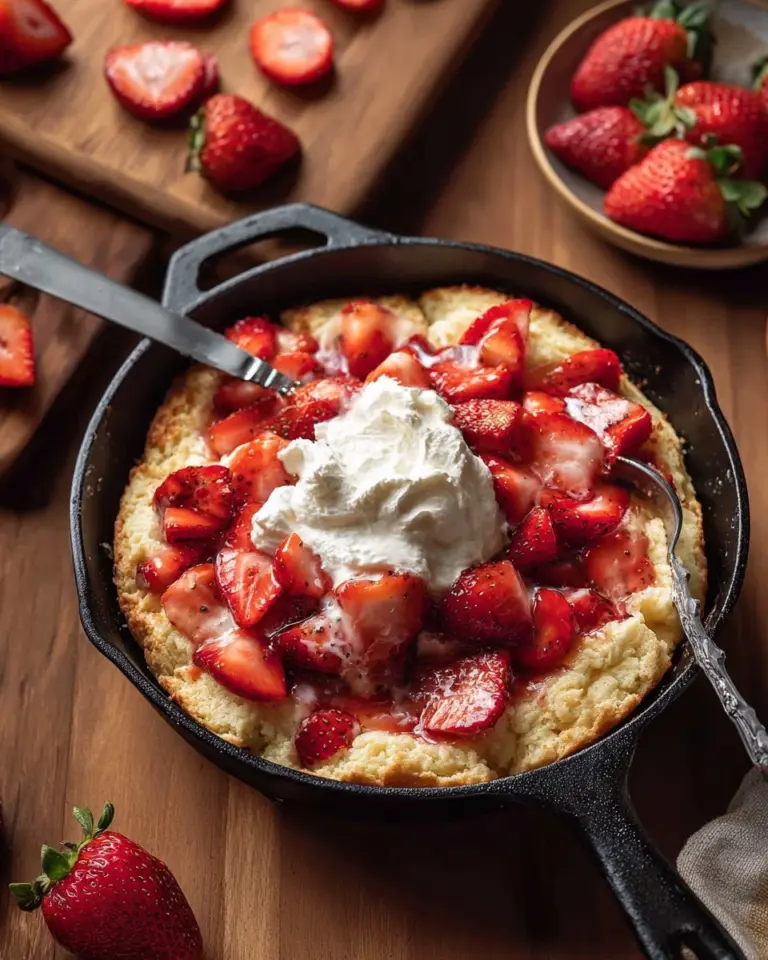
Making this cake at home is not only more affordable than bakery versions, but it also lets you customize to your heart’s content. Want to swap cherries for strawberries? Go for it! Prefer dark chocolate over white? The choice is yours!
4. An Entertaining Challenge
This recipe strikes a perfect balance of being a little challenging yet entirely possible for home bakers. It’s manageable over a leisurely afternoon, giving you time to savor the process and the end product.
5. A Showpiece That Impresses
Whenever I bring this cake to a gathering, it never fails to draw attention. It’s gorgeous to look at, making it the star of the dessert table. Friends will think you’re a professional baker!
Now that we’ve whetted your appetite for this delightful recipe, let’s get started on the ingredients!

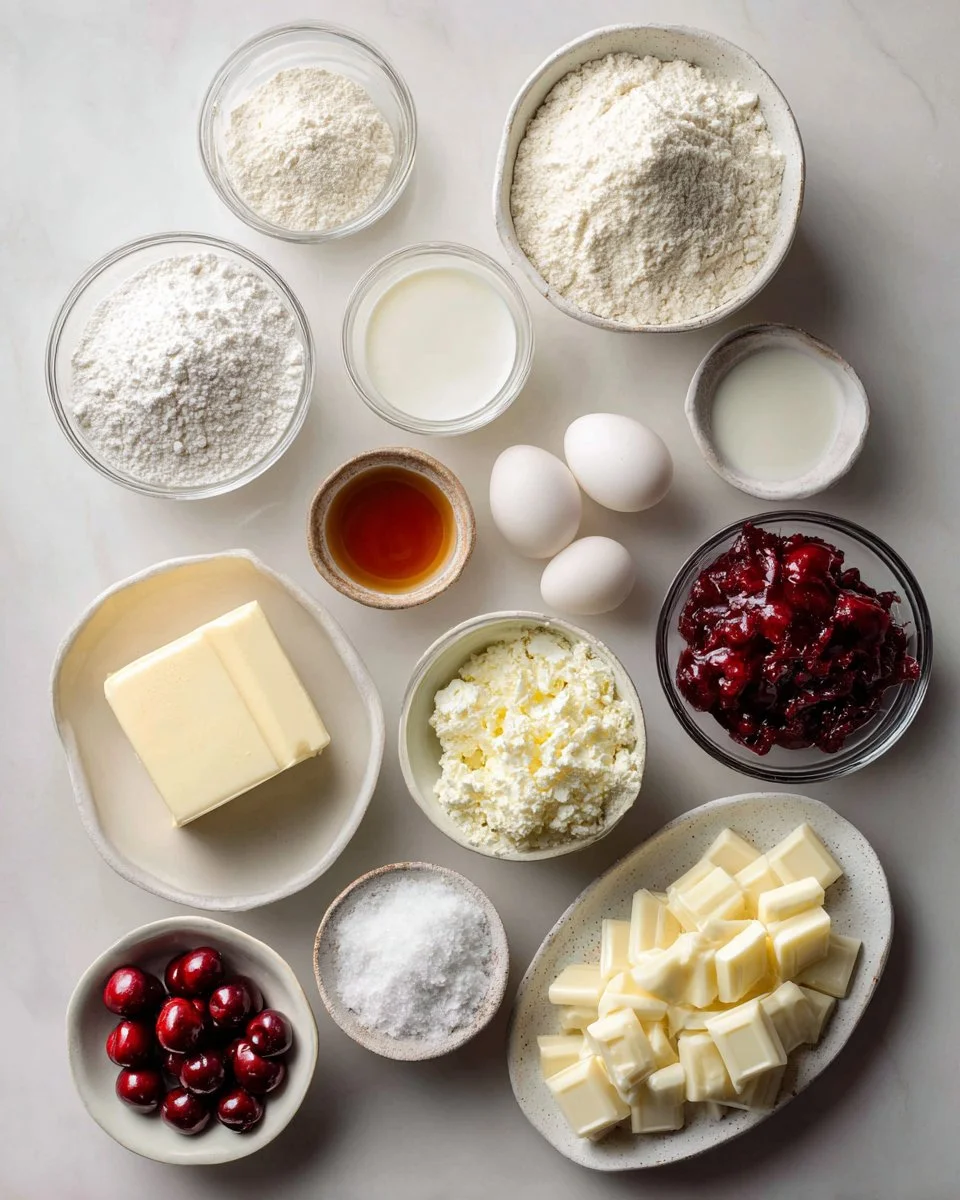
Ingredients
2 ¾ cups cake flour
Ensure you use high-quality, finely sifted cake flour for the best texture. Brands like Bob’s Red Mill are excellent.2 teaspoons baking powder
Make sure it’s fresh, as old baking powder can affect the fluffiness.¾ teaspoon kosher salt
This enhances the sweetness of the cake.2 ½ cups granulated sugar
Regular granulated sugar will work perfectly here.1 cup unsalted butter, room temperature
Use high-quality butter, preferably organic or European-style, for richer flavor.2 teaspoons vanilla extract
Pure vanilla extract is best for an authentic flavor.1 teaspoon almond extract
This adds an aromatic nuttiness that pairs beautifully with the other flavors.5 large egg whites, room temperature
Make sure they are fresh too; use eggs from a reputable source.1 cup whole milk, room temperature
Whole milk enhances the moisture and rich taste.2 ounces cream cheese, softened
This stabilizes the whipped cream, giving it a sumptuous texture.½ cup granulated sugar
For sweetening the whipped cream.2 cups heavy whipping cream
Use heavy cream for the fluffiest texture.½ teaspoon vanilla extract
Enhances the flavor of the whipped cream.1 pinch kosher salt
To balance the sweetness.1 can cherry pie filling (21 ounces), divided
Look for good quality cherries for the best taste.4 ounces white chocolate bar, made into curls, divided
Dress your cake up with white chocolate; I recommend brands like Ghirardelli.Fresh cherries, for garnish
Add these just before serving for the perfect touch.
Prep Notes:
Make sure butter, milk, and egg whites are at room temperature for a successful, fluffy batter.
Step-by-Step Instructions
Preheat the oven to 350°F. Line the bottom of 3, 8-inch round cake pans with parchment paper and spray with nonstick cooking spray. Set aside.
In a large bowl, whisk together the cake flour, baking powder, and salt. This mixture will be the base of your cake, so make sure it’s well combined.
In the bowl of a stand mixer with the paddle attachment, cream together sugar and butter on medium speed until light and fluffy, about 5 minutes. This step is crucial for creating a soft and tender cake.
With the mixer on low, add egg whites, one at a time, beating well after each addition. This method helps incorporate air into the batter for a nice lift.
Alternate adding the flour mixture and milk, starting and ending with the flour mixture. Mix until just combined to avoid over-mixing, which can toughen your cake.
Distribute the batter evenly into the prepared pans and bake for 22-24 minutes. The cakes are done when a toothpick inserted in the center comes out clean. Cool on a wire rack for at least 10 minutes before removing from the pans.
For the stabilized whipped cream, chill the mixer bowl and whisk for about 15 minutes. Beat cream cheese and sugar until smooth, then slowly add heavy cream. Mix until stiff peaks form. Add vanilla and a pinch of salt, mixing until just combined.
To assemble, place the first cake layer on a serving platter. Spread a generous layer of whipped cream on top, then spoon on some cherry pie filling. Repeat the process with the next layer. Finish with the final cake layer and frost the top and sides with the remaining whipped cream. Garnish with white chocolate curls and fresh cherries.
Chef’s Tips:
- Make sure not to over-bake your cakes; they should be gently golden and spring back when touched.
- Chill your whipped cream tools for extra fluffiness.
- When layering, feel free to be generous with the cream and cherries for a more luscious bite.
Expert Tips & Tricks
Perfecting the Layers: Make sure your cakes are cool before frosting. If they are warm, the whipped cream may melt.
Store It Right: Store leftover cake in the fridge, but it’s best consumed within 2-3 days. The moistness can lead to a soggy texture if left too long.
Make Ahead: If you’re planning for a big event, bake the cake layers a day ahead and keep them tightly wrapped. Assemble them on the day of serving for optimal freshness.
Common Mistakes: Avoid opening the oven door too often while baking, as this can interrupt the rising process.
Troubleshooting: If your whipped cream isn’t whipping up, make sure it’s cold and that your bowl and beaters are chilled as well.
Serving Suggestions
This White Forest Cake is perfect for any occasion! Serve it as a centerpiece for birthday parties, holiday gatherings, or any special event. Pair it with a dollop of vanilla ice cream or a glass of sparkling wine for an added touch of elegance. For a casual presentation, scatter some fresh cherries and white chocolate curls on the serving platter just before serving to make it pop.
Variations & Substitutions
Flavor Combinations: Try incorporating different fruits like strawberries or raspberries. You can also swap vanilla for lemon zest for a citrusy kick.
Dietary Restrictions: Use gluten-free flour for those with gluten sensitivities or opt for vegan alternatives by substituting eggs with aquafaba and using dairy-free whipped cream.
Seasonal Variations: During holidays, add spices like cinnamon or nutmeg to the whipped cream for a festive twist.
Nutrition & Storage Info
- Prep Time: 30 minutes
- Cook Time: 25 minutes
- Total Time: 1 hour
- Yield: 12 servings
- Estimated Calories: About 450 calories per slice
Storage Instructions:
Store leftover cake in an airtight container in the refrigerator. This cake will last about 3-4 days. If you want to freeze it, tightly wrap individual slices and freeze for up to one month. Thaw in the fridge the night before serving.
FAQ Section
Can I make this cake gluten-free?
Yes! Substitute cake flour with a gluten-free flour blend that measures cup for cup.How do I prevent the cake layers from sinking?
Ensure your ingredients are fresh and avoid overmixing your batter.Can I use fresh cherries instead of canned?
Absolutely! Just ensure they’re pitted and halved for easier assembly.How do I know my cake is done?
A toothpick inserted in the center should come out clean or with a few moist crumbs.What if my whipped cream doesn’t whip up?
Check that your cream is cold and your bowl is chilled before mixing.How can I make this a chocolate variation?
Substitute some of the flour with cocoa powder for a delightful chocolate twist!Is it okay to prepare the whipped cream in advance?
It’s best freshly made; however, you can stabilize it with gelatin to hold its shape for a day.Can I use a different type of extract?
Certainly! Feel free to experiment with other flavors like coconut or hazelnut.Does the cake need to be refrigerated?
Yes, since it has whipped cream, keep it in the refrigerator to preserve its freshness.What occasion is this cake best for?
This stunning cake is perfect for any celebration, from birthdays to weddings!
Conclusion
This White Forest Cake recipe is more than just a dessert; it’s a treasure trove of memories waiting to be created with your loved ones. Its perfect blend of flavors and textures truly makes it special, whether it’s a cozy family gathering or a lavish celebration. I encourage you to try making this cake and become part of its sweet legacy. If you do, let me know how it turns out! Also, check out my other recipes for more delightful treats that complement this cake perfectly.
Happy baking!
White Forest Cake
Ingredients
Method
- Preheat the oven to 350°F. Line the bottom of 3, 8-inch round cake pans with parchment paper and spray with nonstick cooking spray.
- In a large bowl, whisk together the cake flour, baking powder, and salt.
- In the bowl of a stand mixer with the paddle attachment, cream together sugar and butter on medium speed until light and fluffy, about 5 minutes.
- With the mixer on low, add egg whites, one at a time, beating well after each addition.
- Alternate adding the flour mixture and milk, starting and ending with the flour mixture. Mix until just combined.
- Distribute the batter evenly into the prepared pans and bake for 22-24 minutes. Cool on a wire rack for at least 10 minutes before removing from the pans.
- Chill the mixer bowl and whisk for about 15 minutes. Beat cream cheese and sugar until smooth, then slowly add heavy cream.
- Mix until stiff peaks form. Add vanilla and pinch of salt, mixing until just combined.
- Place the first cake layer on a serving platter. Spread a generous layer of whipped cream on top, then spoon on some cherry pie filling.
- Repeat the process with the next layer. Finish with the final cake layer and frost the top and sides with the remaining whipped cream.
- Garnish with white chocolate curls and fresh cherries.