Heavenly Homemade Spelt Milk: A Nutty, Creamy Delight
Introduction
Have you ever found yourself in the health food aisle, overwhelmed by the sea of non-dairy milk options? I have! Once, while shopping with my daughter, she spotted a beautiful carton of spelt milk. “Mom, can we try this?” she asked, her eyes shining with curiosity. At that moment, I decided to bring home that mysterious little box and whip up our own version at home. Spelt milk is not just another milk substitute; it’s a wholesome gateway to a nostalgic world where nutty flavors meet creamy textures.
What makes spelt milk so unique? For starters, it brings along the charming history of ancient grains, along with a comforting taste that is rich and slightly sweet. Unlike some store-bought varieties, this recipe doesn’t pack any unsettling additives—just pure, natural ingredients. As my family gathered around our kitchen table sipping freshly made spelt milk, I felt that warmth that only home-cooked kindness can provide.
In this post, I will show you how to create your own spelt milk from scratch. With a few simple ingredients and a blender, you will discover the joy of crafting a healthful and delicious alternative milk that’s sure to impress. Get ready to enjoy a drink that’s not just a treat for the taste buds but also a treasure trove of healthy goodness!
What Are Spelt Milk?
Spelt, an ancient grain, dates back thousands of years and was once a staple in many cultures. It’s a distant relative of wheat but boasts a nuttier flavor and higher nutritional benefits. Spelt milk is created by soaking spelt berries and blending them with water, producing a milky liquid that has a delightful creamy texture.
The taste is mildly sweet with a hint of nuttiness that makes it superbly versatile for various uses—smoothies, coffee, cereal, or even baking! Spelt milk is gluten-friendly, meaning it can be a good option for many who are sensitive to conventional dairy but can tolerate gluten. You might want to whip it up when you’re feeling adventurous or when you want to craft a comforting bowl of oatmeal that needs that extra layer of flavor!
Why You’ll Love This Recipe
Better Than Store-Bought: Most commercial plant-based milks contain preservatives, thickeners, and sometimes even unhealthy oils. When you make your spelt milk, you know exactly what’s in it—just wholesome ingredients.
Cost-Effective: Buying spelt milk can be pricey! By making your own at home, you’re saving famished pocket change while enjoying the highest quality of milk.
Customization: Enhance your spelt milk with flavors like vanilla, cinnamon, or even a dash of cocoa. You’re in control of the sweetness and can adapt it to your taste buds.
Easy to Make: Seriously, if I can do it, so can you! The process is straightforward, with a minimal active time. A little soaking, blending, and straining, and you’re finished!
Wholesome Comfort: Knowing that you’ve created something nutritious for your family brings a feeling of fulfillment and joy, much like those cherished family recipes passed down through generations.
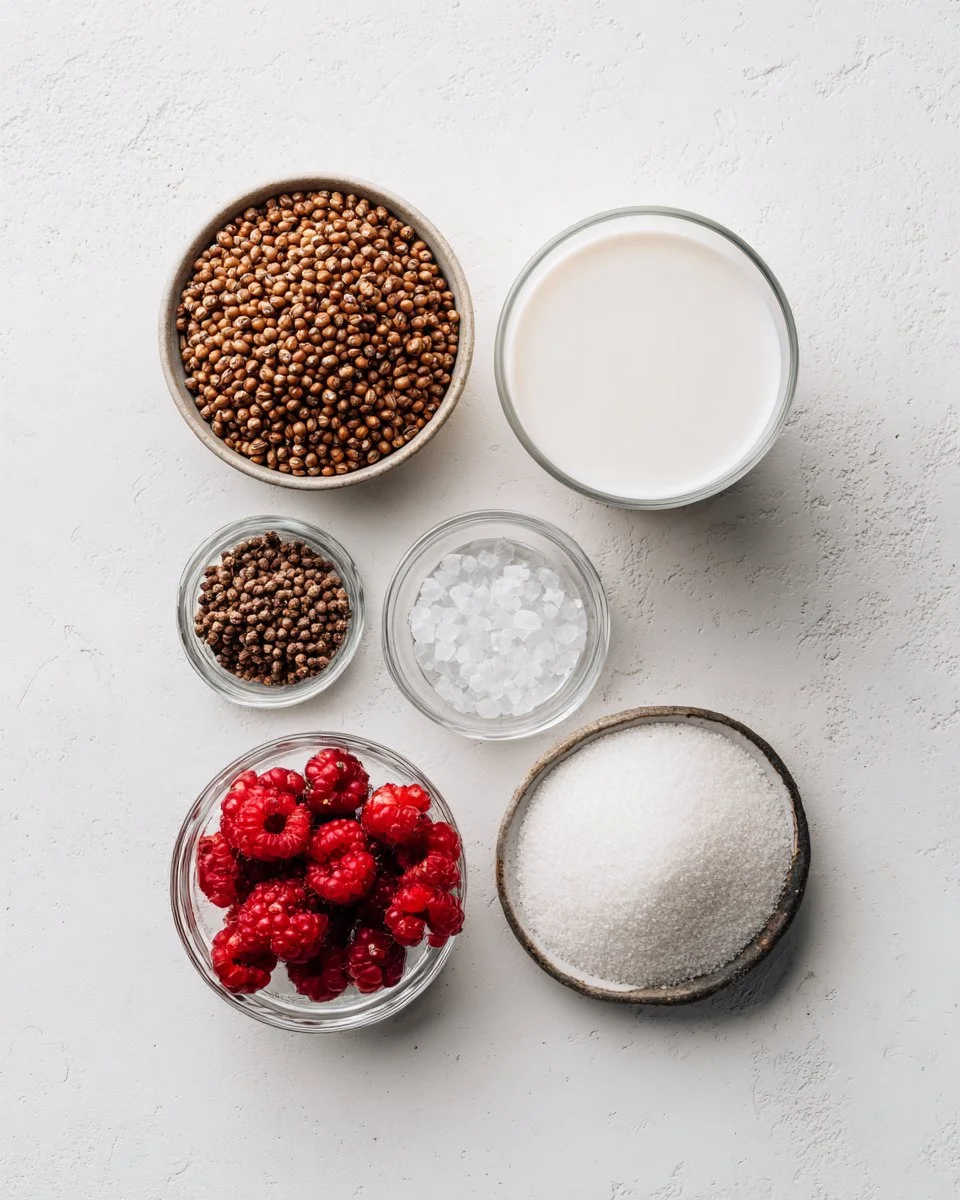
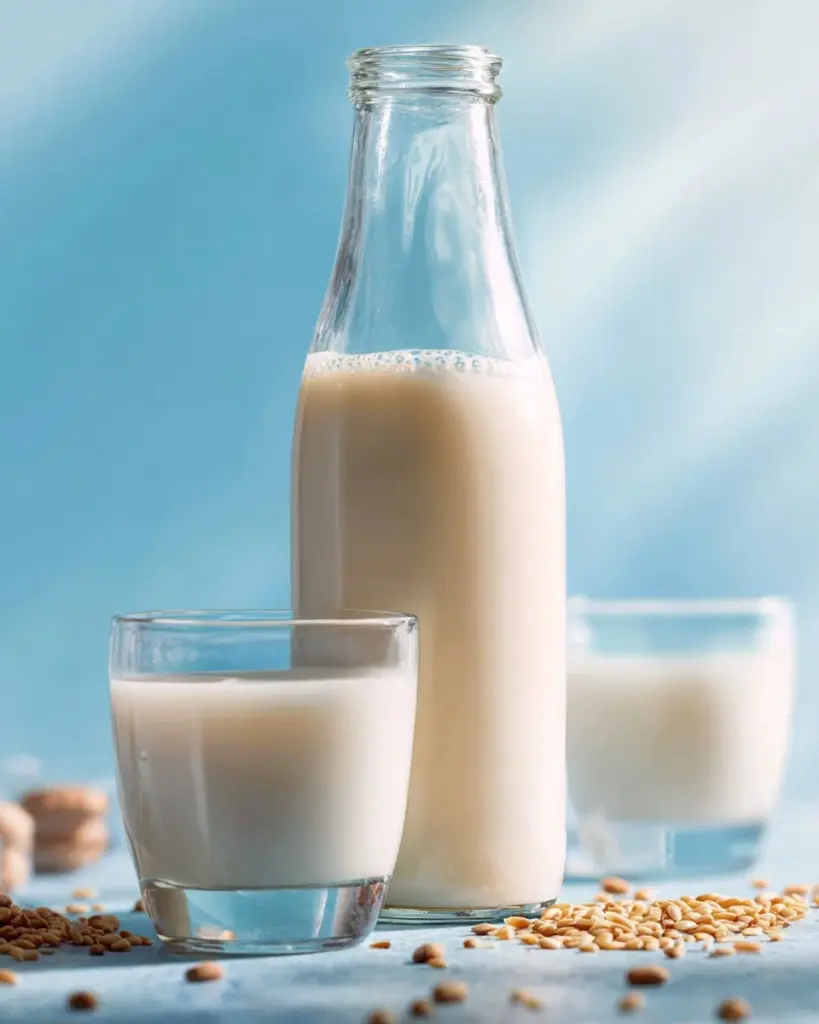
Ingredients
{image_template}
100 grams (1/2 cup) spelt berries: Look for fresh, organic spelt berries if possible. These can make a noticeable difference in taste.
1 litre (4 cups) water: Preferably filtered water to keep flavors clean.
Pinch sea salt: Enhances the overall flavor. If you’re feeling adventurous, try a sprinkle of cinnamon for added warmth!
Notes: It’s best to soak the spelt berries in a bowl at room temperature for 12-24 hours. This not only helps with digestion but also makes blending a breeze! When using butter, remember to have it at room temperature to ensure a smooth blend.
Step-by-Step Instructions
Prepare the Berries: Place the spelt berries in a bowl and cover them with water. Refrigerate for at least 12 hours or up to 24 hours to allow them to soak. This will plump them up and enhance their blendability!
Rinse and Drain: Once they’ve soaked, drain the berries in a sieve and rinse them well under cold water to remove any residual grit.
Blend It Up: Add the soaked spelt berries to a blender with 1 litre of fresh water and a pinch of sea salt. Blend on high speed for about 1 minute or until the mixture looks very creamy, with no visible chunks.
Strain: Pour this mixture through a fine mesh sieve or nut milk bag into a large bowl. Use a spatula to help push the liquid through, squeezing gently if using a nut milk bag. Discard the spelt pulp or incorporate it into your bread or porridge for extra fiber.
Store: Transfer the spelt milk to a sealed bottle or jar and store it in the refrigerator for up to one week. Enjoy the delightful creaminess during that time—it gets better!
Chef’s Tips:
- Make sure your blender is strong enough for the job; a high-powered blender yields the best results!
- Avoid over-blending; just aim for a smooth consistency without overheating your machine.
Expert Tips & Tricks
Storage: Store your spelt milk in a sealed container in the fridge and give it a good shake before use, as natural separation may occur.
Make-Ahead: You can prepare the spelt berries in advance and store them soaked in the fridge for a day.
Common Problems: If your spelt milk is too gritty, you may need to blend longer or use a finer strainer.
Consistency: For a creamier milk, reduce the water quantity slightly. For a thinner milk, increase the water.
Use the Pulp: Don’t throw away the leftover spelt pulp from the straining process! Use it in smoothies, pancakes, or mix into oatmeal for added fiber.
Serving Suggestions
Spelt milk is incredibly versatile! Serve it chilled over your favorite granola or as a base for creamy smoothies. If you’re looking for a comforting evening drink, warm up a cup of spelt milk with a touch of honey and a sprinkle of cinnamon.
Perfect for cozy evenings or as an afternoon treat, this milk pairs fabulously with my homemade spelt cookies or cake. Let your creativity guide you!
Variations & Substitutions
Flavor Boost: Add vanilla extract, a spoonful of cocoa powder, or a few dates while blending for a flavored spelt milk.
Dietary Considerations: This recipe is naturally vegan and gluten-friendly. If you’re nut-free, this is a fantastic alternative!
Seasonal Additions: Consider adding pumpkin spice in the fall or fresh mint in the summer. Tailor it to the season, and let flavor lead the way!
Nutrition & Storage Info
- Prep Time: 15 minutes (not including soaking time)
- Total Time: 15 minutes (after soaking)
- Yield: Makes about 1 litre (4 cups)
- Estimated Calories: Approximately 60-70 calories per cup
- Storage Instructions: Keep in the refrigerator for up to one week, or pour into ice cube trays and freeze for later use.
FAQ Section
Can I use other grains instead of spelt?
Absolutely! Try this recipe using oats, almonds, or other grains for a delightful twist.Is spelt milk gluten-free?
Spelt does contain gluten. It’s suitable for those who can tolerate gluten but not for those with celiac disease.What’s the difference between spelt milk and almond milk?
Spelt milk is creamier and has a slightly nuttier taste, whereas almond milk is much lighter and may need sweetening for some recipes.How do I know if my spelt milk has gone bad?
Check for an off smell or unusual separation. If it smells sour or strange, discard it.Can I heat spelt milk?
Yes, you can! Just heat it gently, as boiling may cause it to separate.How can I sweeten my spelt milk?
You can add agave syrup, maple syrup, honey, or a few dates while blending for a natural sweetness.Can I use a regular blender?
Yes! Just ensure it’s strong enough to handle the blended spelt berries well.What can I do with the leftover spelt pulp?
Use it in baking or add it to breakfast items like oatmeal or smoothies.How long does spelt milk last?
Properly stored, it can last up to a week in the fridge.Can I freeze spelt milk?
Yes! Pour it into ice cube trays for easy access later. Just remember it may separate upon thawing.
Conclusion
Creating your own spelt milk is not just a fun kitchen adventure but a wholesome way to embrace the joys of healthier living! With its creamy texture and rich flavor, it’s sure to become a comforting staple in your home. So why not give this recipe a try? Share your thoughts and any variations you’ve explored in the comments below!
For more delicious adventures, check out my other recipes on the blog. Happy cooking!
Spelt Milk
Ingredients
Method
- Place the spelt berries in a bowl and cover them with water. Refrigerate for at least 12 hours or up to 24 hours to allow them to soak.
- Once soaked, drain the berries in a sieve and rinse them well under cold water.
- Add the soaked spelt berries to a blender with 1 litre of fresh water and a pinch of sea salt. Blend on high speed for about 1 minute or until very creamy.
- Pour this mixture through a fine mesh sieve or nut milk bag into a large bowl.
- Use a spatula to help push the liquid through, squeezing gently if using a nut milk bag. Discard the spelt pulp or incorporate it into your bread or porridge.
- Transfer the spelt milk to a sealed bottle or jar and store it in the refrigerator for up to one week.