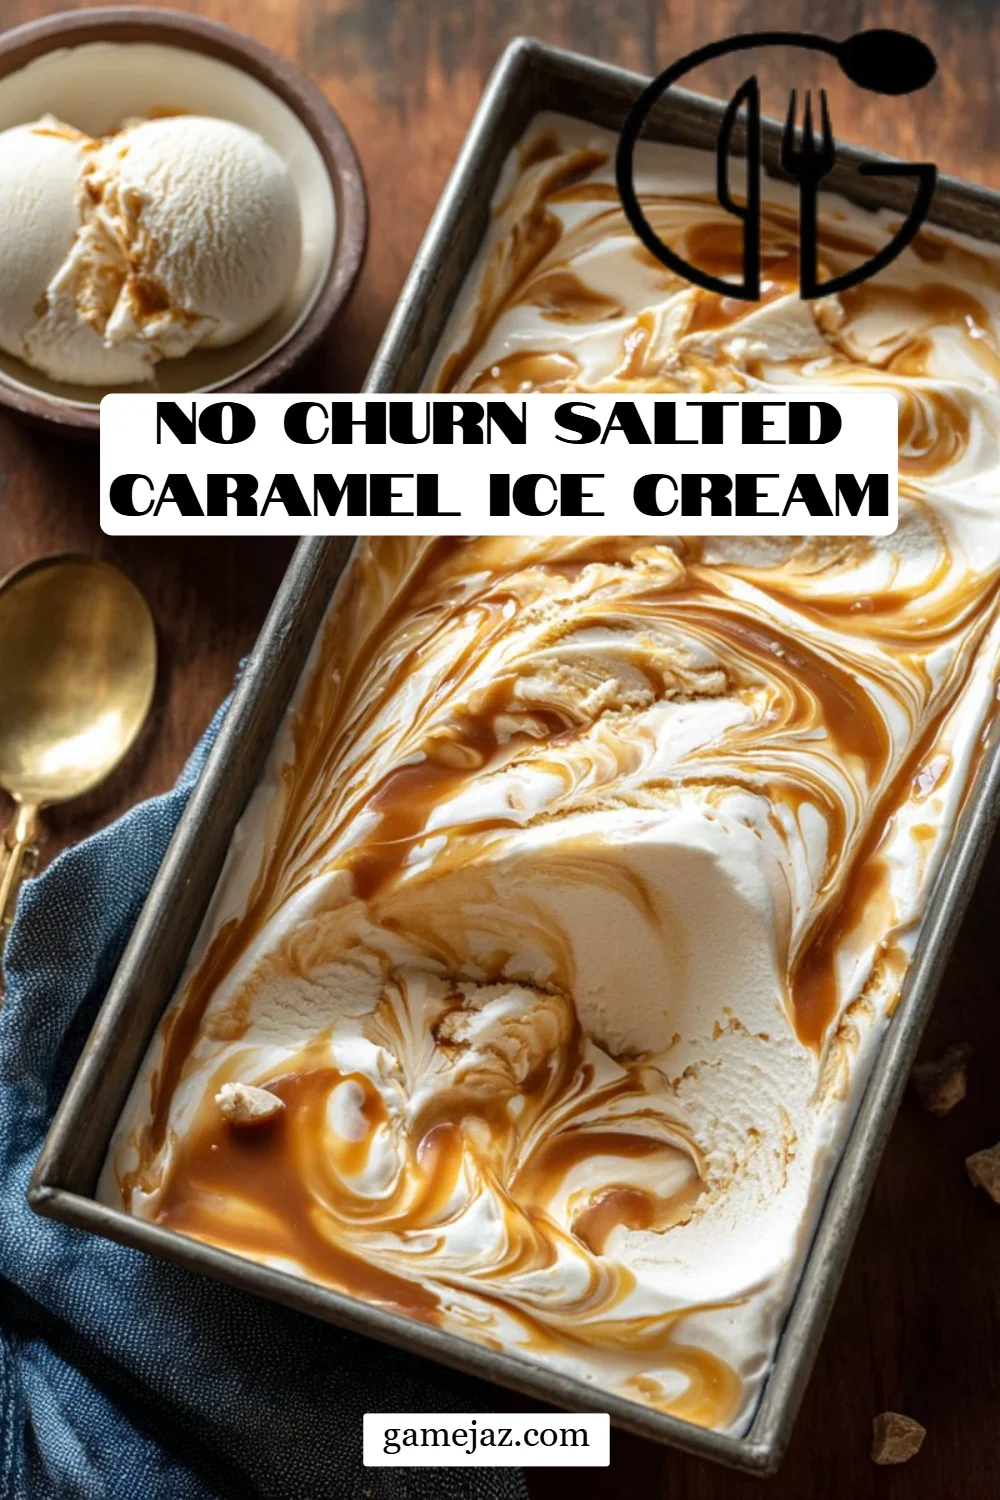
As a self-proclaimed ice cream enthusiast, nothing captures my love for this frozen delight quite like my No Churn Salted Caramel Ice Cream. I remember as a kid, every summer my family would indulge in decadent treat-filled afternoons, standing around the freezer impatiently as the ice cream churned and twirled. That sense of anticipation coupled with those sweet, creamy bites of our favorite flavors sparked my passion for creating my very own ice cream. Fast forward to today, and I can tell you that this no-churn recipe has transformed how I view ice cream forever.
What makes this No Churn Salted Caramel Ice Cream so special? It’s the perfect balance of sweet and salty, luscious textures, and a deceptively simple process that yields a truly gourmet result! Unlike store-bought versions, this easy recipe doesn’t require an ice cream maker, meaning you can whip it up any time the craving hits. Plus, there’s something incredibly comforting about sharing homemade ice cream with my family, creating delicious memories in every scoop. By the end of this post, you’ll learn how to impress your loved ones with this creamy goodness in a fraction of the time it takes to churn traditional ice cream.
What Are No Churn Salted Caramel Ice Cream?
No Churn Salted Caramel Ice Cream, as the name suggests, is a creamy dreamy dessert that requires zero churning or fancy ice cream machines. It’s a delightful creation that melds rich caramel flavors with a sprinkle of sea salt, resulting in a sweet and savory indulgence that will have you coming back for seconds (and thirds!).
The beauty of this ice cream lies in its velvety texture, achieved by folding whipped cream into a base of sweetened condensed milk and vanilla. The outcome is a smooth, fluffy treat that melts seamlessly in your mouth. Perfect for hot summer days, cozy winter nights, or as a sweet addition to any gathering, you’ll find No Churn Salted Caramel Ice Cream to be the ultimate dessert for any season!
Why You’ll Love This Recipe
Here are a few compelling reasons why this No Churn Salted Caramel Ice Cream will become a staple in your dessert repertoire:
Simplicity at Its Best: This easy recipe requires no special equipment or culinary training. Honestly, if you’ve got a bowl and a whisk, you’re halfway there!
Cost-Effective Indulgence: Compared to store-bought ice cream, this homemade version is more affordable and much healthier, without sacrificing flavor or quality. You control the ingredients, and can even use organic options if that fits your lifestyle.
Customize Your Creation: While salted caramel is divine on its own, think of all the amazing flavor adaptations you can make by adding mix-ins, like nuts or chocolate chunks, or experimenting with various extracts for a unique taste tailored to your family’s liking.
The Gift That Keeps Giving: This recipe yields plenty of ice cream to share, making it perfect for gatherings or surprise summer barbecues. Your friends and family won’t stop raving about your homemade masterpiece!
Effortless Preparation with Easy Cleanup: With just a few simple steps, you can have your No Churn Salted Caramel Ice Cream frozen and ready to scoop in no time. And when it’s time to clean up, there are hardly any dishes to wash!
Ingredients Section
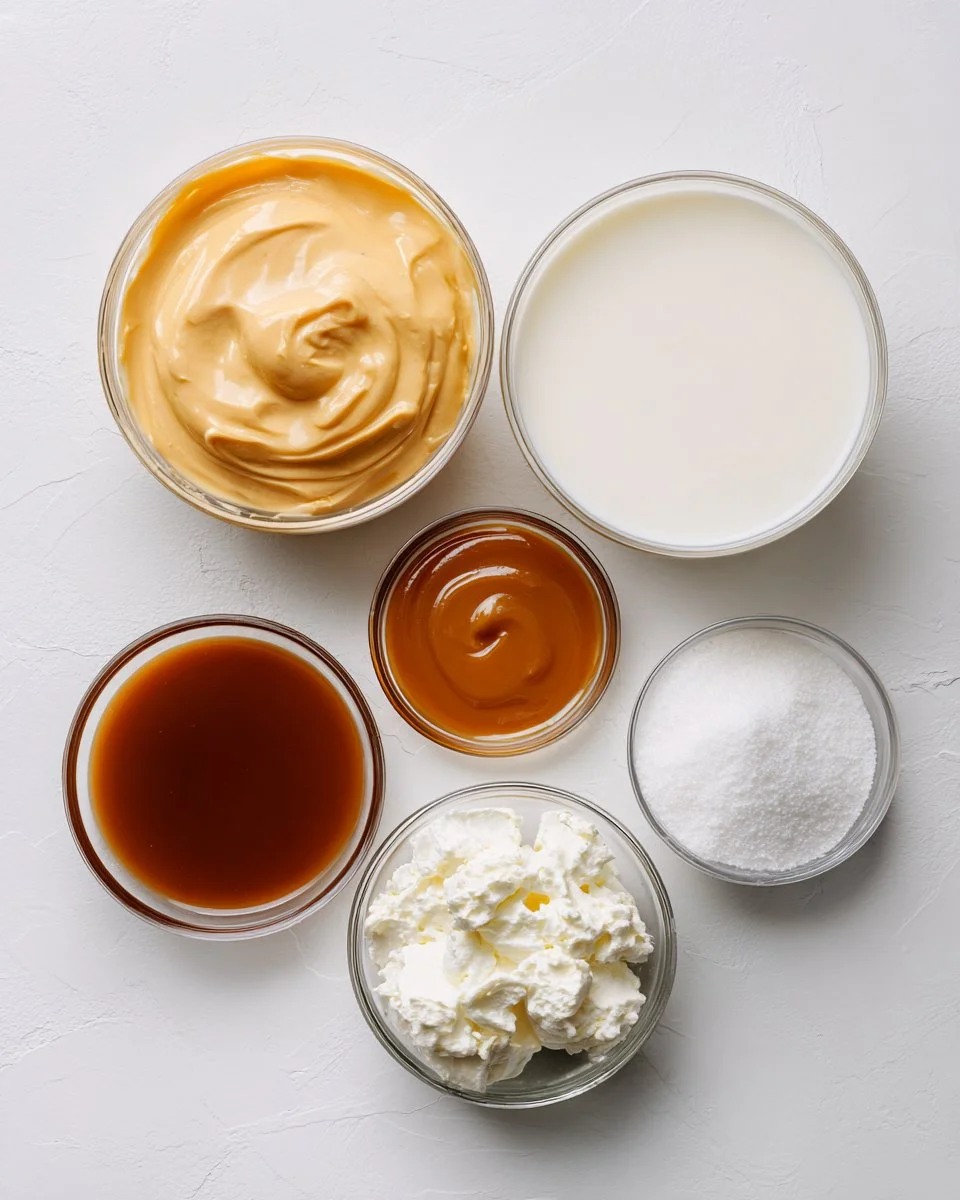
For this delightful No Churn Salted Caramel Ice Cream, you’ll need:
- 2 cups heavy whipping cream, cold: Ensure it’s chilled for the best whipping results.
- 1 can sweetened condensed milk: This is key for the creamy texture. Look for a trusted brand like Eagle Brand.
- 1 teaspoon vanilla extract: A splash of good quality pure vanilla elevates this ice cream. I highly recommend Nielsen-Massey for its rich flavor.
- 1/4 teaspoon kosher salt: Essential for bringing out the sweetness of the caramel.
- 1 cup caramel sauce: Homemade or store-bought, I personally enjoy using Ghirardelli for its rich taste. You’ll want to drizzle this both in the ice cream mixture and on top.
Chef’s Notes: Allow the butter for any potential mix-ins to come to room temperature if you’re incorporating any added ingredients!
Step-by-Step Instructions
Making No Churn Salted Caramel Ice Cream is as easy as pie! Here’s how to do it perfectly:
Chill Your Pan: Place a 9×5-inch loaf pan in the freezer while you prepare the mixture. A chilled pan helps the ice cream freeze faster and adds to the creaminess!
Whip the Cream: In a stand mixer fitted with a whisk attachment, pour the cold heavy whipping cream. Start mixing on low speed, gradually increasing to medium until the cream thickens (about 2-3 minutes). Then, switch to high speed and keep whipping until stiff peaks form (another 2 minutes). Visual cue: The cream should maintain its shape even when the whisk is pulled away.
Mix the Base: In a separate bowl, combine the sweetened condensed milk, vanilla extract, and kosher salt. Gently stir in about a cup of the whipped cream to lighten this base mixture. This step ensures a smooth blend.
Combine: Carefully fold this lighter mixture back into the remaining whipped cream using a rubber spatula. The key here is to keep as much air in the mixture as possible for that airy texture.
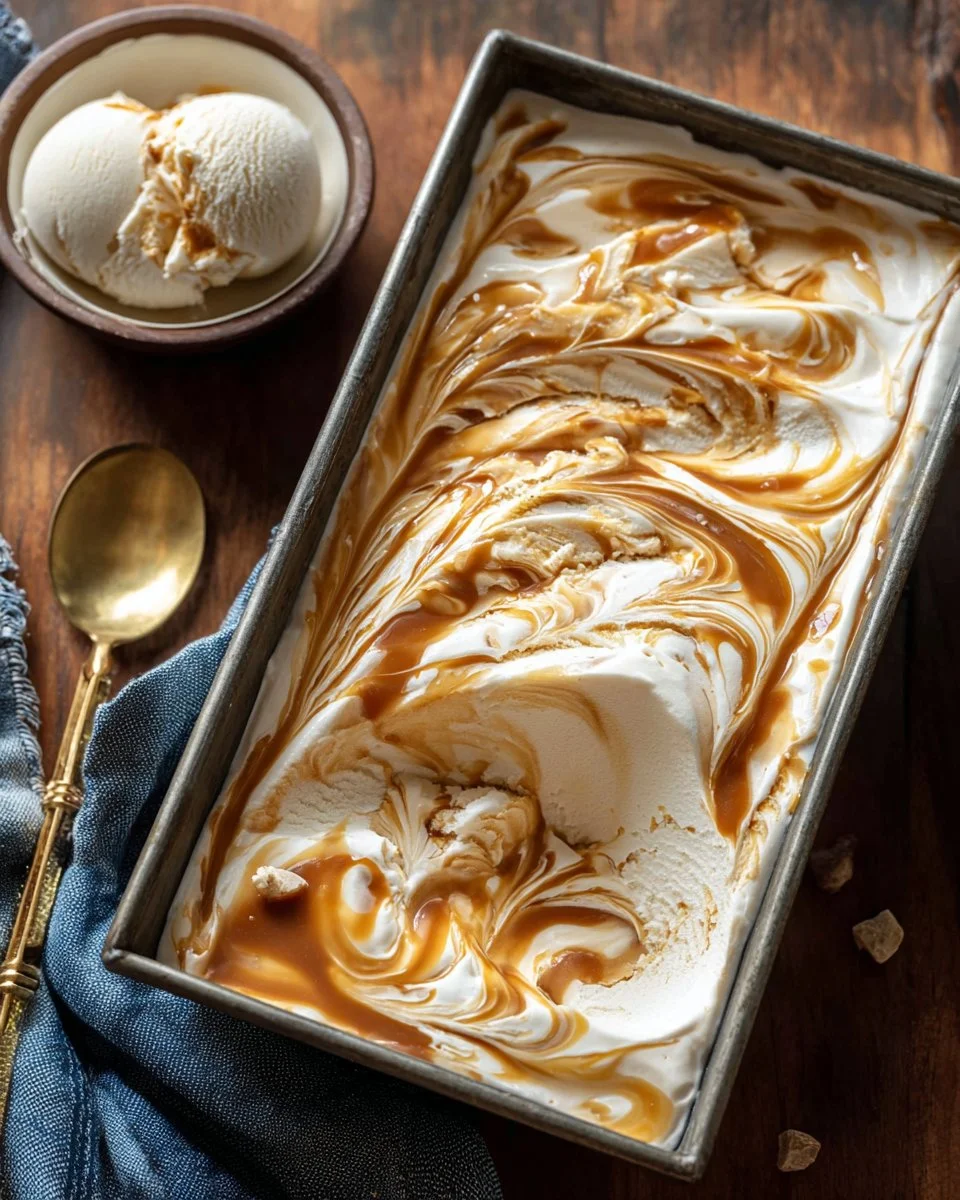
Layer Your Ice Cream: Pour half of this creamy mixture into the chilled loaf pan. Drizzle half the caramel sauce over it, then add the remaining ice cream mixture. Top with the rest of the caramel sauce and give it a gentle swirl with a knife for a marbled effect.
Freeze & Set: Cover the loaf pan with plastic wrap or aluminum foil and freeze for at least 5 hours (or overnight if you can wait!). When it’s done, serve it up in bowls and watch everyone’s eyes light up!
- Chef’s Tips:
- Avoid Over-Whipping: Keep a close eye on your whipped cream to avoid it turning into butter.
- Swirling Techniques: Don’t over-swirl the caramel; you want distinct ribbons of flavor without completely blending.
Expert Tips & Tricks
To ensure your No Churn Salted Caramel Ice Cream turns out perfect every time, here are some pro tips:
Use Cold Equipment: For the best results, chill your mixing bowl and whisk in the freezer before whipping the cream.
Storage: Store any leftover ice cream in an airtight container to keep it fresh. You can freeze it for up to 2 weeks, but I doubt it’ll last that long!
Make Ahead: This ice cream is great for preparing ahead of time. Make it a day or two in advance, and you’ll have a delicious treat waiting for you!
Troubleshooting: If you find your ice cream is too soft after freezing, that could be due to not whipping the cream enough or the freezing temperature of your freezer. Make sure to check both!
Serving Tip: Let your ice cream sit out for about 10 minutes before scooping; this will soften it a bit for easier serving.
Serving Suggestions
This No Churn Salted Caramel Ice Cream is perfect on its own, but for the ultimate dessert experience, consider serving it alongside warm brownies or chocolate chip cookies. You can even top it with a sprinkle of sea salt or some toasted nuts for added crunch. It’s fabulous for cozy movie nights or elegant dinner parties alike, making it versatile for any occasion!
Variations & Substitutions
Don’t hesitate to get creative! Here are some tasty variations and substitutions you can try:
Flavor Combinations: Instead of caramel, switch it up to a chocolate, Nutella, or peanut butter base. You can even stir in crushed cookies or candies for a fun mix!
Dairy-Free Adaptation: Substitute coconut cream and a dairy-free sweetened condensed milk available at health food stores for a delicious vegan-friendly option.
Seasonal Twists: Try adding pumpkin spice for a fall-inspired treat or peppermint extract and crushed candy canes for those holiday gatherings.
Nutrition & Storage Info
- Prep Time: 15 minutes
- Cook Time: None
- Total Time: 5 hours (including freezing)
- Yield: About 8 servings
- Estimated Calories per Serving: Around 300 calories
- Storage: Keep in an airtight container in the freezer. It lasts up to 2 weeks, but it’s best enjoyed fresh!
FAQ Section
Do I need an ice cream maker?
No, this recipe doesn’t require any special machines; just a whisk and a loaf pan!Can I use low-fat cream?
For this recipe, heavy whipping cream provides the best texture. Low-fat options won’t yield the same result.How can I adjust the sweetness?
Feel free to adjust the amount of caramel sauce based on your preference. Just be cautious with adding sugar, as the sweetened condensed milk is already quite sweet.What if my ice cream is too hard to scoop?
Let it sit at room temperature for about 10-15 minutes before scooping, or run the scoop under warm water for easier serving.Can I add mix-ins?
Absolutely! Chocolate chips, crushed cookies, or chopped nuts are fantastic options. Just fold them in before transferring to the loaf pan.Can I use store-bought caramel sauce?
Yes, but homemade caramel adds a personal touch! It’s easy to make, and you can adjust the flavor to your liking.What’s the best way to store leftover ice cream?
Store it in an airtight container to prevent ice crystals from forming.When is the best time to serve this ice cream?
The beauty of this recipe is that it can be served any time—great for summer days or cozy winter nights alike!Is it possible to make this a dairy-free treat?
Yes! Use coconut cream and dairy-free condensed milk for a fabulous vegan alternative.What should I do if I don’t like salted caramel?
You can easily switch the flavor—chocolate or vanilla ice cream bases work wonderfully too!
Conclusion
This No Churn Salted Caramel Ice Cream is not just a recipe; it’s a way to create moments of joy and connection with family and friends. Whether you’re whipping it up on a Sunday afternoon or bringing it to a summer barbecue, it’s bound to bring smiles all around. I can’t wait for you to try it! Please share your thoughts in the comments and let me know how it turned out—or tag me in your delicious ice cream creations! Don’t forget to check out my other favorite frozen treats on the blog!

No Churn Salted Caramel Ice Cream
Ingredients
Method
- Place a 9×5-inch loaf pan in the freezer to chill while preparing the mixture.
- In a stand mixer fitted with a whisk attachment, pour the cold heavy whipping cream and whip on low speed, increasing to medium until thick (about 2-3 minutes), then whip on high until stiff peaks form (another 2 minutes).
- In a separate bowl, combine the sweetened condensed milk, vanilla extract, and kosher salt. Lighten this mixture by stirring in about a cup of the whipped cream.
- Gently fold the lighter mixture back into the remaining whipped cream to retain air.
- Pour half of this creamy mixture into the chilled loaf pan. Drizzle half the caramel sauce over it, then add the remaining mixture. Top with the rest of the caramel sauce and swirl gently with a knife.
- Cover the loaf pan with plastic wrap or aluminum foil and freeze for at least 5 hours, or overnight.
- When ready, serve in bowls and enjoy the reactions!