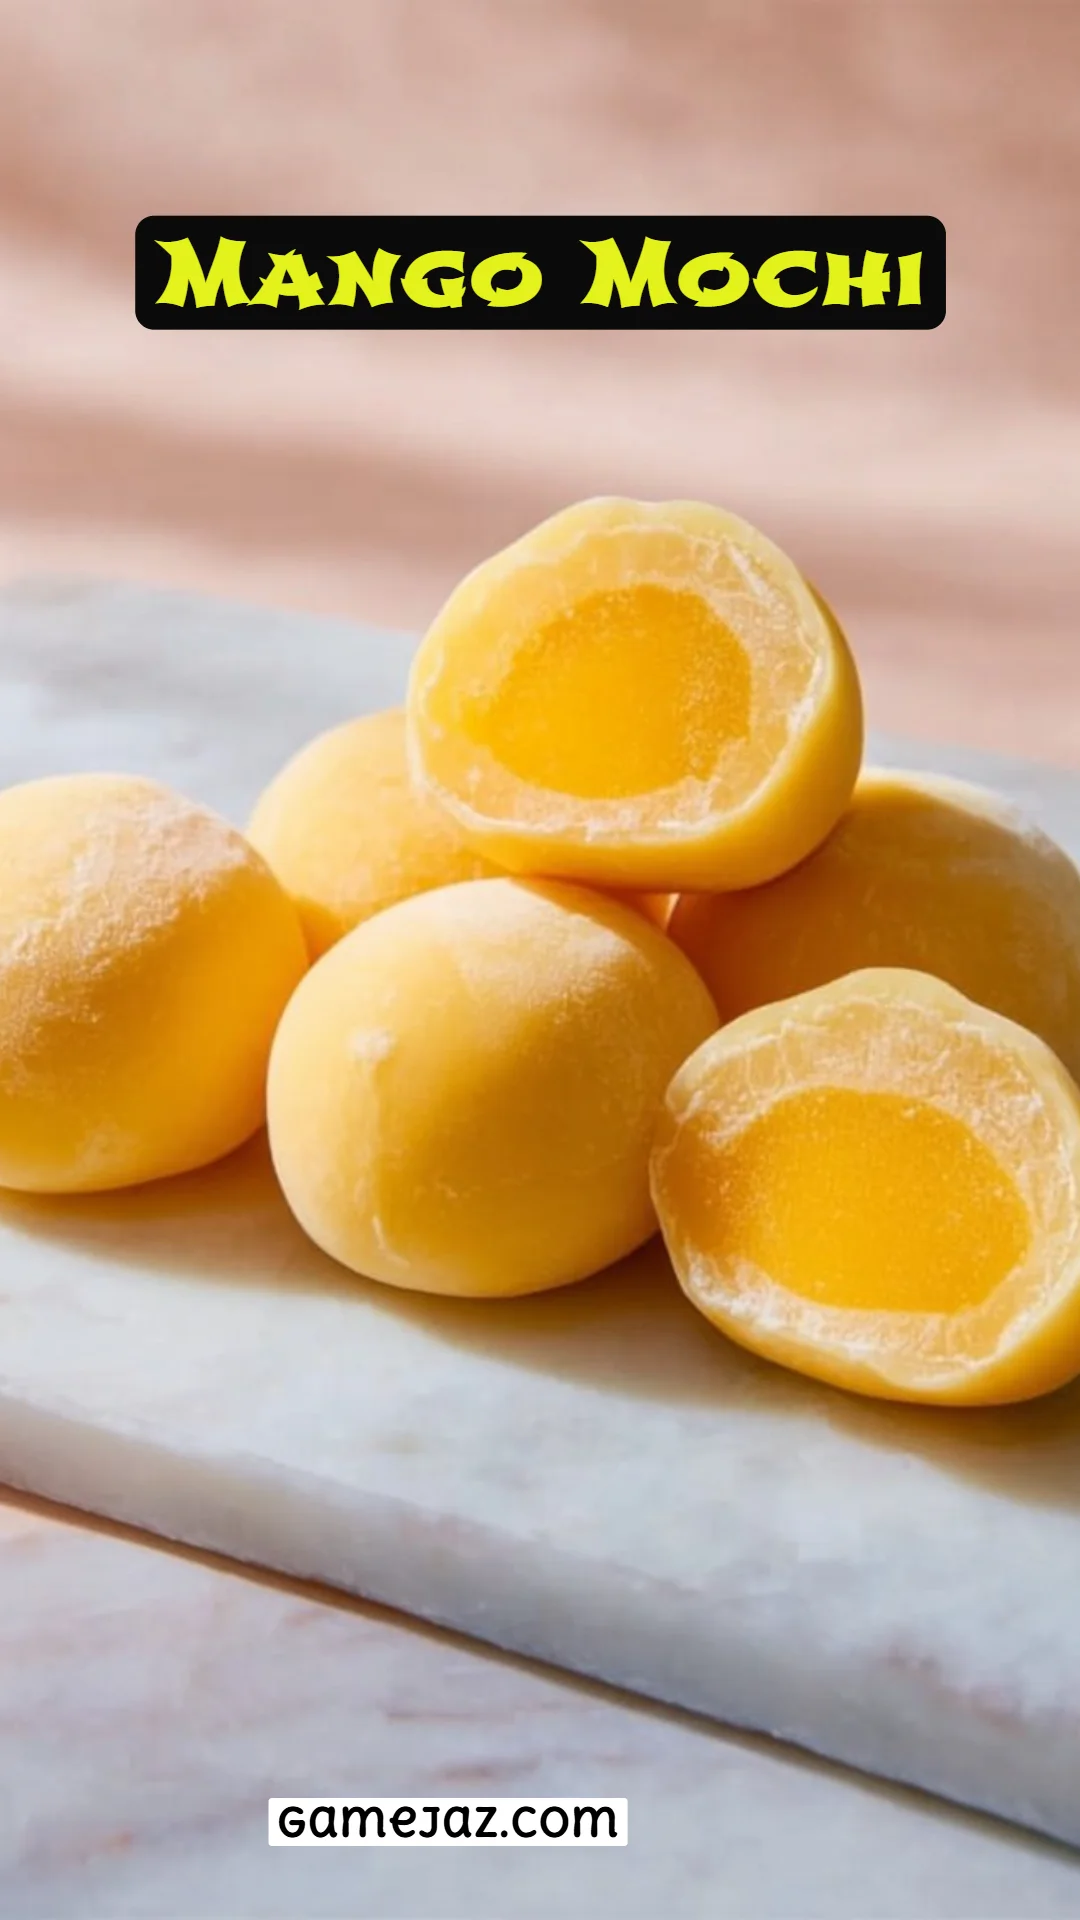
Mouthwatering Mango Mochi: A Delicious Twist on a Classic Treat
When I first experienced the joy of Mango Mochi, I had just returned from a family vacation to Japan, where the sweet, chewy treats seemed to beckon from every corner shop. I remember sitting on the porch with my grandmother while we savored these little morsels, the sun dipping below the horizon. The combination of fragrant mango and soft, glutinous rice brought back memories of her teaching me the art of dessert-making in our cozy kitchen.
These Mango Mochi aren’t just any ordinary snack; they’re a delightful celebration of flavor and texture, fusing tropical sweetness with a uniquely chewy exterior. Compared to store-bought versions, this homemade recipe beats them hands down. You can customize it, using fresh, ripe mango and carefully balancing the sweetness to suit your taste – a luxury that pre-packaged mochi can never provide. Plus, the smiles on my family’s faces when they bite into these delightful bites are priceless!
In this post, you’ll learn the secrets behind crafting perfect Mango Mochi. From preparing the lush mango filling to achieving the right mochi consistency, I promise you’ll create a hearty staple happening with every bite.
What Are Mango Mochi?
Dango, the traditional Japanese rice dumpling, serves as the foundation for mochi. Originating from China, rice cakes like mochi have evolved into a beloved delicacy across Japan, often filled with sweet or savory fillings. They can be found adorned with various toppings or enjoyed plain.
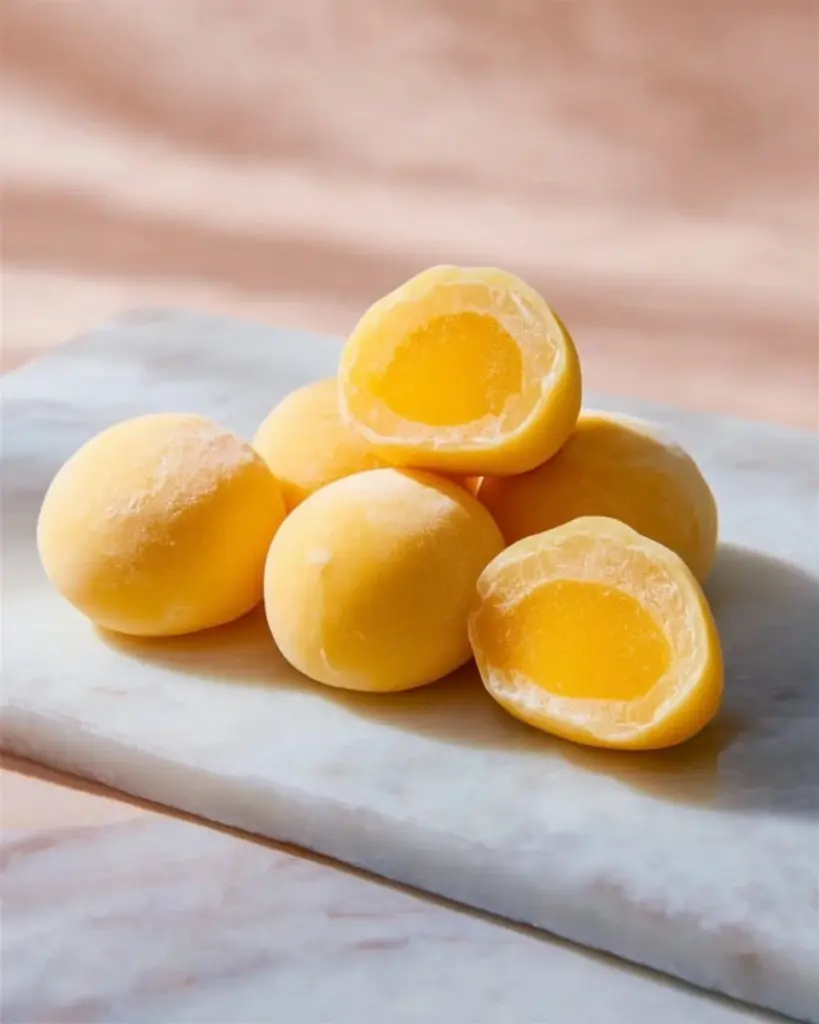
Mango Mochi, however, stands apart due to the rich, tropical essence of fresh mango filling enveloped in the soft, sticky rice dough. The enticing sweetness combines beautifully with the chewy texture, creating a little burst of paradise in every bite. You should make these delicious treats for celebrations like birthdays or simply as an indulgent snack to enjoy at home.
Why You’ll Love This Recipe
Flavor Explosion: If you’ve ever purchased Mango Mochi from the store, you may have noticed that some can be disappointingly bland. With this recipe, you control the quality of your ingredients. The use of fresh, ripe mangoes gives an authentic tropical essence that store-bought versions can’t match.
Customization Galore: One of the best parts of making your own Mango Mochi is the chance to customize. Want a swath of coconut or a sprinkle of bean paste? Go for it! Tailor the flavors according to your taste, whether that means going for tropical fruit or even chocolate!
Cost-Effective: You know how much a small box of Mochi can set you back at the grocery store? This homemade version is not only cheaper – it also packs more servings! With minimal ingredients, you can whip up roughly eight servings, all bursting with juicy mango flavor.
Feeling Accomplished: While the idea of making Mango Mochi might seem daunting, let me assure you – it’s not! This step-by-step guide will walk you through each detail, making it accessible even for novice bakers. You’ll feel like a pro as you roll, stuff, and shape each piece.
Quick Yet Impressive: Total prep time for these mouthwatering mochi is under an hour! Perfect for last-minute gatherings or cravings, you’ll impress family and friends with a homemade treat that they’ll think took hours of preparation!
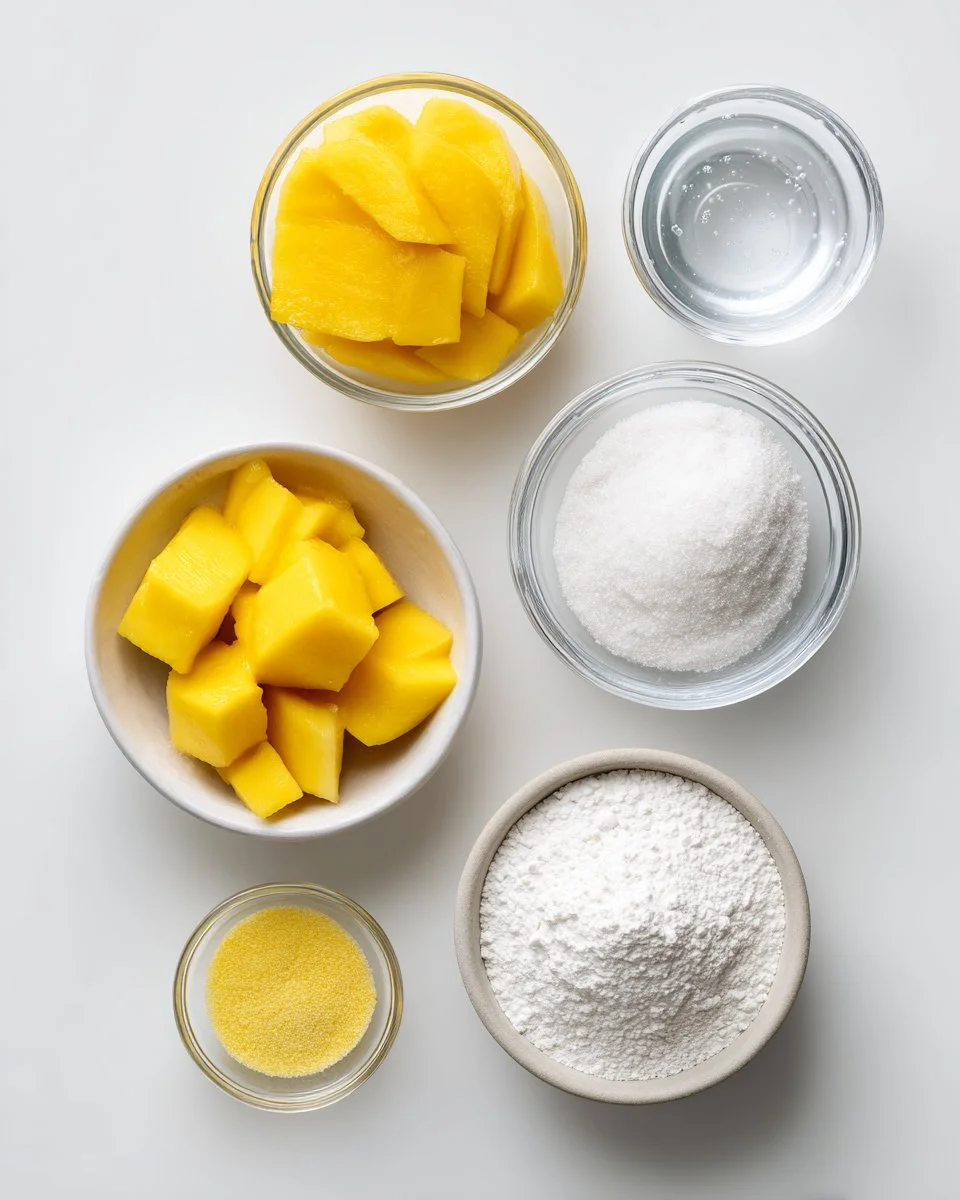
Ingredients
- 2 cups fresh mango, chopped: Ensure you select ripe, sweet mangoes for the tastiest filling.
- 2 tbsp sugar: Adjust according to the sweetness of your mango.
- 2 tsp cornstarch: This will help thicken the filling for a great texture.
- 1 tbsp lemon juice: Brightens the flavor of the mango, adding acidity that cuts through sweetness.
- 1 cup glutinous rice flour (Mochiko): Use high-quality mochiko for the best texture.
- 3/4 cup sugar: Required for the mochi dough.
- 3/4 cup water: To help form the dough.
- Cornstarch or potato starch, for dusting: Helps prevent sticking.
Prep Notes: Room temperature ingredients help in achieving a perfectly smooth dough when mixing.
Brand Recommendations: For glutinous rice flour, I love using Koda Farms Mochiko, which can be found in most Asian supermarkets or online.
Step-by-Step Instructions
Make the Mango Filling: In a small saucepan, combine the chopped mango, sugar, and lemon juice. Cook over medium heat for 5 to 7 minutes until soft. You’re looking for a luscious, fragrant mixture that reminds you of summer.
Puree and Thicken: Blend the mango mixture until smooth in consistency. Stir in cornstarch and cook for an additional 2 to 3 minutes until thickened. The goal is a pudding-like texture that can hold its shape when scooped.
Chill and Portion: Refrigerate your mango filling until it’s firm enough to handle, about 30 minutes. Once set, scoop into small balls and freeze for about 15-20 minutes, making them easier to envelop in the mochi dough.
Make the Mochi Dough: In a microwave-safe bowl, mix glutinous rice flour, sugar, and water until smooth.
Cook the Dough: Microwave for 1 minute. Stir, then microwave for another minute. Finally, stir again and microwave for 30 seconds. The dough should become sticky and pliable, so be careful not to overcook.
Cool the Dough: Let it cool until just warm and manageable to touch.
Prepare to Shape: Dust your work surface and hands with cornstarch, then divide the dough into 8 equal portions.
Fill and Shape: Flatten a piece of dough in the palm of your hand, place a mango ball in the center, seal the edges, and roll it into a ball.
Finish the Mochi: Repeat with the remaining dough and filling. Dust finished mochi with extra cornstarch to prevent sticking. Store in an airtight container at room temperature or refrigerate.

Expert Tips & Tricks
Ingredient Quality: Always choose ripe, fragrant mangoes. If mangos aren’t in season, try substituting with frozen mango puree.
Storage Recommendations: Store your Mango Mochi at room temperature for up to 3 days or refrigerate for about a week. They can also be frozen, which gives you an easy treat whenever the craving strikes!
Make-Ahead Instructions: Prepare your mango filling and mochi dough a day ahead; just assemble the mochi as needed to maintain perfect texture.
Troubleshooting Common Problems: If the dough is too sticky while working, dusting with cornstarch will help; if it’s too dry, add a touch of water (1 tsp at a time).
Presentation: Dusted mochi can be served on a platter with mint leaves or in a cute box for gifting.
Serving Suggestions
Mango Mochi can be enjoyed as they are, but why not elevate the experience? Serve them alongside a scoop of coconut ice cream or a fresh fruit salad for a vibrant dessert platter. Garnish with mint for a pop of color and an extra layer of flavor. They make an excellent addition to any gathering or celebration, whether a summer barbecue or a simple tea party!
Variations & Substitutions
Flavor Combinations: Experiment by adding flavors like matcha green tea, chocolate ganache, or even a coconut filling to create fruity hybrids.
Dietary Restrictions: For gluten-free variants, ensure you use certified gluten-free glutinous rice flour. You can substitute sugar with a suitable alternative such as agave syrup for a lower-calorie treat.
Seasonal Variations: Incorporate seasonal fruits like strawberries or blueberries, offering a delightful spin depending on what’s fresh and available.
Nutrition & Storage Info
- Prep Time: 20 minutes
- Cook Time: 15 minutes
- Total Time: 35 minutes
- Yield: 8 servings
- Estimated Calories: 140 calories per mochi
- Storage Instructions: Room temperature for up to 3 days, refrigerator for about a week, or freeze for up to a month.
FAQ Section
Can I use other fruits besides mango?
Yes! Any fruit that can be pureed works well, such as strawberries, peaches, or even chocolate fillings.Where can I find glutinous rice flour?
Look for it at Asian grocery stores or online retailers. Koda Farms Mochiko is highly recommended.Why does my dough feel too sticky?
It’s common! Dust your hands and work surface with cornstarch to help manage the stickiness while molding the mochi.How long can I freeze the mochi?
Mango Mochi can be frozen for up to a month. Just let them thaw at room temperature before enjoying.Do I need special equipment?
No special equipment is needed; a microwave and basic kitchen utensils will suffice!Can I make them vegan?
Absolutely! Just ensure that your sugar is vegan and avoid using animal-derived fillings.Can I add food coloring?
Adding a few drops of natural food coloring can enhance the visual appeal, especially if making fun variations.What’s the best way to serve them?
Chilled, at room temperature, or slightly warmed! Pairing with ice cream takes them to the next level!How do I know my mochi is cooked properly?
The dough should be shiny and slightly stretchy without any dry patches.Are Mango Mochi gluten-free?
Yes, as long as you use glutinous rice flour, which is naturally gluten-free. Just check brand labels.
Conclusion
This Mango Mochi recipe is special because it carries the essence of joyous family memories, vibrant flavors, and the love that goes into making homemade treats. I encourage you to try your hand at this delightful dessert – I promise that the taste of sweet, fresh mango wrapped in chewy mochi will have you reminiscing about sunny days in no time.
I’d love to know how yours turn out! Please share your thoughts and modifications in the comments, and don’t forget to check out other delicious recipes on my blog. Happy baking!
Mango Mochi
Ingredients
Method
- In a small saucepan, combine the chopped mango, sugar, and lemon juice. Cook over medium heat for 5 to 7 minutes until soft.
- Blend the mango mixture until smooth in consistency. Stir in cornstarch and cook for an additional 2 to 3 minutes until thickened.
- Refrigerate your mango filling until it’s firm enough to handle, about 30 minutes.
- Once set, scoop into small balls and freeze for about 15-20 minutes.
- In a microwave-safe bowl, mix glutinous rice flour, sugar, and water until smooth.
- Microwave for 1 minute. Stir, then microwave for another minute. Finally, stir again and microwave for 30 seconds.
- Let it cool until just warm and manageable to touch.
- Dust your work surface and hands with cornstarch, then divide the dough into 8 equal portions.
- Flatten a piece of dough in the palm of your hand, place a mango ball in the center, seal the edges, and roll it into a ball.
- Repeat with the remaining dough and filling. Dust finished mochi with extra cornstarch to prevent sticking.
- Store in an airtight container at room temperature or refrigerate.