Delightful Easter Banana Pudding Cups: A Sweet Springtime Treat
As spring rolls around, I start to feel that delightful buzz in the air — the promise of blooming flowers, fresh grass, and family gatherings. One of my fondest childhood memories involves Easter family dinners where laughter filled the air, and the table was adorned with goodies galore. However, the star of the show was always my grandmother’s Banana Pudding, served in cute little cups, adorned with swirling toppings and joyful sprinkles. Today, I’m excited to share my take on those cherished Easter Banana Pudding Cups!
What makes this version extra special is the simplicity and the nostalgia that washes over me with every creamy bite. Unlike the store-bought alternatives, which often lack authenticity, my recipe brings that homemade magic — it’s lighter, fresher, and bursting with flavor. You’ll find each layer of creamy vanilla pudding, soft bananas, and crunchy wafers lovingly come together, making it the perfect treat to share with loved ones. I promise you’ll learn how to recreate these delightful cups, helping you make your Easter celebrations even sweeter!
What Are Easter Banana Pudding Cups?
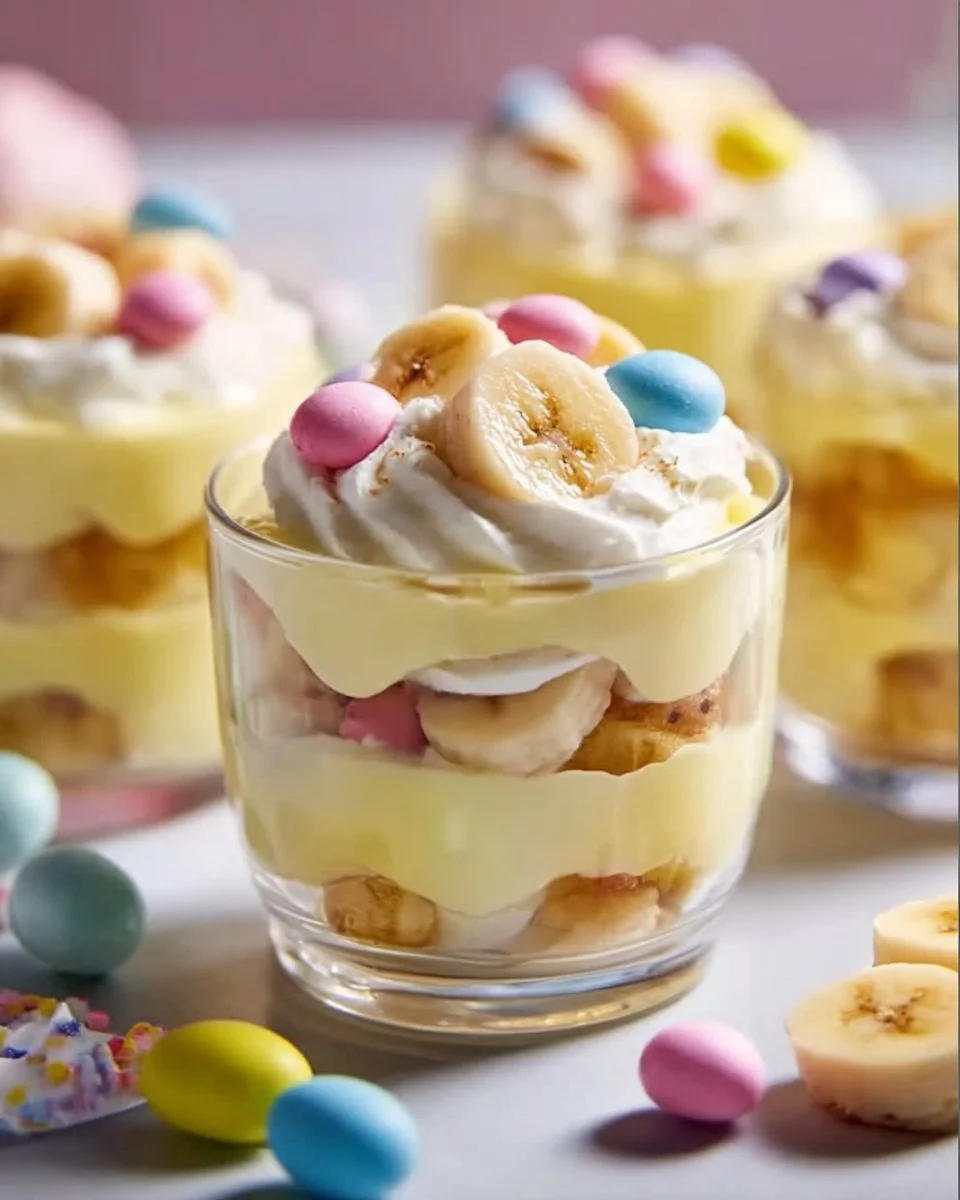
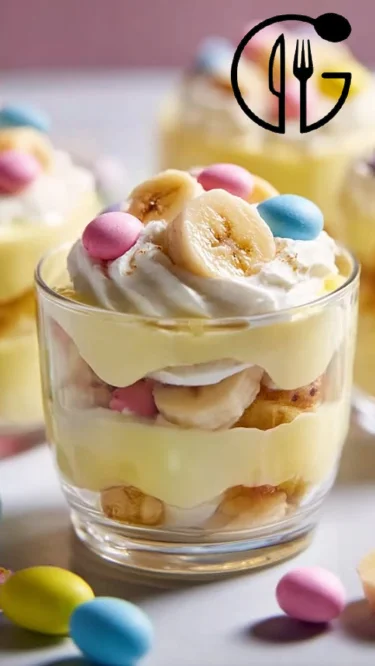
Easter Banana Pudding Cups are a whimsical twist on a classic dessert that has roots in Southern cuisine. Traditionally, banana pudding is a luxurious dessert layering vanilla pudding, ripe bananas, and vanilla wafers, serving as the ultimate comfort food. Served in individual cups, these mini desserts are not only visually appealing but also provide easy portions, making it perfect for gatherings.
The taste combines the creaminess of vanilla pudding with the comforting sweetness of ripe bananas, while the wafers add a delightful crunch. They’re impressive and delightful, making them a perfect treat for Easter brunch, birthday parties, or any springtime celebration. Their unique presentation in clear cups adds an element of fun, inviting everyone to dive in!
Why You’ll Love This Recipe
This recipe for Easter Banana Pudding Cups has a few standout qualities that will win you over:
Quick and Easy: With pre-made ingredients like instant pudding and whipped cream, you can whip these up in no time — ideal for last-minute gatherings!
Cost-Effective: Homemade often beats the store-bought options. With a few simple ingredients, you can treat a crowd without breaking the bank.
Customization Galore: Want to jazz it up? Feel free to mix in different flavors of pudding or adapt the toppings to match your occasion — think strawberries, chocolate shavings, or crushed nuts!
No Baking Required: Perfect for those who shy away from the oven. Assembling these adorable cups is all about layering and refrigerating.
A Family Favorite: I can attest that everyone — from toddlers to grandparents — will adore these luscious treats. They hold fond memories and delicious flavors that’ll resonate for generations.
Ingredients
You’ll Need:
2 ripe bananas, sliced: Choose bananas that are slightly speckled; they provide just the right amount of sweetness and creaminess.
1 box of instant vanilla pudding mix: Instant pudding saves time and ensures a yummy, creamy texture.
2 cups of milk: Use whole milk for the richest flavor.
1 cup of whipped cream: Fresh whipped cream works best for that light, airy touch, but you can also use store-bought.
1 cup of vanilla wafers or cookies: Classic vanilla wafers work wonders here, but feel free to substitute with any favorite crunchy cookie!
Easter-themed sprinkles (optional): A sprinkle of color adds festive fun, inviting smiles all around.
Prep Notes:
- Ingredient Quality: Using ripe bananas enhances flavor and creaminess. Opt for fresh, high-quality whipped cream for the best results.
- Preparation: It’s best to let your cream and milk come to room temperature for easier mixing.
- Brand Recommendations: For a richer flavor, I love using Jell-O brand for the pudding and Cool Whip for the whipped cream.
Step-by-Step Instructions
Mix the Pudding: In a mixing bowl, whisk together the instant vanilla pudding mix and 2 cups of milk until smooth, about 2 minutes. You want a thick, creamy result here.
Chef’s Tip: Don’t skip this step! Proper whisking ensures that there are no lumps.
Fold in Whipped Cream: Gently fold in the whipped cream until fully incorporated. This creates a dreamy, light texture.
Visual Cue: The mixture should be fluffy and smooth.
Layering Time: In clear cups or dessert glasses, layer about 6-8 vanilla wafers at the bottom, followed by a layer of sliced bananas, and then a layer of the pudding mixture.
Repeat the Layers: Continue layering until the cups are filled, finishing with a generous layer of pudding on top.
Finish and Chill: Top your cups with additional banana slices, crushed wafers, and sprinkle some Easter-themed decorations on top.
Professional Technique: Chill in the refrigerator for at least 30 minutes to set the layers.
Ready to Serve: Carefully remove from the refrigerator, and welcome your guests to delight in these sweet cups!

Expert Tips & Tricks
Storage: These babies are best enjoyed fresh, but you can store them in the fridge for up to 2 days. Keep them covered to prevent the bananas from browning.
Make-Ahead: You can prepare the layers a day ahead and assemble them just before serving for ultimate freshness.
Troubleshooting: If your pudding is too runny, your milk might have been too warm. Always whisk until smooth!
Serving Temperature: Make sure your cups are chilled; they taste even better when cool.
Serving Suggestions
These Easter Banana Pudding Cups shine on their own but are fantastic alongside a light spring salad or fresh fruit platter. Consider pairing them with a chilled refreshing drink like lemonade or iced tea for a complete celebration. For extra festive flair, serve them with themed decor — how about pastel napkins and playful bunny accents?
Variations & Substitutions
Flavor Twists: Change up the flavor by using chocolate or butterscotch pudding instead of vanilla. You can even mix in peanut butter for a delightful twist!
Dietary Adaptations: Substitute with lactose-free milk and coconut whipped cream for a dairy-free version. To make it gluten-free, swap regular wafers for gluten-free cookies.
Seasonal Options: Try adding in layers of fresh berries during summer or crushed pumpkin pie spice cookies during fall for a seasonal delight!
Nutrition & Storage Info
- Prep Time: 20 minutes
- Chill Time: At least 30 minutes
- Total Time: About 50 minutes
- Yield: 6 servings
- Estimated Calories: 220 calories per serving
- Storage: Keep in an airtight container in the fridge for up to 2 days.
FAQ Section
Can I make these banana pudding cups in advance?
Absolutely! You can prepare all the layers, but assemble them just before serving for the freshest taste.What if my banana pudding is too runny?
Ensure you’re properly whisking the mix and allowing it to set. If it’s still not thickening, you can add a bit more pudding mix.Can I use other fruits?
Yes! Berries or peaches would be fantastic in these cups! Just be mindful of how they may alter the overall flavor.What can I use instead of whipped cream?
You can substitute with whipped topping or even a yogurt for a slightly healthier option.Is it okay to use homemade pudding?
Certainly! Just make sure it’s fully cooled and set before layering.Can I freeze these cups?
I wouldn’t recommend it as the texture of pudding may change upon thawing.What other toppings can I use?
Chopped nuts, shaved chocolate, or fresh mint can elevate these cups beautifully!How can I make these healthier?
You can use low-fat milk, sugar-free pudding mix, or Greek yogurt in place of whipped cream.Can I substitute the vanilla wafers?
Sure! Any crunchy cookie will do, including graham crackers or almond cookies.What’s the best way to transport them?
If you’re taking them to a gathering, layer carefully and use a container with a good lid to prevent spills.
Conclusion
These delightful Easter Banana Pudding Cups encapsulate everything I love about springtime treats. Their creamy texture, combined with layers of nostalgia and joy, make them a standout choice for your holiday celebrations. I truly encourage you to try making these and observe the smiles that light up the faces of your family and friends. Please let me know your thoughts, share your experiences, and don’t forget to explore other delicious recipes on my blog to keep the sweet spirit alive! Happy baking!